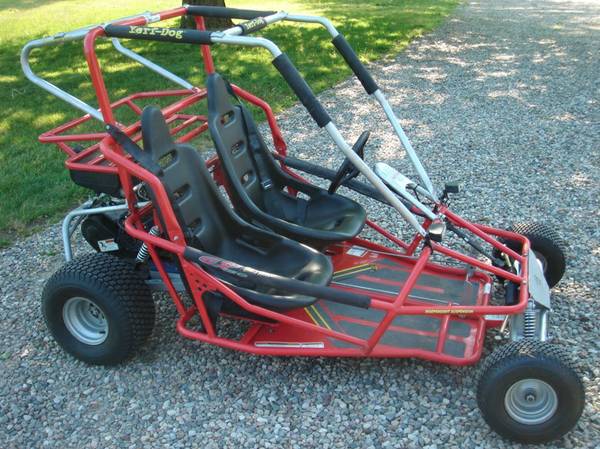
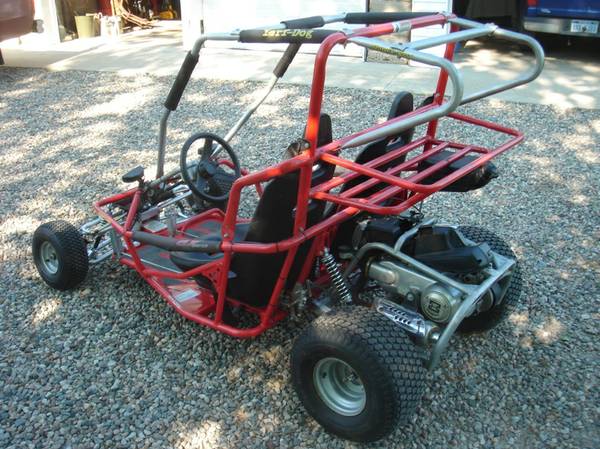
I picked this beast up a few weeks ago because I was itching for a project. It's a yerf dog "spiderbox". My plans are to lift the front end, tune the engine a bit, and outfit it for back road/2track/oRV route cruising with my wife. In Gladwin, I can drive out of town from my house and be legal on county roads with an ORV sticker.

So far I've installed an aluminum intake manifold (because the stock rubber one is cracked), a set of heavy duty ball joints, updated the rollbar padding, added a "dune flag", lubed the chain, added a UNI filter, new transmission vent hose, changed the oil, put together a battery box for my dual battery set up, moved the headlights up top, installed a 12v outlet, and installed a motorcycle radio setup .
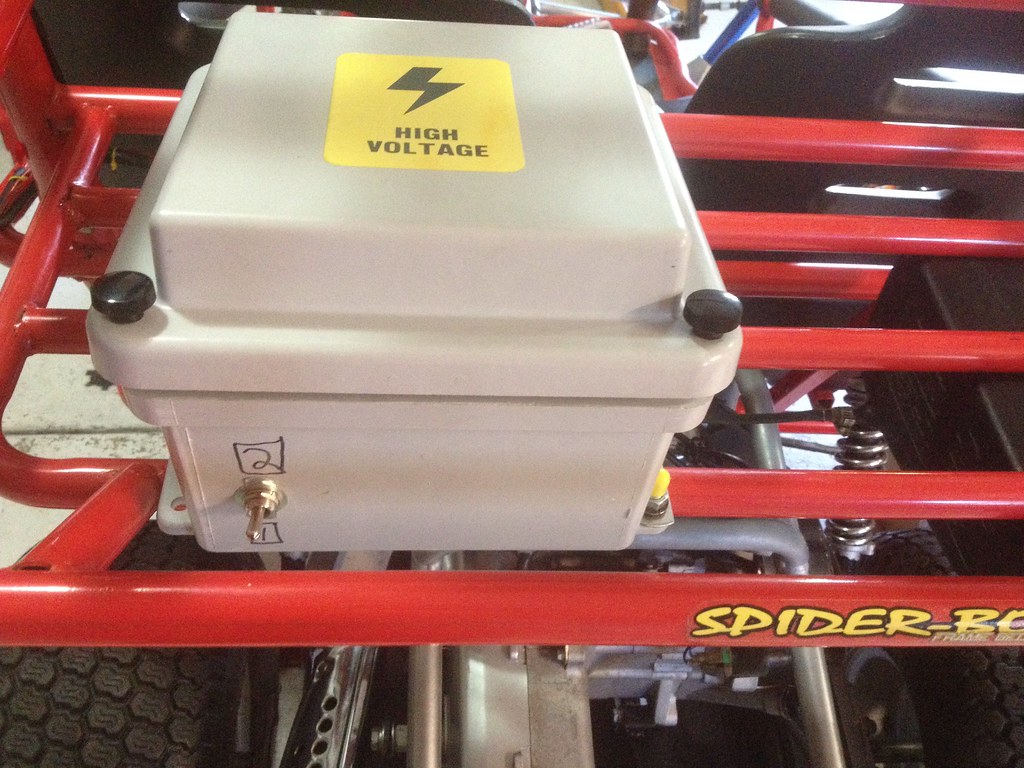
Here's the battery box:

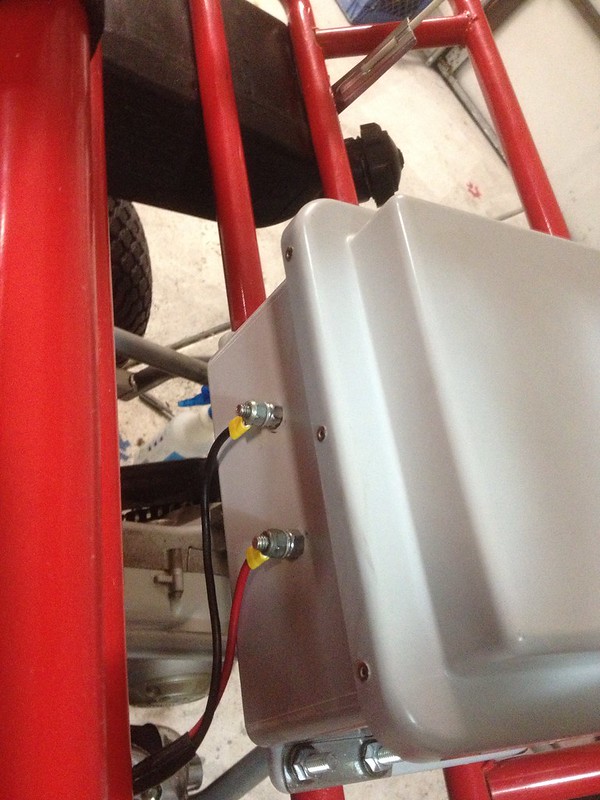
Wired in a switch between the two batteries after reading about wiring them parallel. Apparently if one of the batteries is a little older, it can cause the other battery to go bad faster. So, to keep this from possibly happening, and to have a back up battery onboard just in case I drain it with the radio or lights, I went with the switch.
I also added some finger twist knobs to make the box quick release.
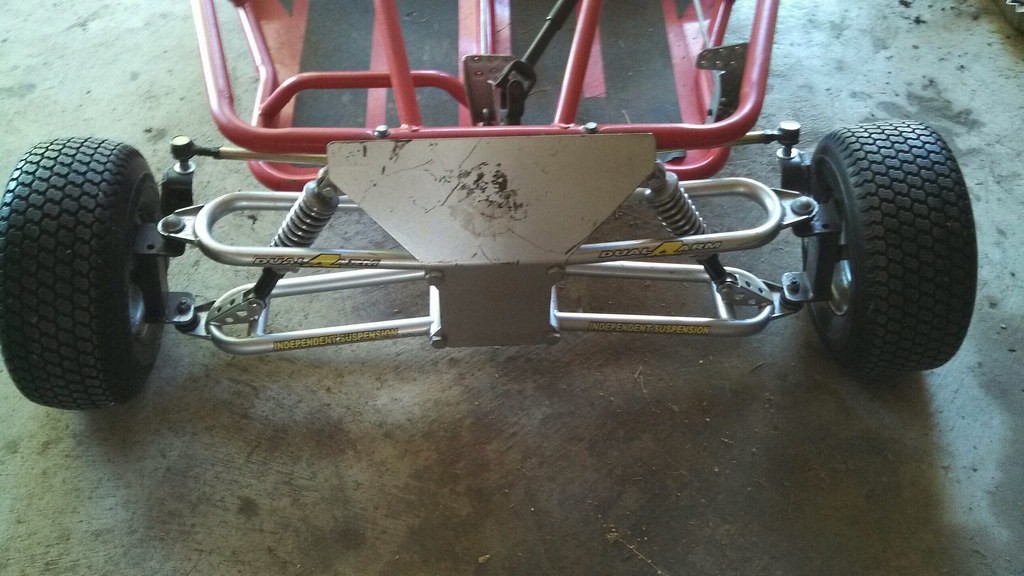
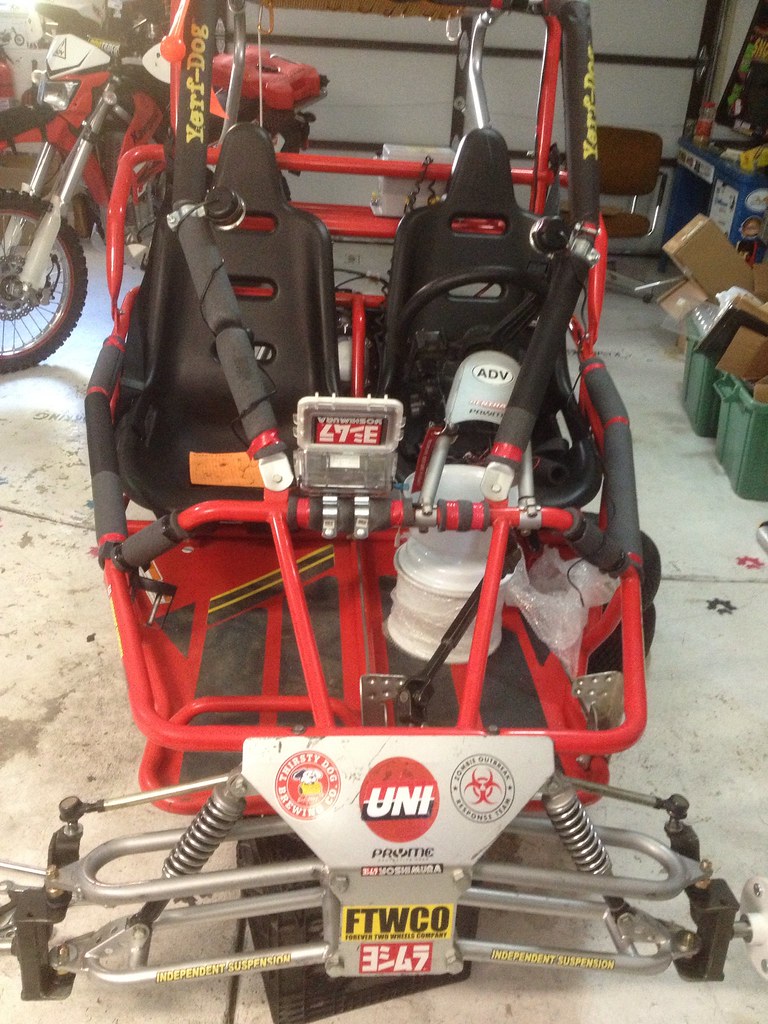
The buggy's front end was kind of screwed up when I got it. The ball joints were bad, so I swapped those out. However, it had even spindles, uneven a-arms, and the steering rack was too short. The guy I bought it from had replaced front end parts due to his kid running it into a tree. Luckily he gave me the old steering rack, because once I got the balljoints on, I realized that there was a compatibility issue with the spindles/a-arms, so I ordered a set of the longer top a-arms from BD. Then I realized that the steering rack was too short. So I swapped in the old one that he gave me with the buggy. I have it adjusted pretty decent right now, but the true test will be when I put the new wheels/tires on. I have a the 8" 4 bolt wheels and hubs ready to go, just waiting on the Duro ATV tires to come in.
Here's some shots:
Finally the front end seems to be coming together.

I mounted the radio in waterproof outdoor products box that I use for kayaking .

I mounted a couple "tool tubes" to the top bars to store tools/extra fuel in. I am also a member at ADVrider.com and got the idea from there.

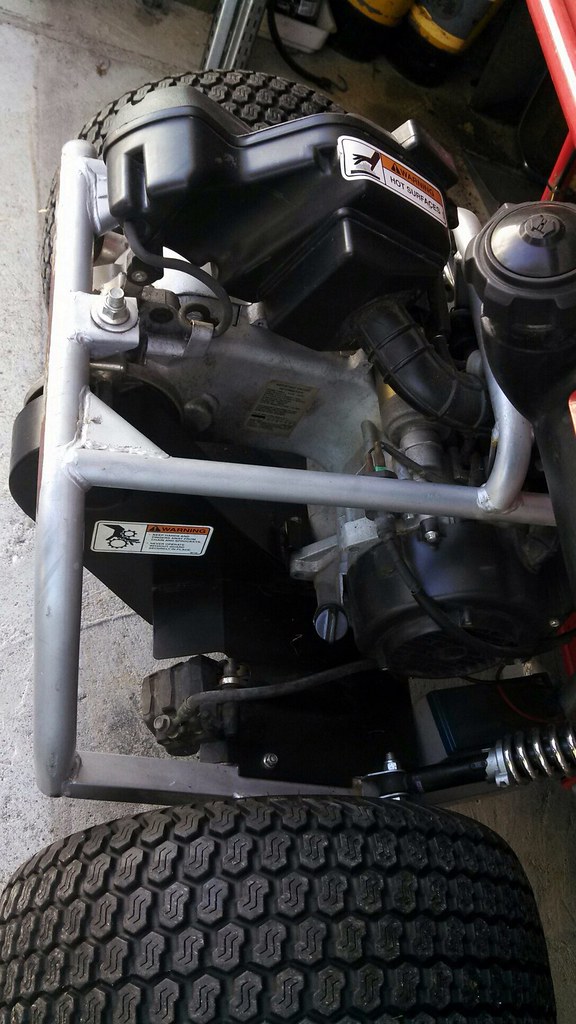
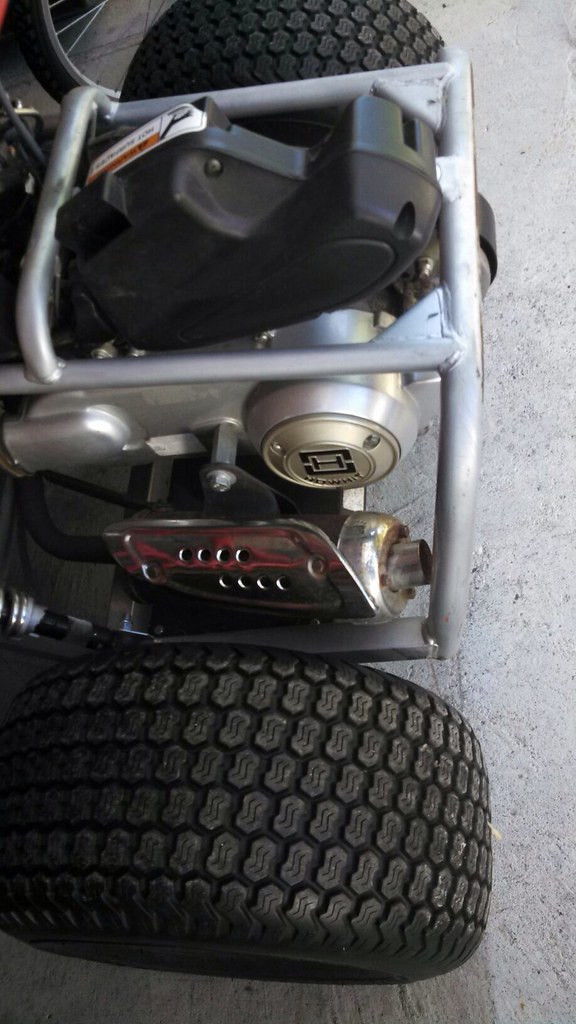
The Uni Filter and the "performance" 30mm intake. Does anybody know if it actually makes much of a difference? I just got it because it was aluminum and it shouldn't crack.

Just waiting for tars.

I would also like to say that I've been working with Travis @ Buggy Depot for parts on this rig and they has been very helpful.