

 |

|
|
|||||||
| FrankenBuggy Tech Unconventional and Home Built Buggy Tech Forum |

|
|
Thread Tools |
|
#1
|
|||
|
|||
|
Okay so i would first like to say hello to everyone on this forum. I have been reading things and learning lots and decided to post my build on here too. Im taking my build from another forum so im sorry if its alittle confusing.. I hope you enjoy!
Let me introduce myself. My Name is Nick im a 16 year old gear head... Iv'e been working on minibikes to dirt bikes to atv's for a while now and loved every second of it! Last year i sold off all my projects for my biggest one of all, a wrecked 97 BMW m3. (here is the build thread to that if anyone is interested http://www.m3forum.net/m3forum/showt...ght=slow+build ) The 90's m3's have always been my dream and working hard to get one has really made me feel good about myself and also learn a great amount. But in the back of my head Iv'e always wanted to build a buggy and Iv'e finally brought myself to do so. i started this project a while ago so this is a half way build but still so much to do. i originally bought a duromax 16hp with e/s but soon found out i wanted gears plus a reverse but i didn't want that motor to go to waist so i got a 1986 trx125 from a friend for $20 that i am using for parts and also for its trans. Iv'e never seen anyone attempt this but i have always thought about doing it. Stay tuned and more pics and details to come tmr. 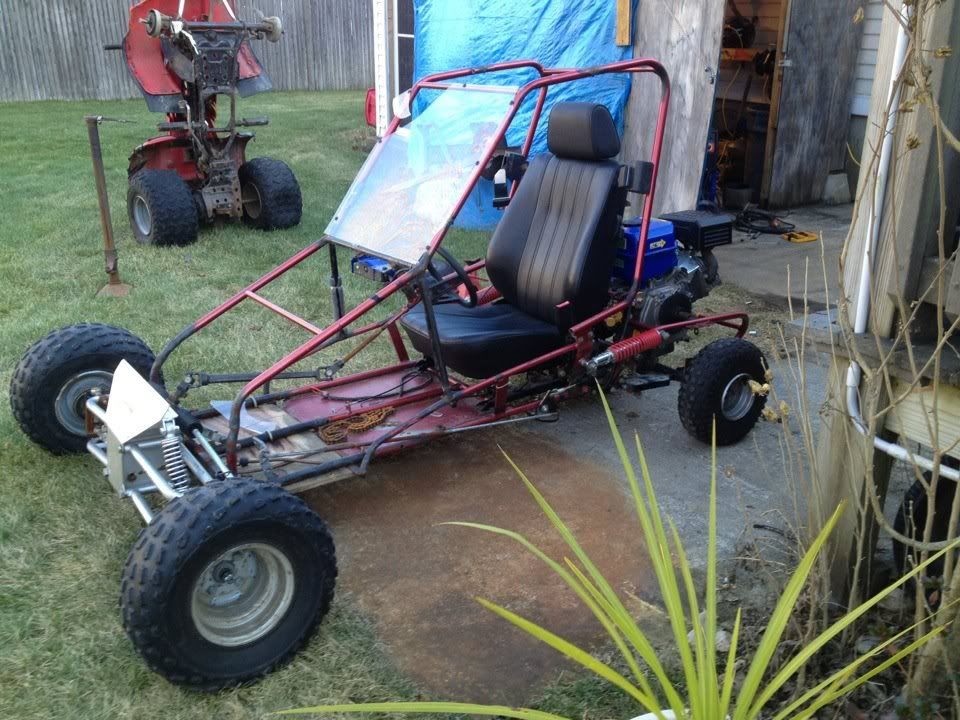 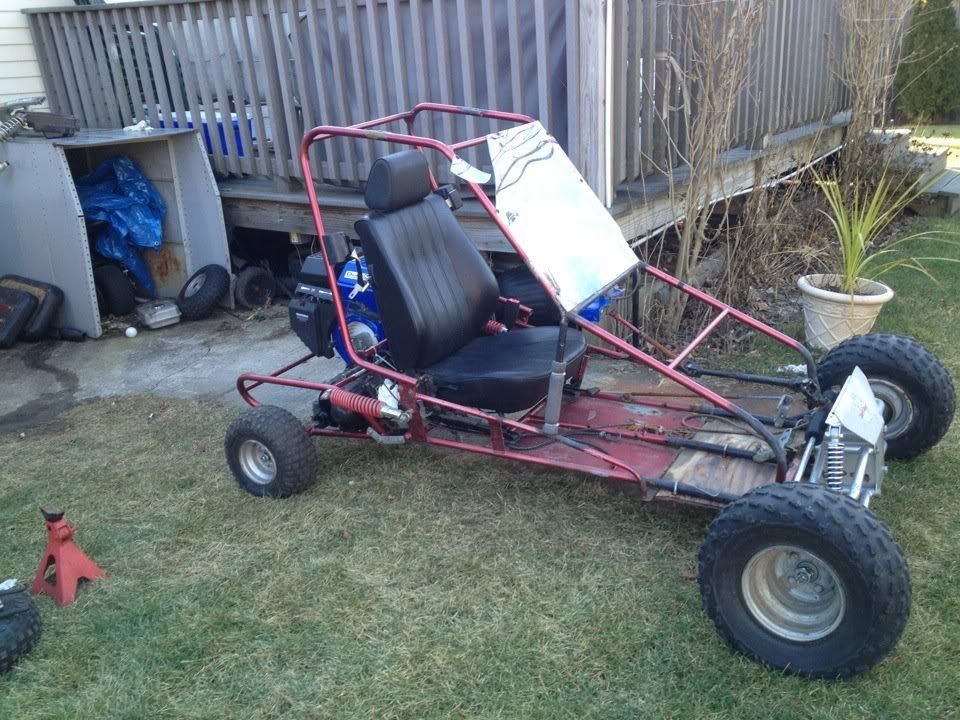 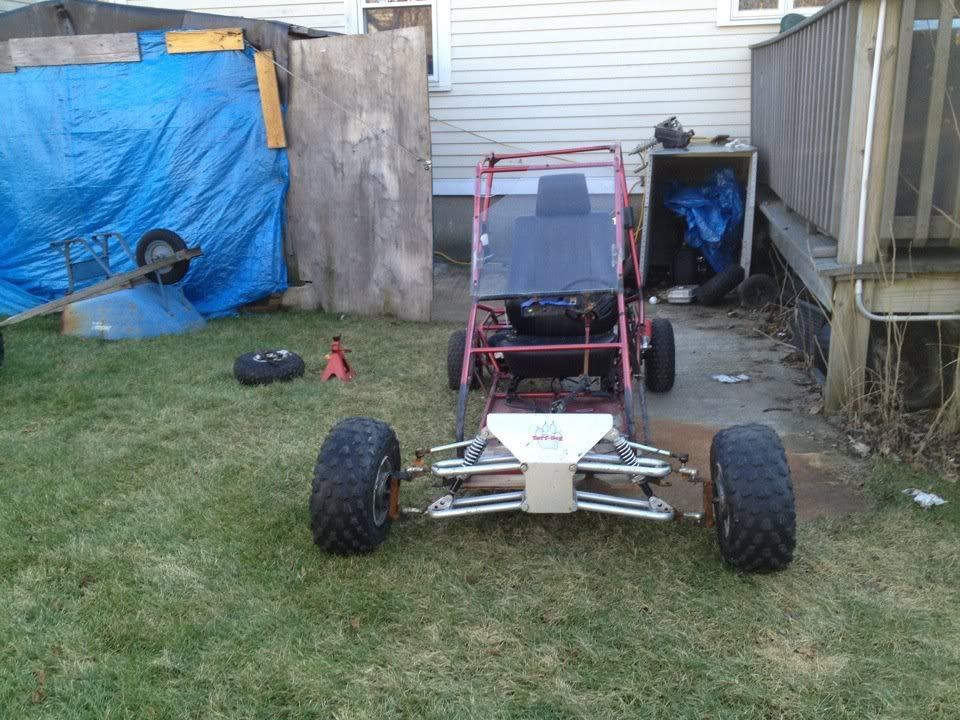 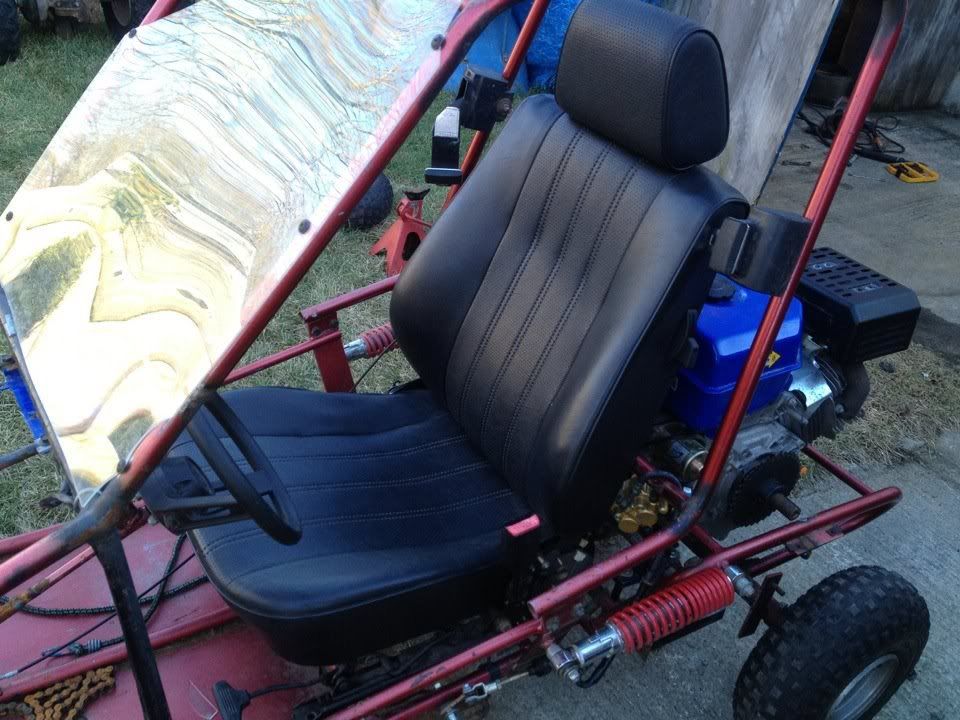 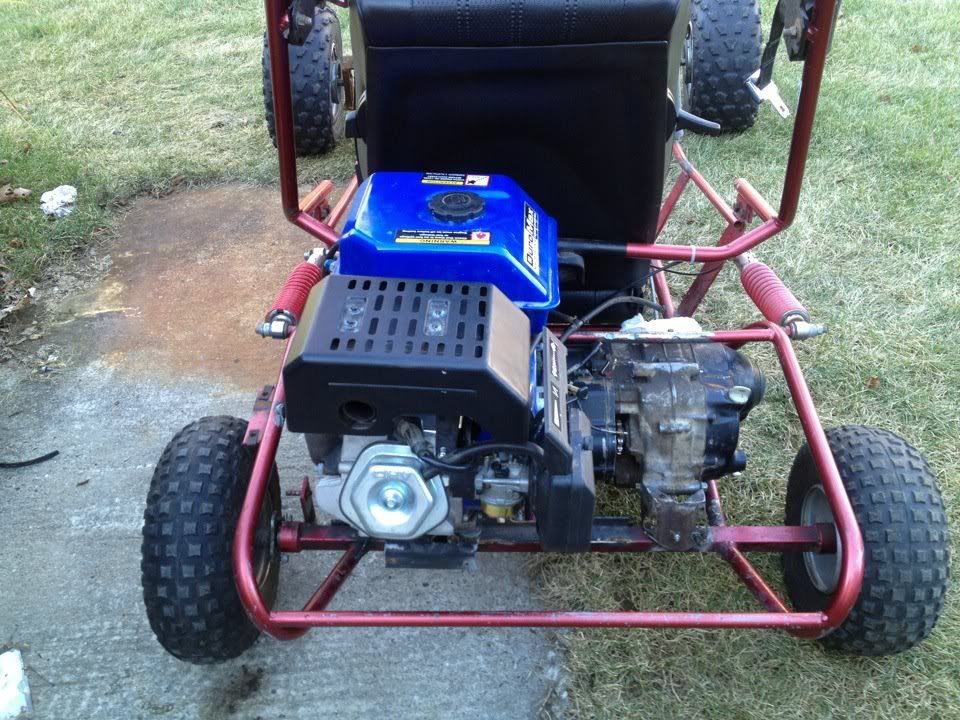
|
|
#2
|
|||
|
|||
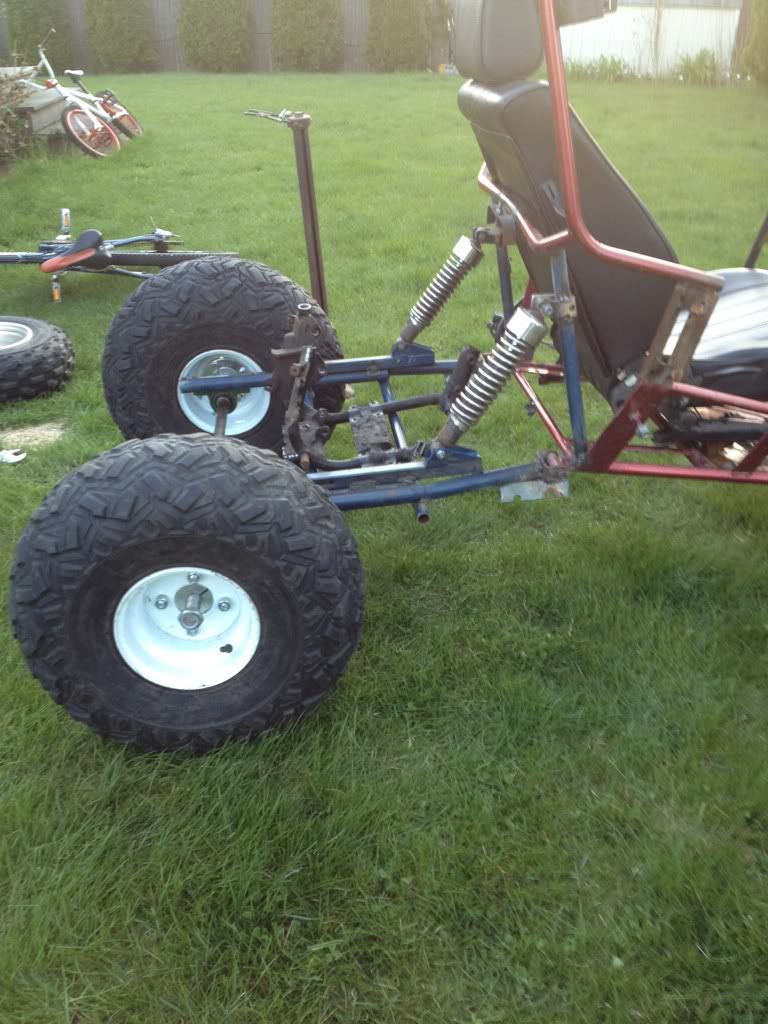
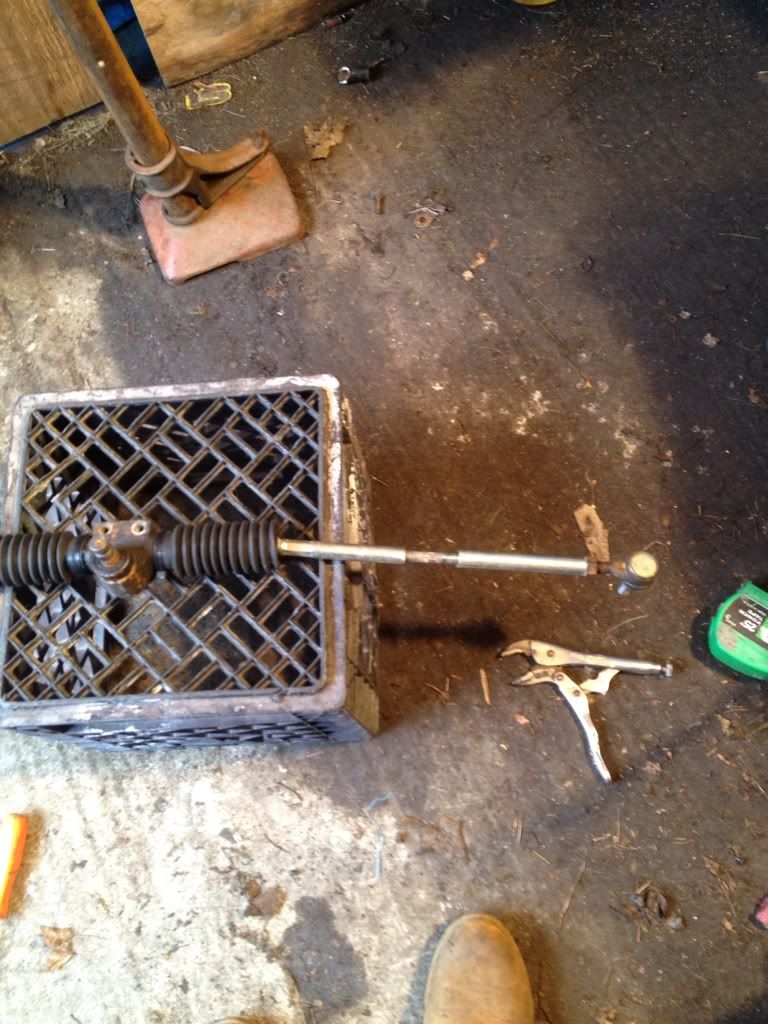 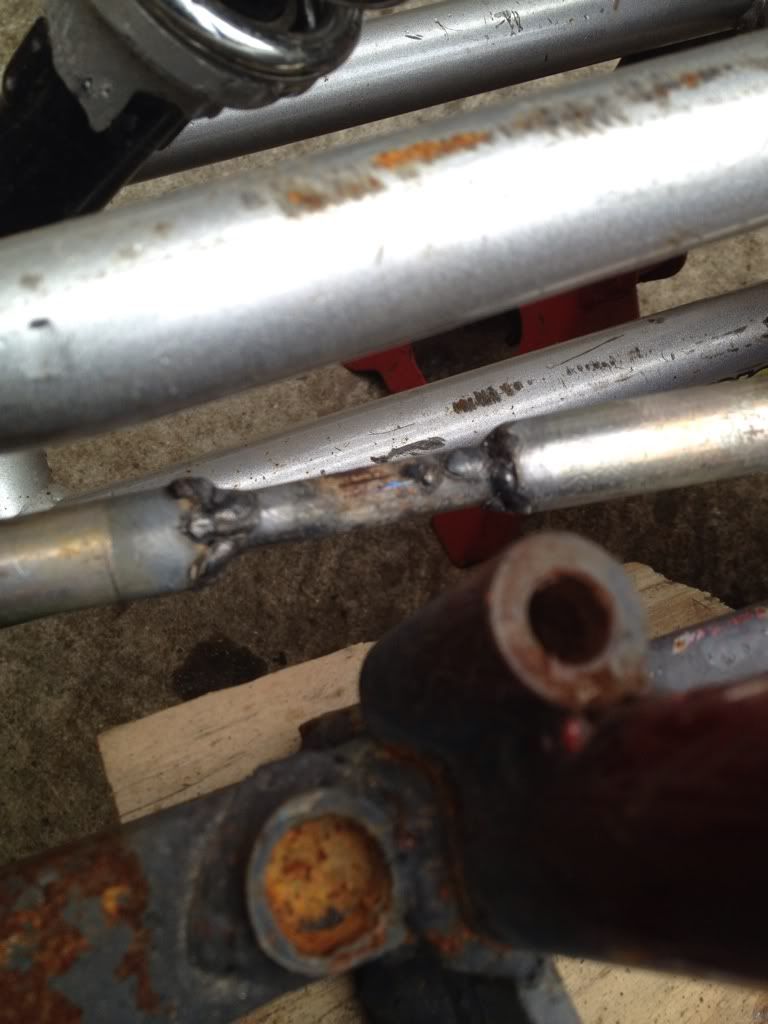 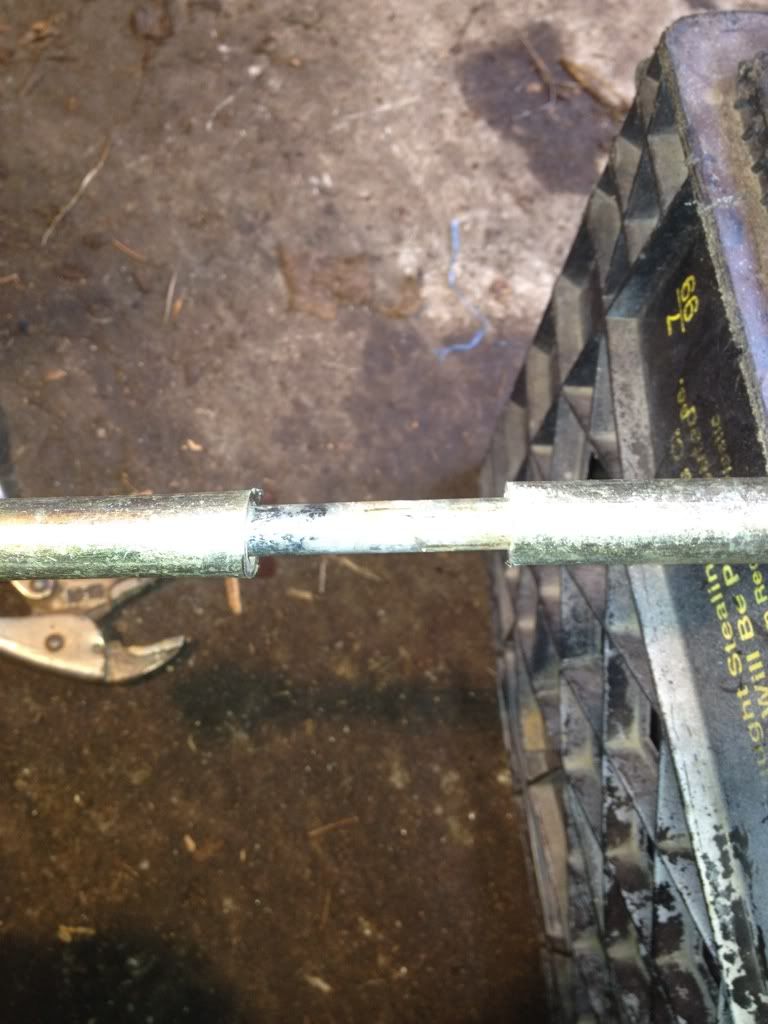 heres the front end... 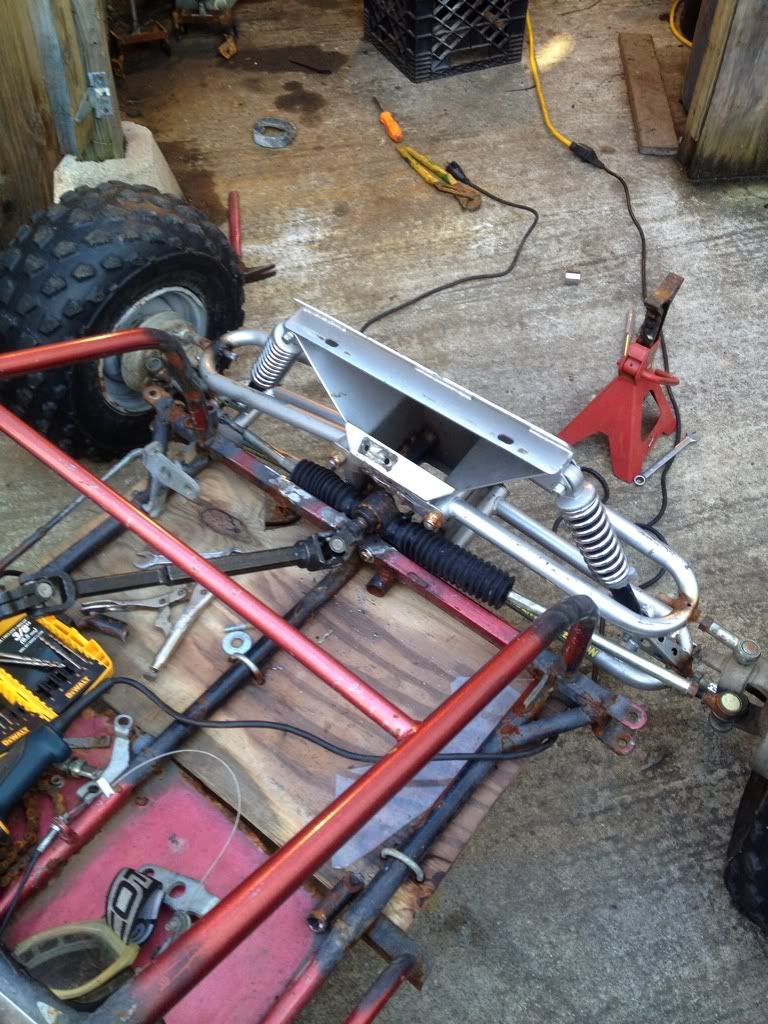 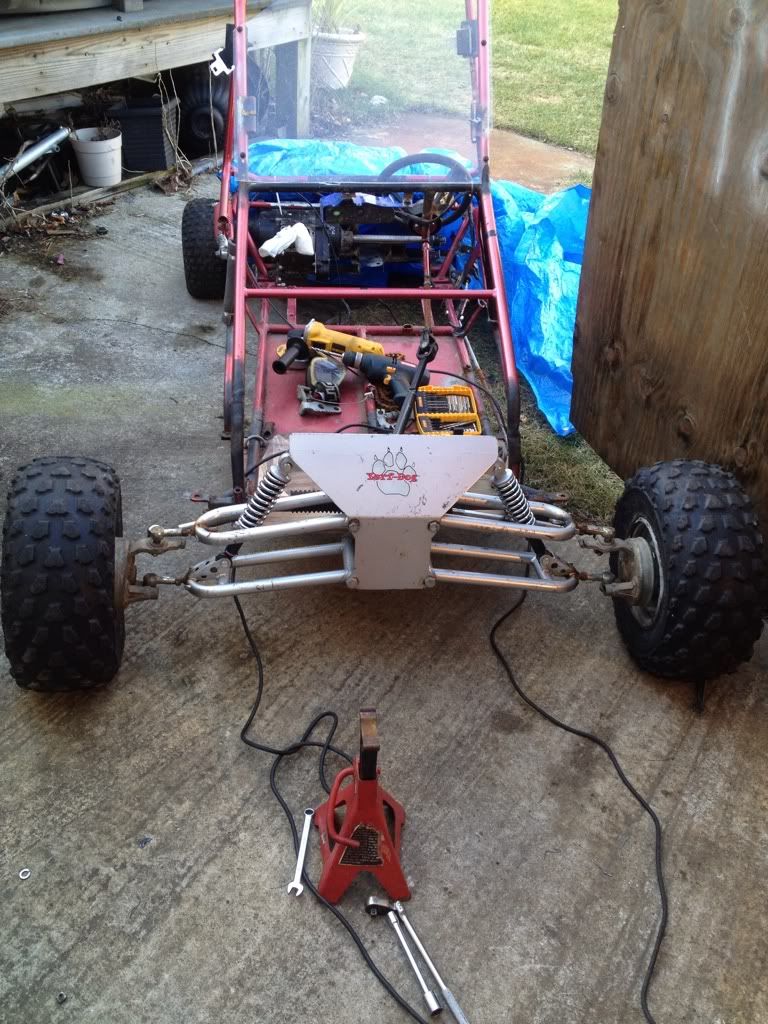 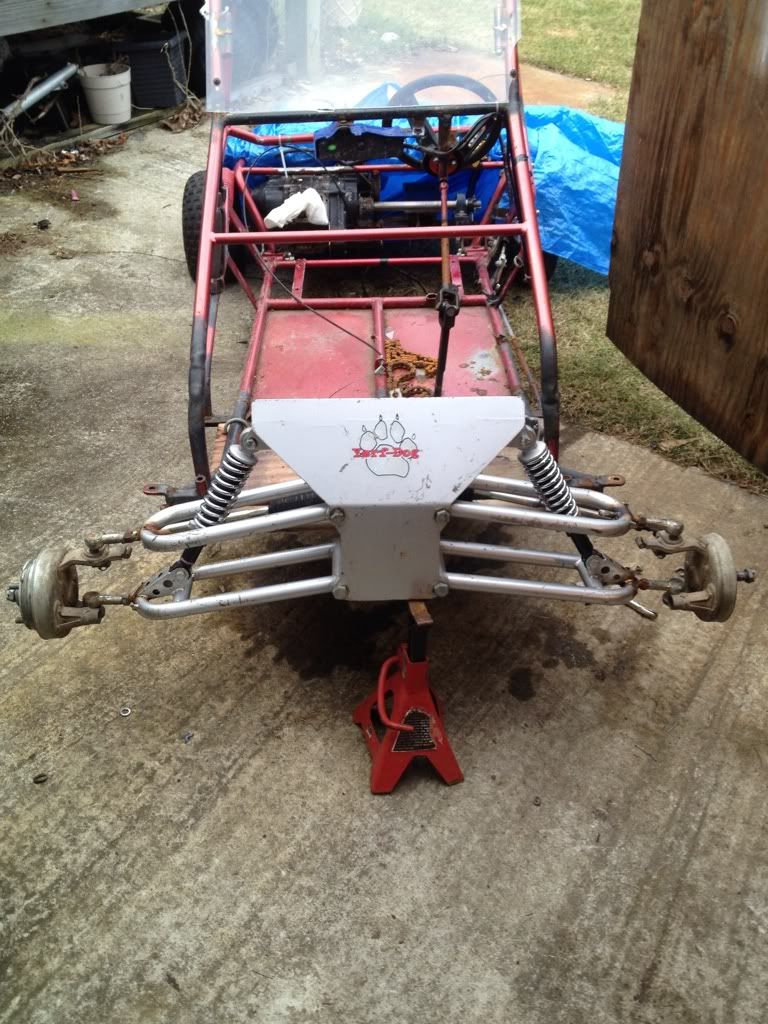 The front rims will be spun around so they cover the spindles. The reason they are like this is because i never cut off my old spindle brackets so the wheels rub ill get those taken care of soon. I ordered my 5/8 rod ends for the a arms so they will be as strong as can be. This weak little setup was just temporary. i was also thinking of extending it 4" at the swing arm links for more clearance. I have also decided im going to make my role bar bigger and center/ straighten it as you can see its mangled from the last time i flipped it. Enjoy |
|
#3
|
|||
|
|||
|
It was parts day today!
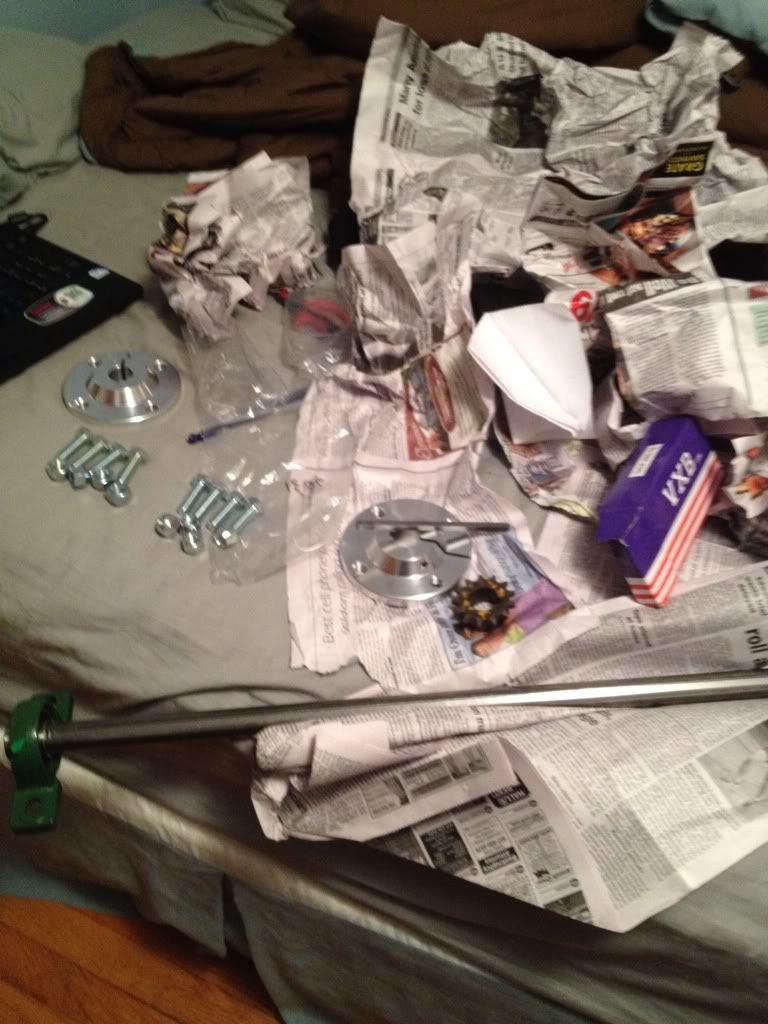 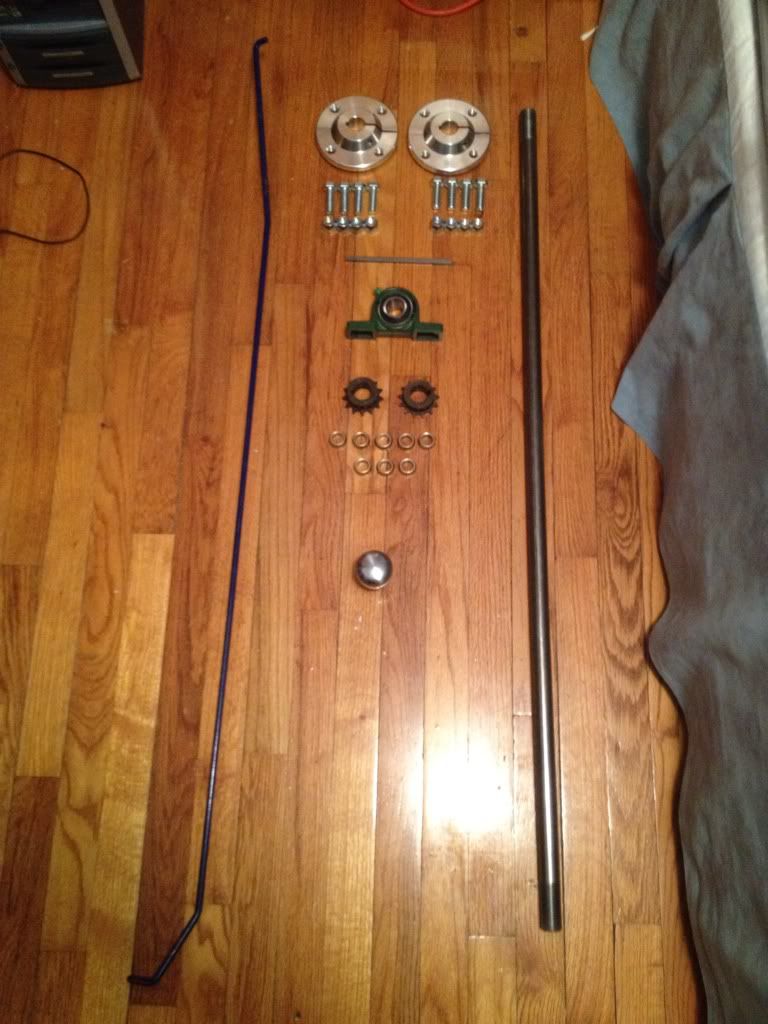 new 45"x1" axle 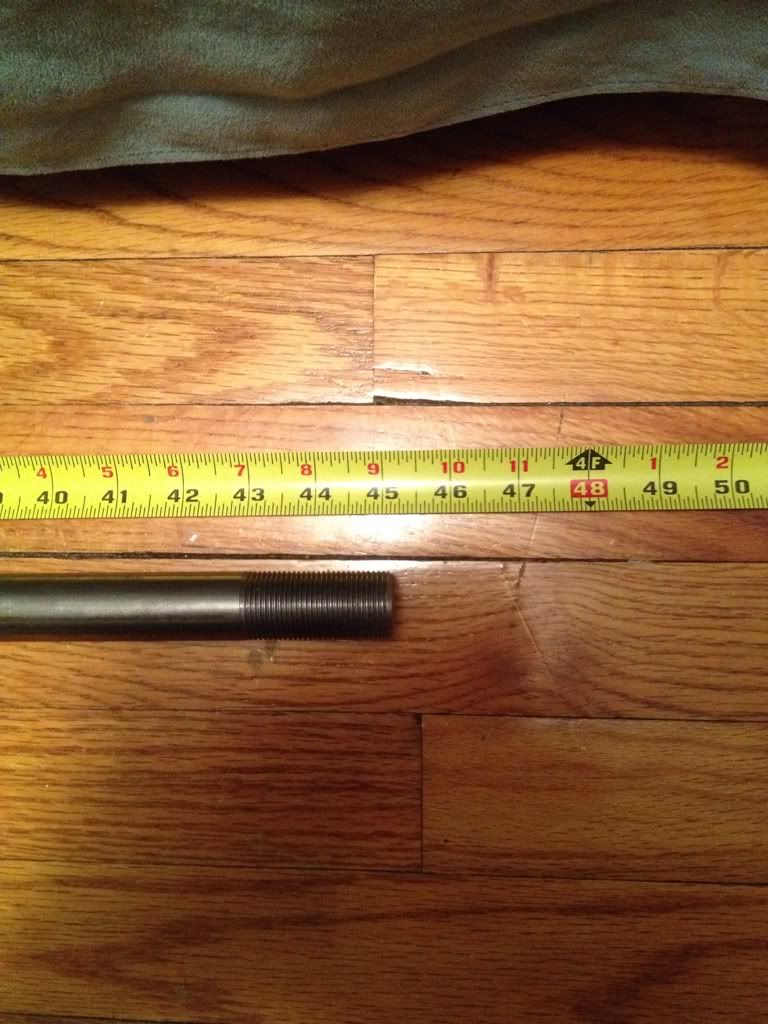 Aluminum 4 bolt wheel hubs (hope not too much re-drilling to fit on to my rims) 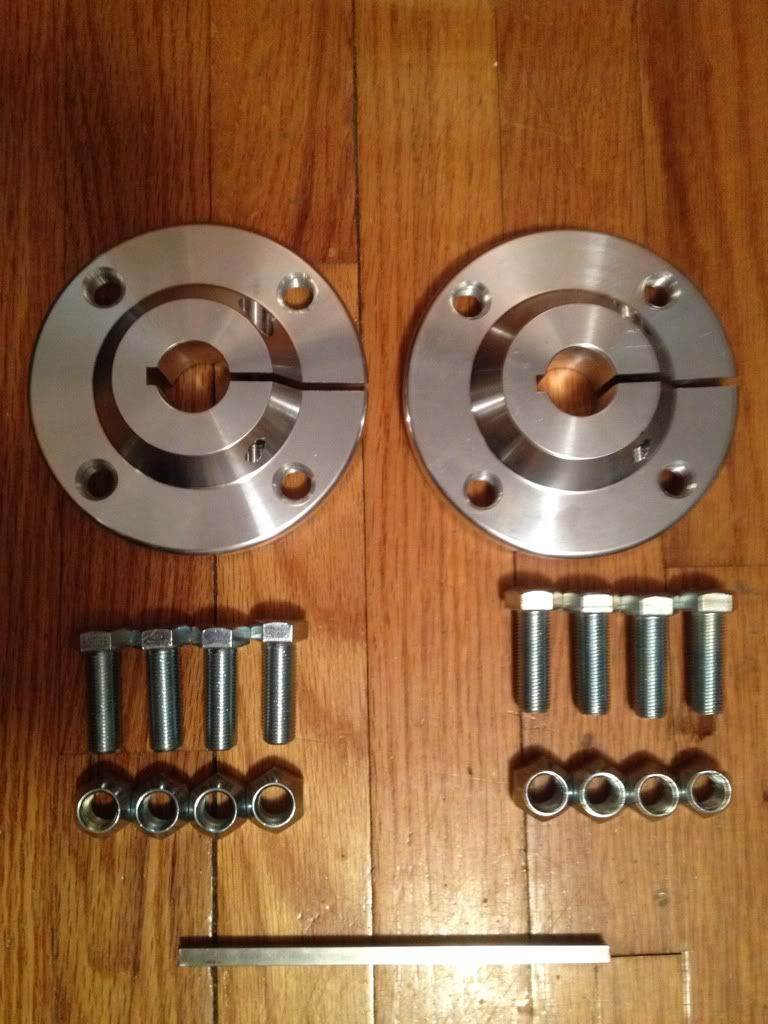 Some extra 1/4" key way. A pillow block and also my two 13 tooth sprockets for my jack shaft. 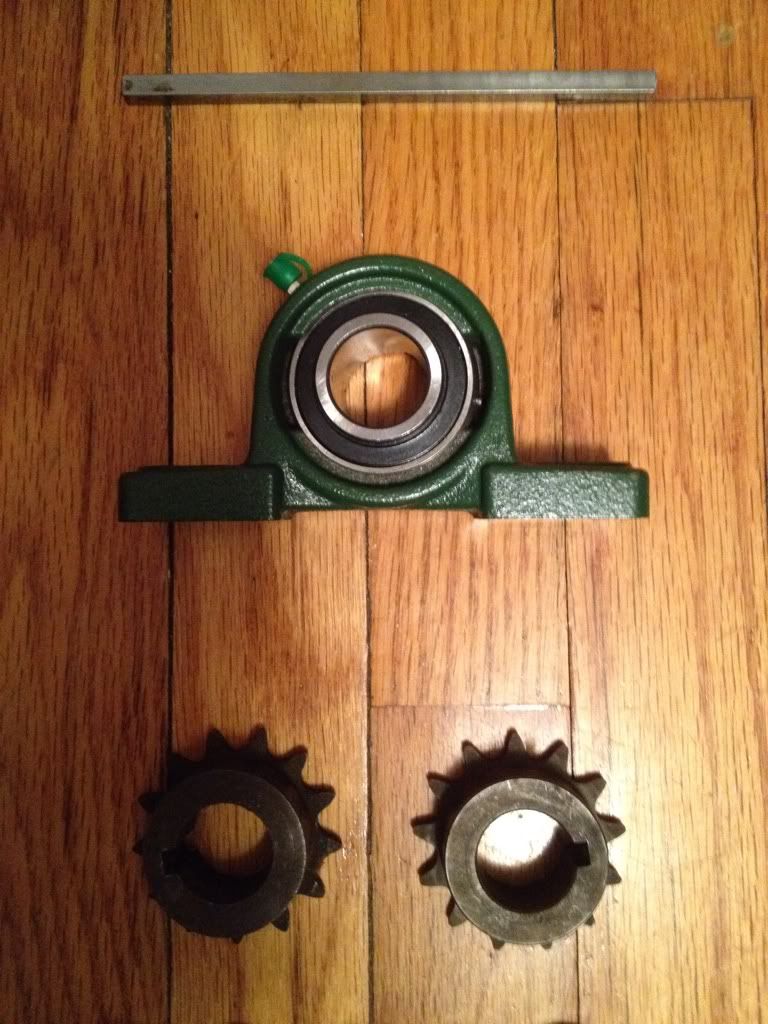 Cone shaped spacers for my rod ends that should be in soon so i can re-do my a arms. also a shift knob i got for free 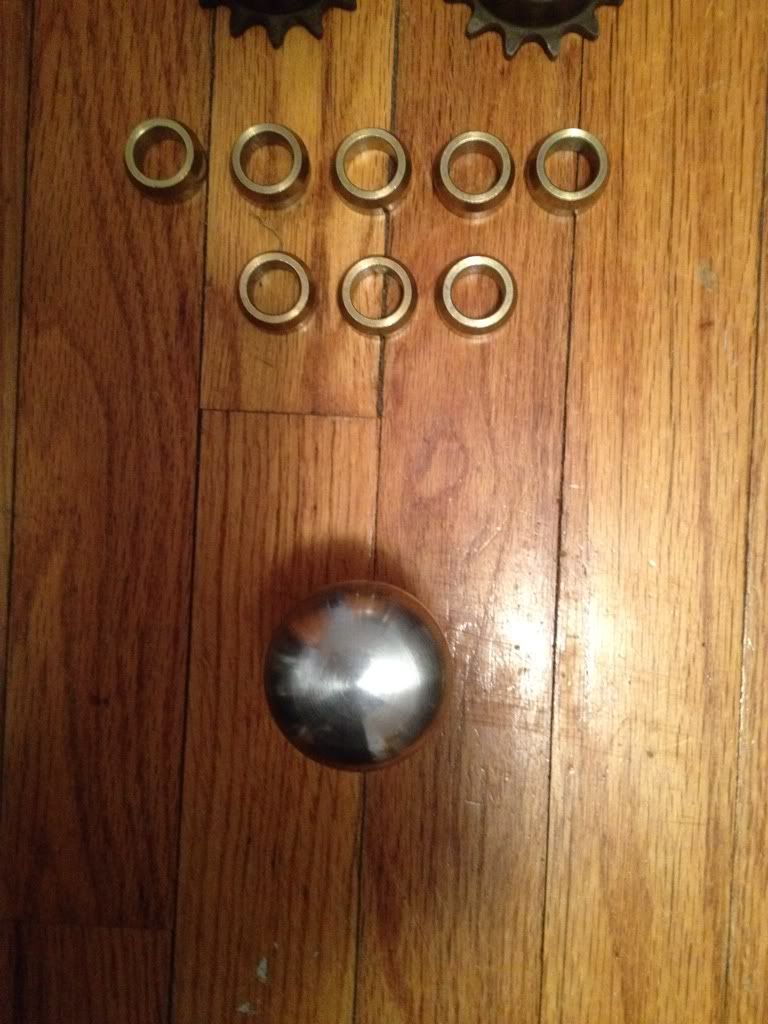 Lastly got some rod to make my shifter linkages. (sorry for blurry pic) 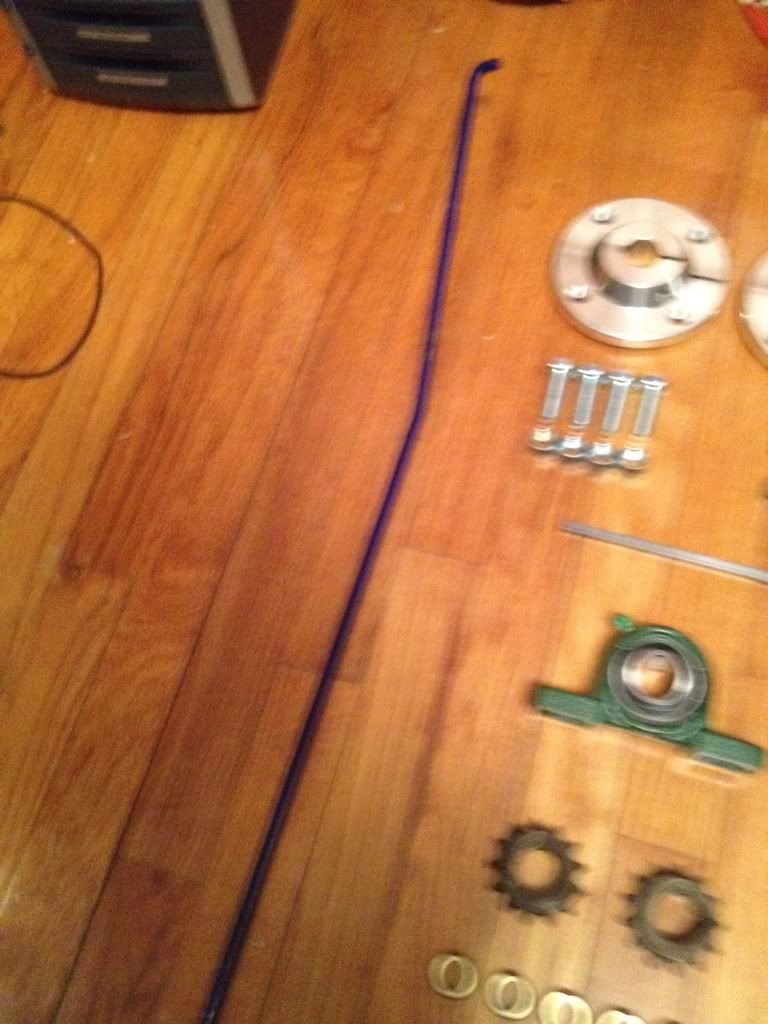 If anyone needs special hardware like my cone shaped spacers go to these guys shipped in 3 days and great quality at a great price! 
|
|
#4
|
|||
|
|||
|
My last set of parts came today. 5/8 rod ends all i can say is man are these big and im sure i shouldn't have a problem with them failing.
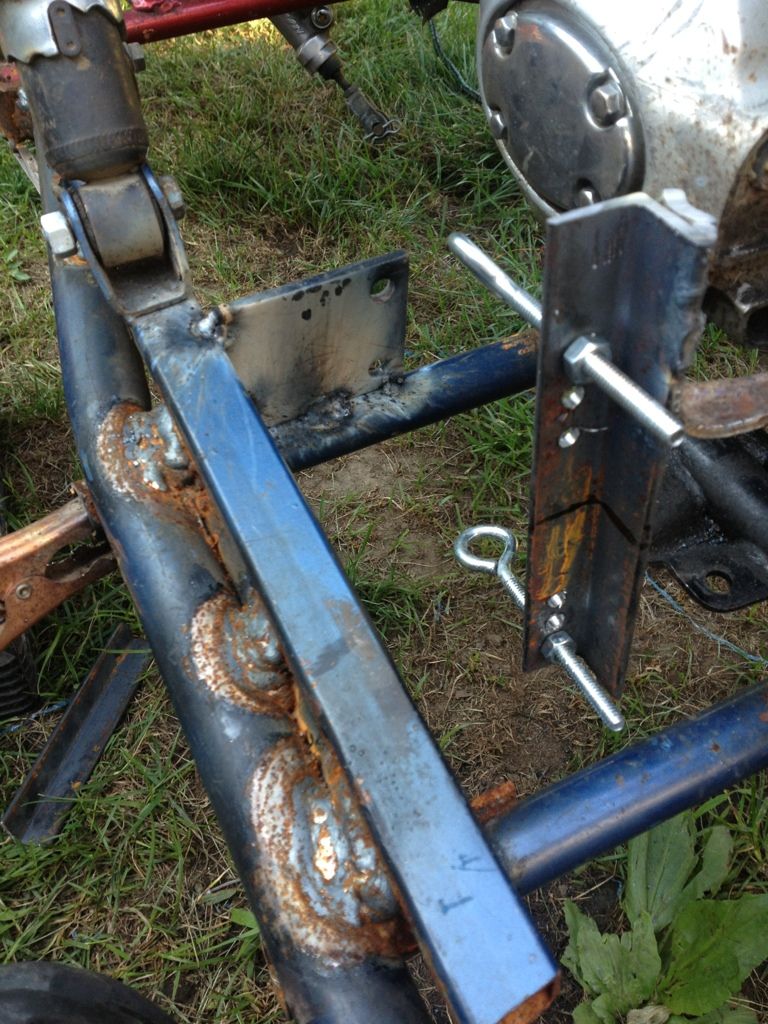
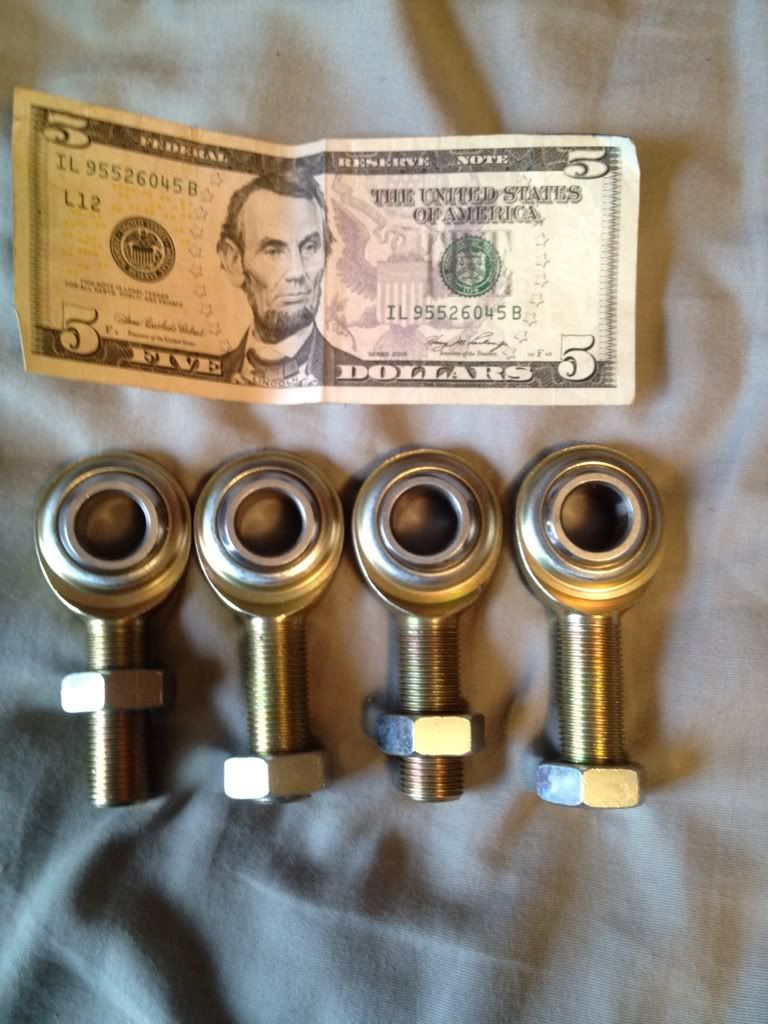 So i decided on extending my swing arm for some more clearance. Im half way finished just got to do the other side. How i did it was take 3.5" piece of angle iron and a big hammer. I folded and flattened the angle iron so it was strong and straight. After that i welded the iron to the old swing arm brackets and then added a support. im thinking of adding a little triangle where i joined the two metals for extra strength.. 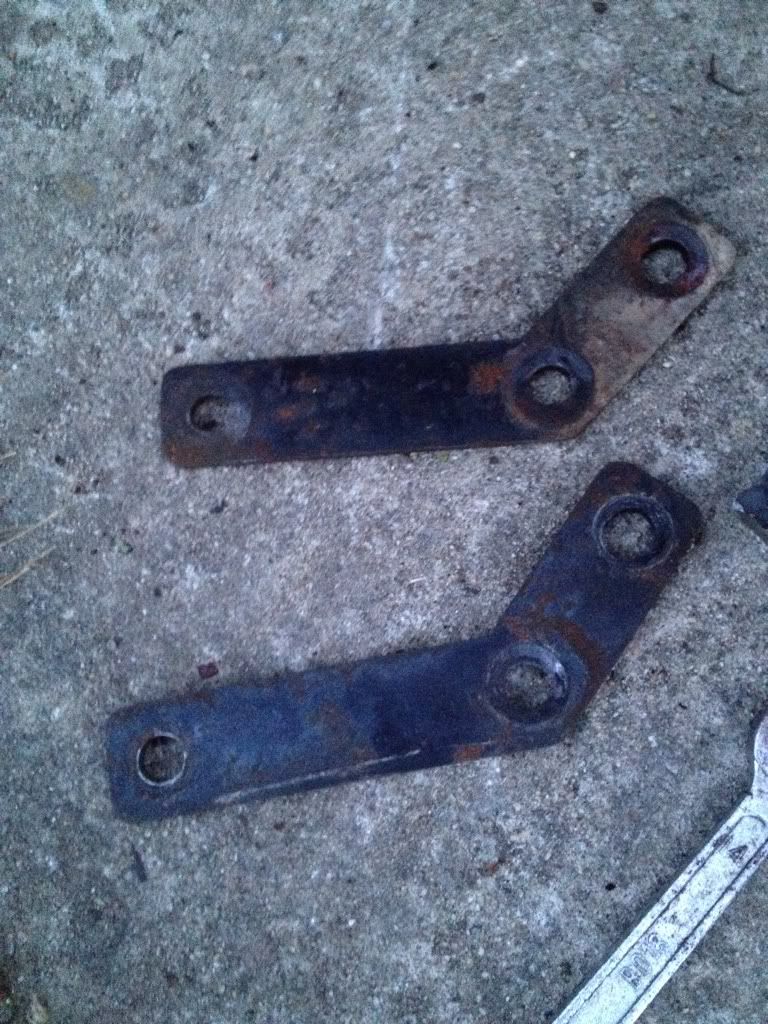 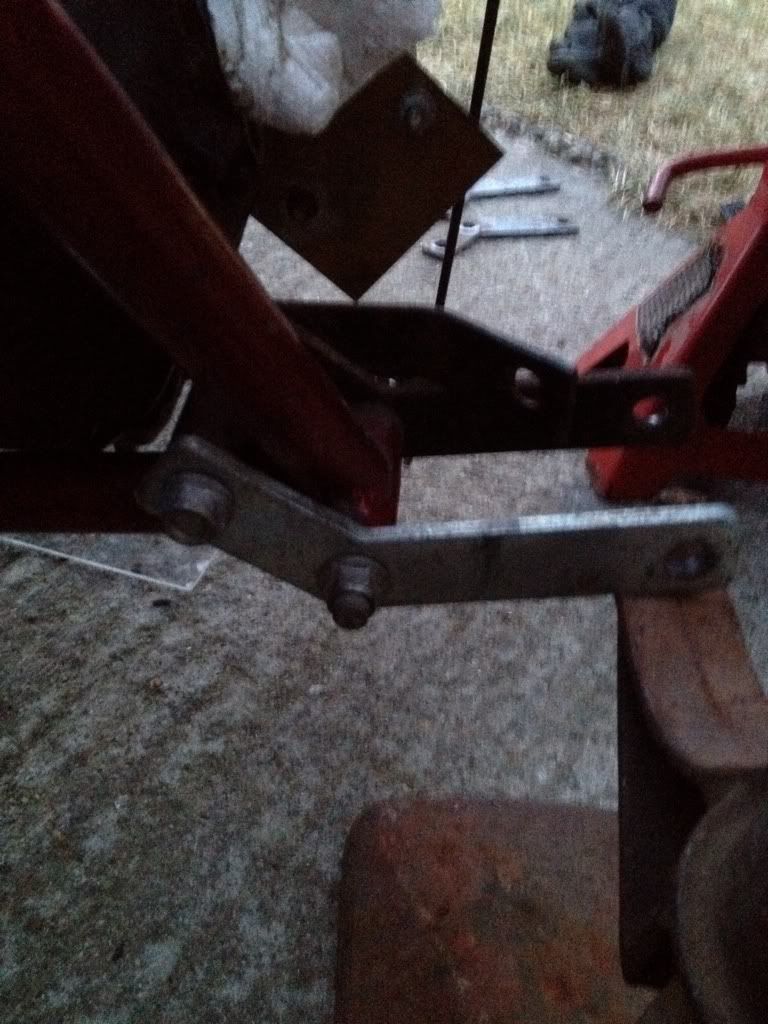 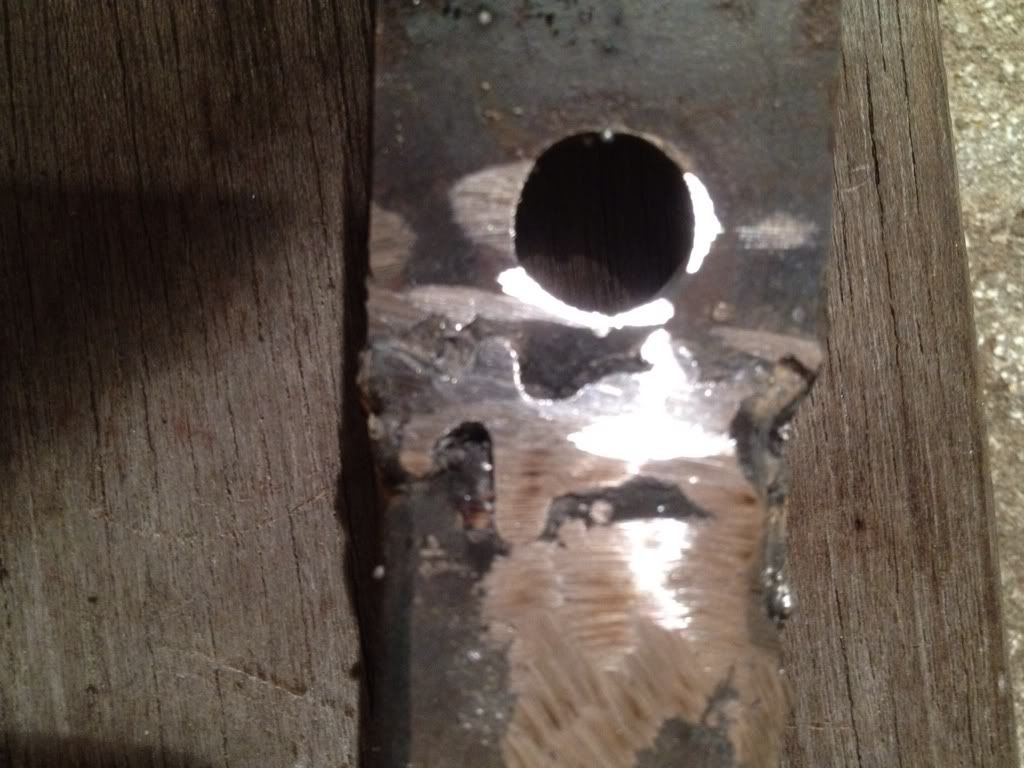 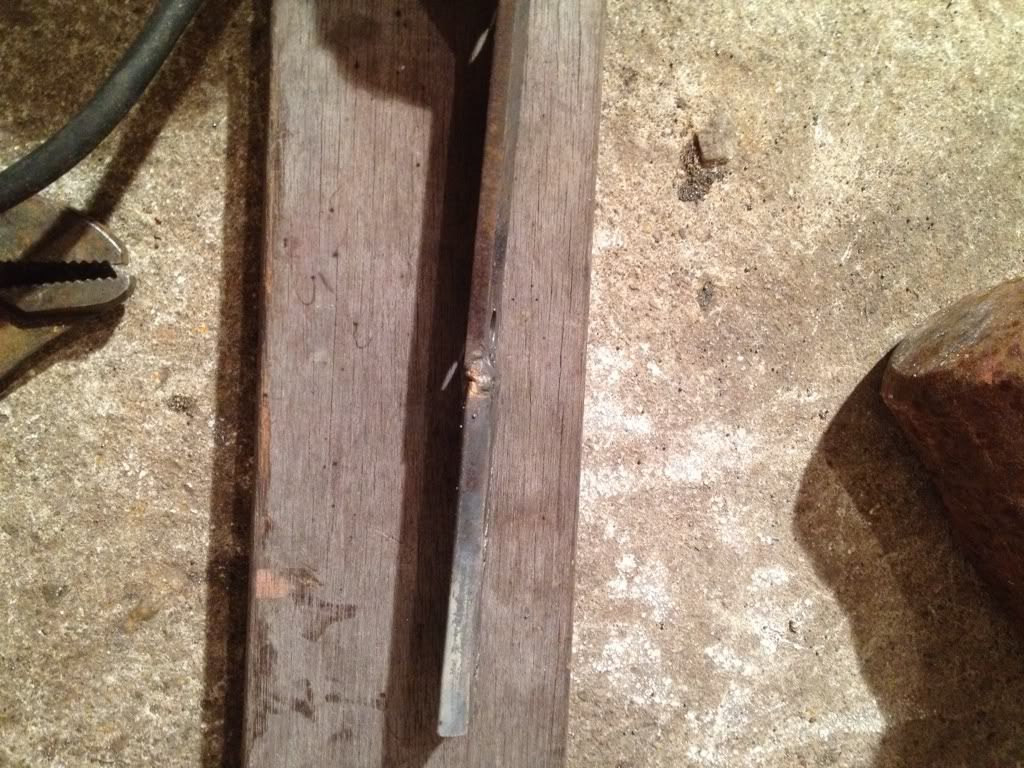 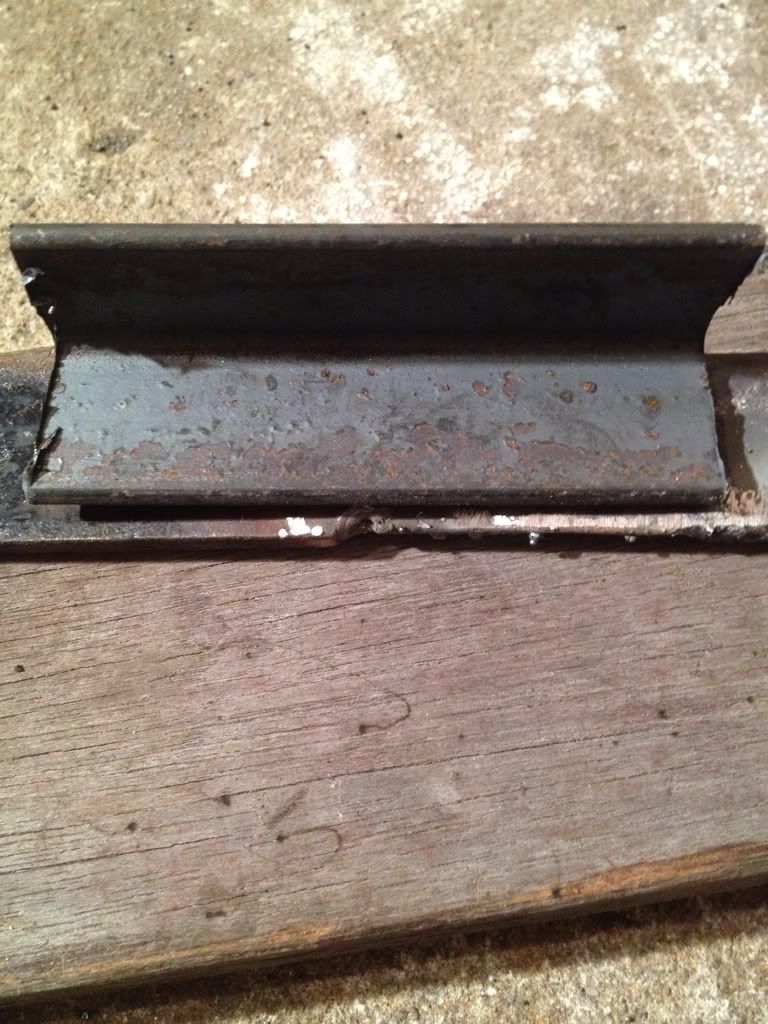 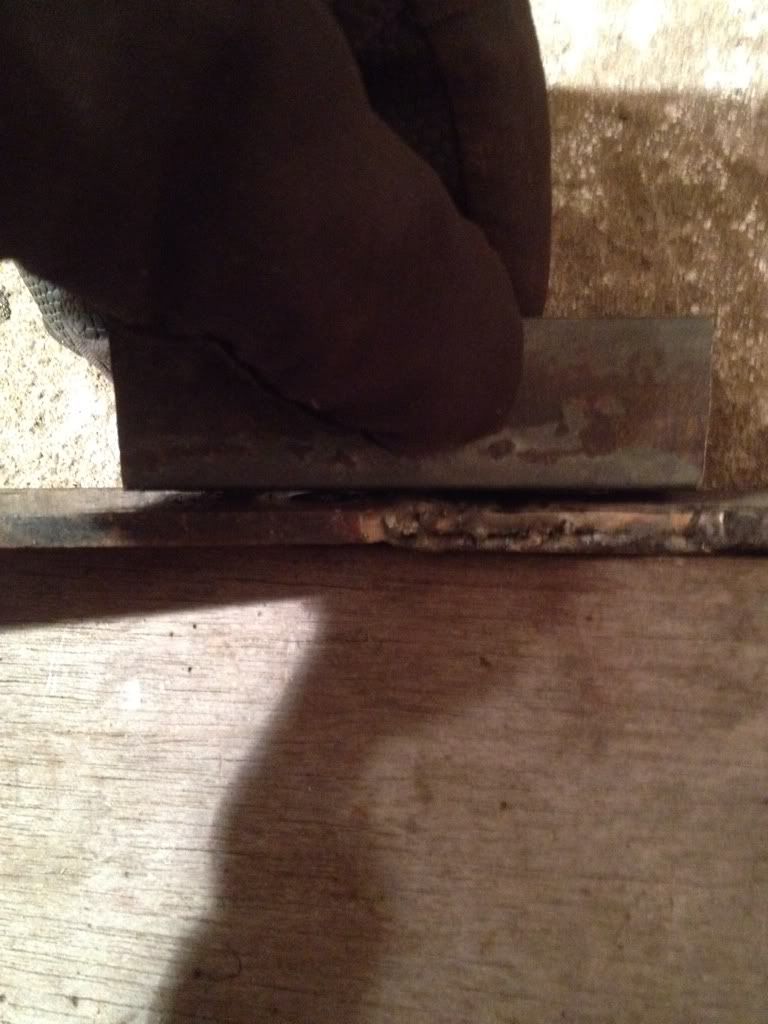 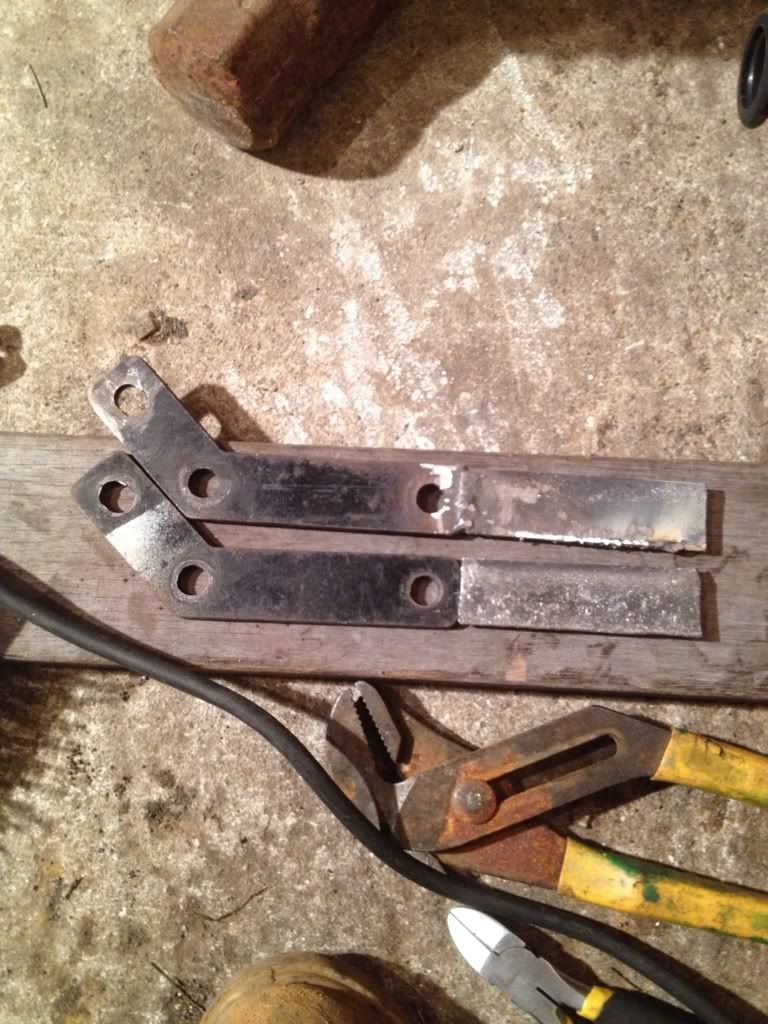 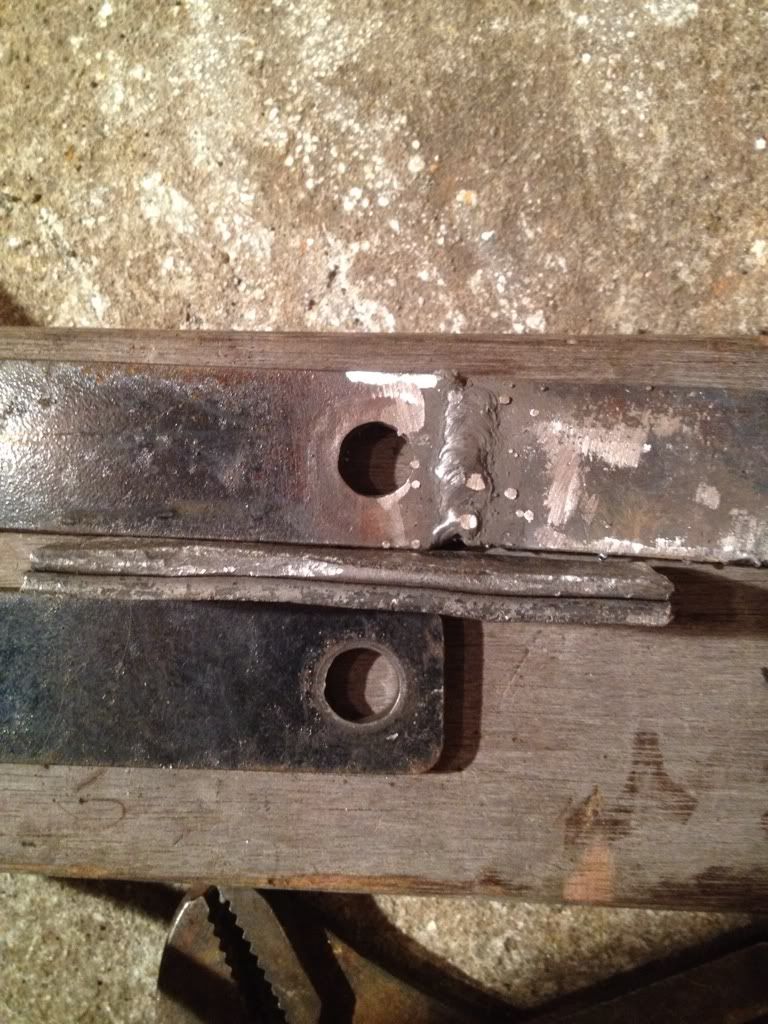 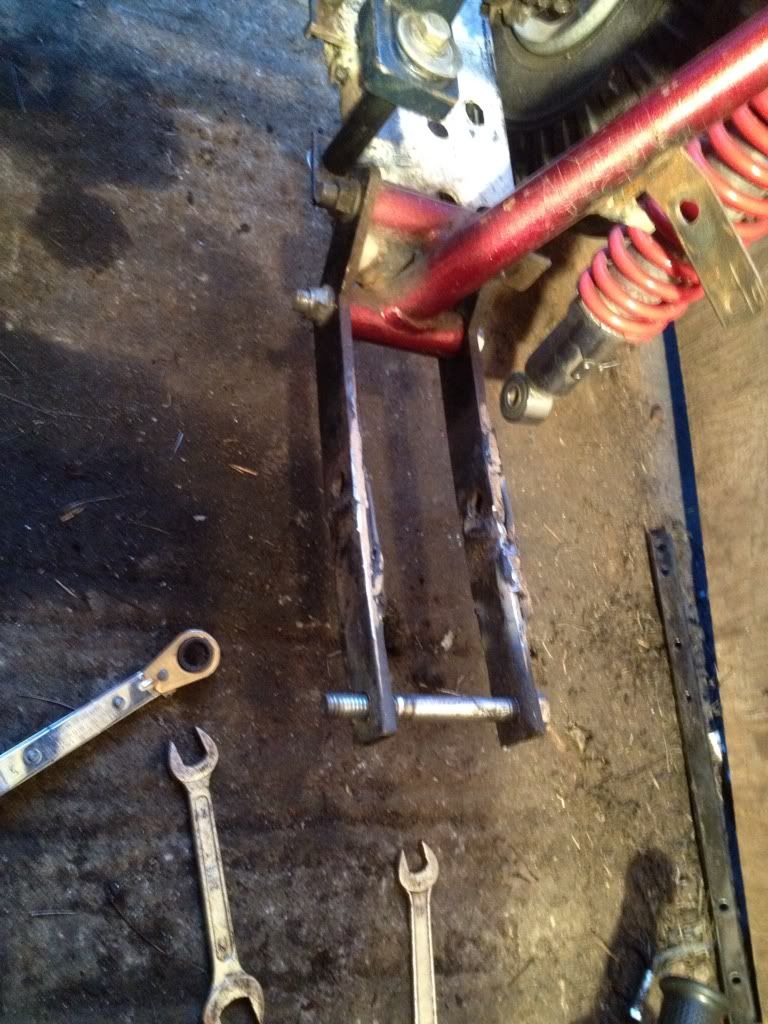 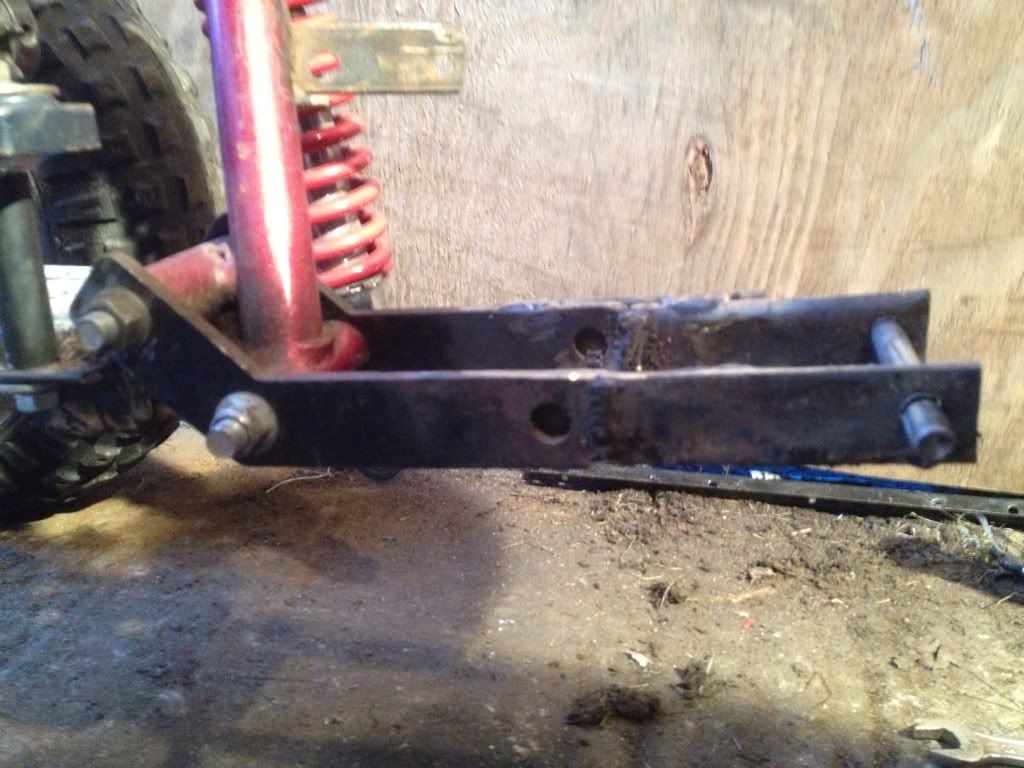 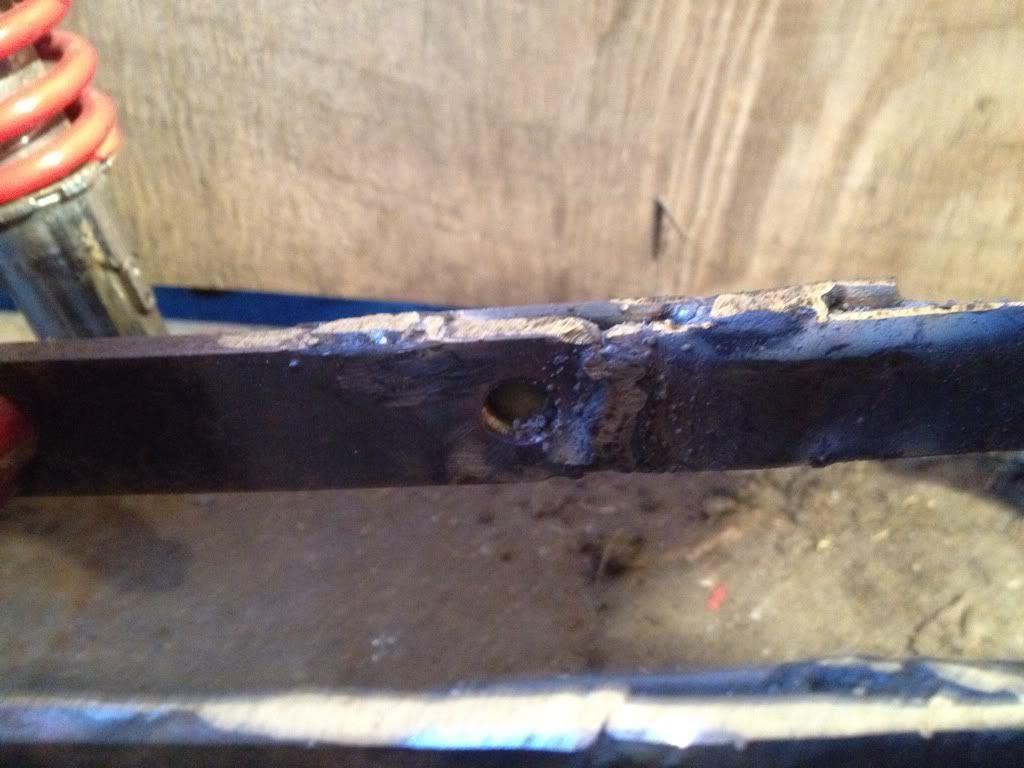 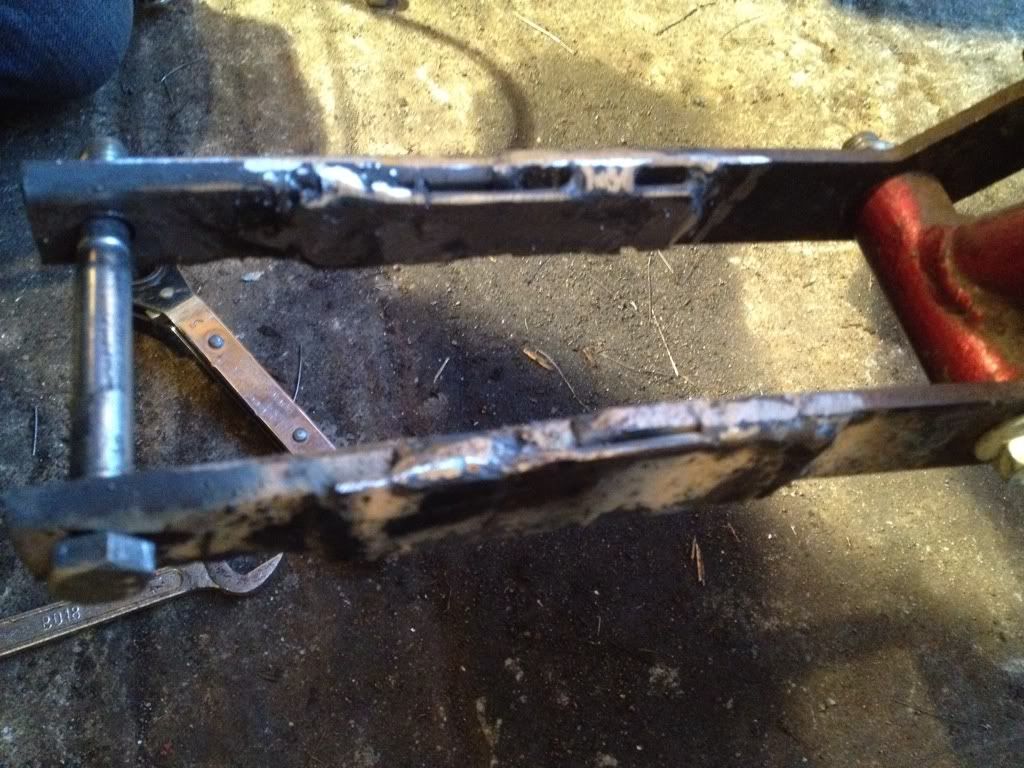 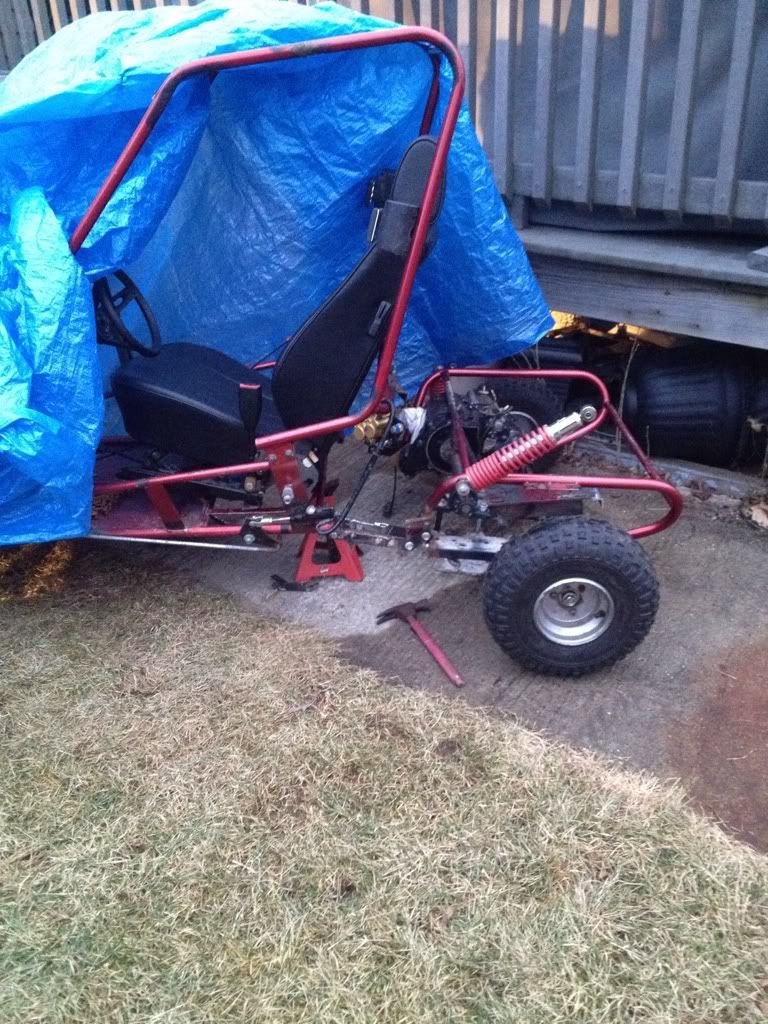 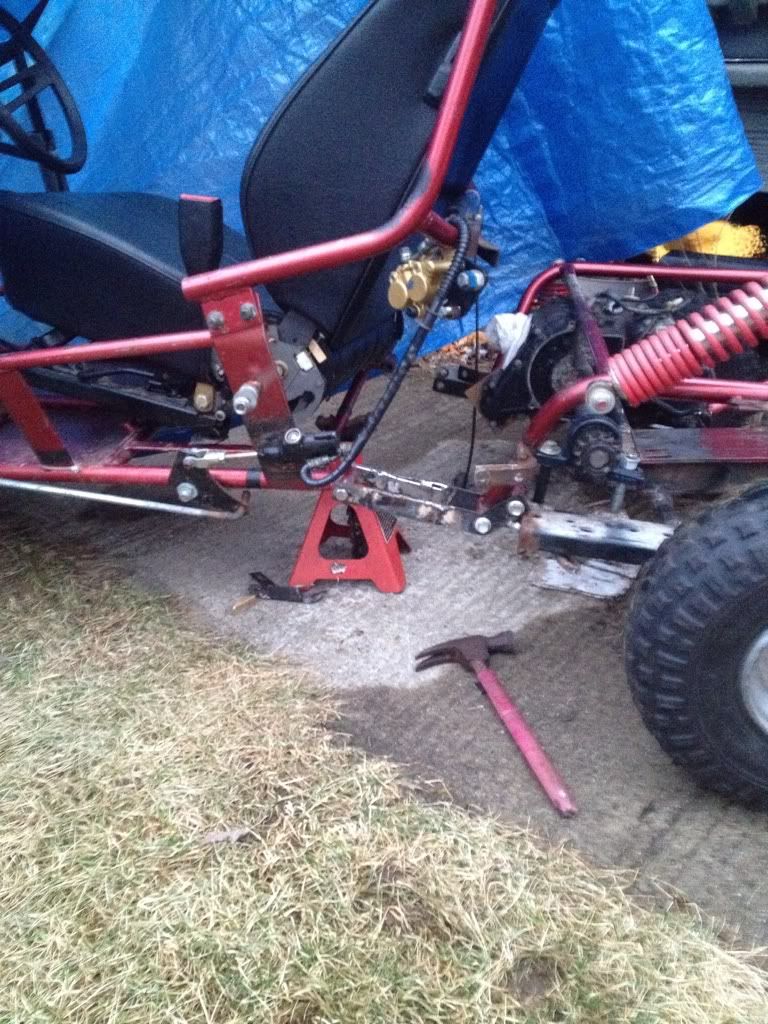
|
|
#5
|
|||
|
|||
|
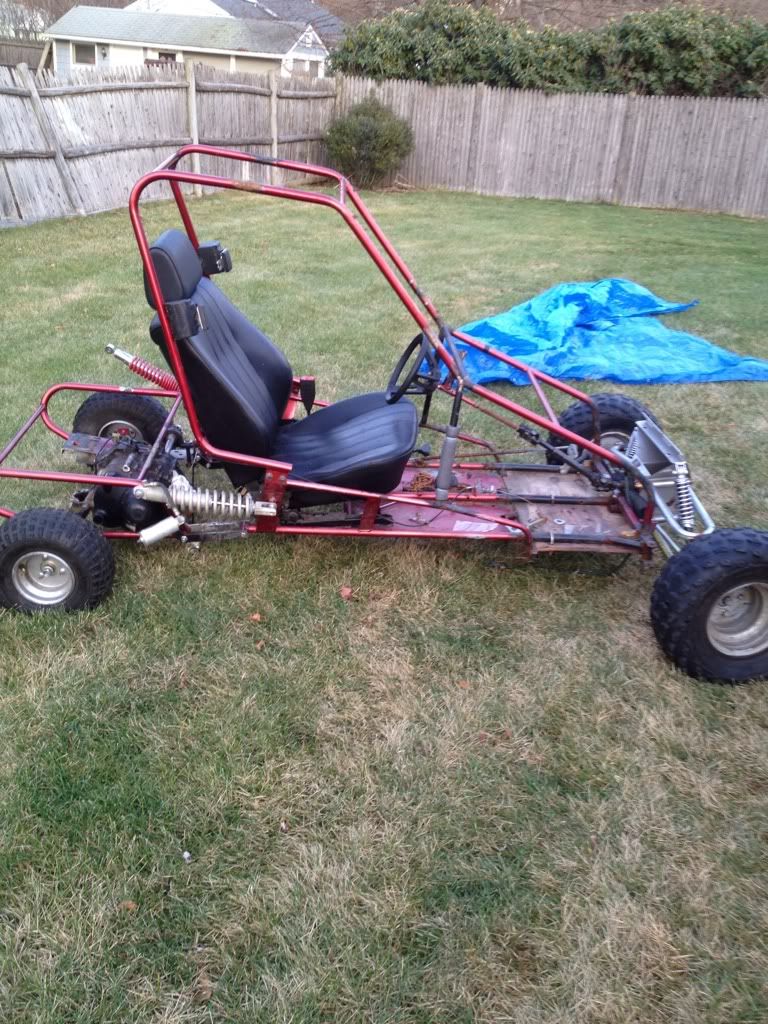
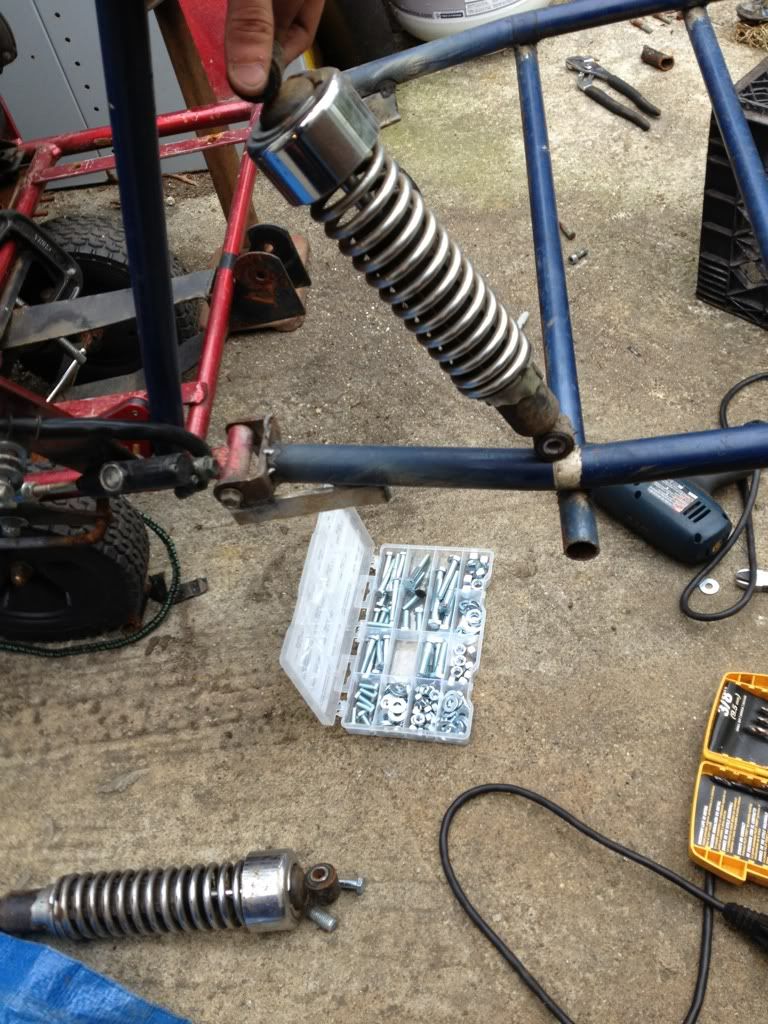
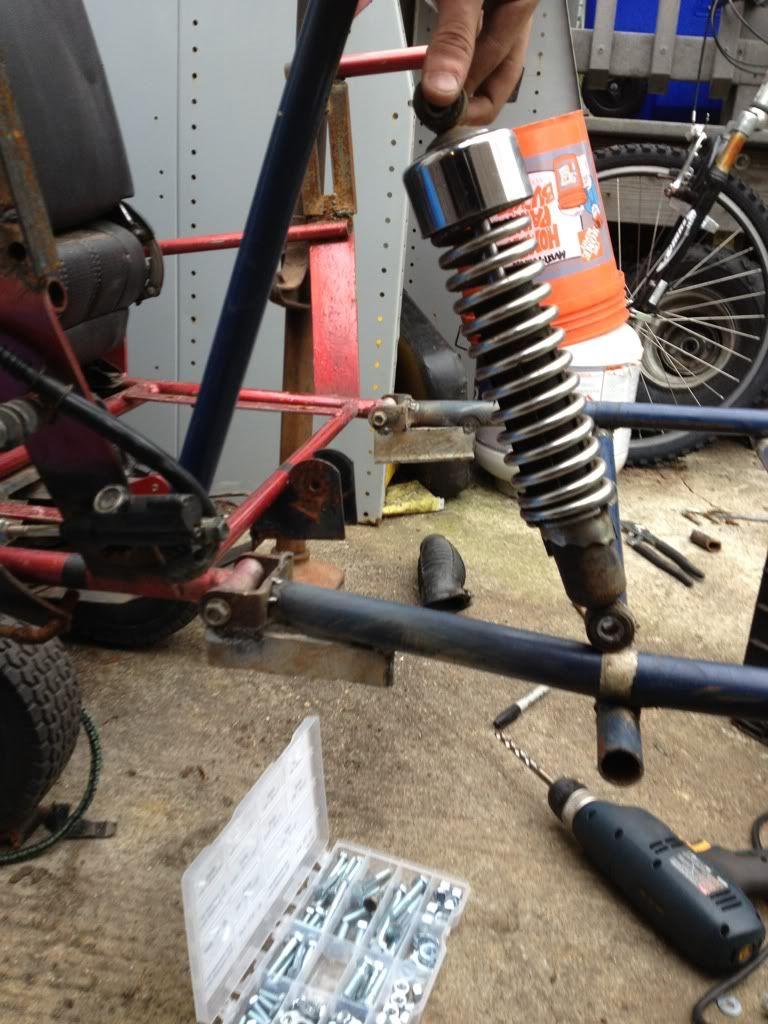
I put that kx 80 shock on and i really like how it sits in this position. I think i might get another one for the other side.
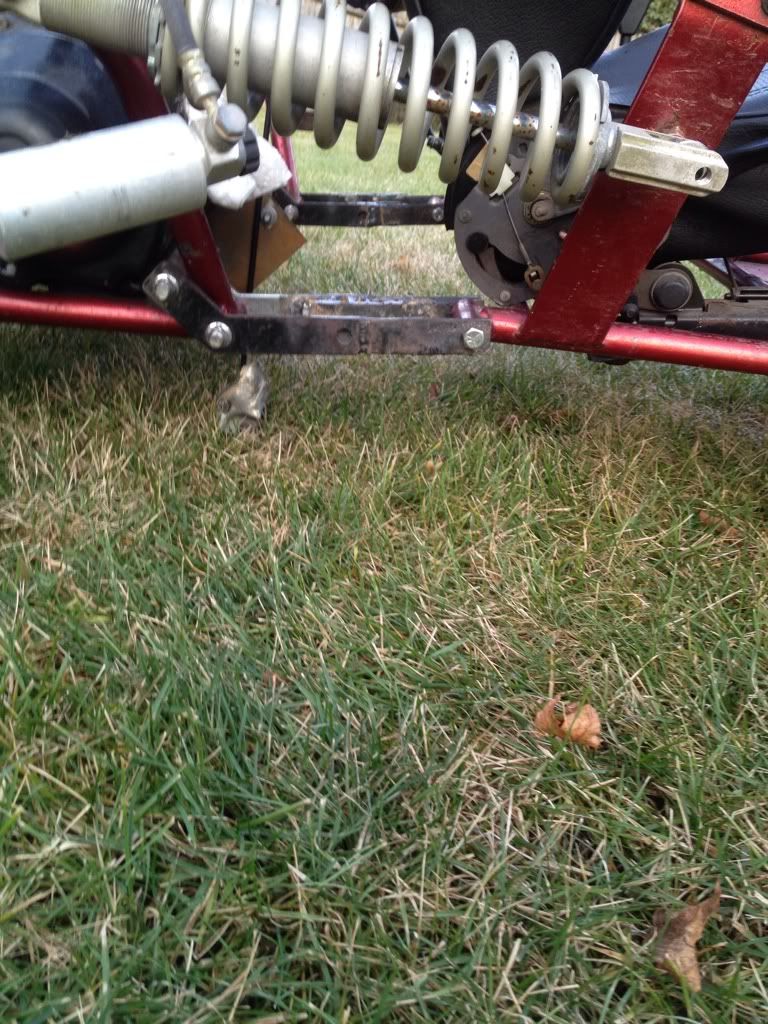 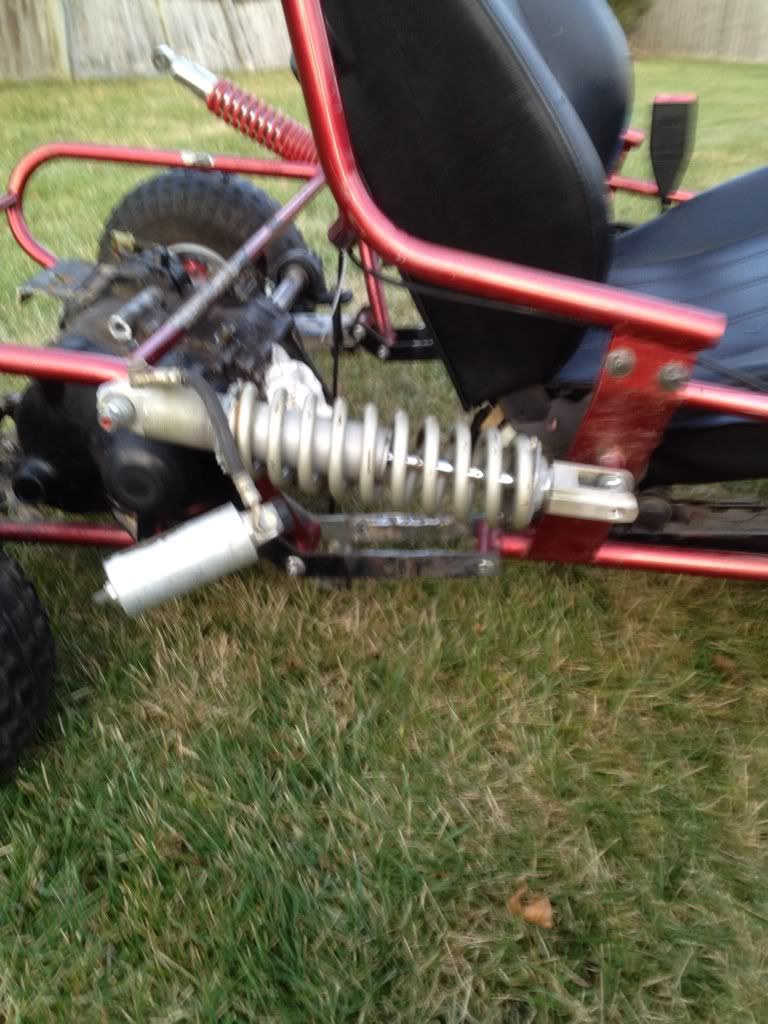  Also heres my rim and my hub... Ill figure out a way to match them up. 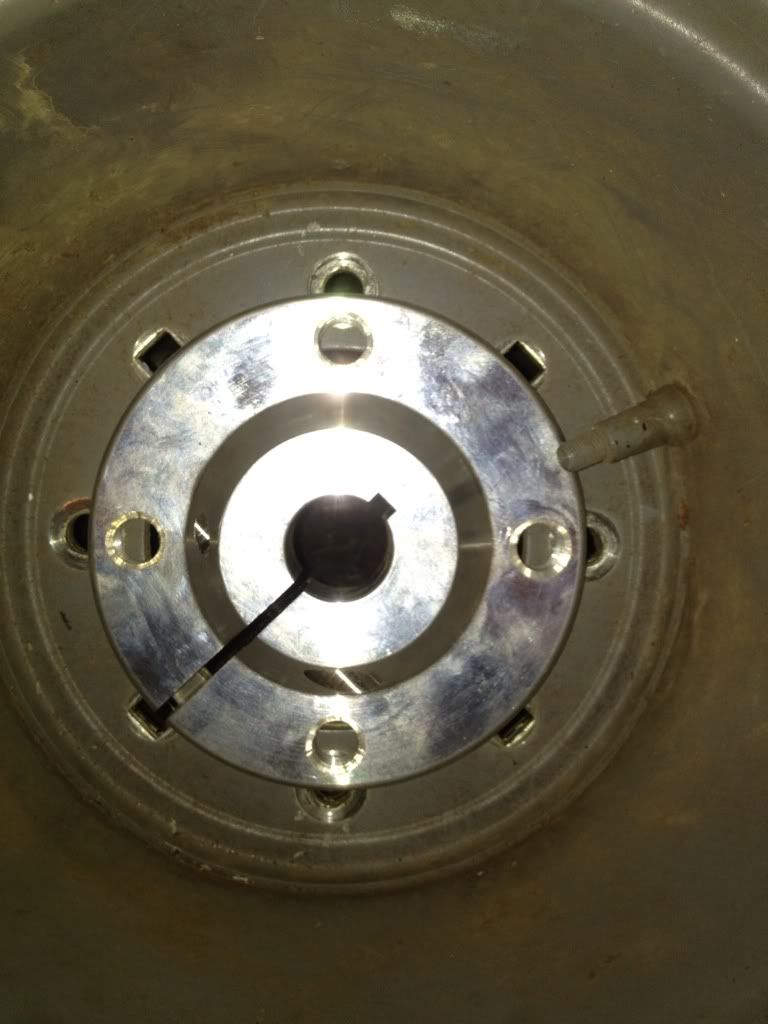
|
|
#6
|
|||
|
|||
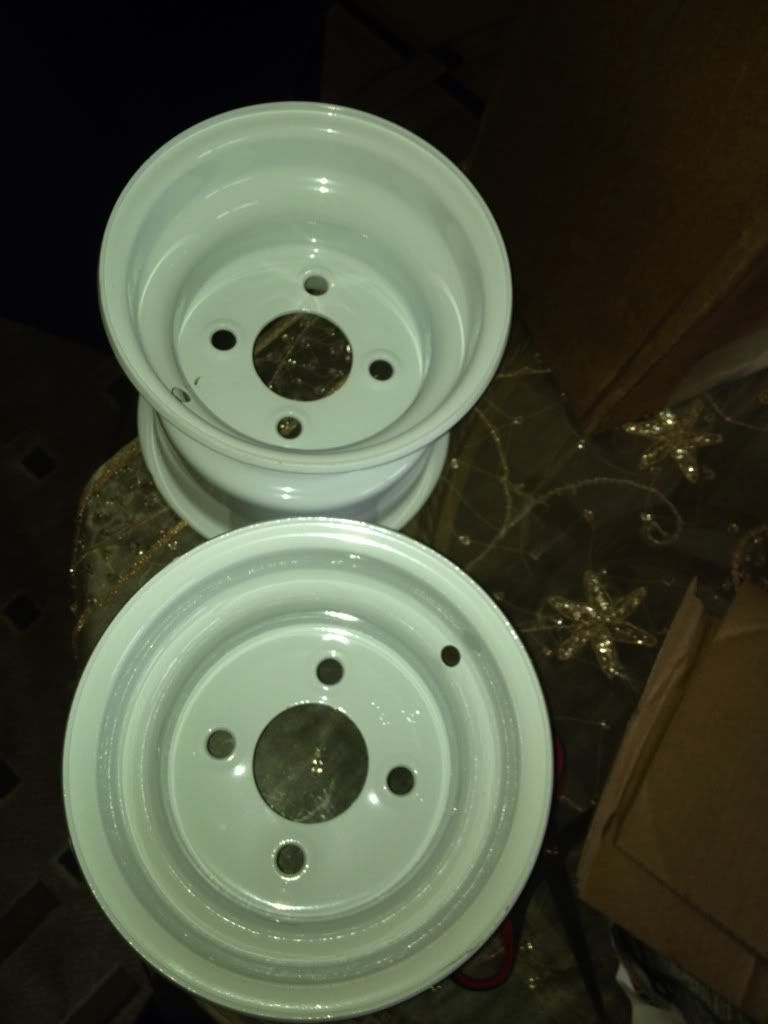 Got back on working on the buggy today and raised my roll bar. The front of it will be completely cut off and run straight to the yerf front end for upper support then a few support bars here and there. Riped the cage off 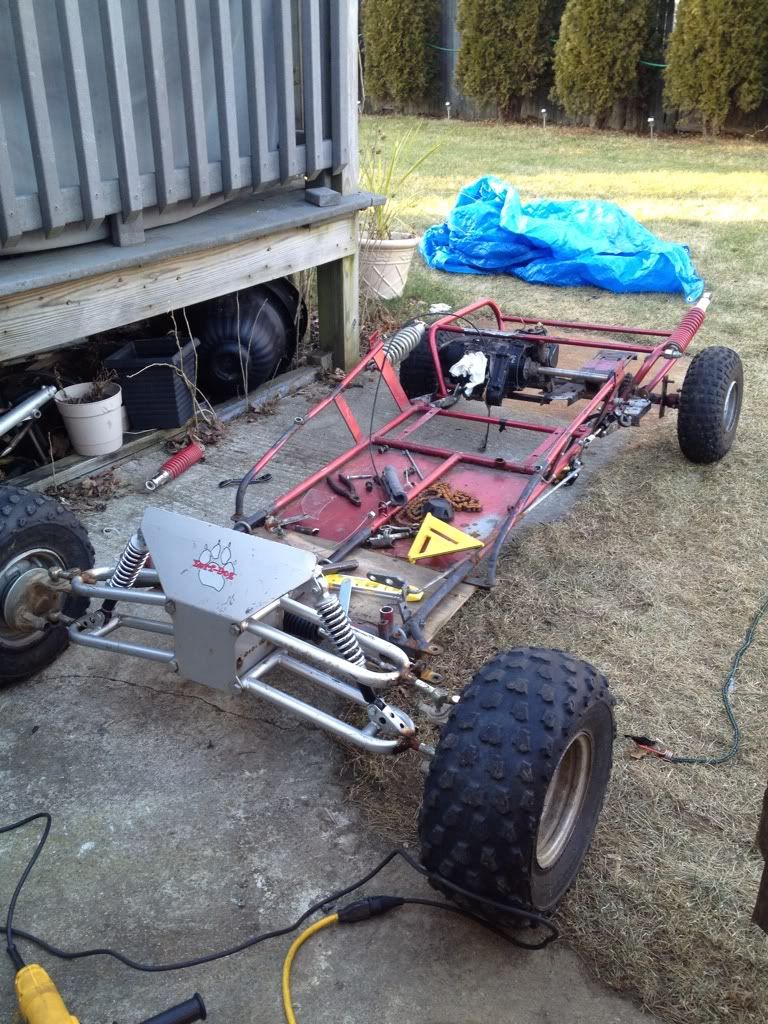 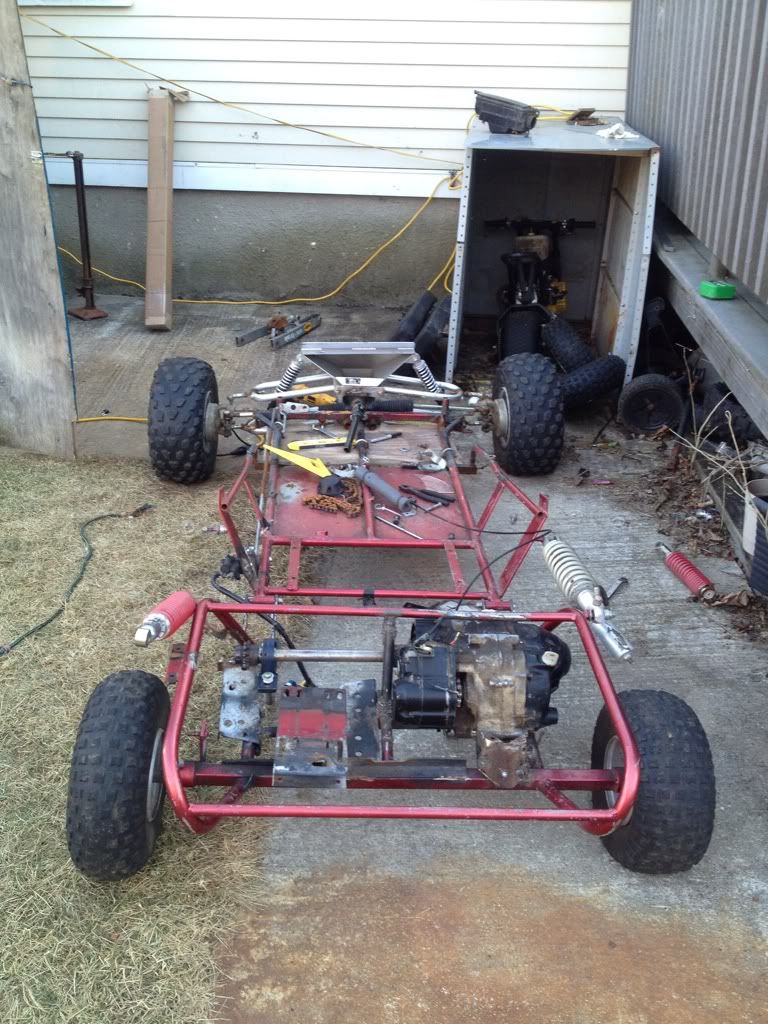 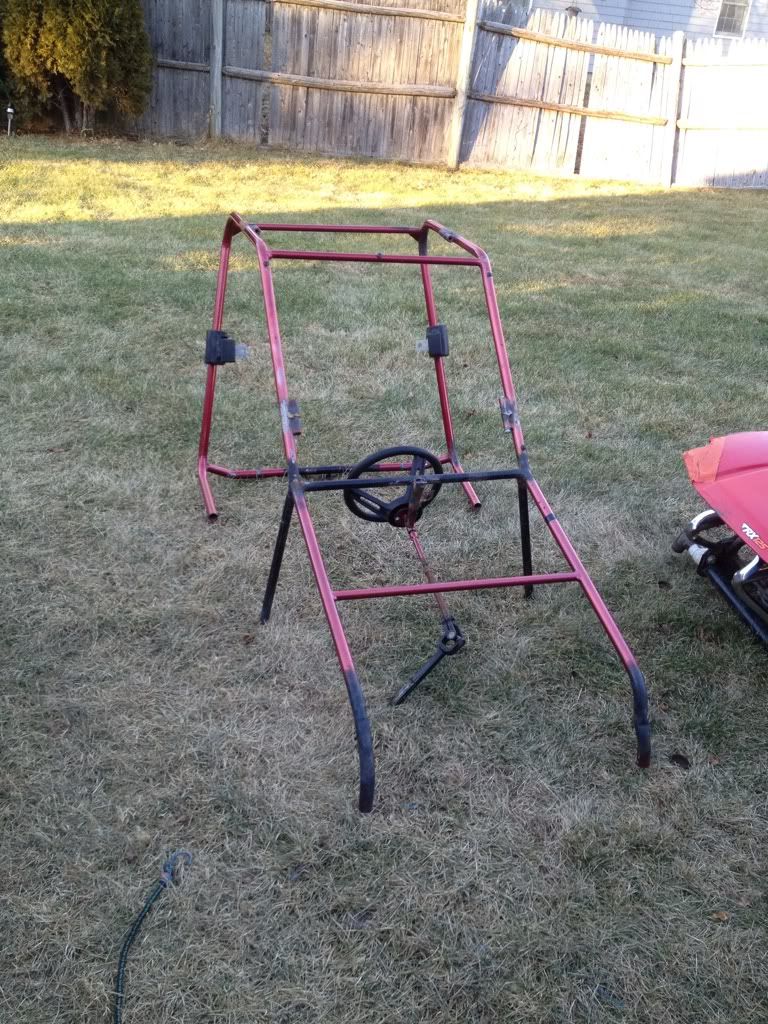 Started raising it 4 inches. The rear is going to get lots of supports im not leaving it like that.. 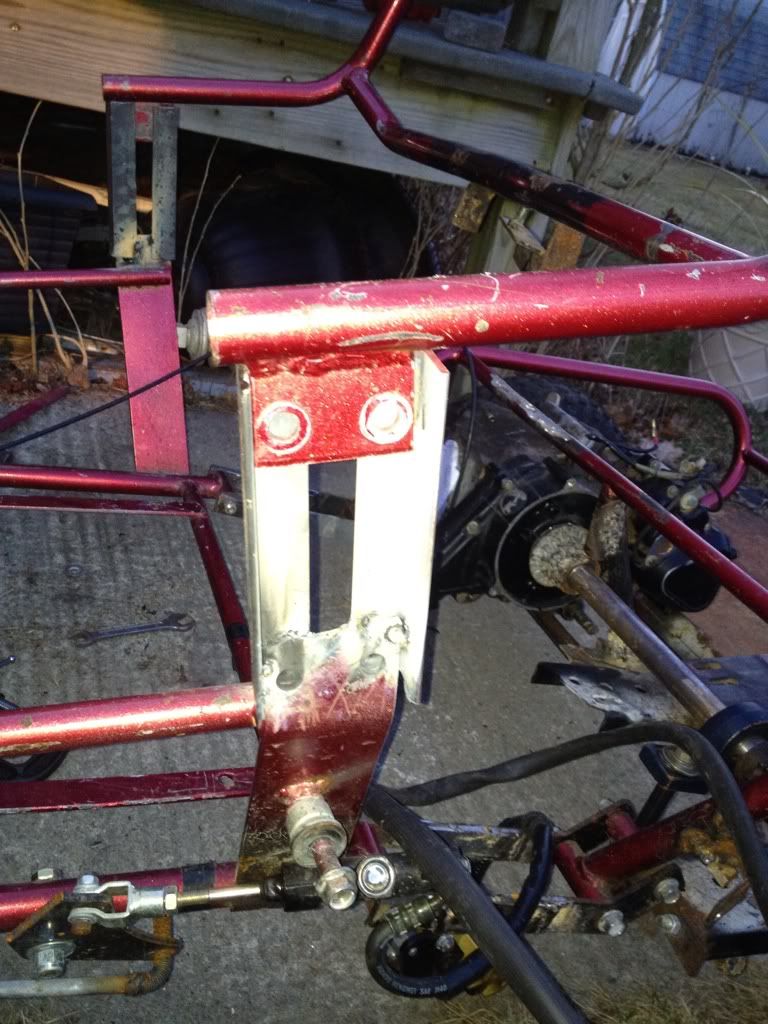 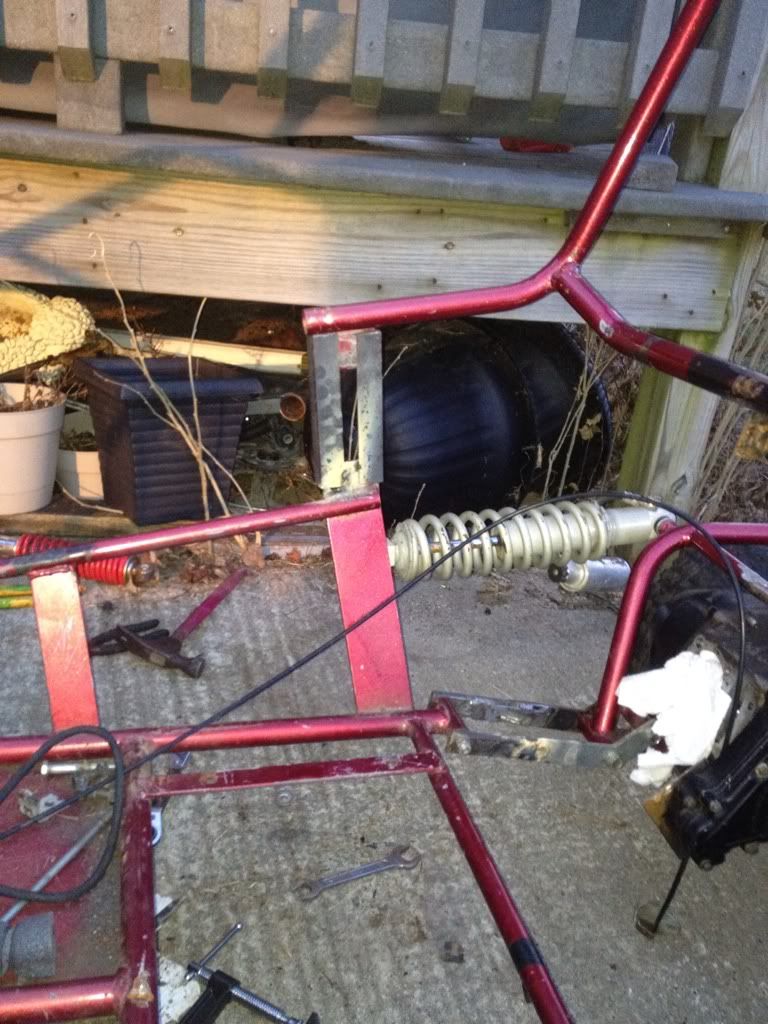 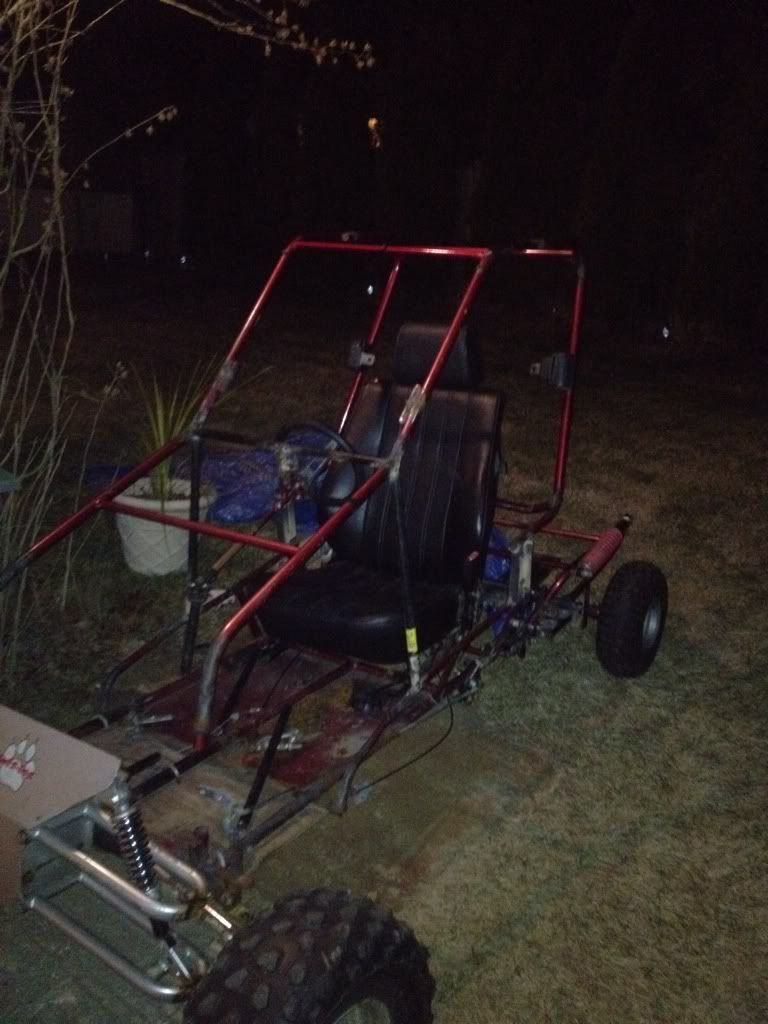 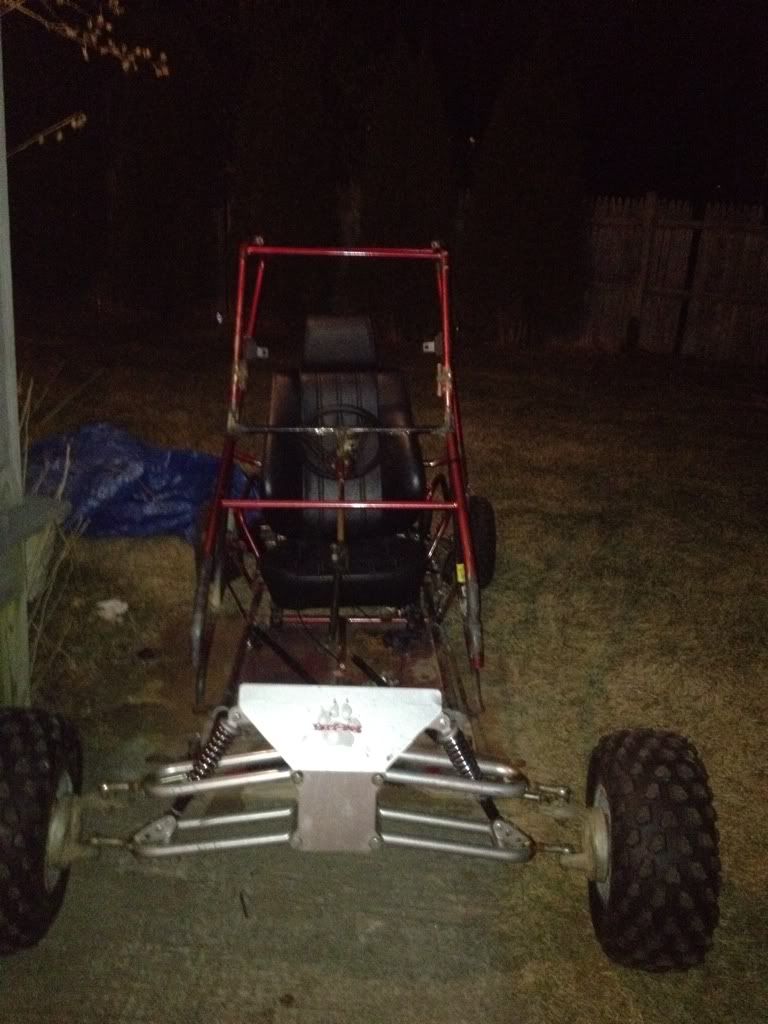 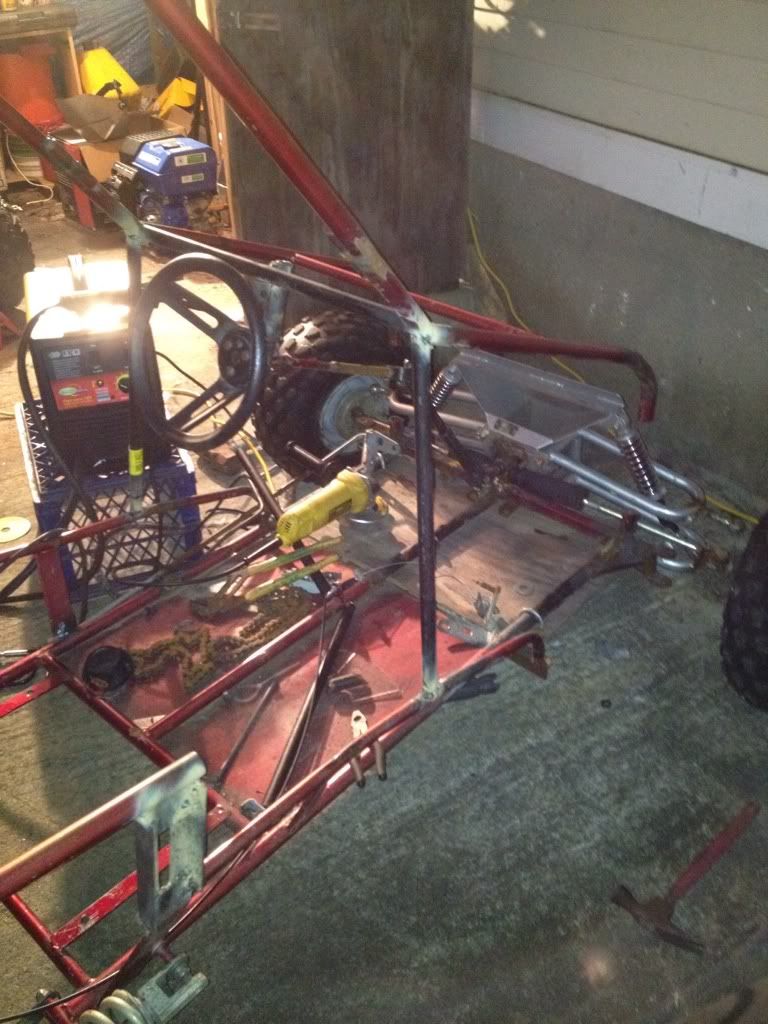 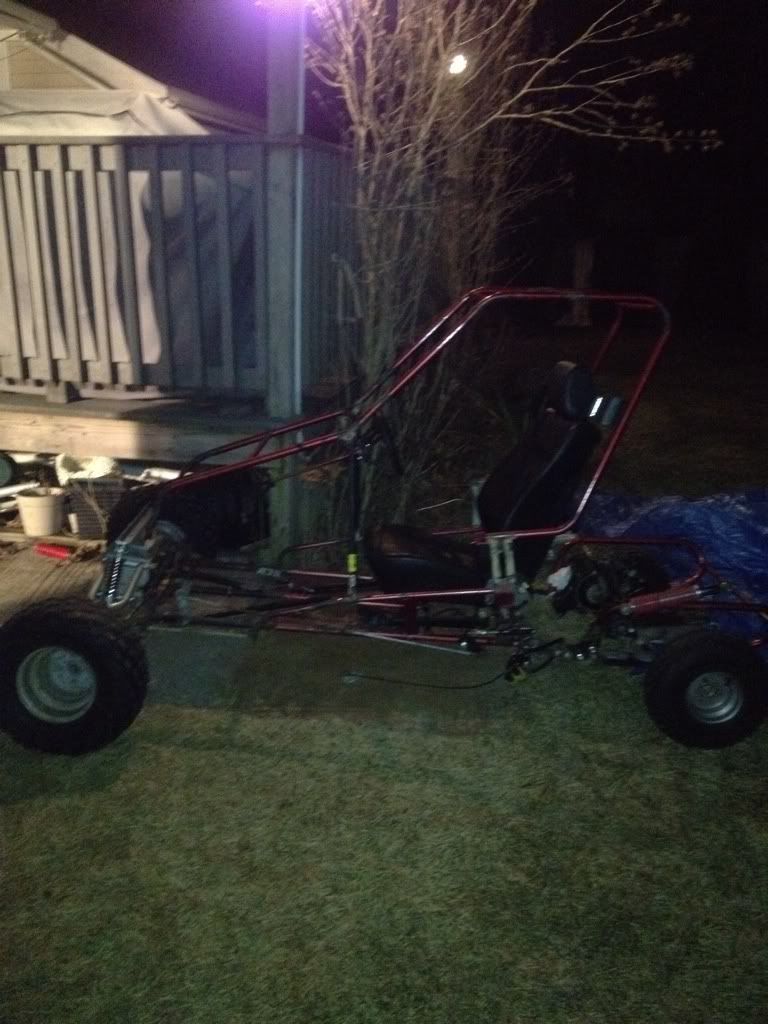 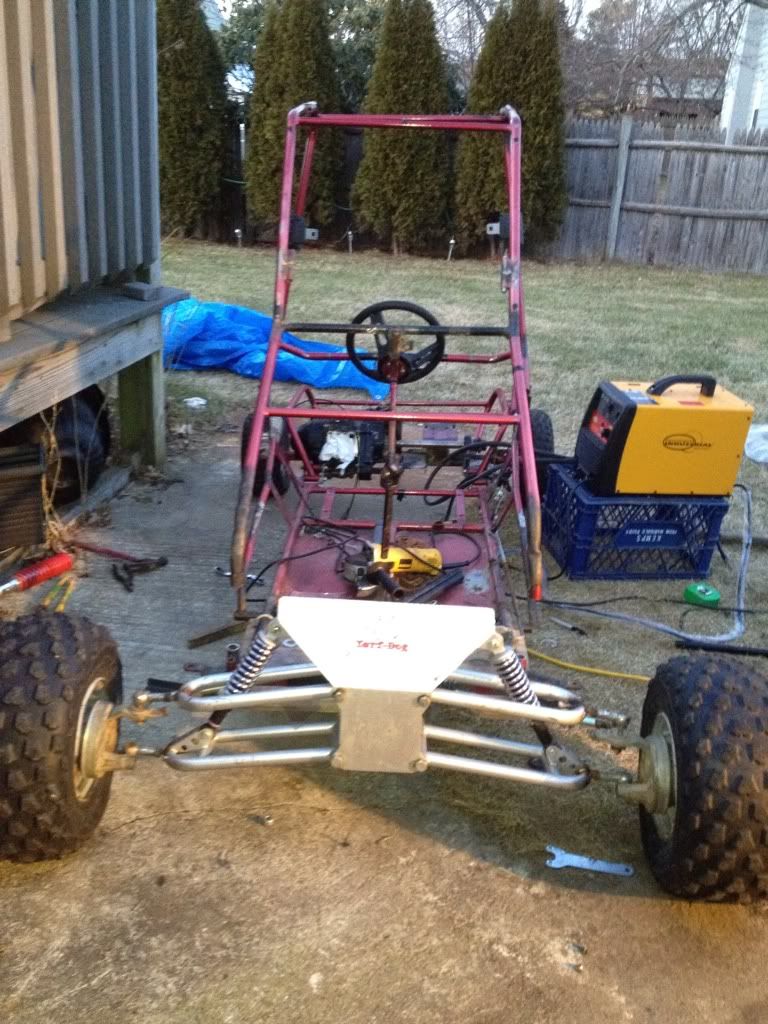 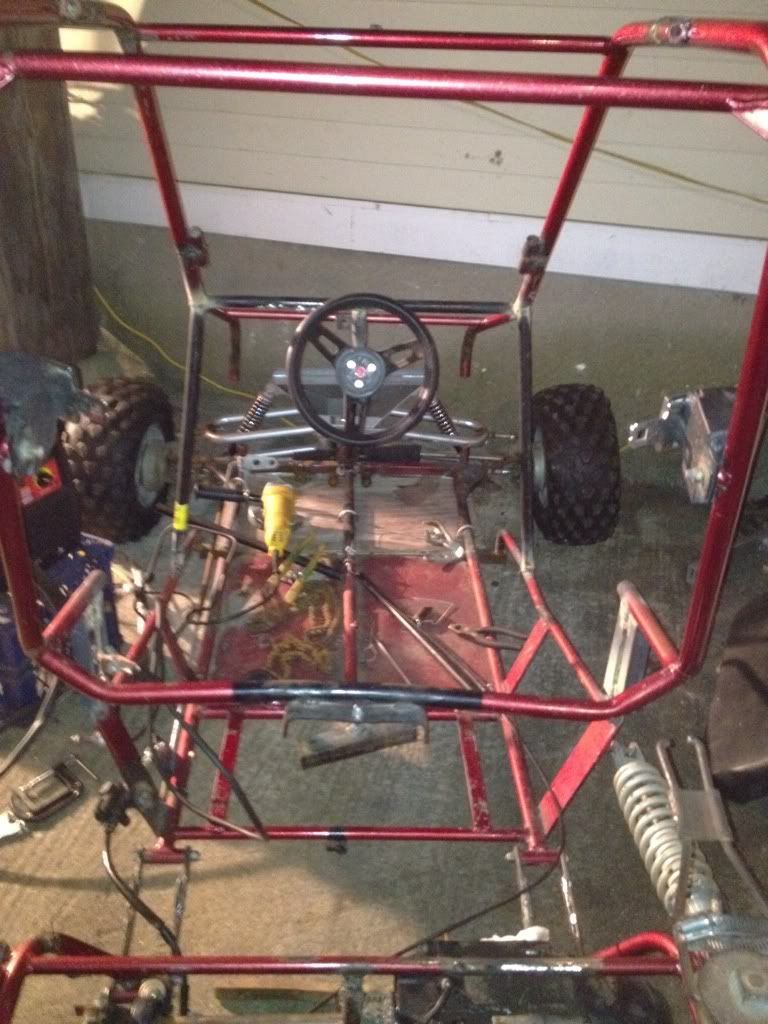 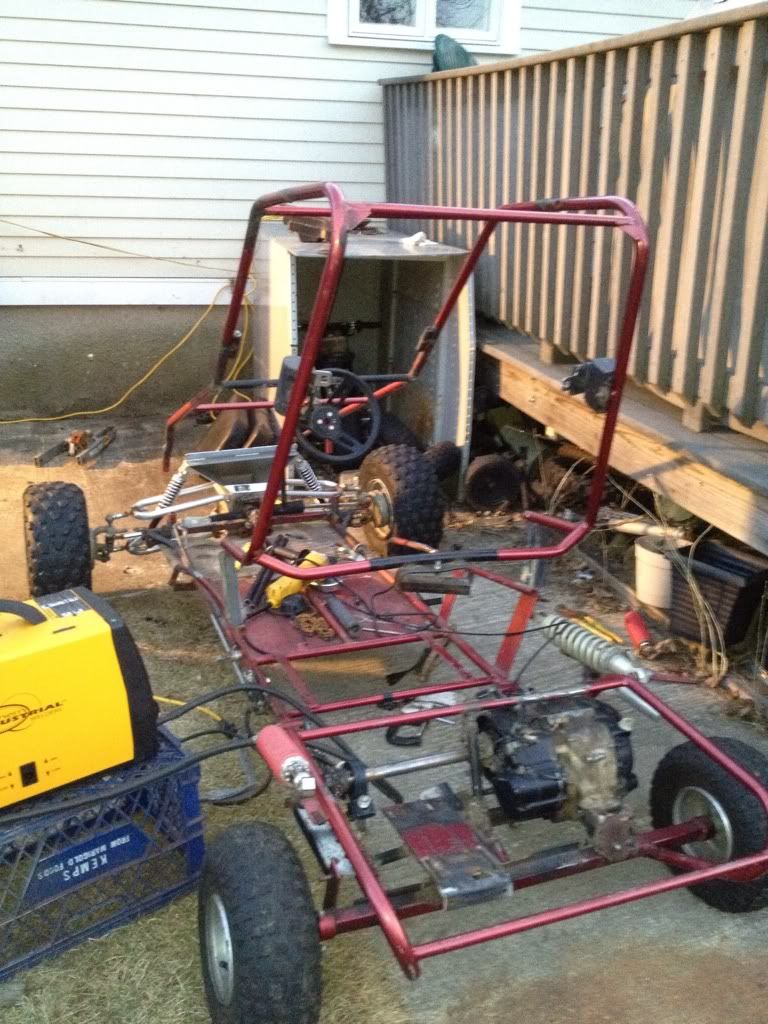 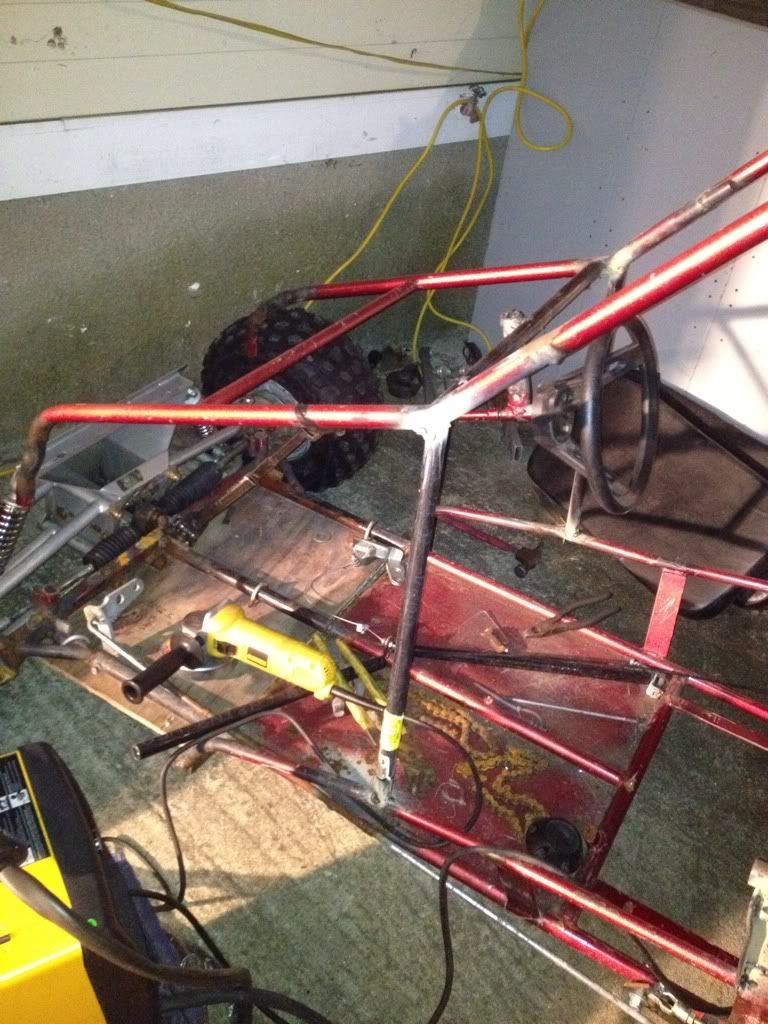 Its straight enough for me!   I also changed over to .35 wire on my little flux core and let me tell you my welds look better and are alot alot stronger |
|
#7
|
|||
|
|||
|
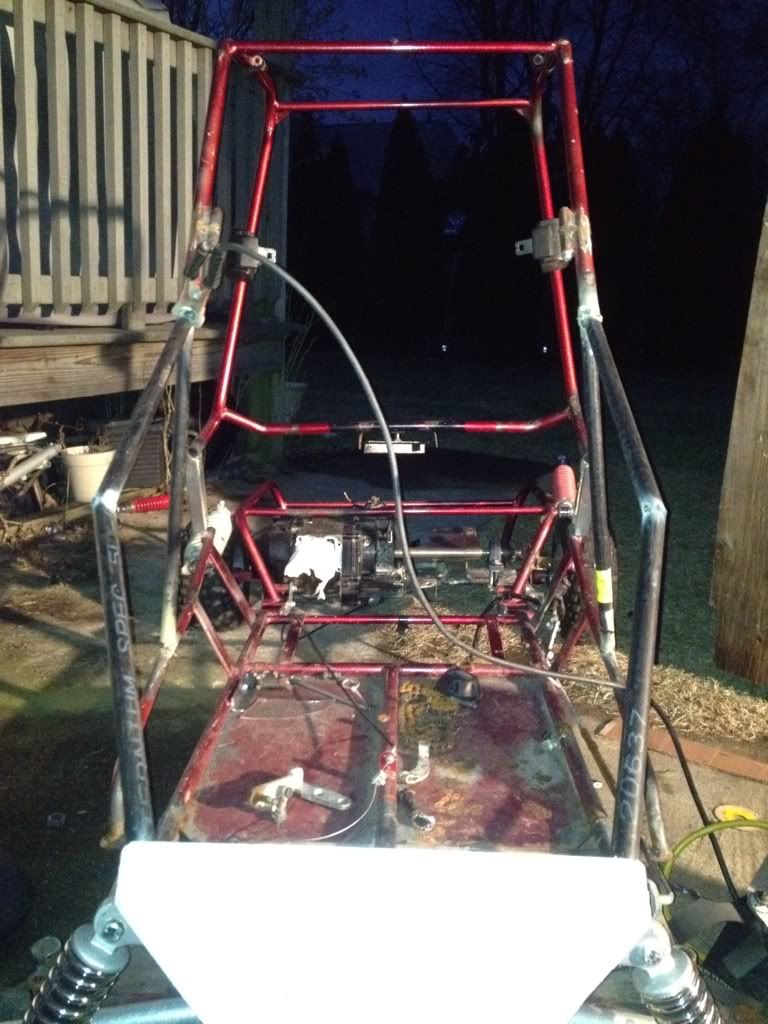
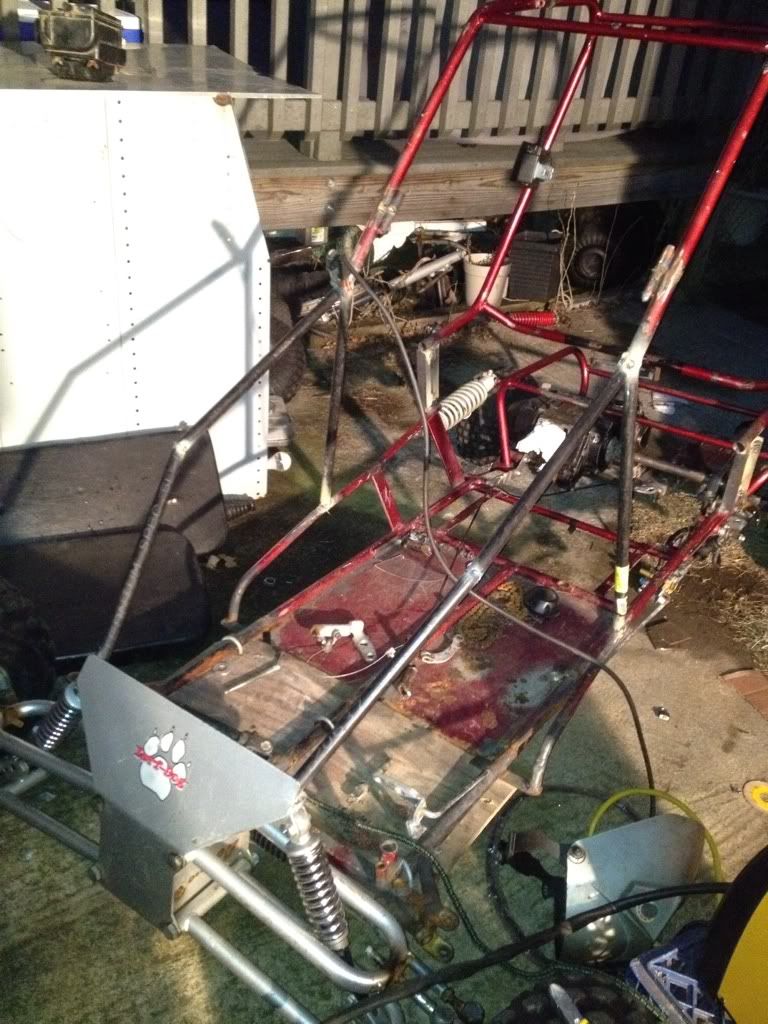
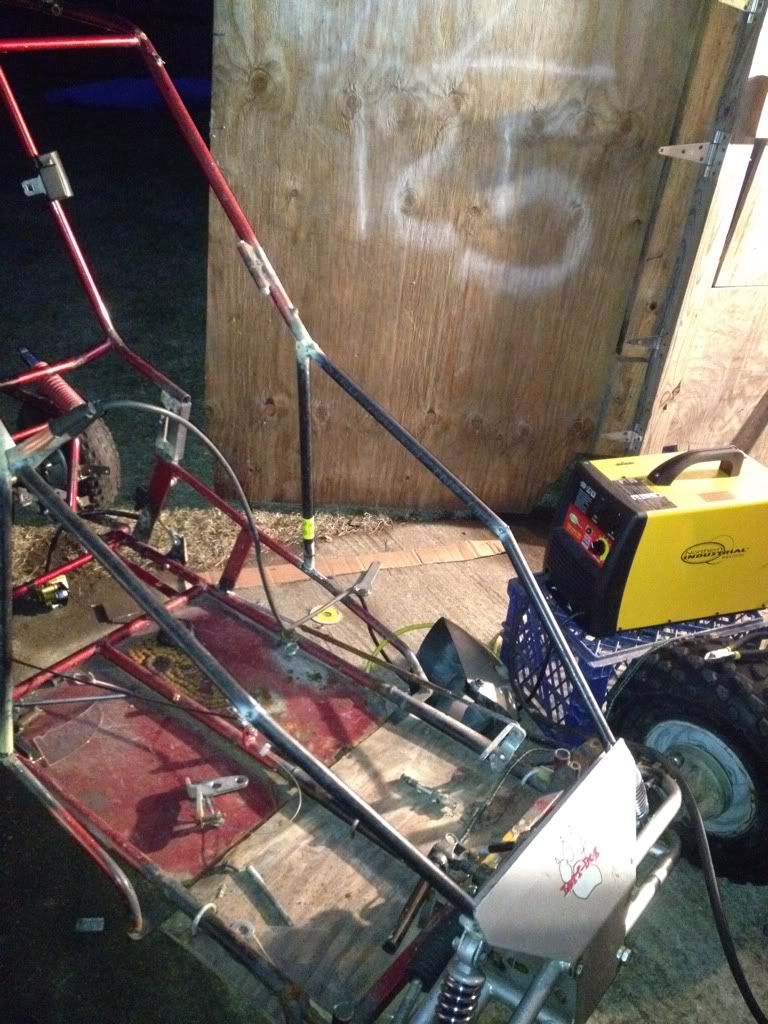
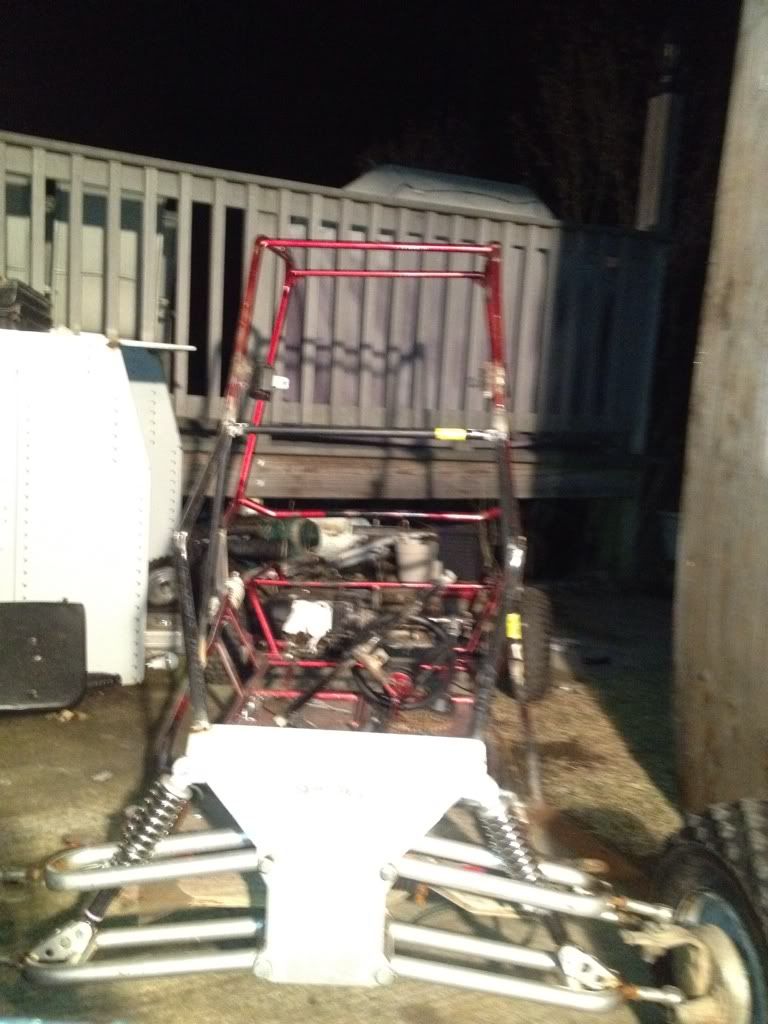
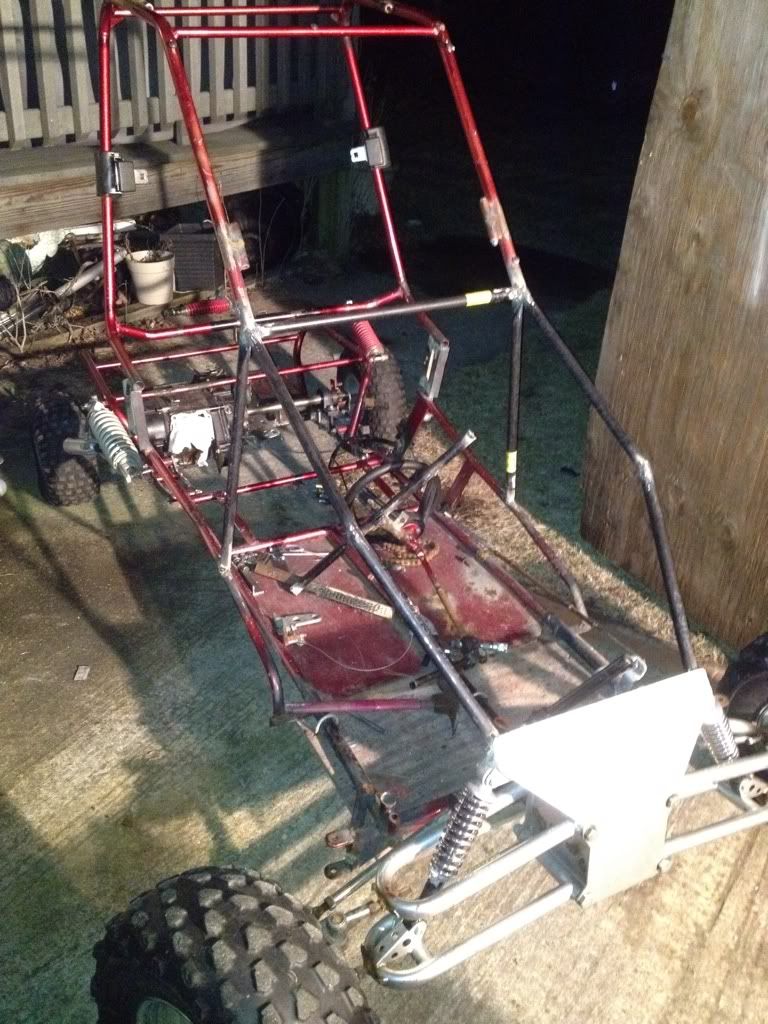
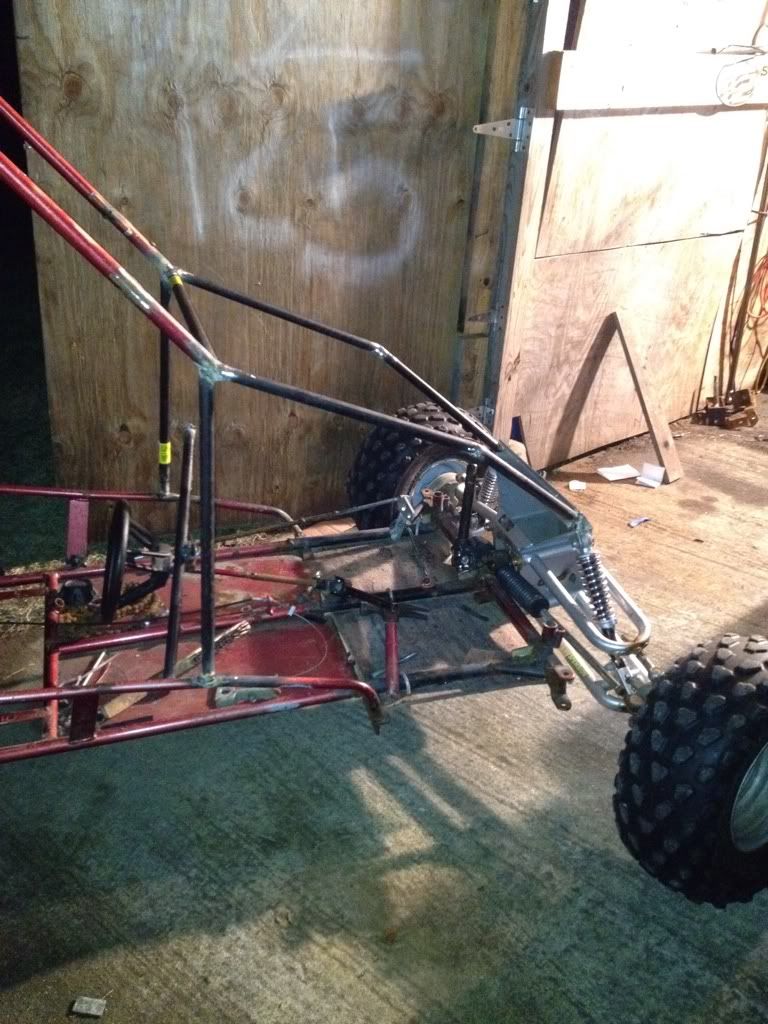
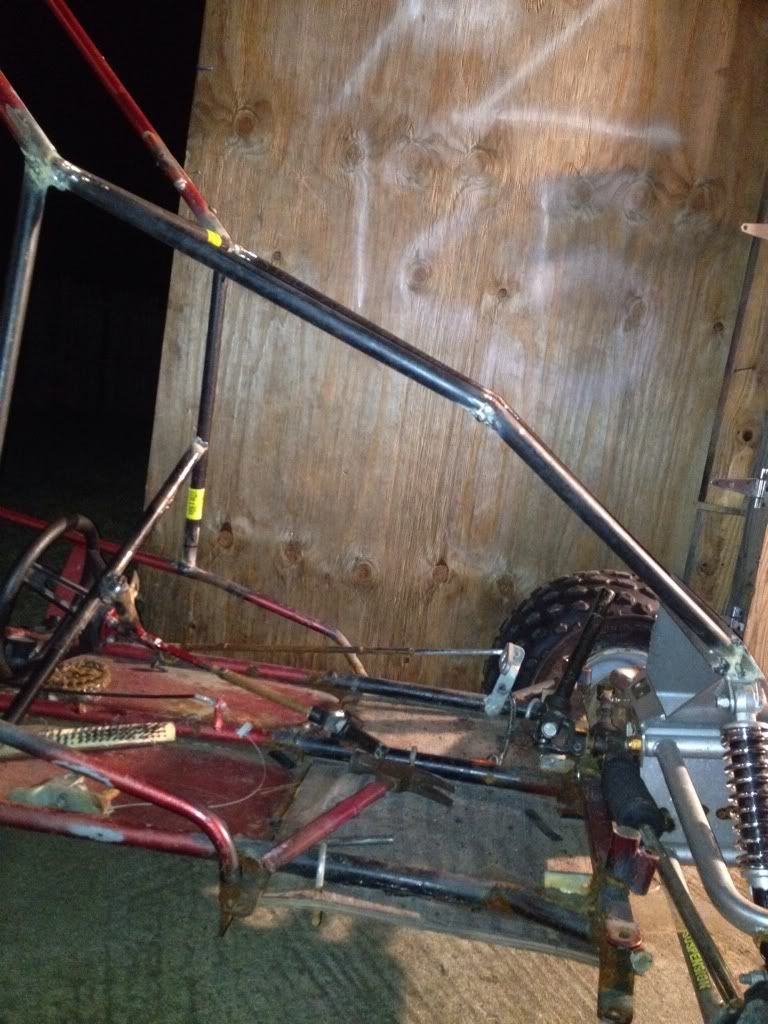
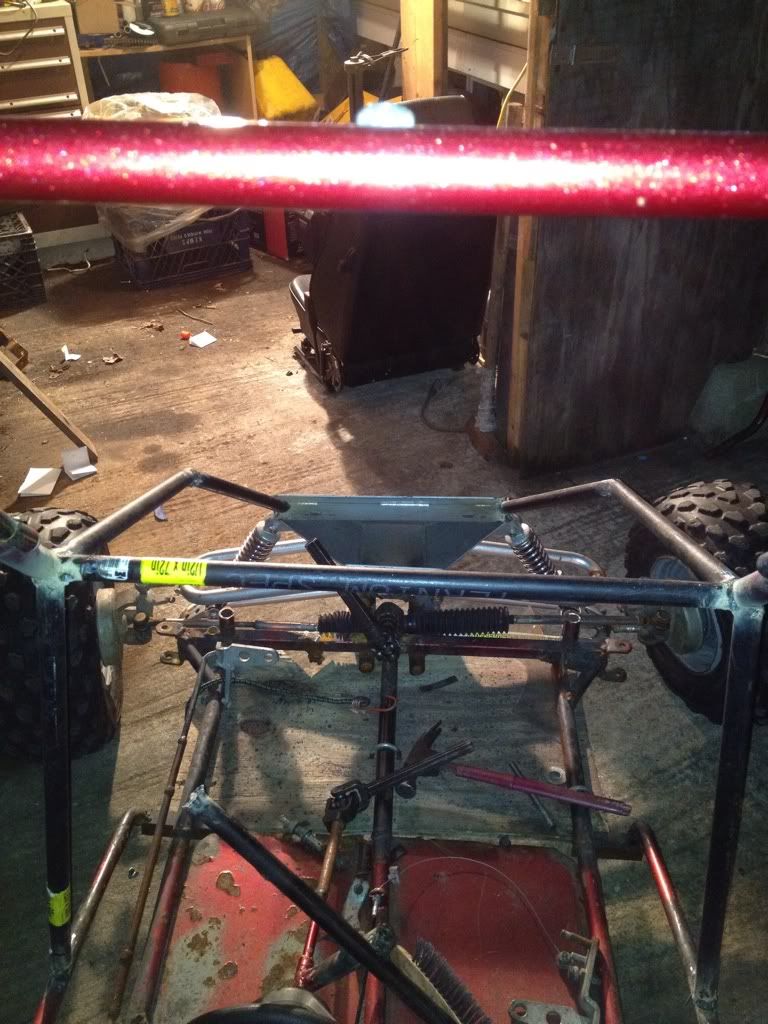
today i finally got the shape of my front end and i really like the look of it now for tomorrow i have lots of supports to make :thumbsup:
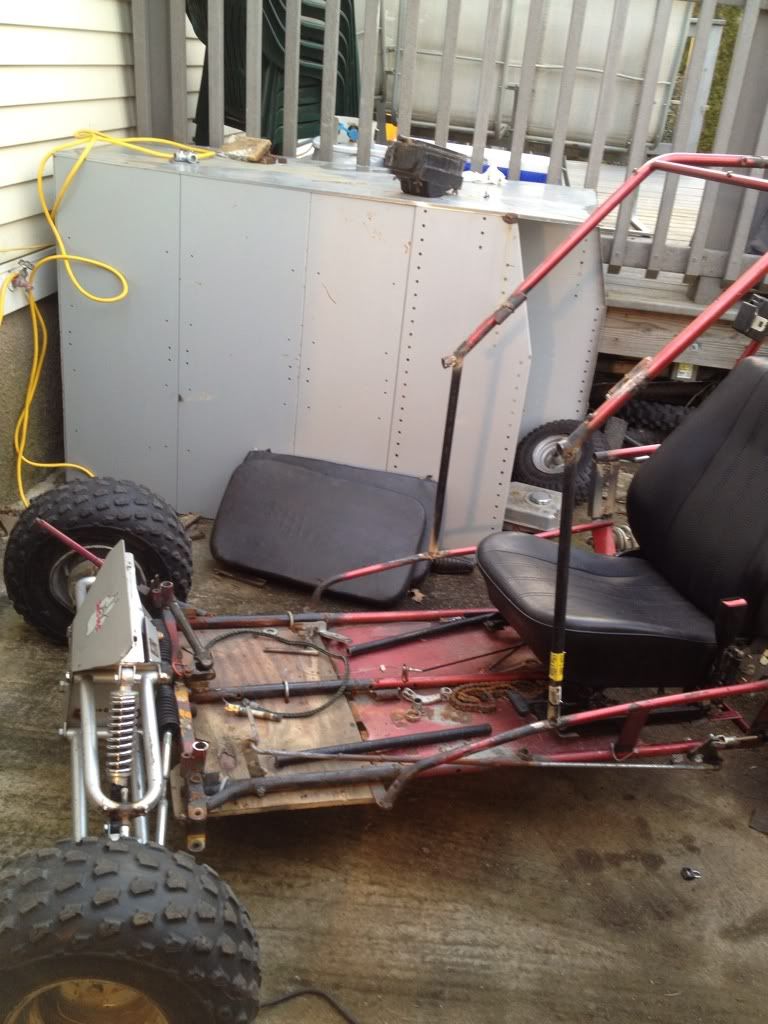 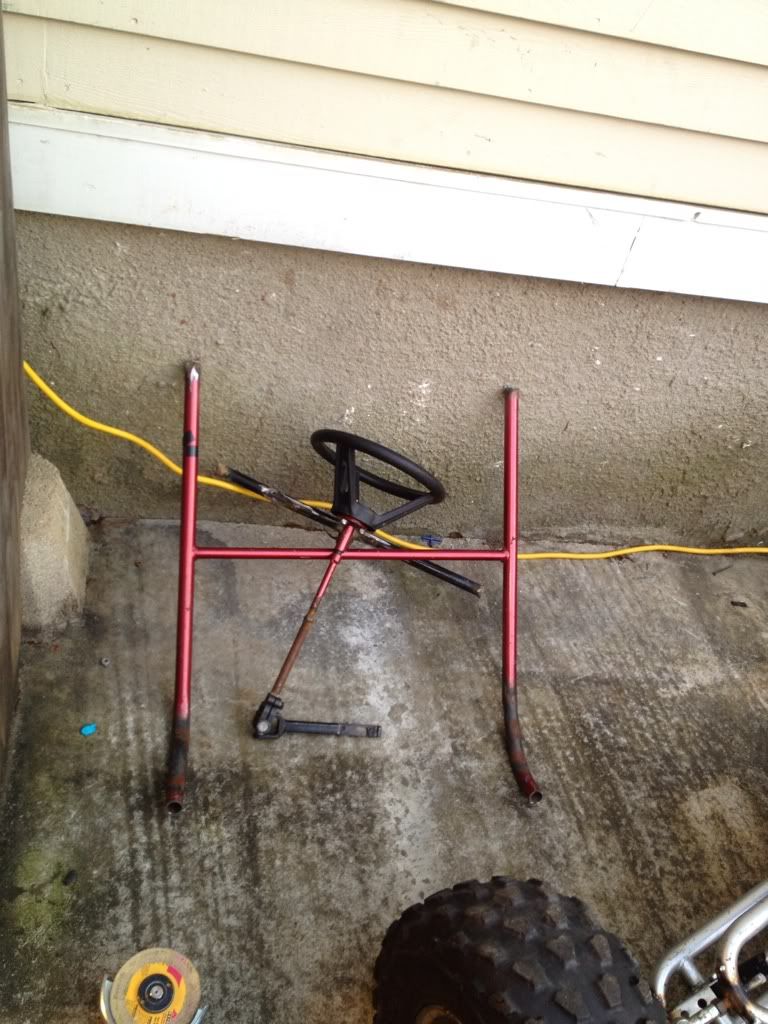        
|
|
#8
|
|||
|
|||
|
Some day shots of the new front
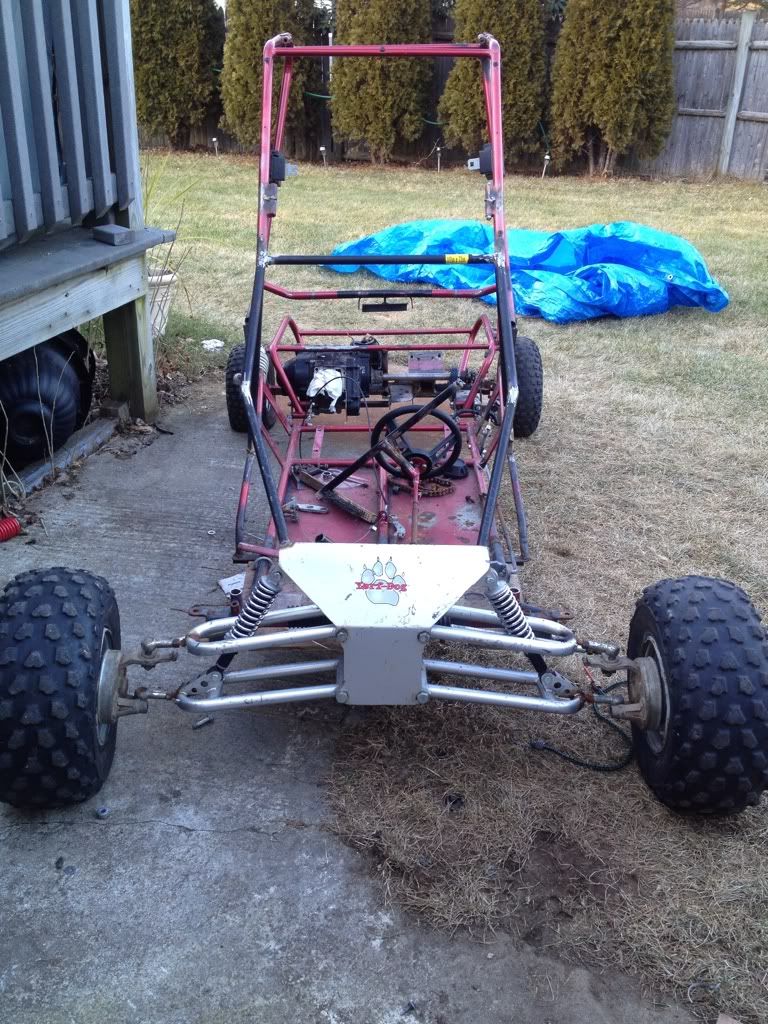 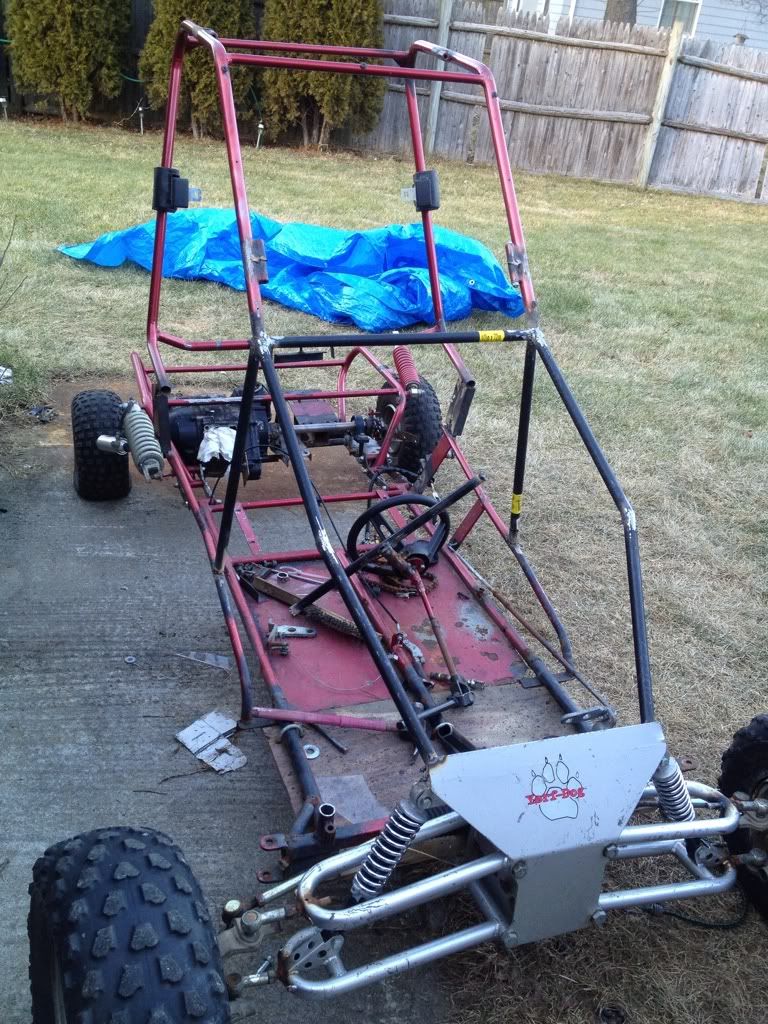 I added some supports on the cage and i think it looks great so far. Also to test the strength i jumped on the front several times and didn't move flex or break so i feel so far im good. I just want to add 2 vertical supports one on each side and it will be done for the most part. Enjoy! 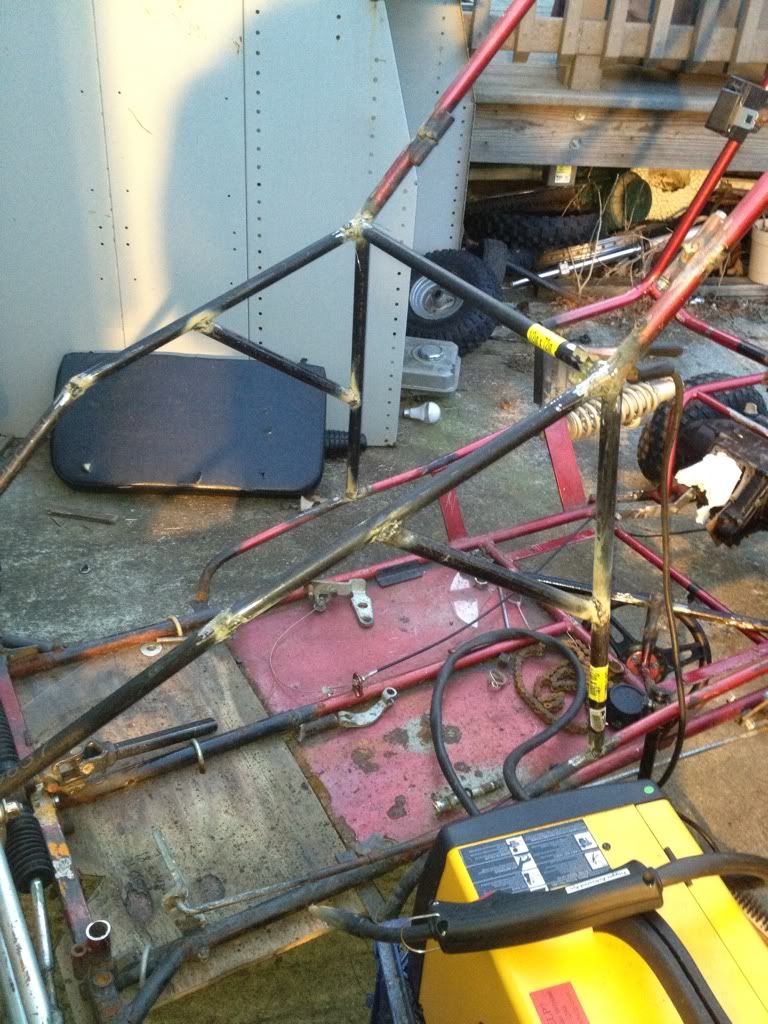 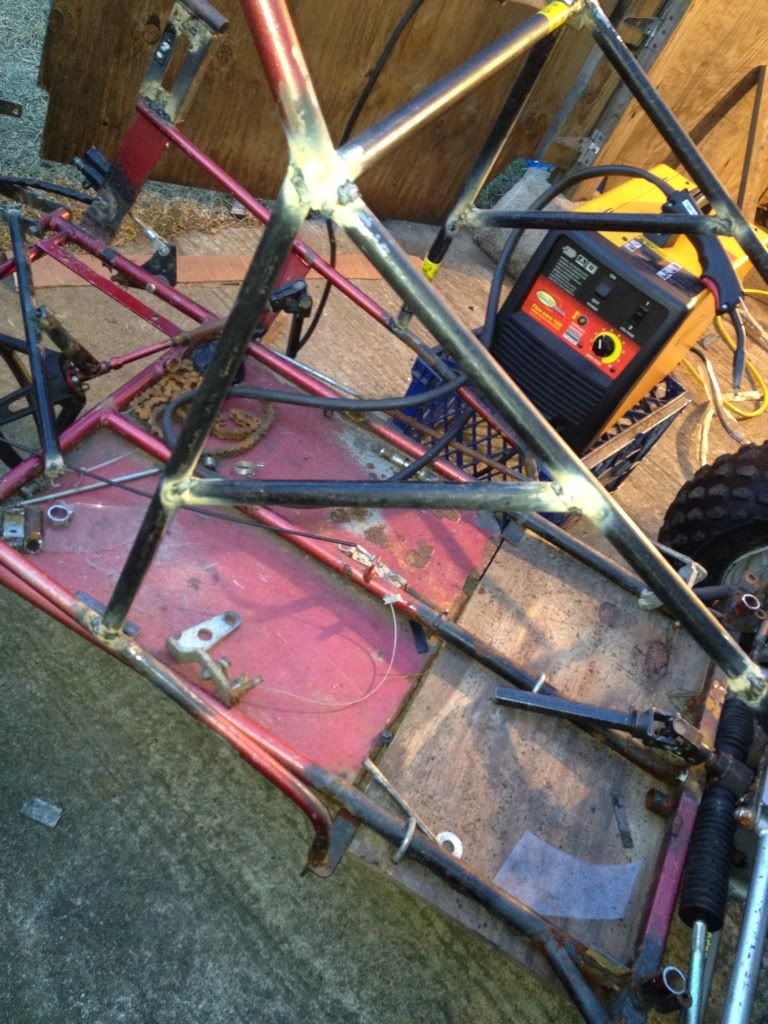 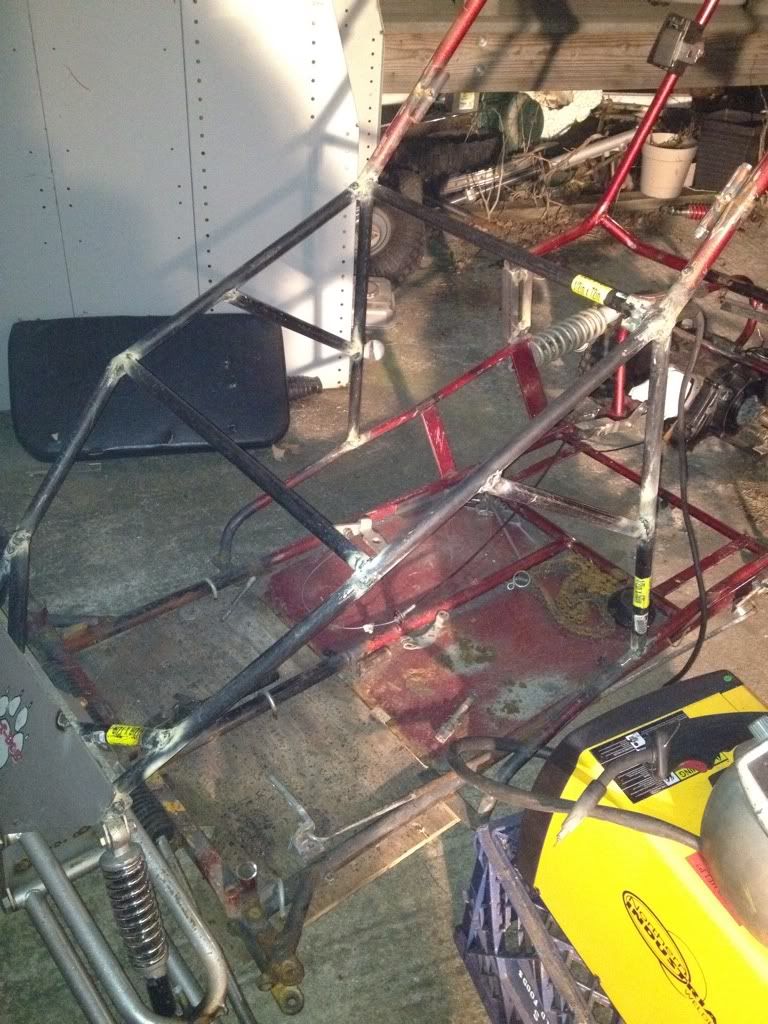 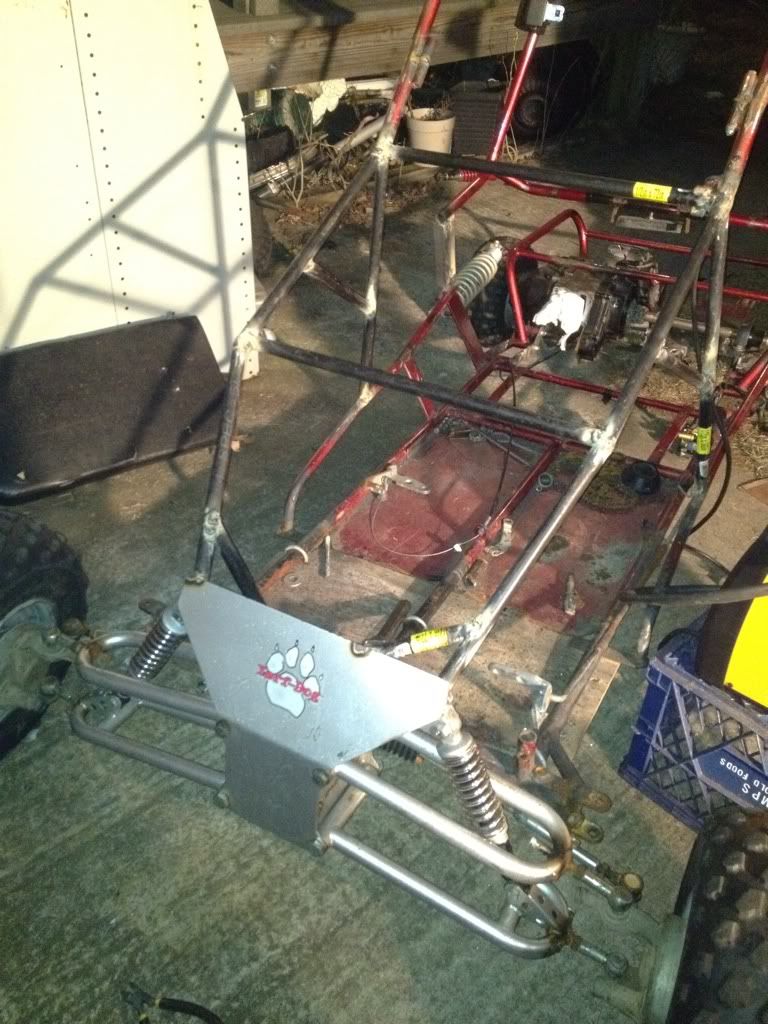 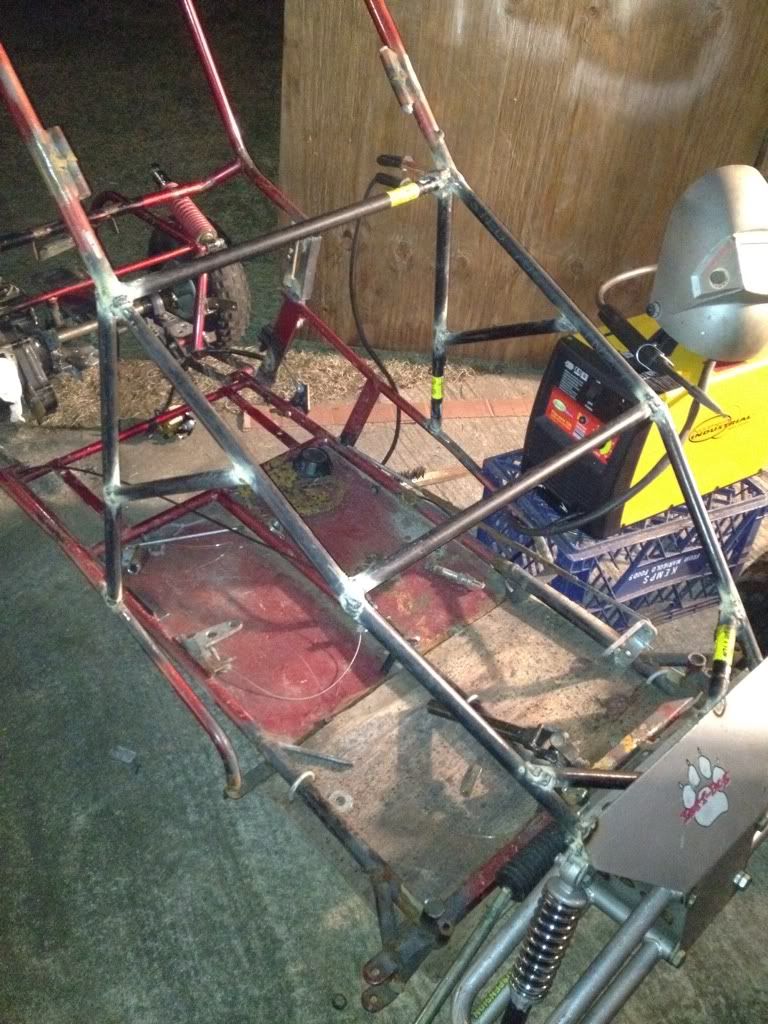 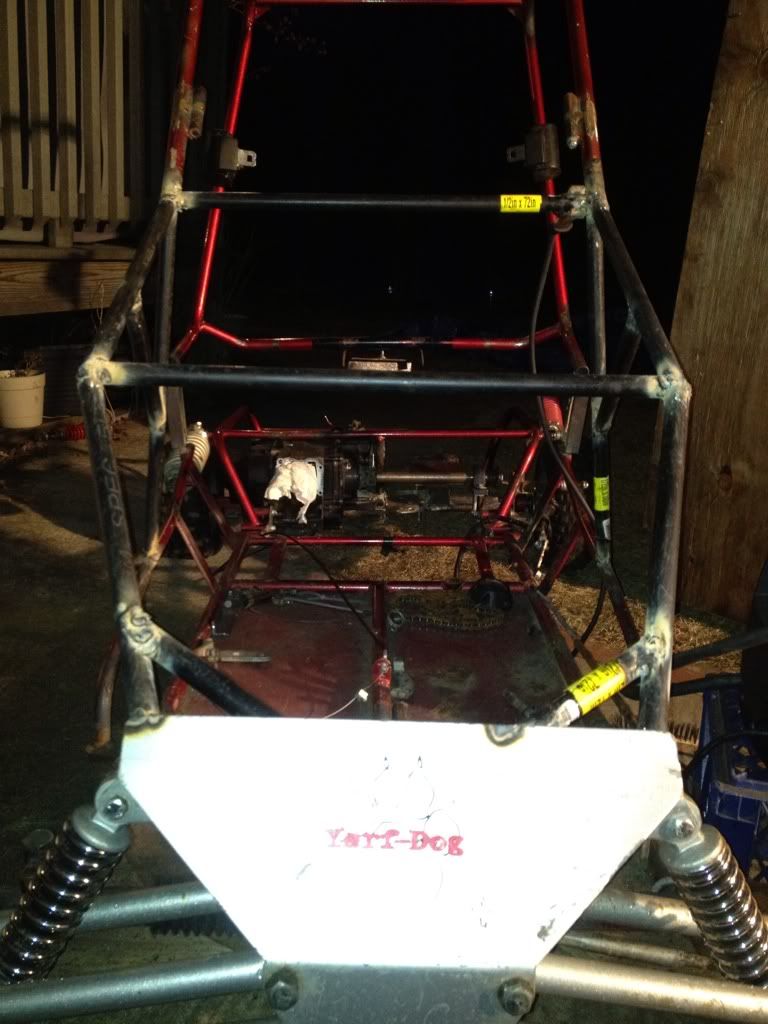
|
|
#9
|
|||
|
|||
|
Ive been really busy lately and havent really had time for the buggy but ive broken loose and had time to enjoy my hobby.
I got a really good deal on a spiderbox that i got for parts. It has a 200cc honda atc motor on it that i want to use on my buggy build instead of the 16hp i had. On to the pics. 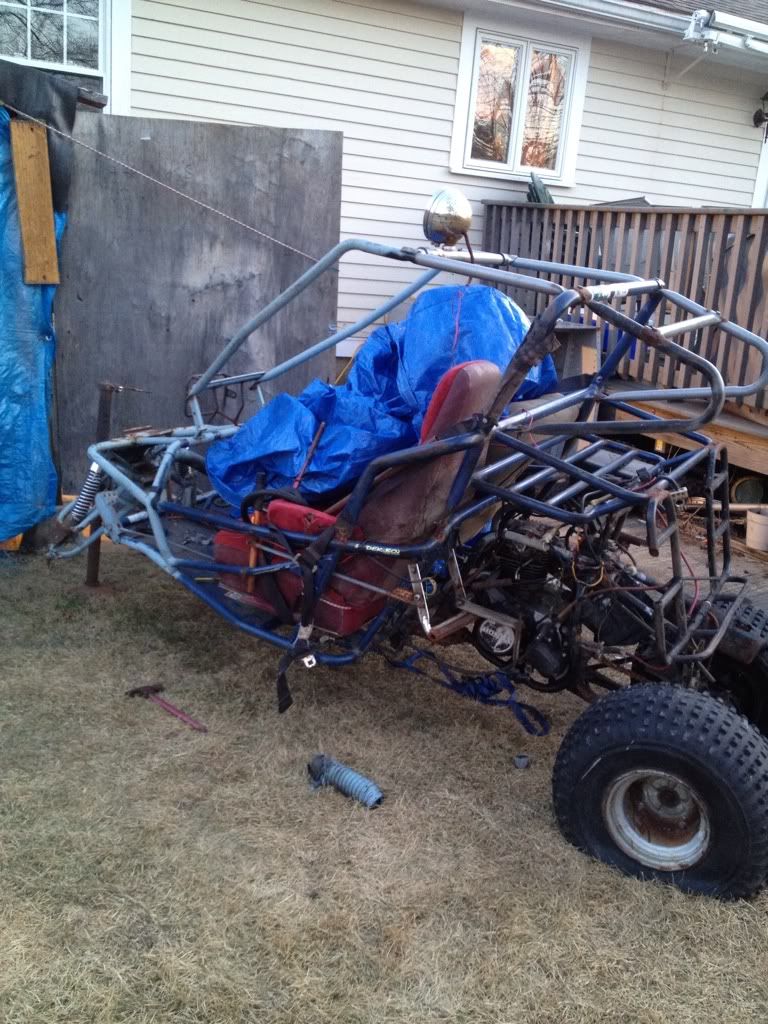 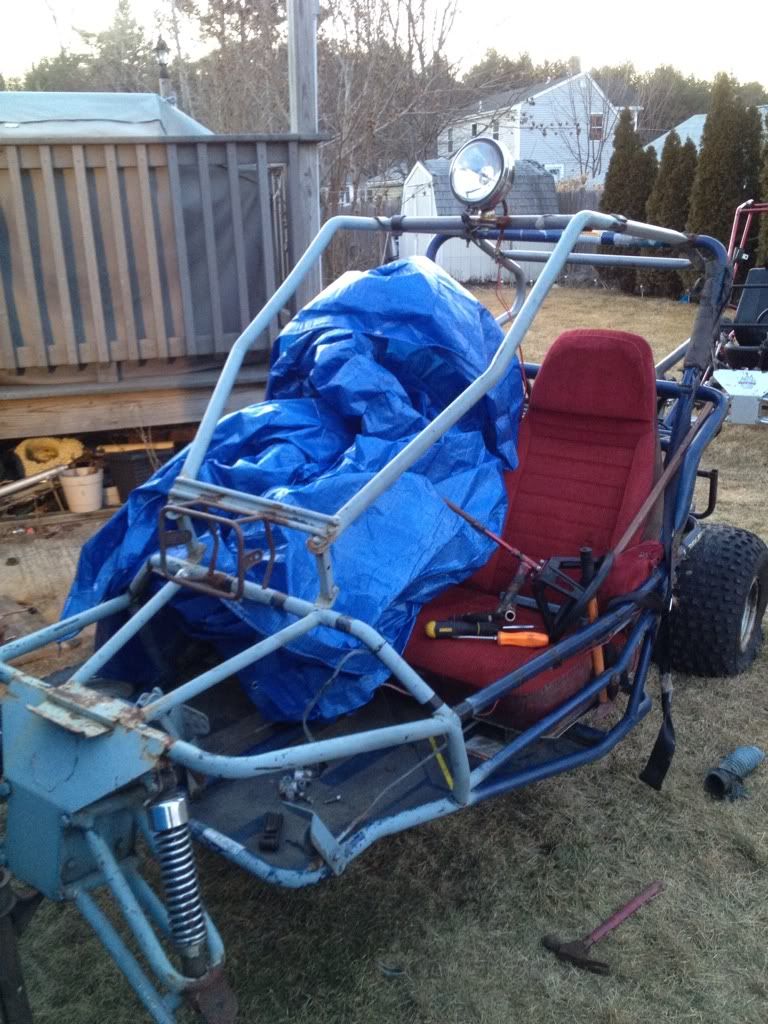 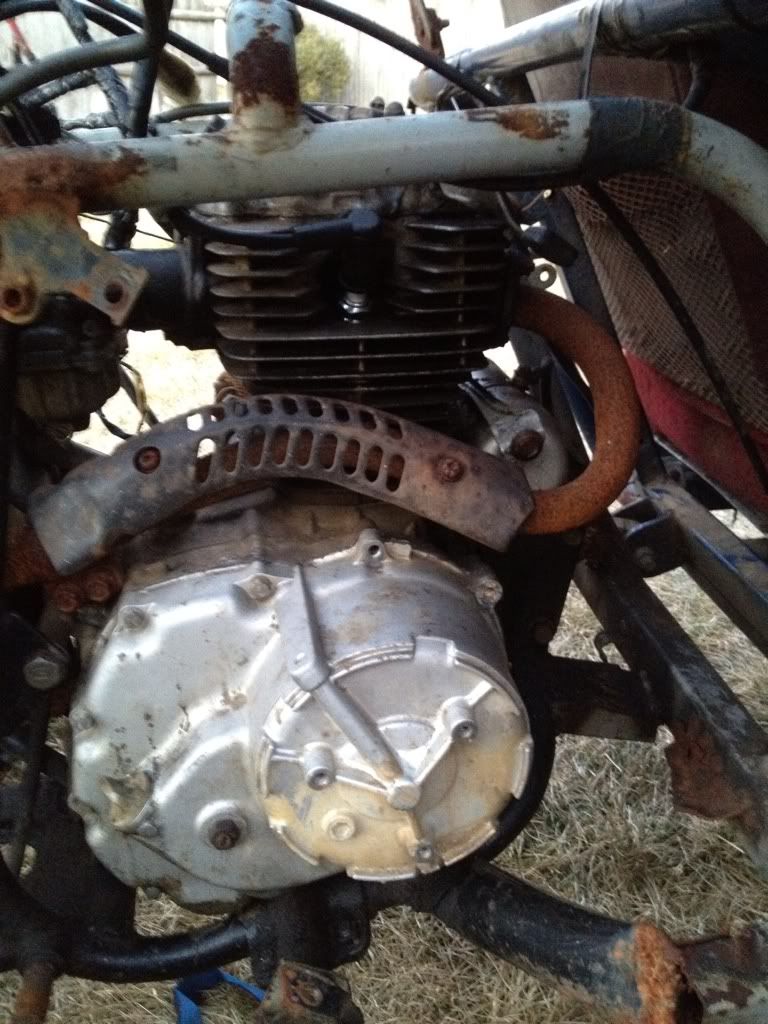 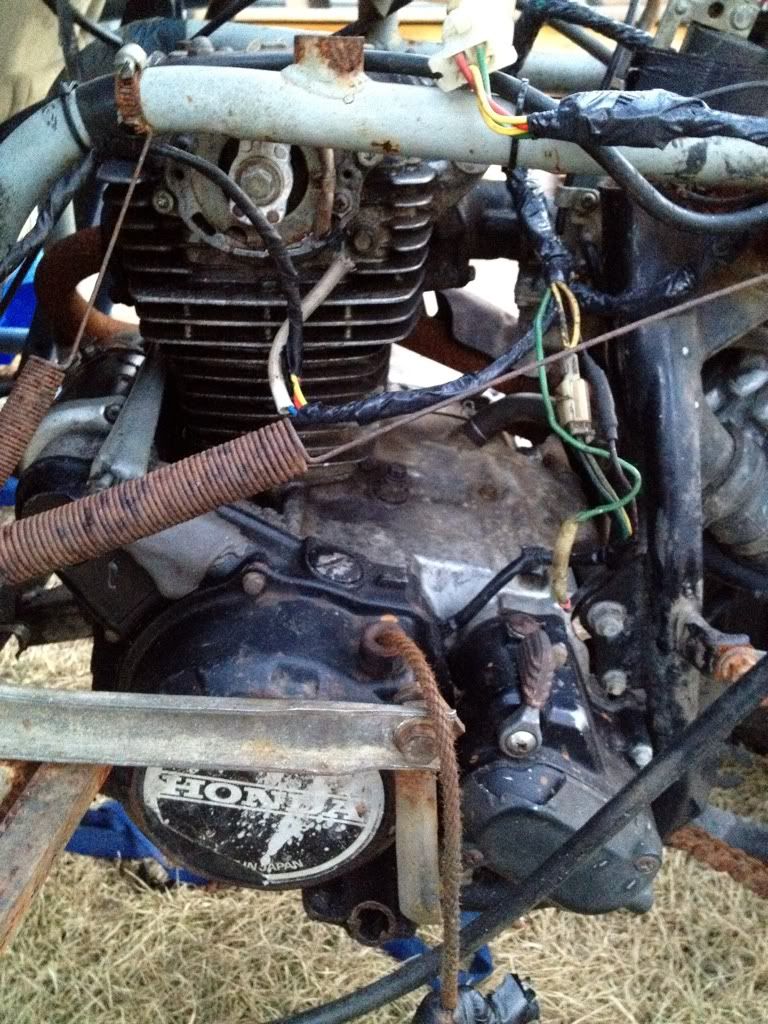 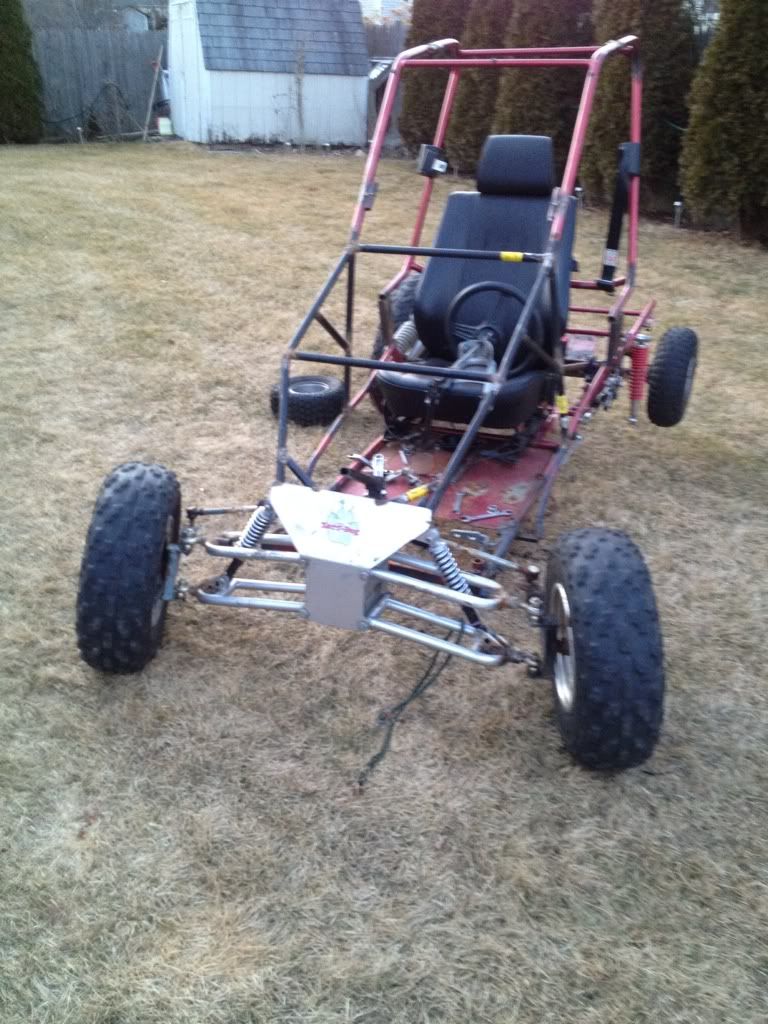 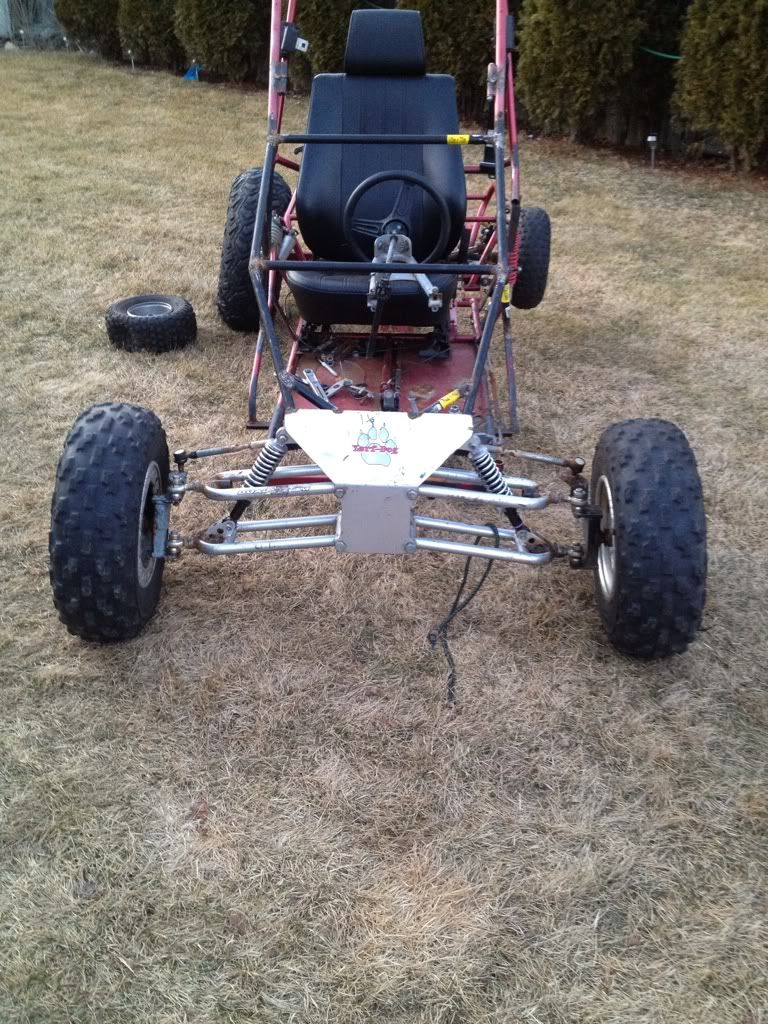 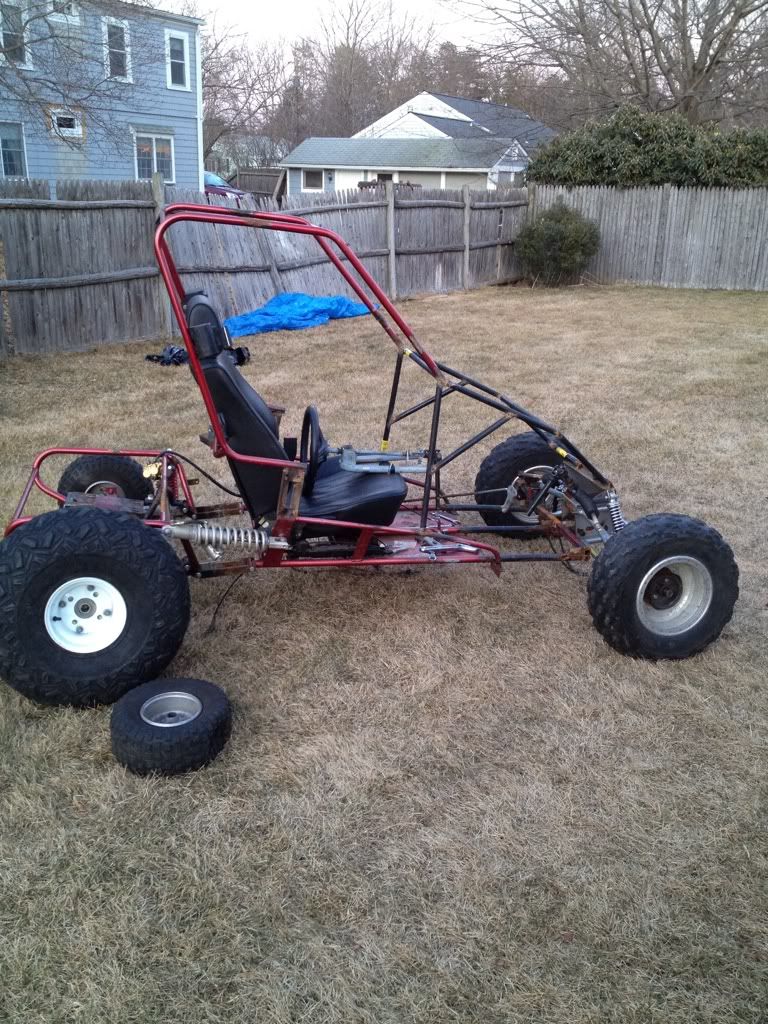 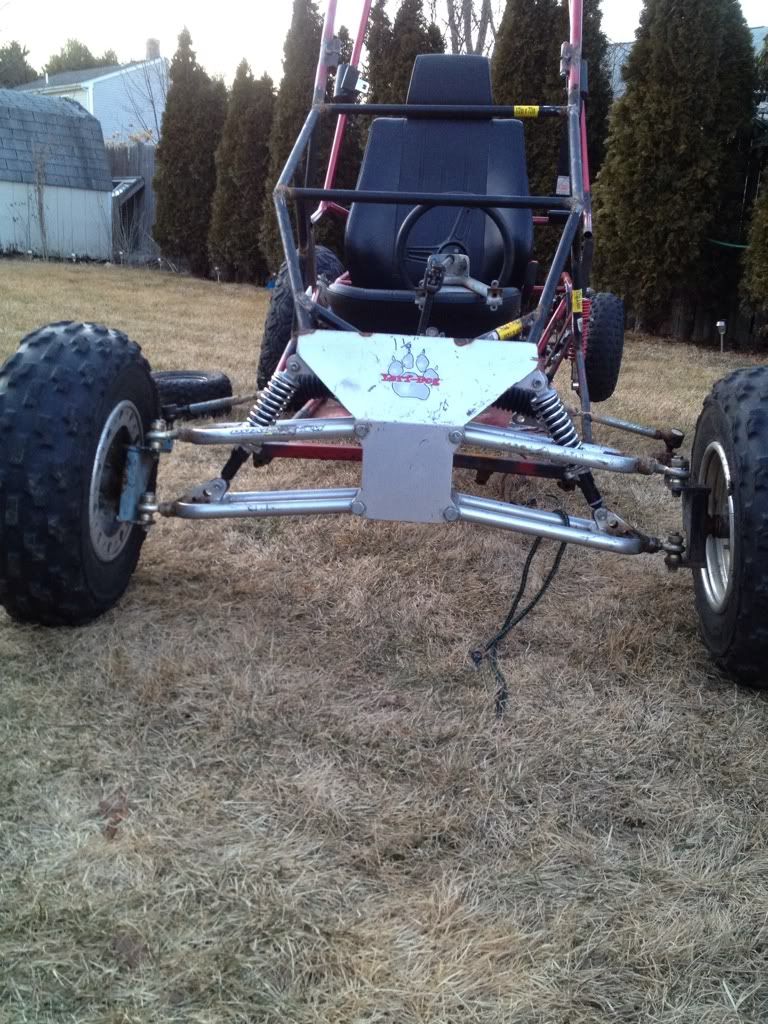 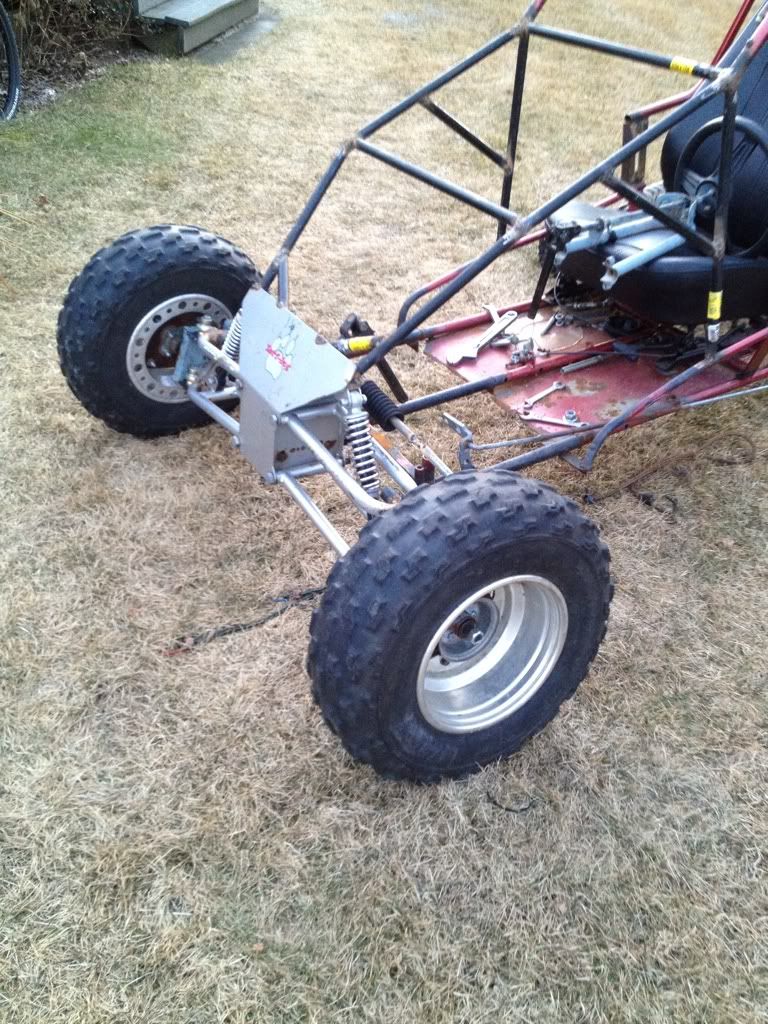
|
|
#10
|
|||
|
|||
|
I got my steering wheel mounted today. The only reason that i kept the Yerf Dog steering setup is because i like the fact that its adjustable and it was just alot easier to do it this way.
The cross bar is part of the role cage form the Yerf and let me tell you my frame may look skinny and weak but the metal is alot thicker from the Yerf and it was a pain in the butt to weld but i got it done and i think it looks great! 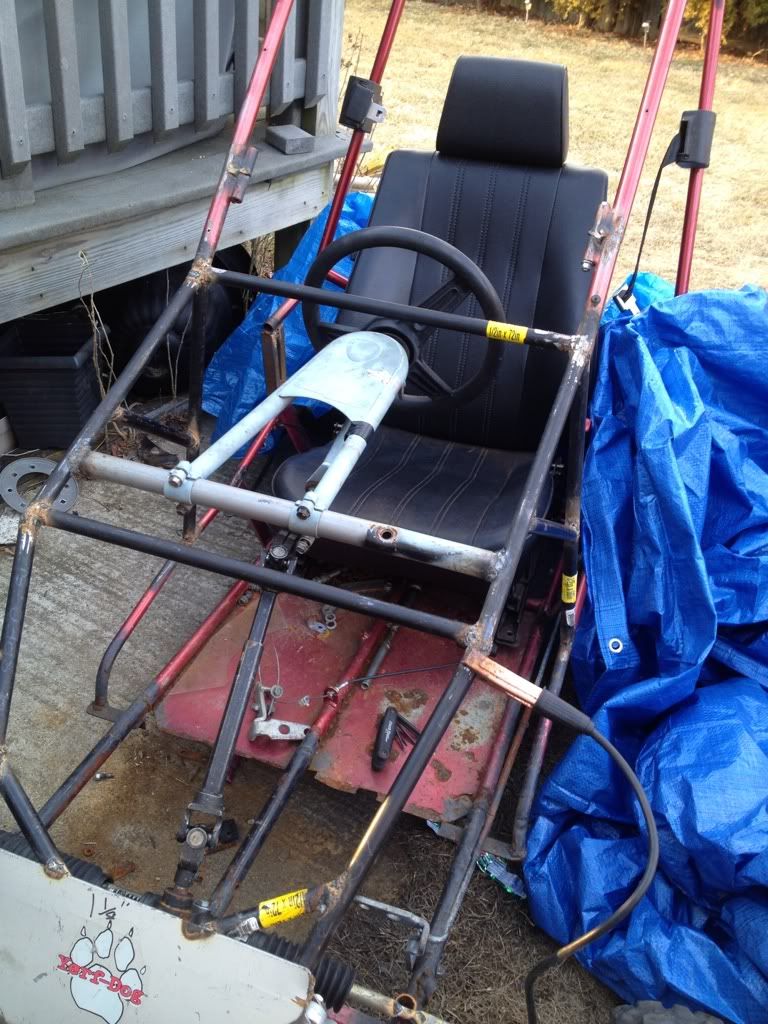 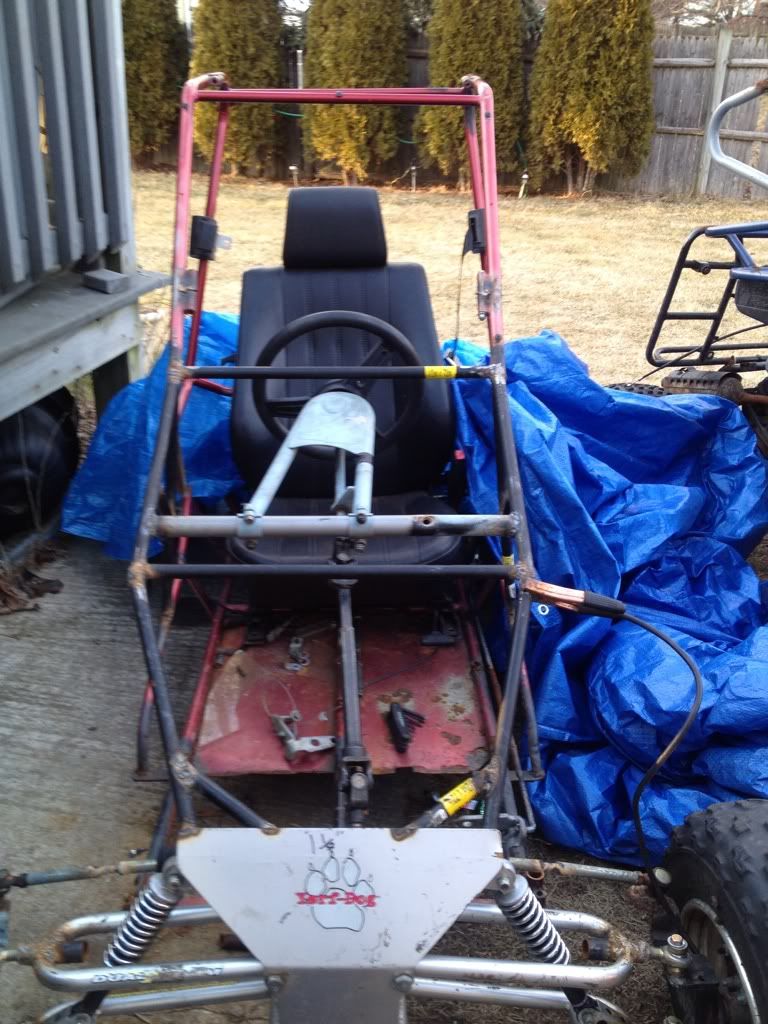 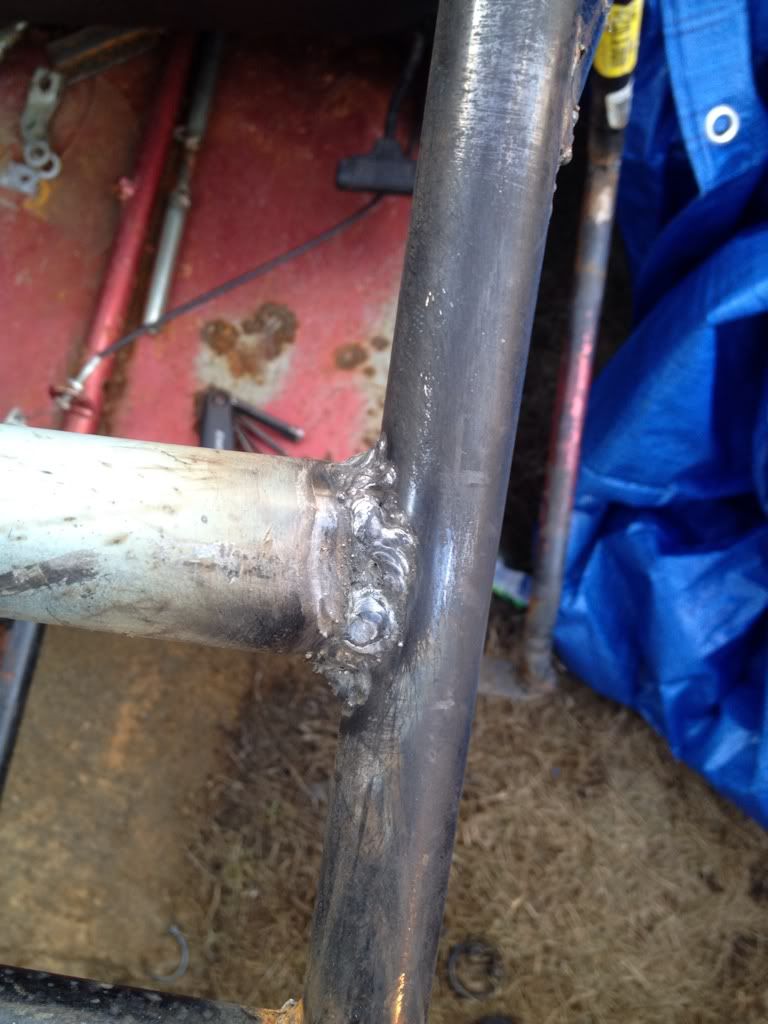 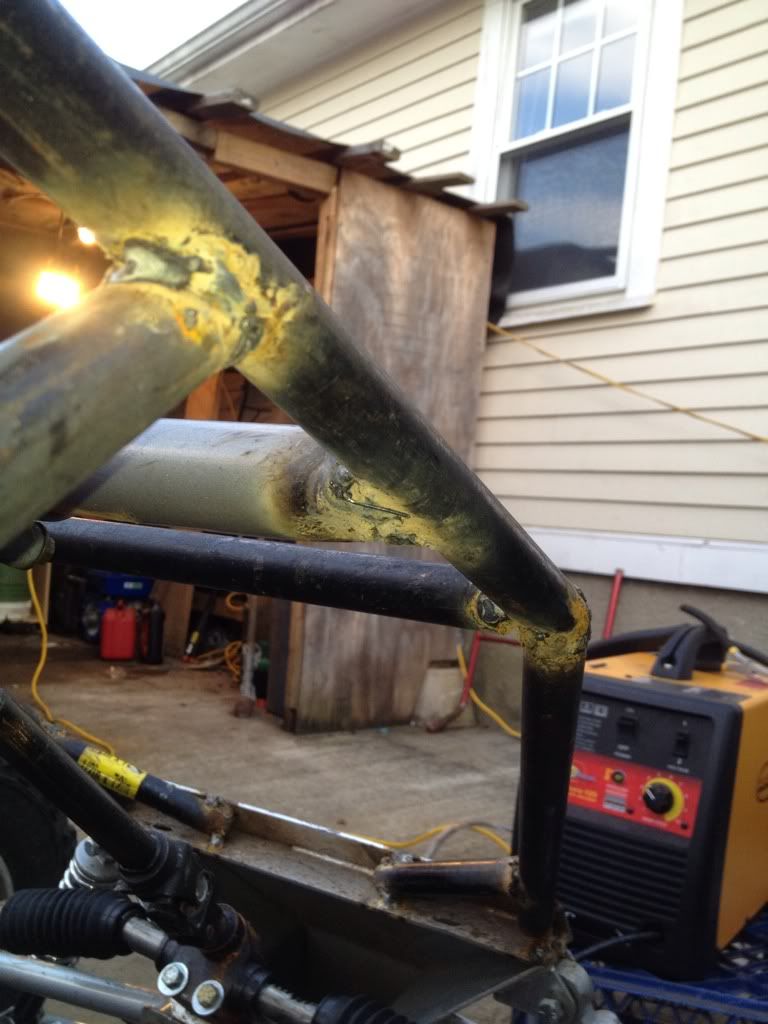 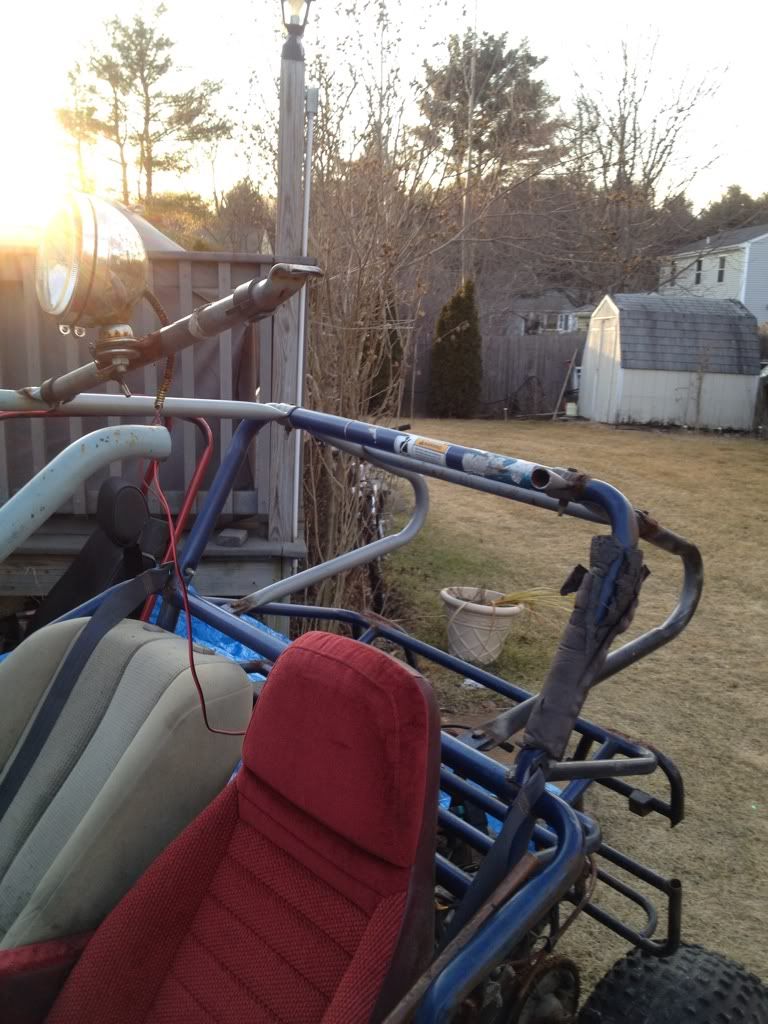 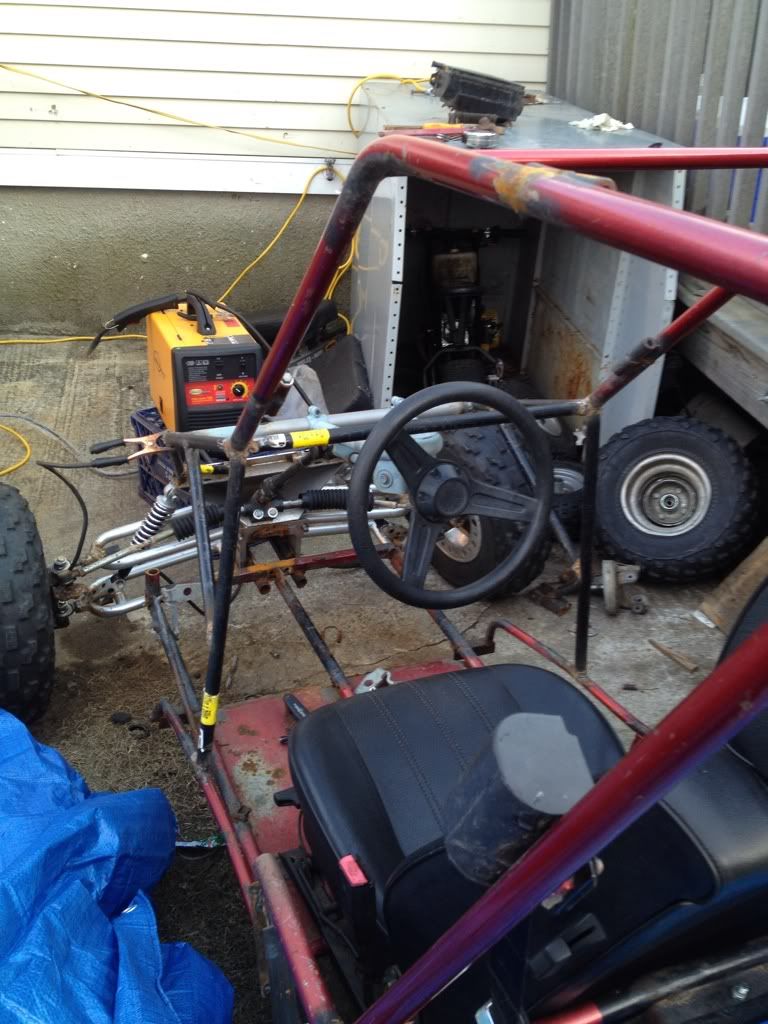 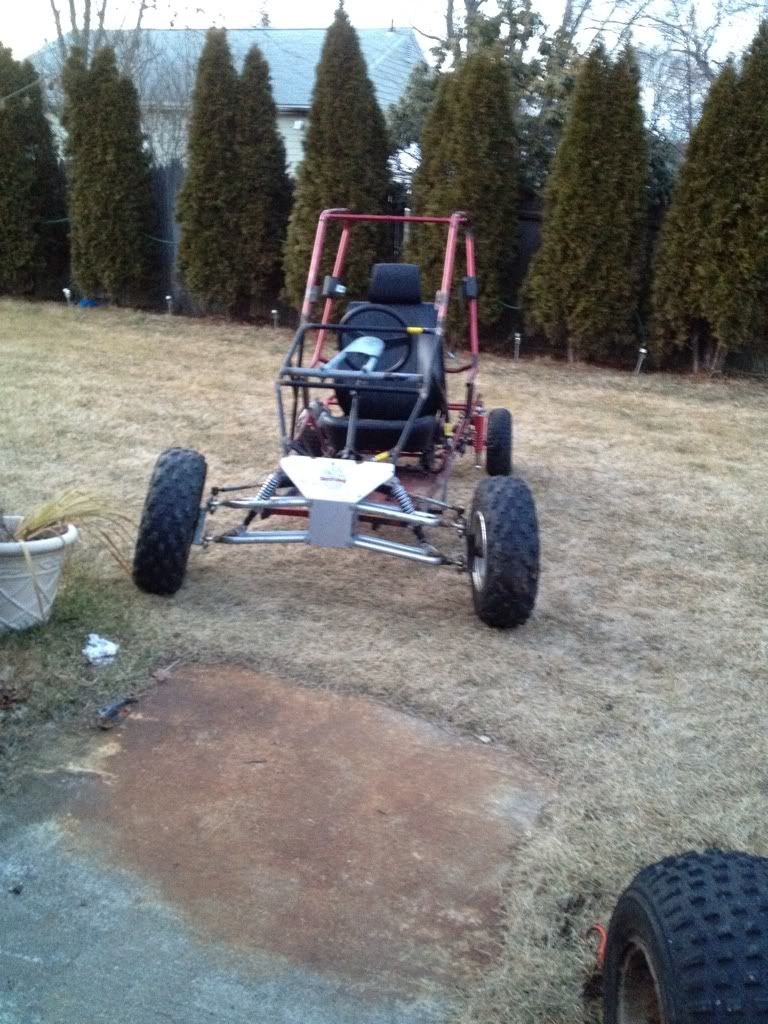 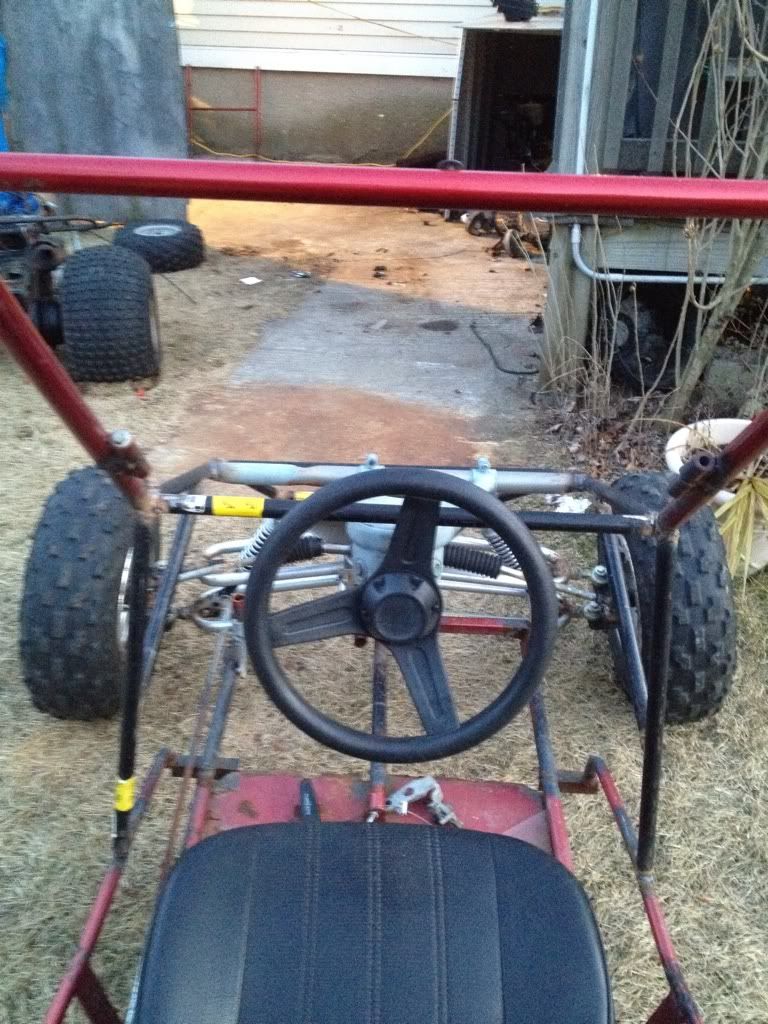 I also managed to detach the atc rear end from the yerf and let me tell you this was not fun. The previous owner gets the award for the best micky mouse job on a buggy.. everything was either taped, held by wire, or just poorly welded.. but im glad to have it off and now my new rear end that i want to build can take affect. 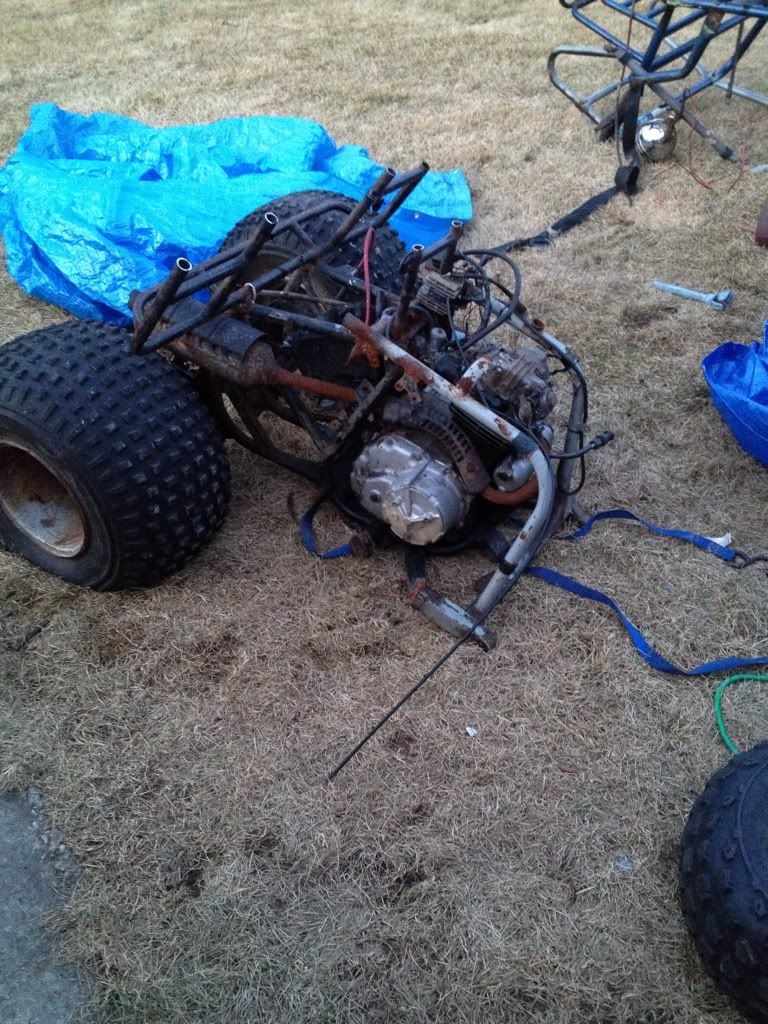 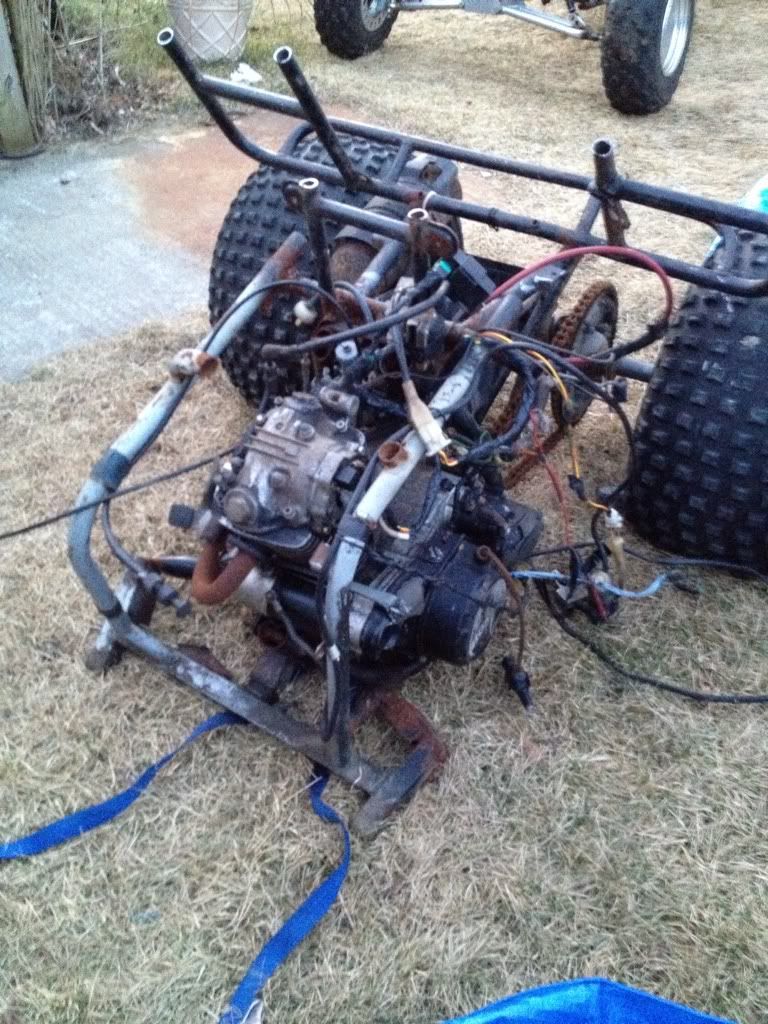 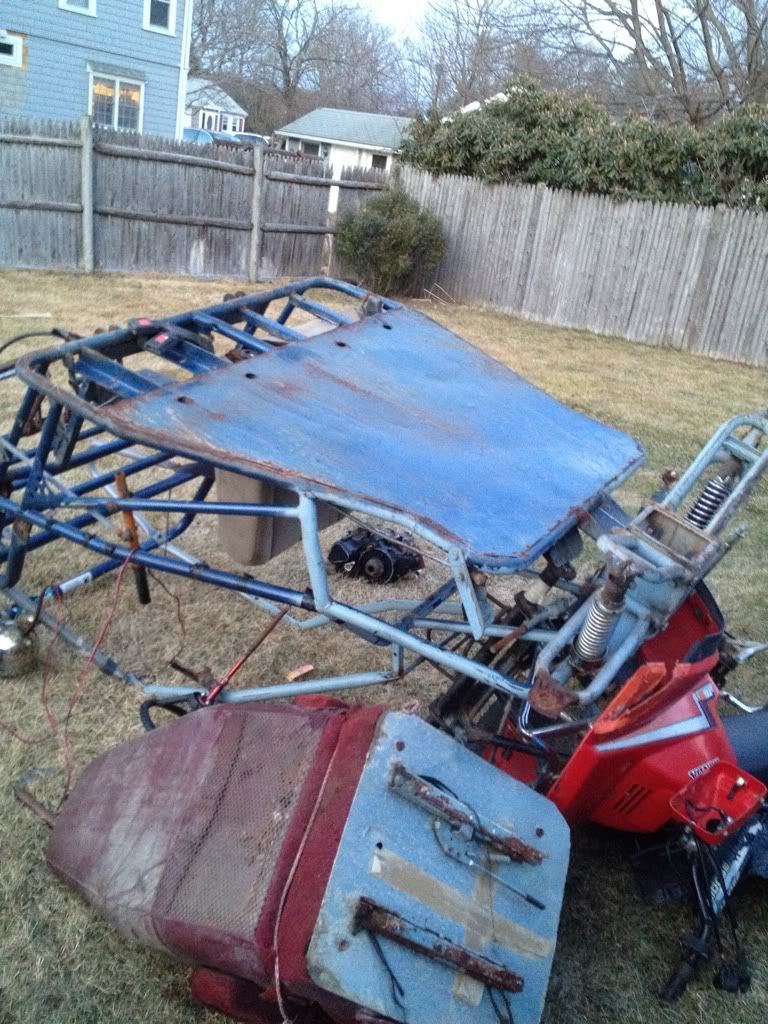 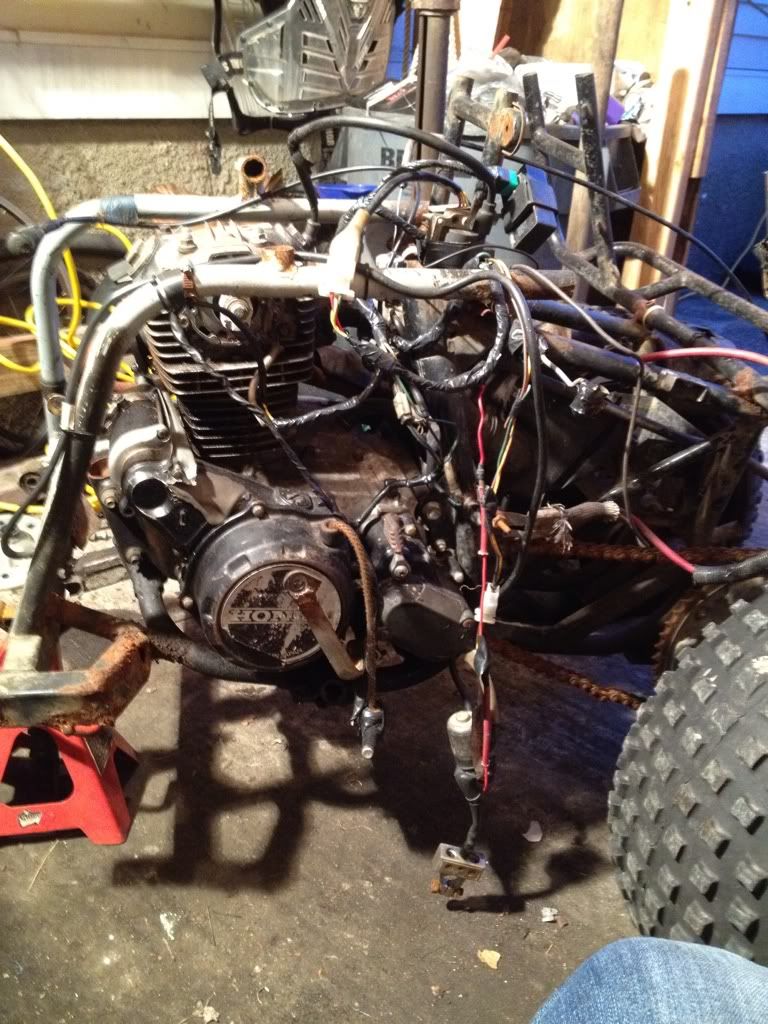 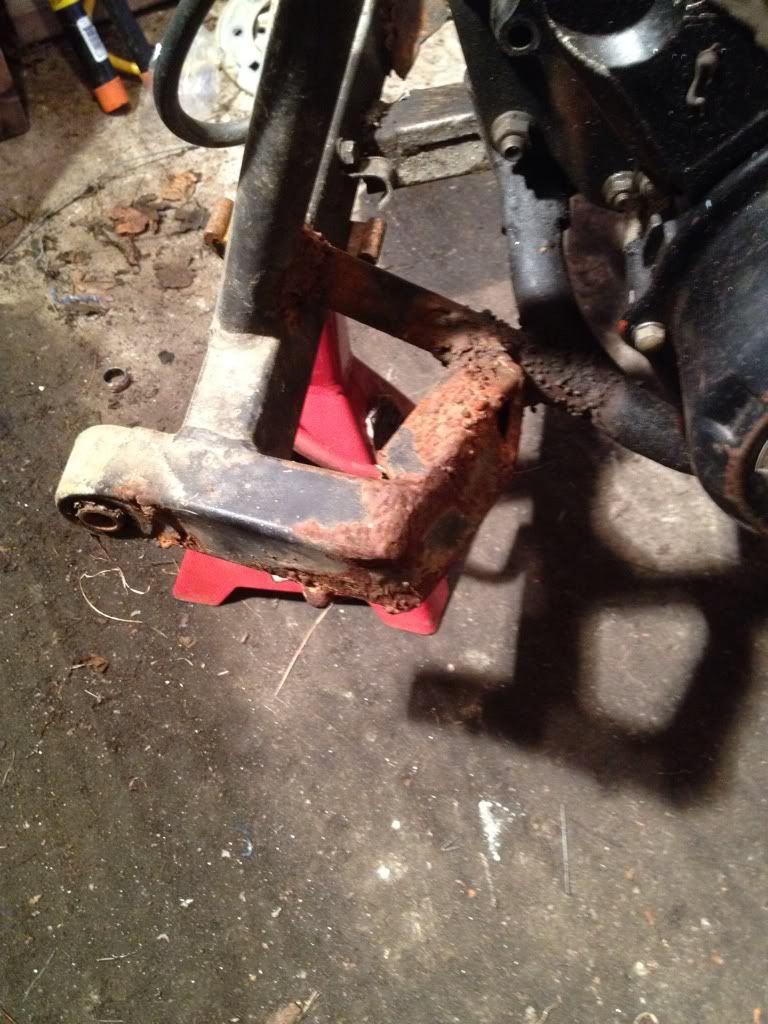 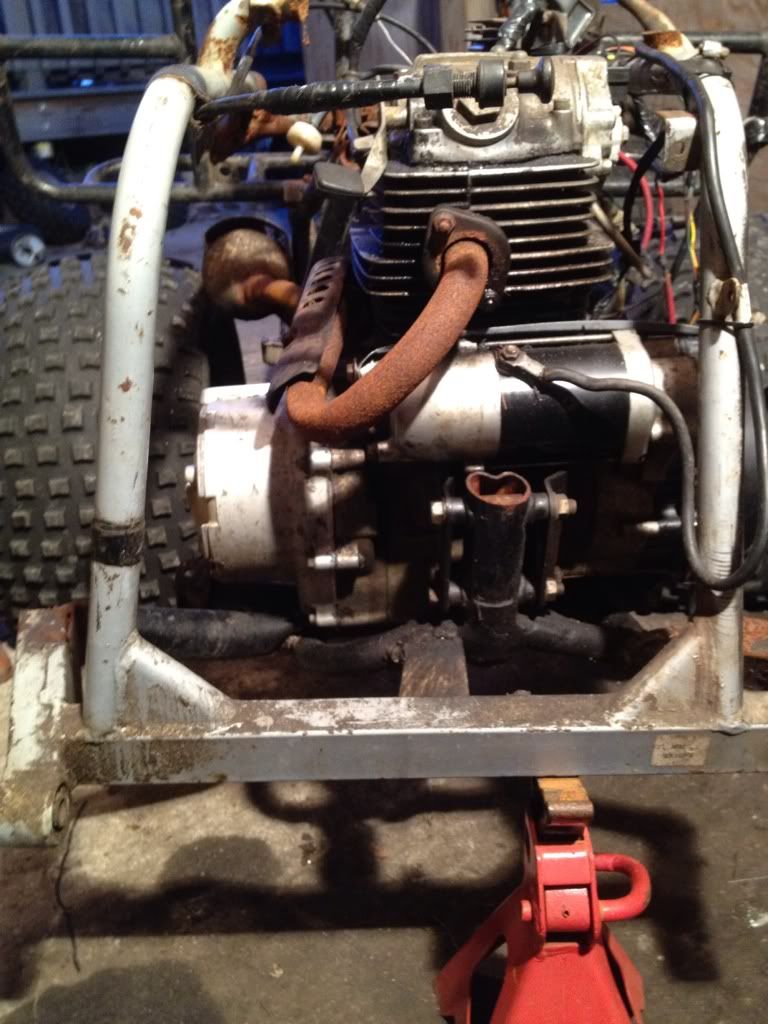 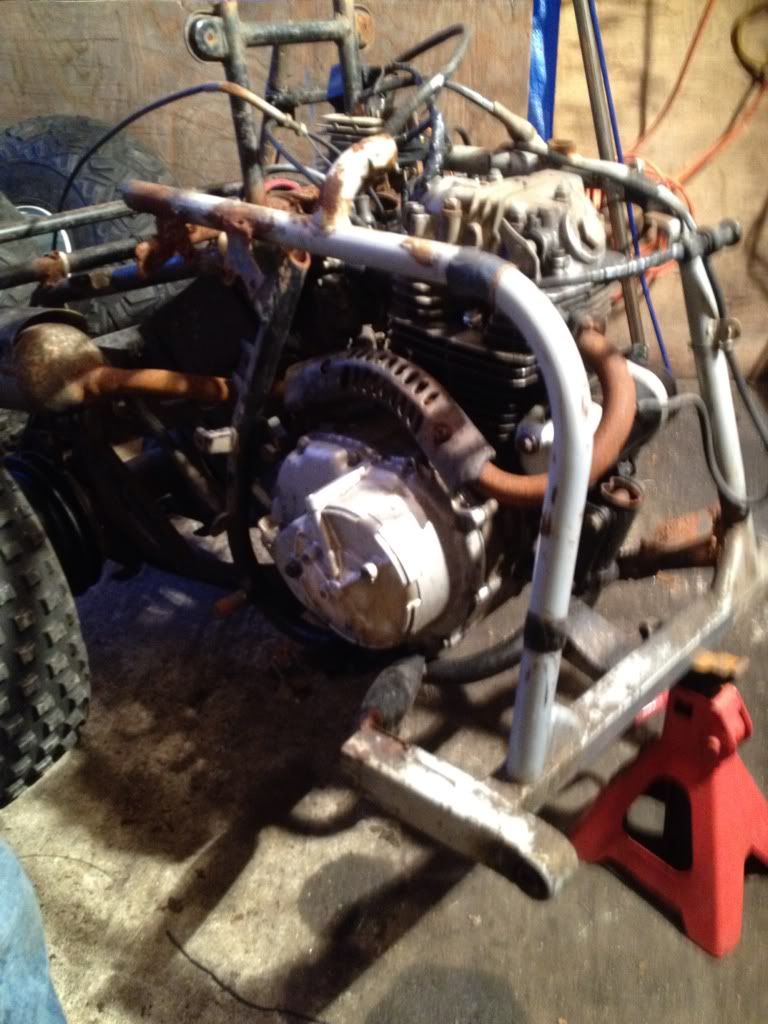
|
|
#11
|
|||
|
|||
|
Started working on my rear end!
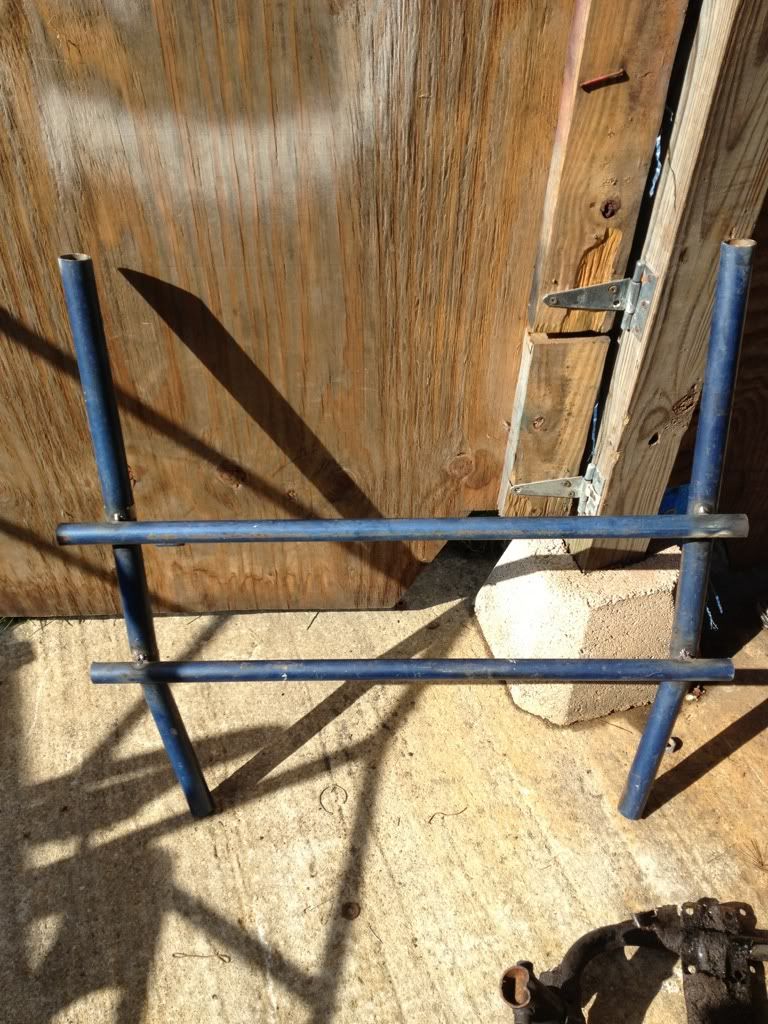 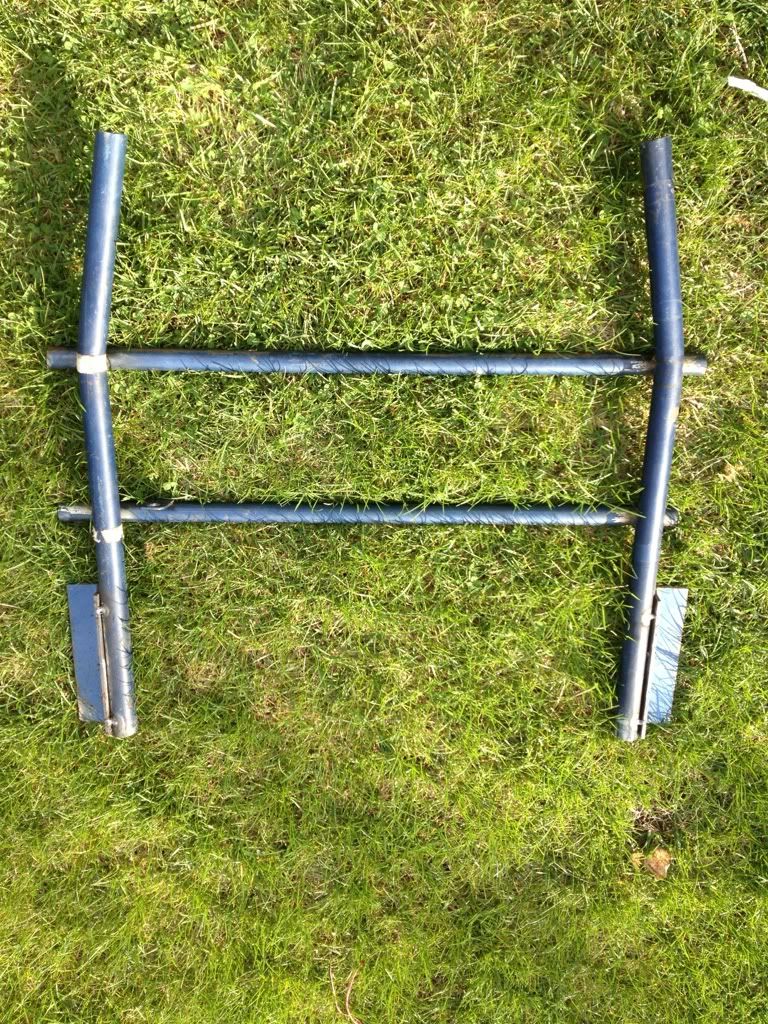 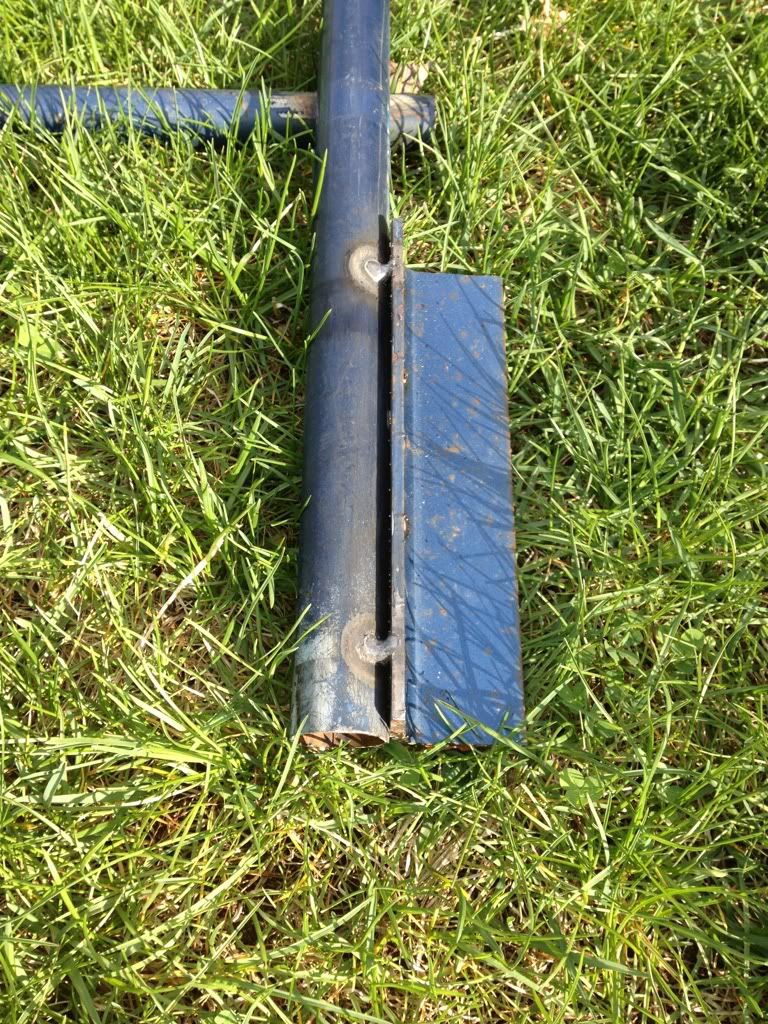 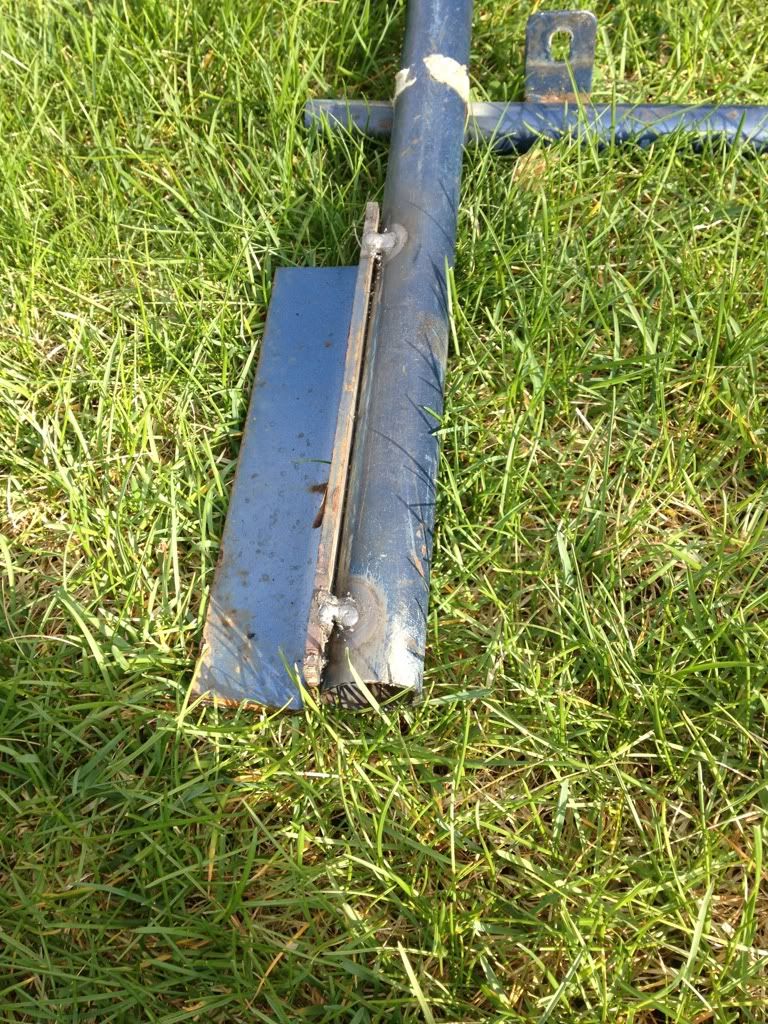 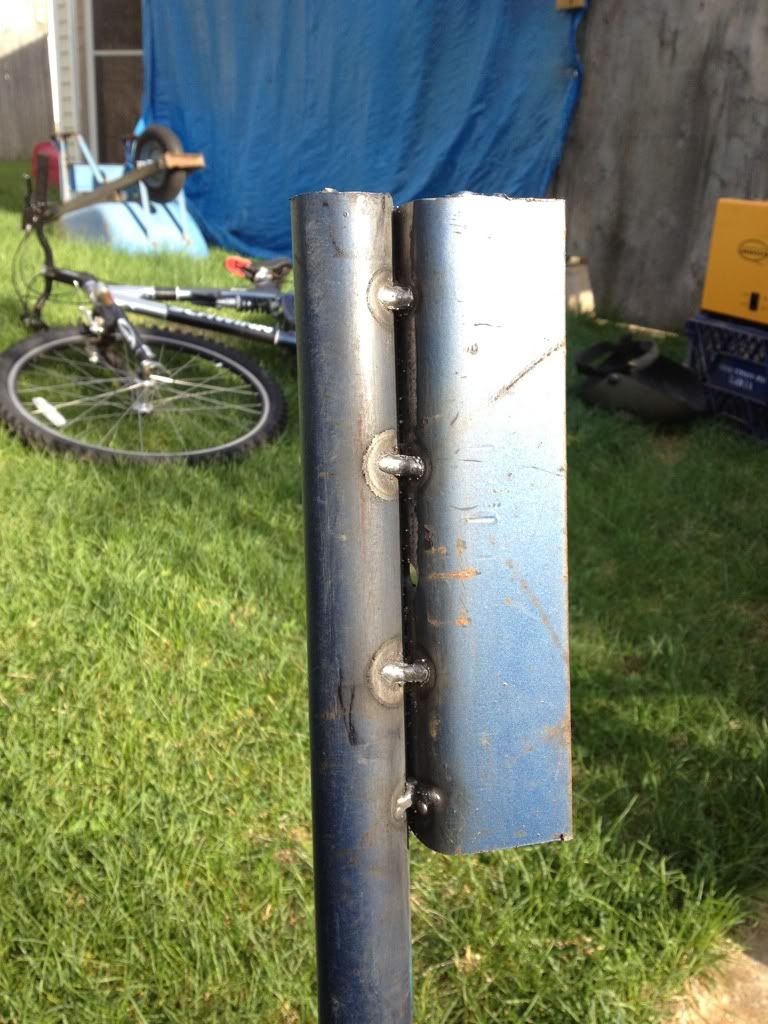 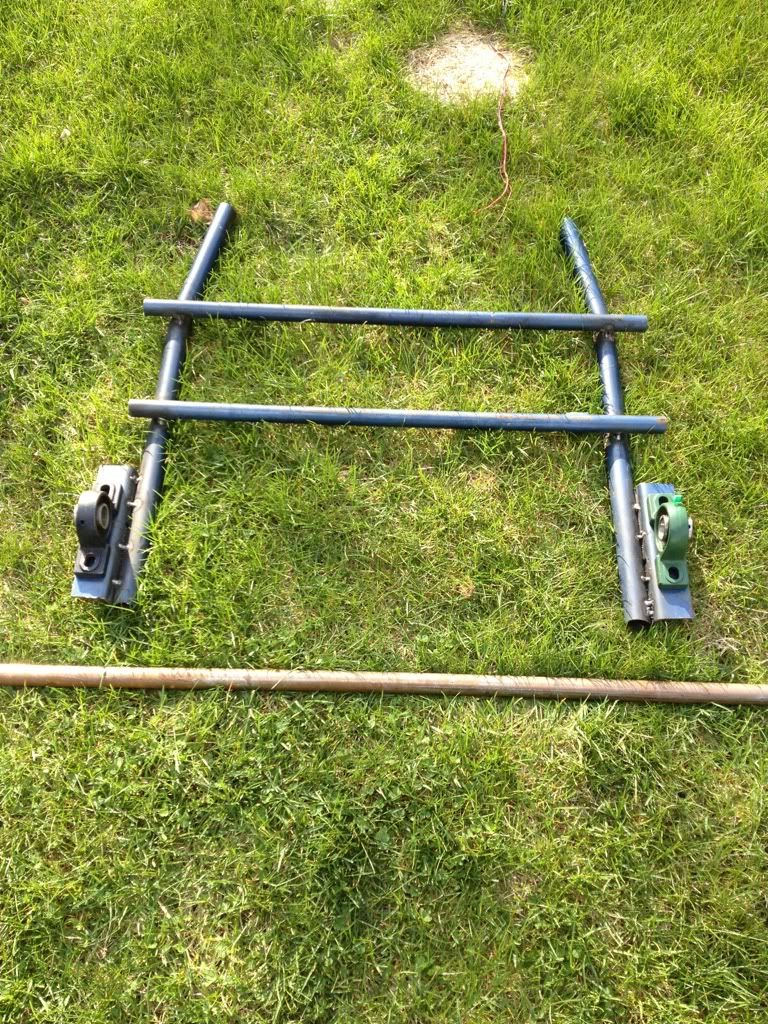 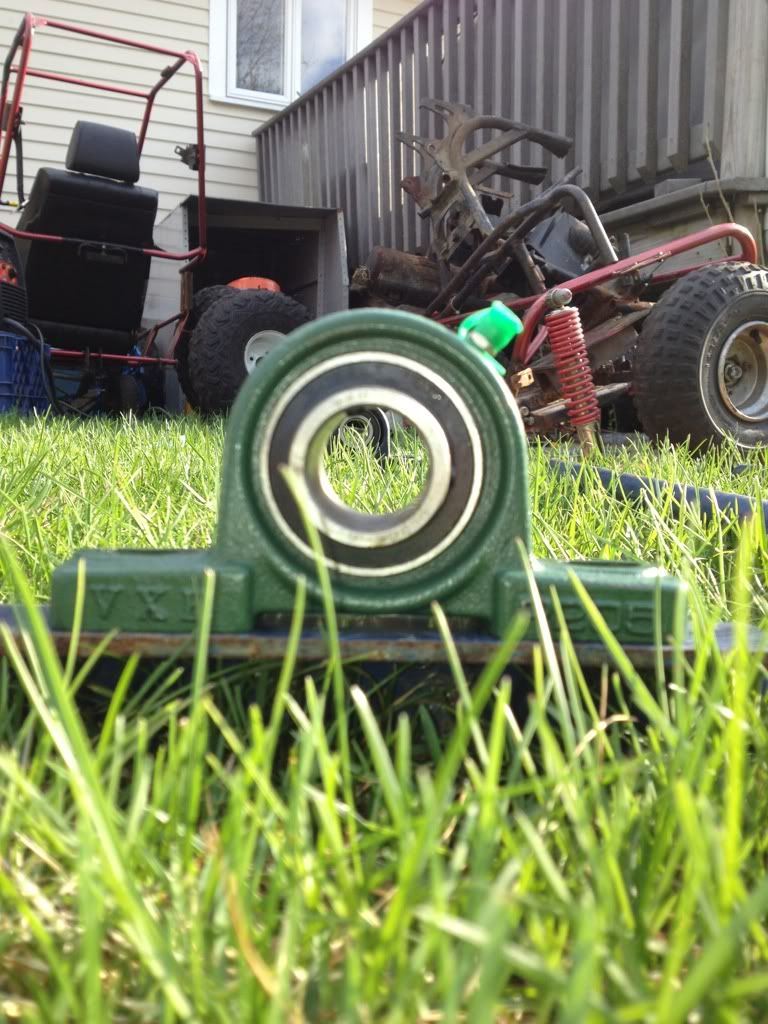 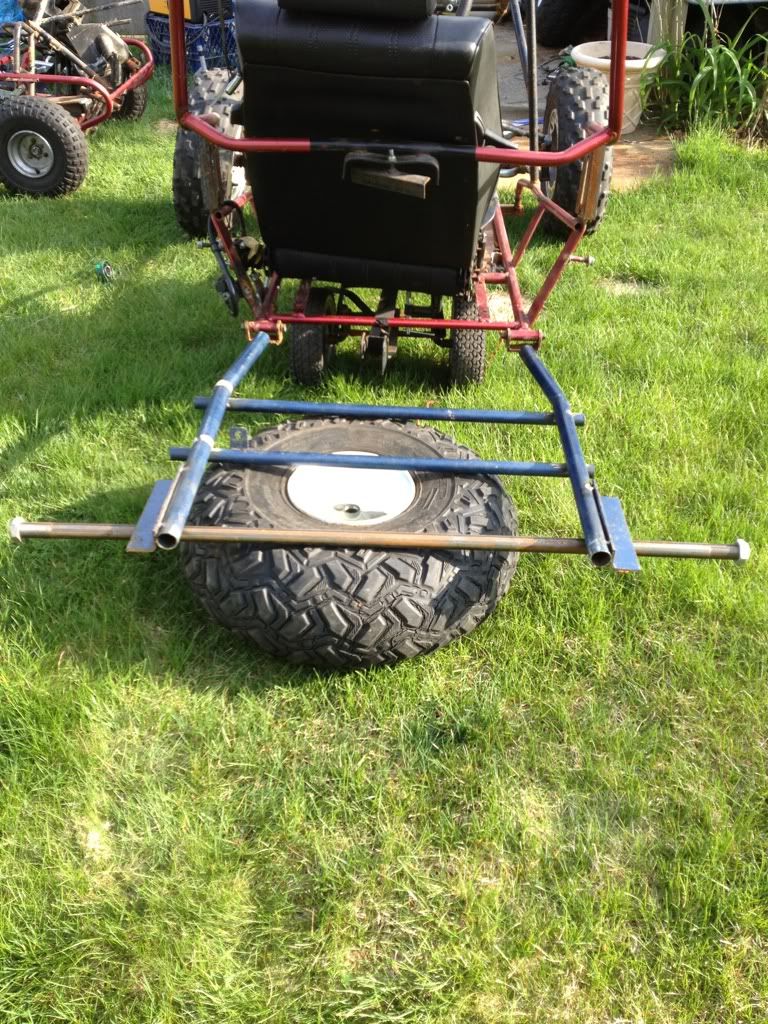 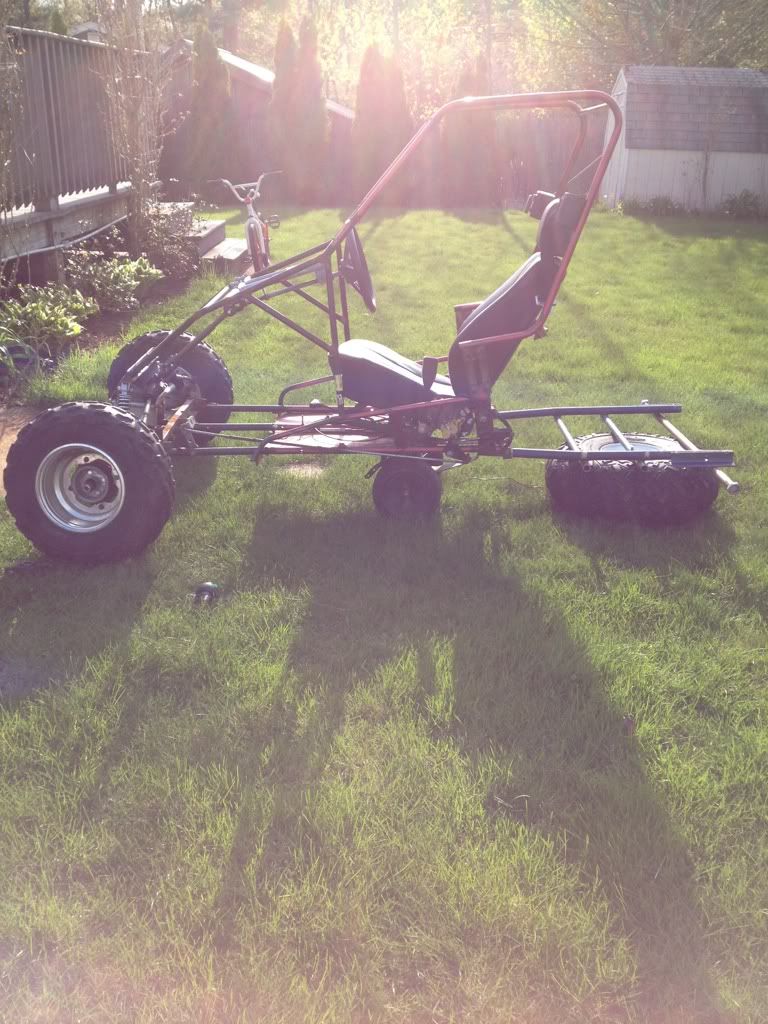 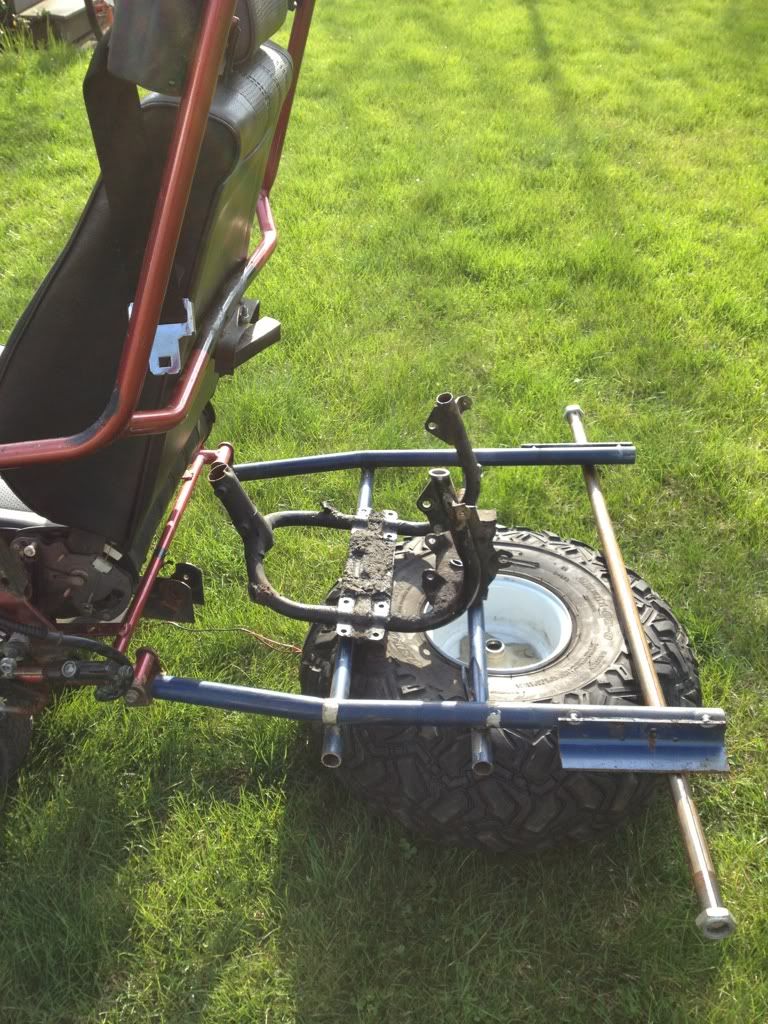 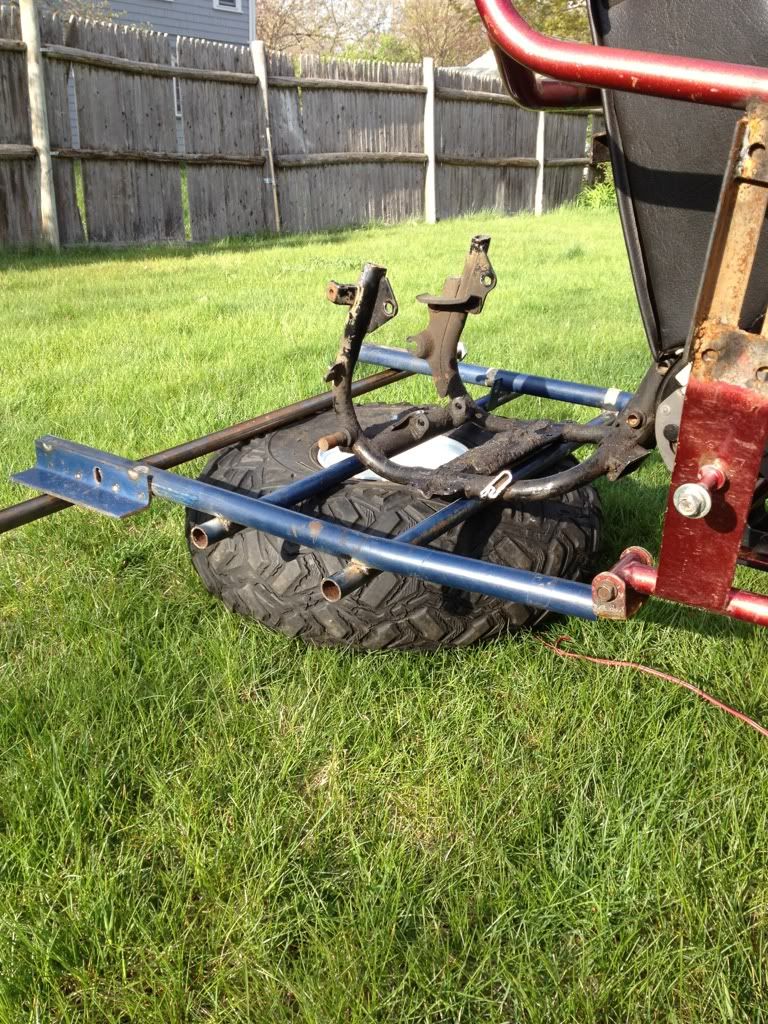 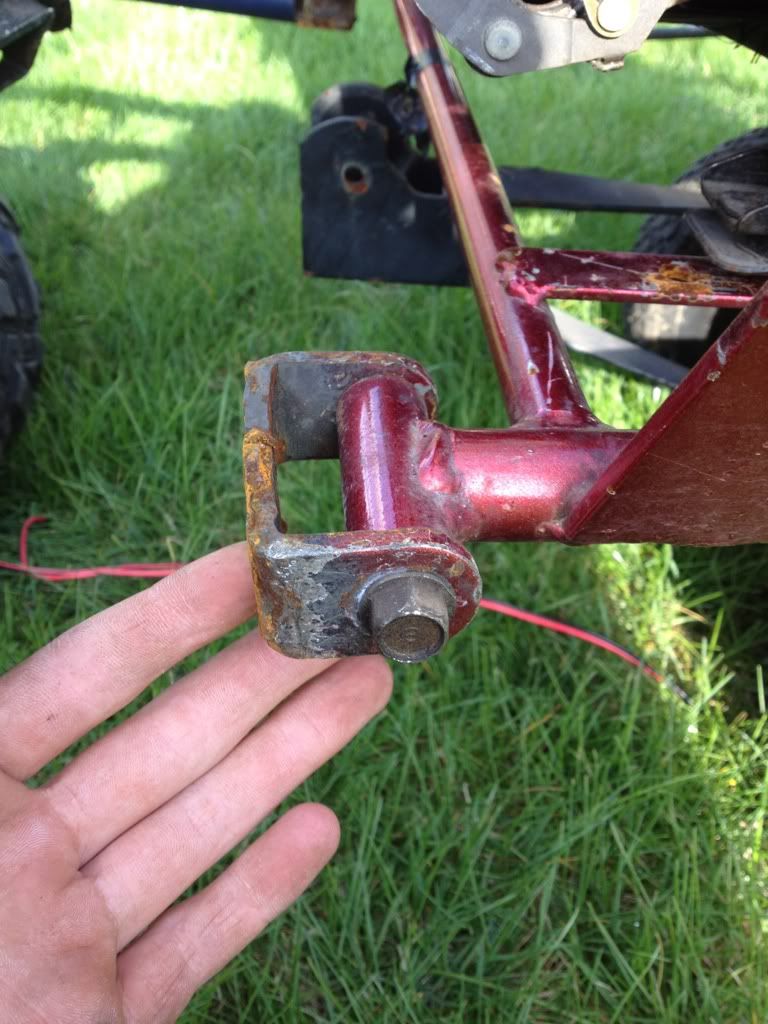 **NOTE EVERYTHING IS TACK WELDED NOT FINISHED** |
|
#12
|
|||
|
|||
|
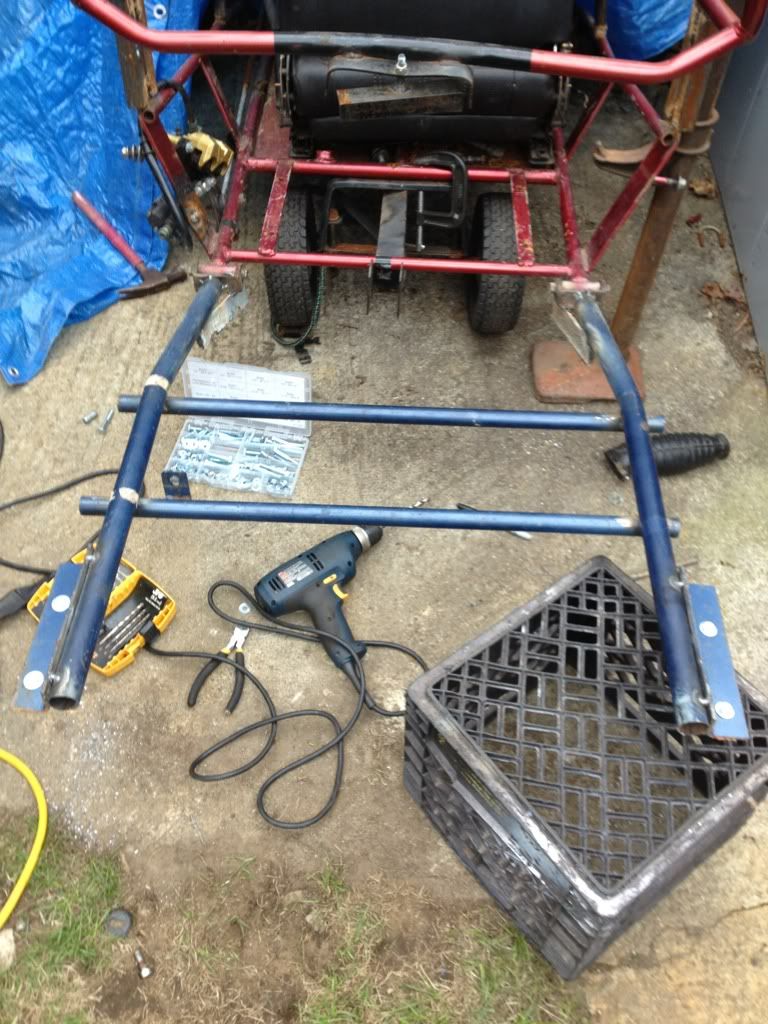
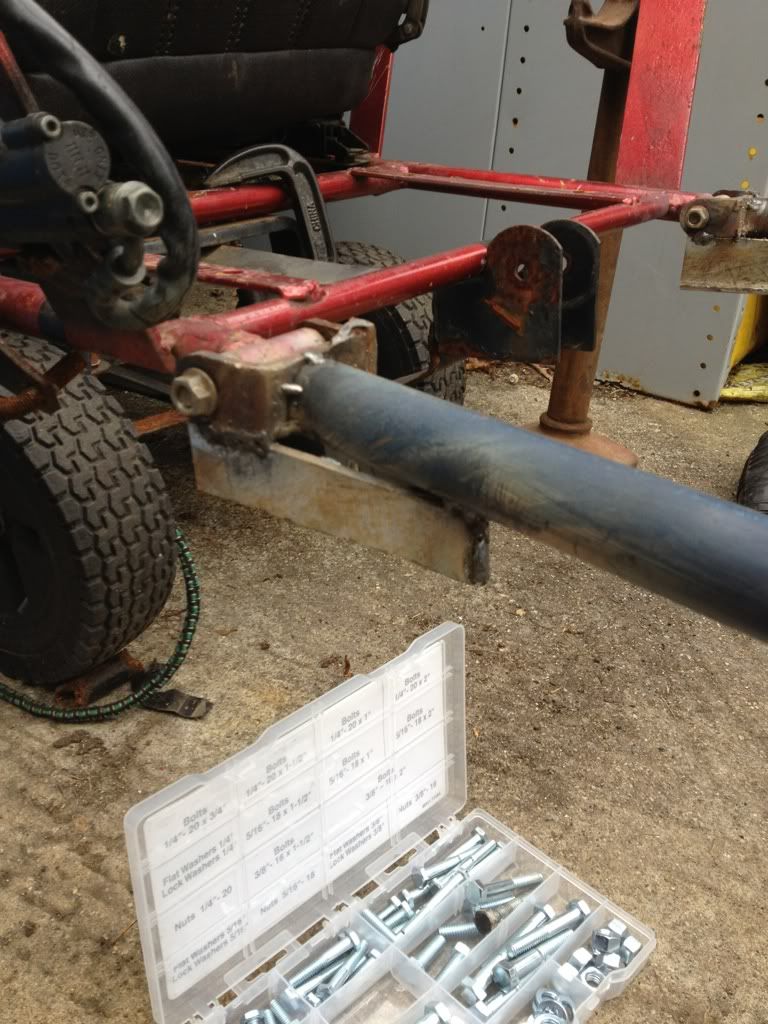
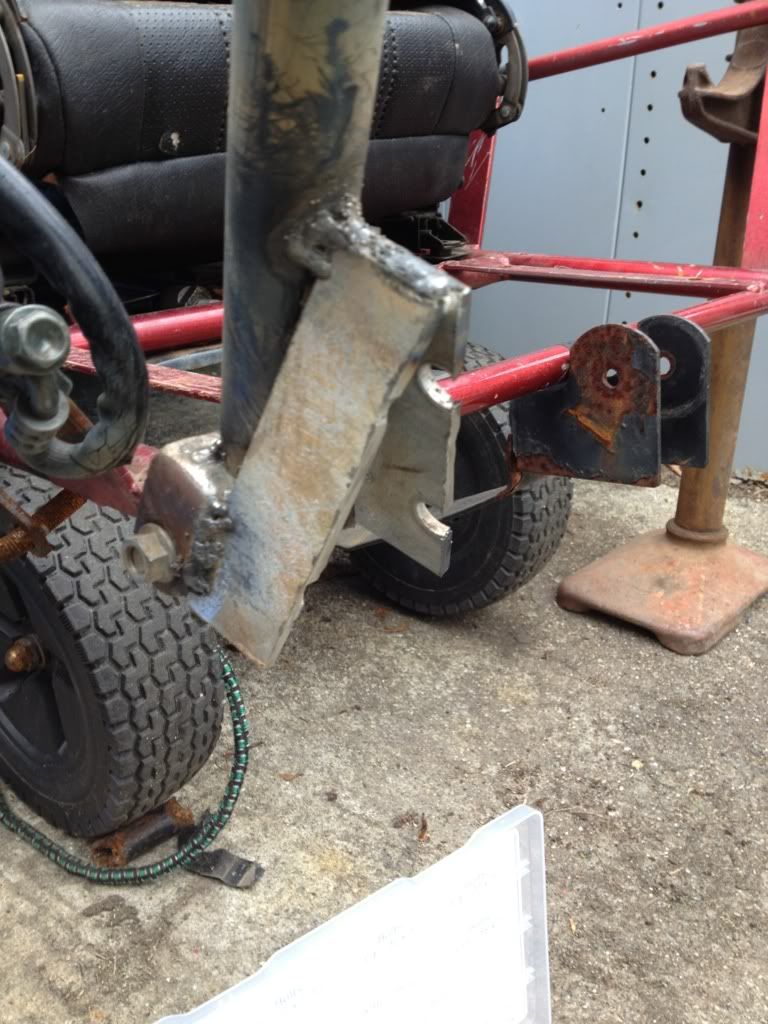
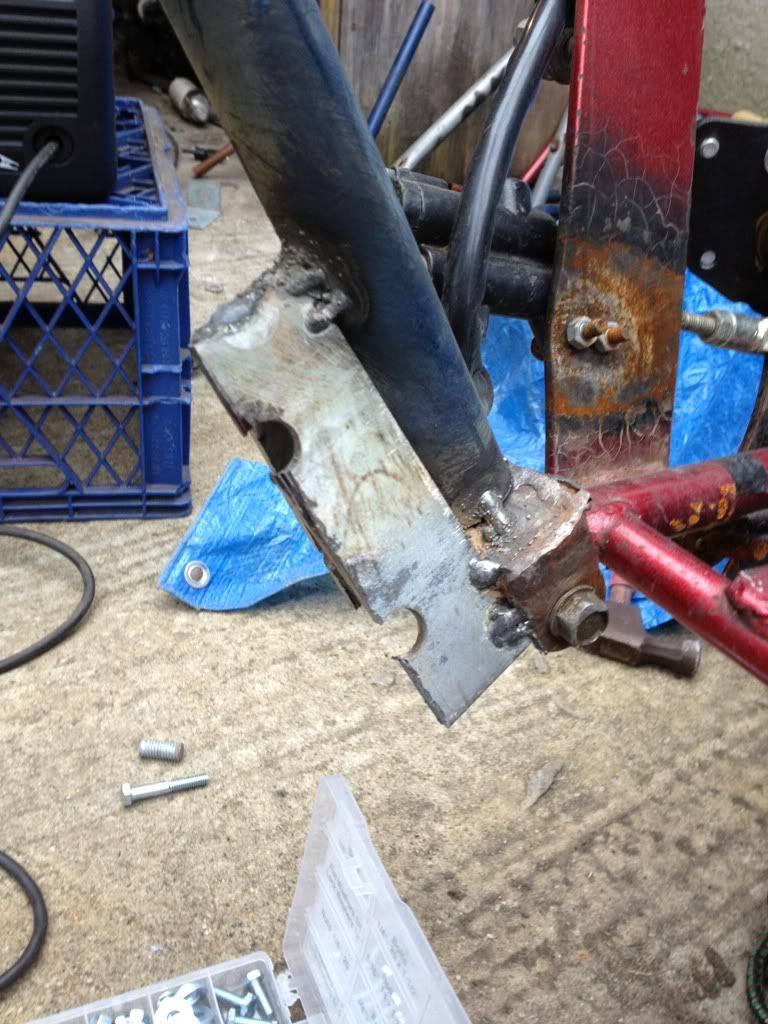
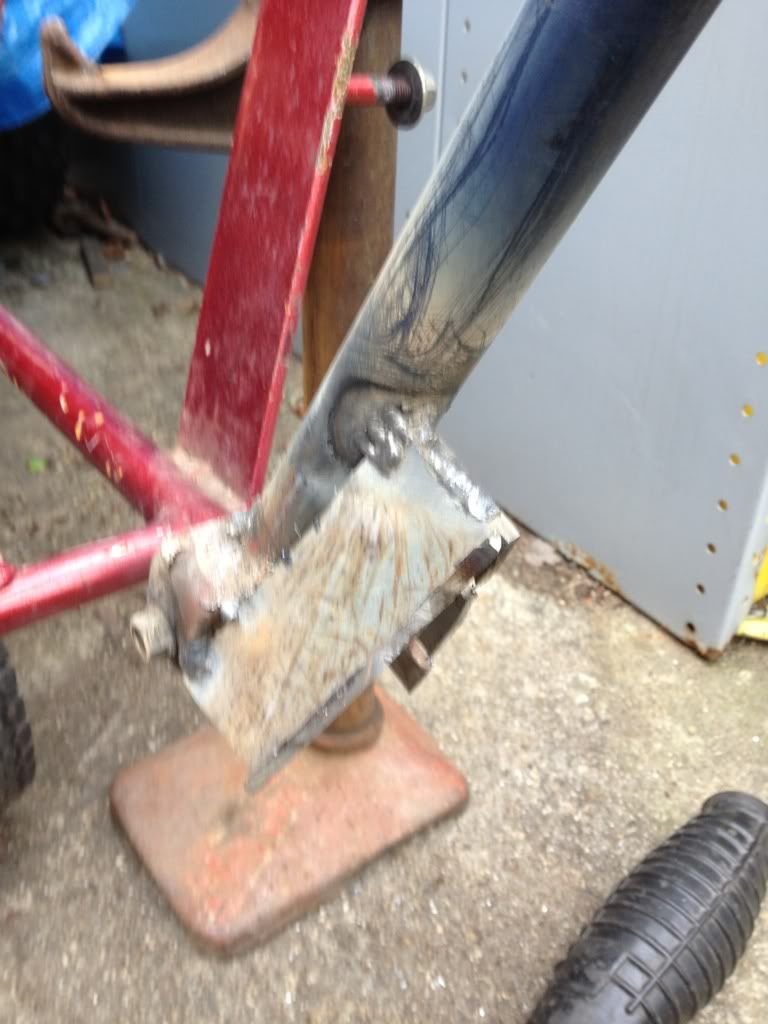
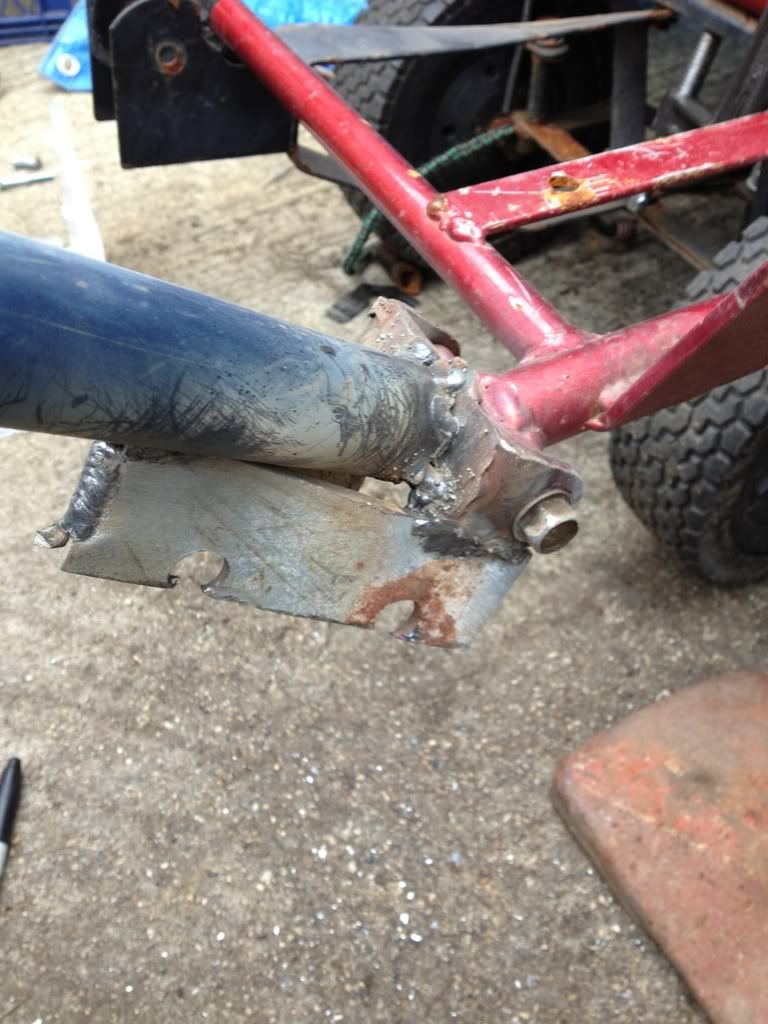
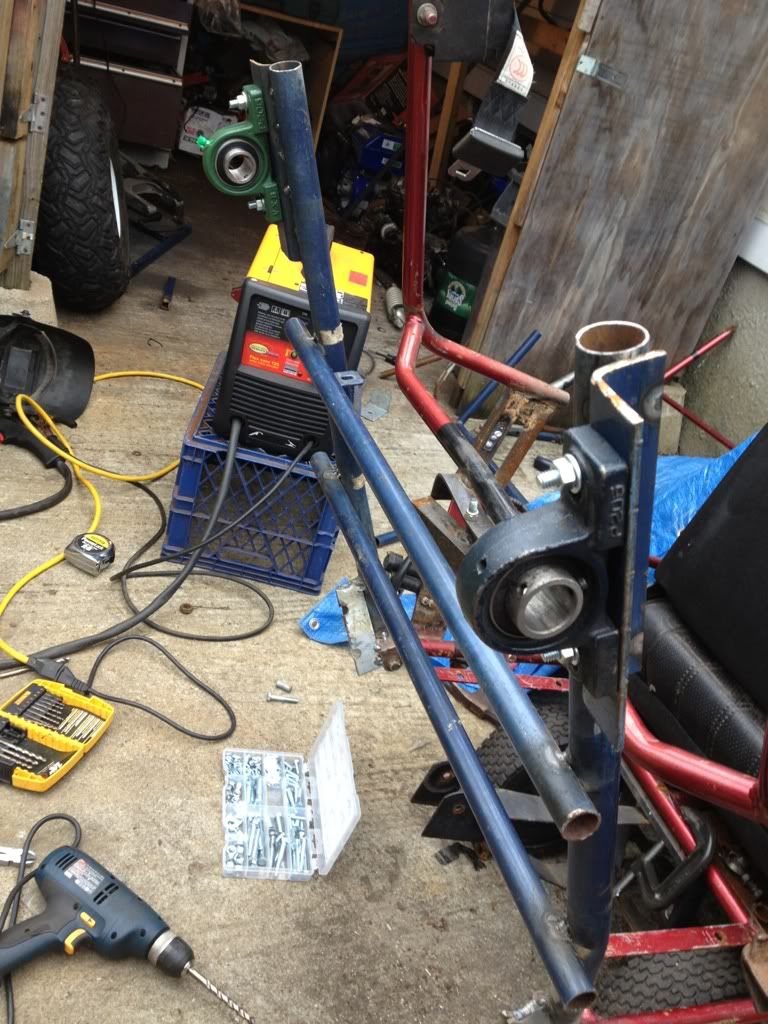
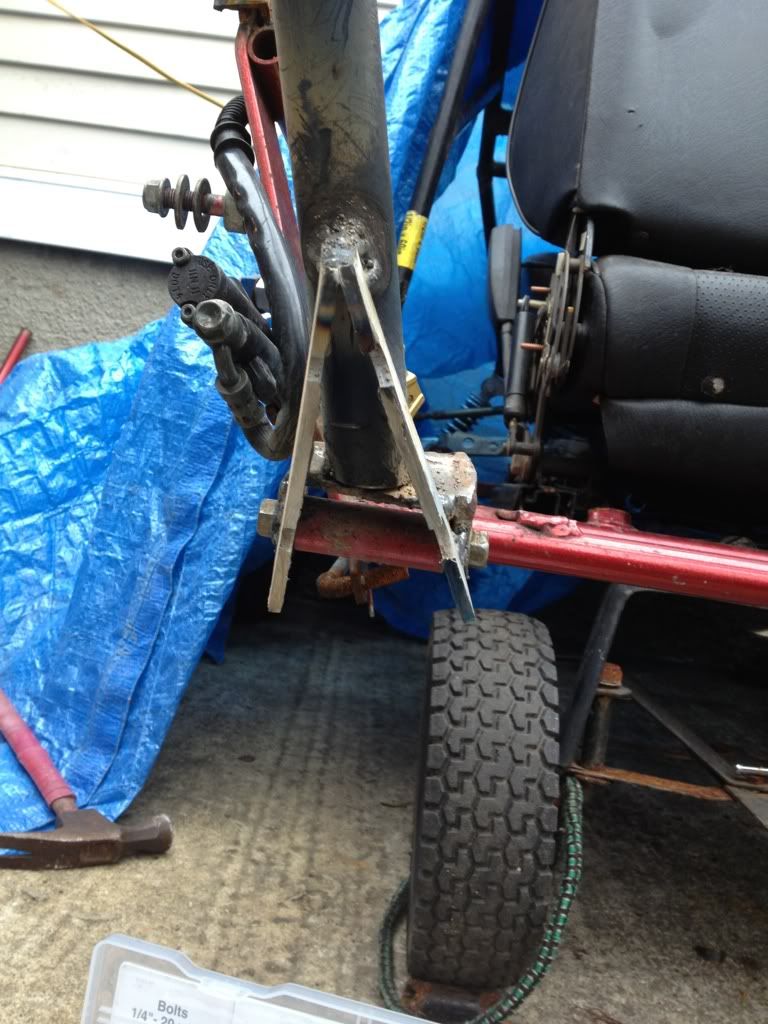
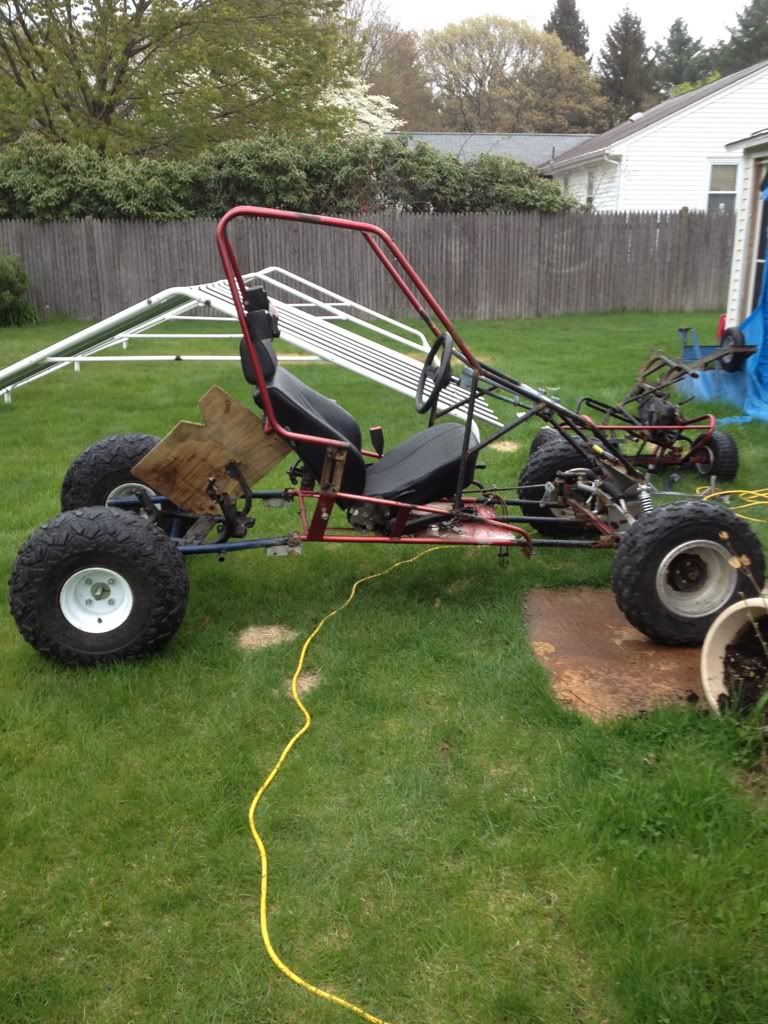
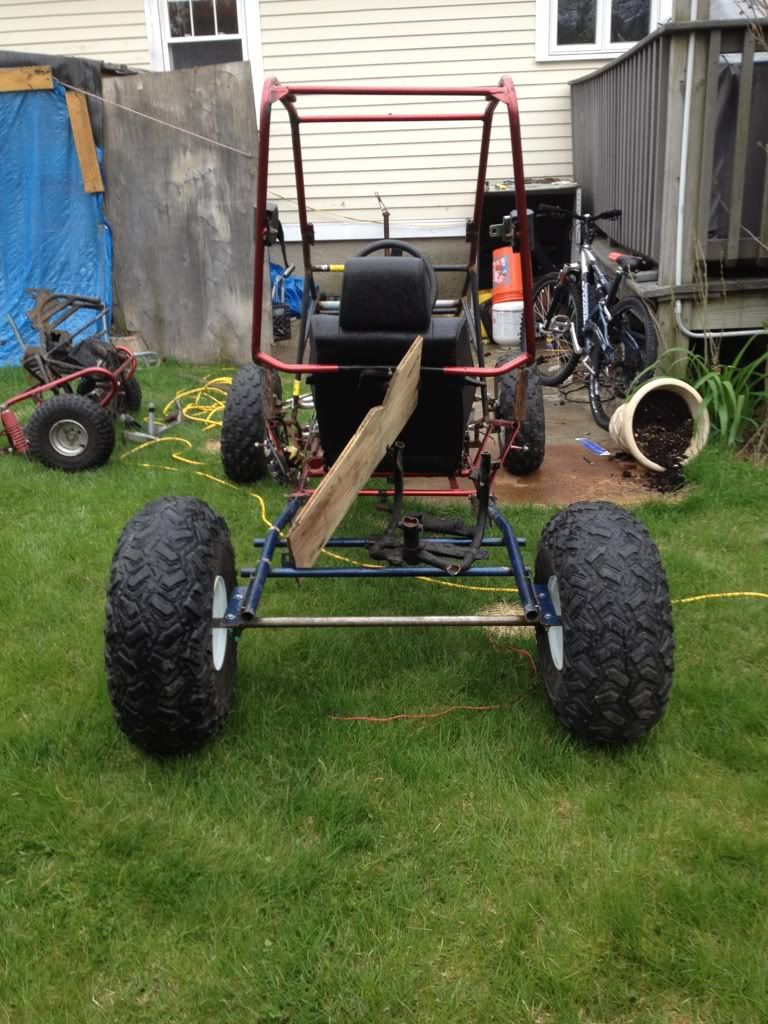
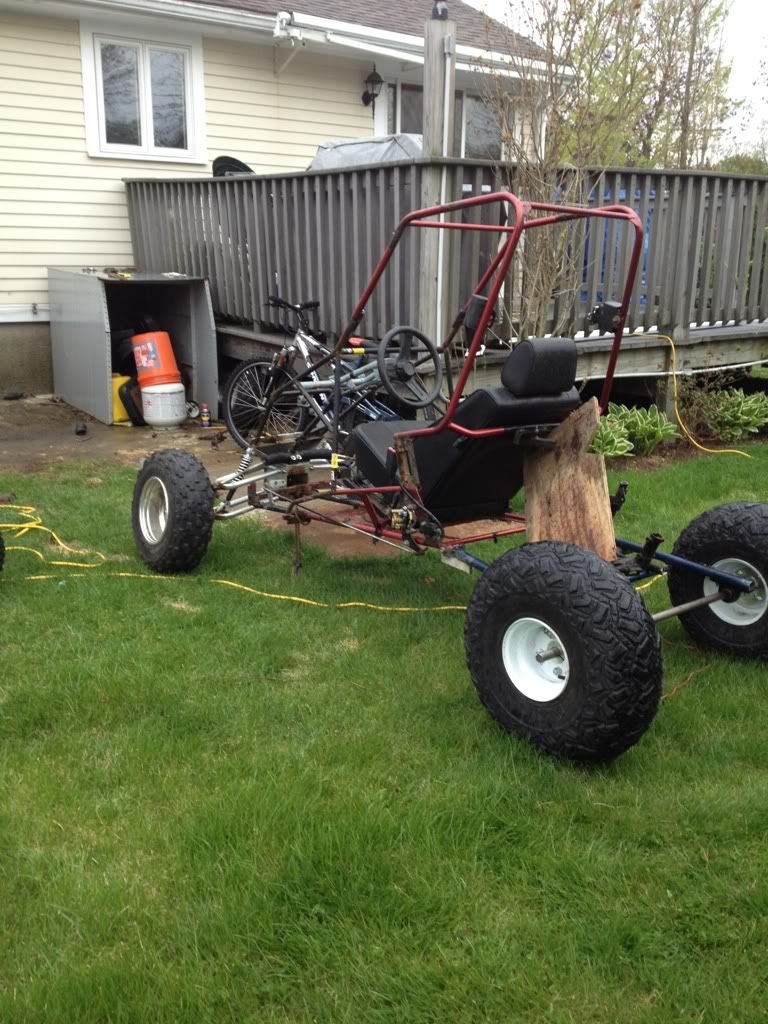
quick update IT FINALLY ROLLS!!!!!!
|
|
#13
|
|||
|
|||
|
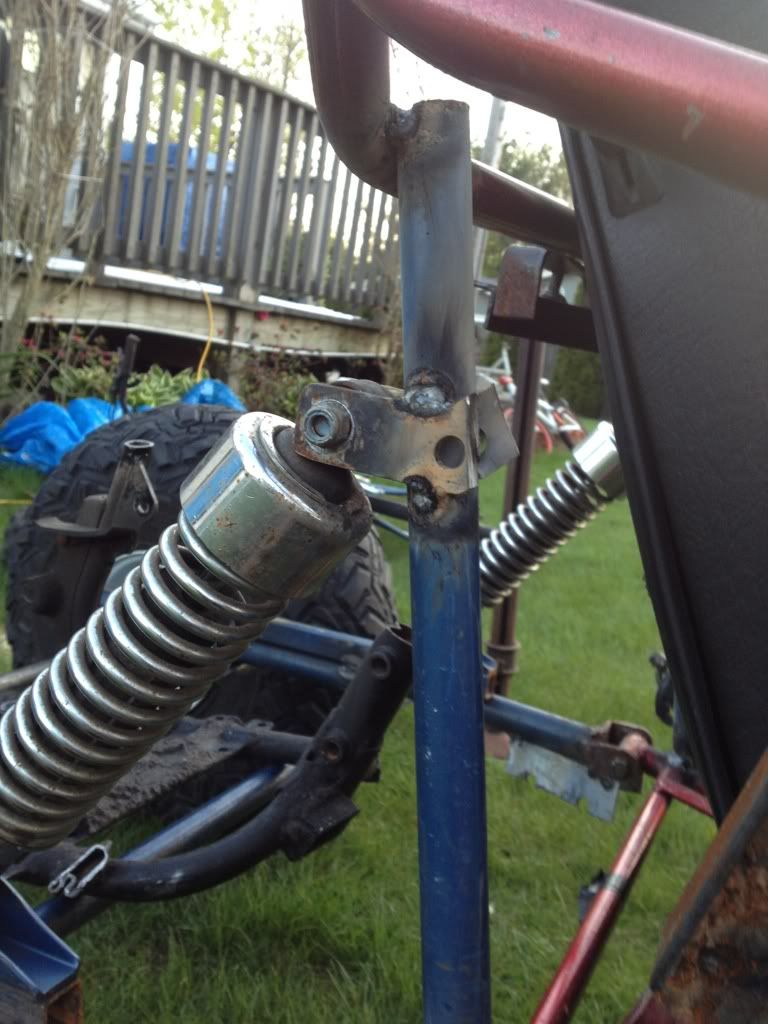
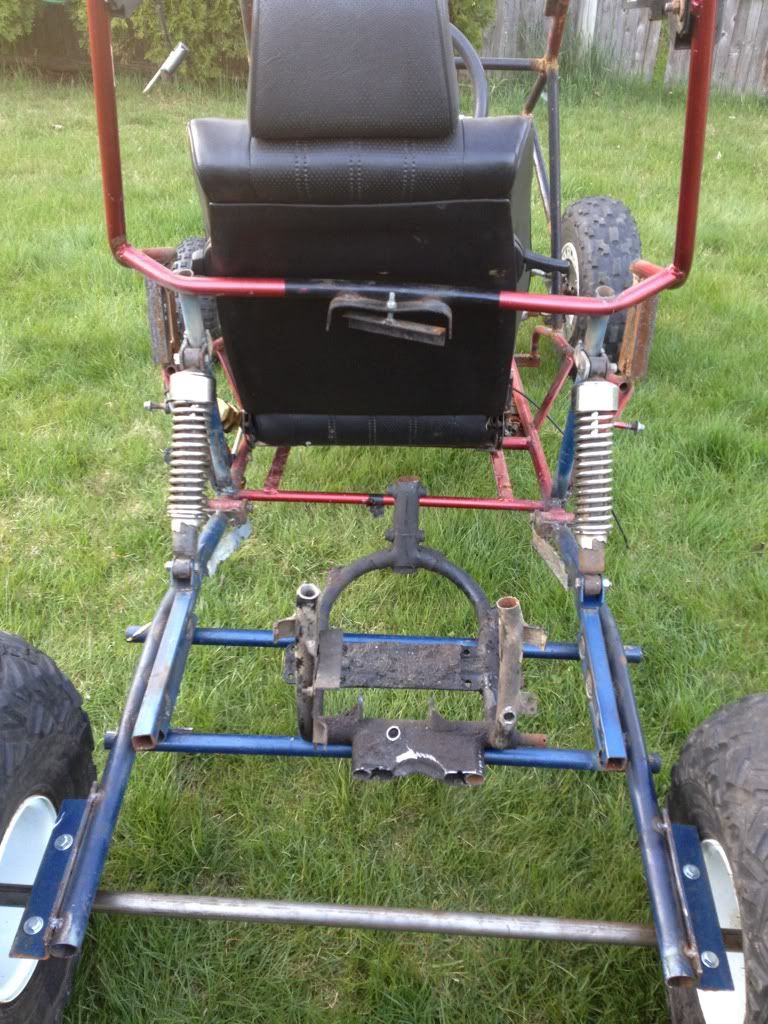
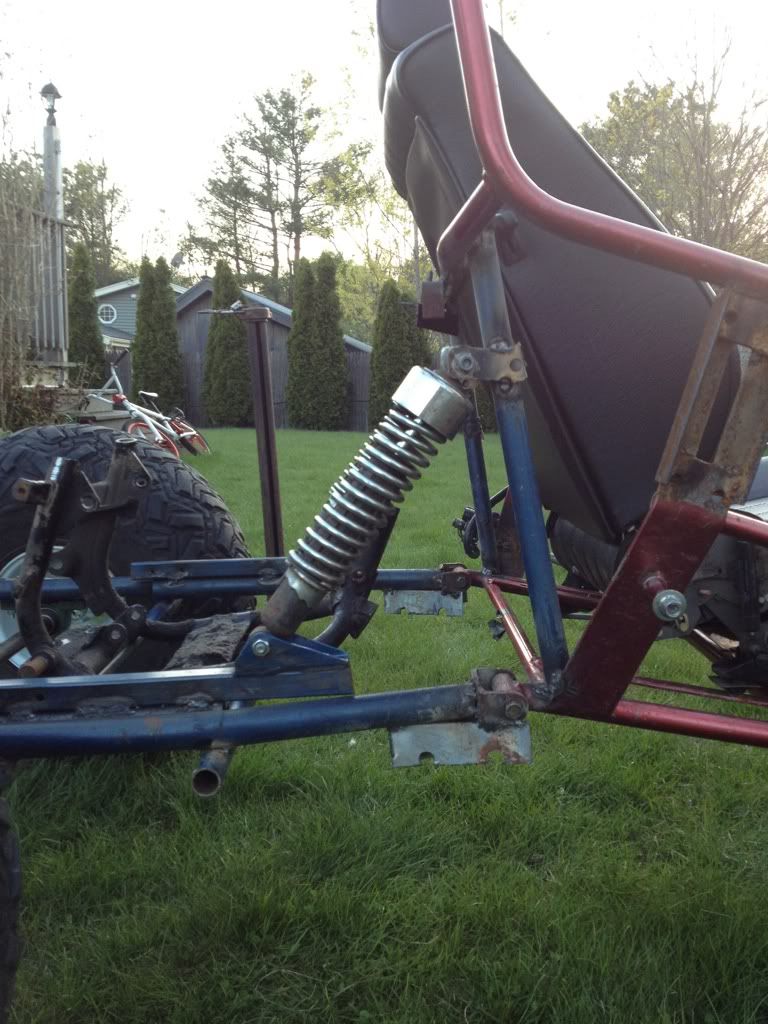
quick update
|
|
#14
|
|||
|
|||
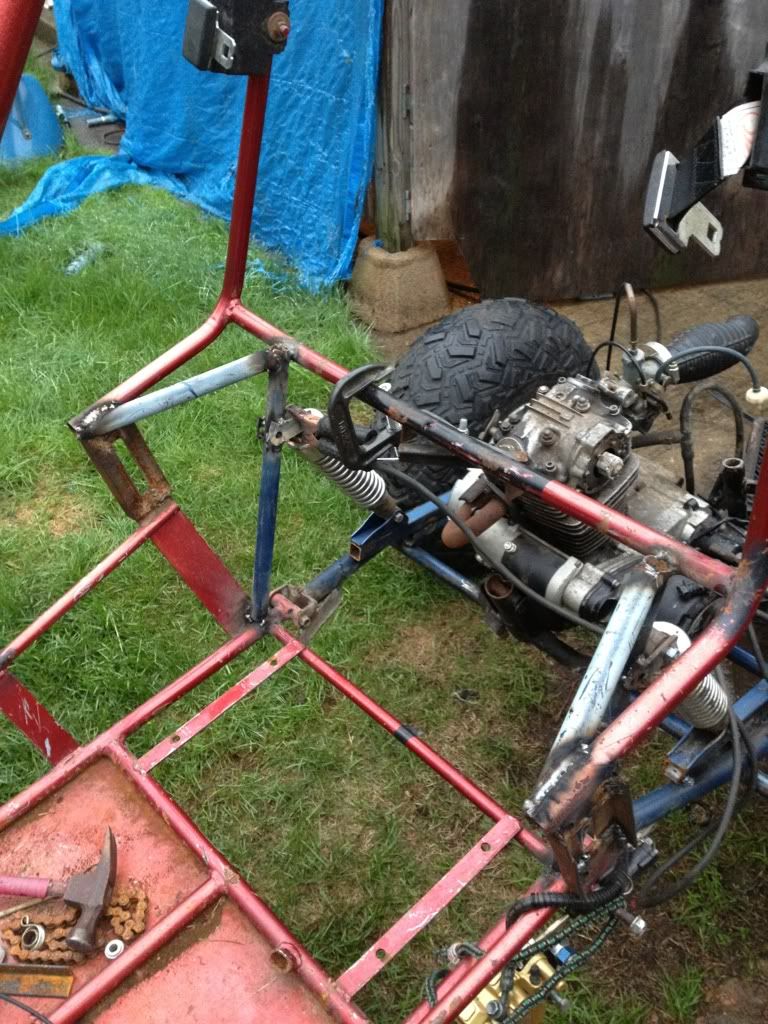 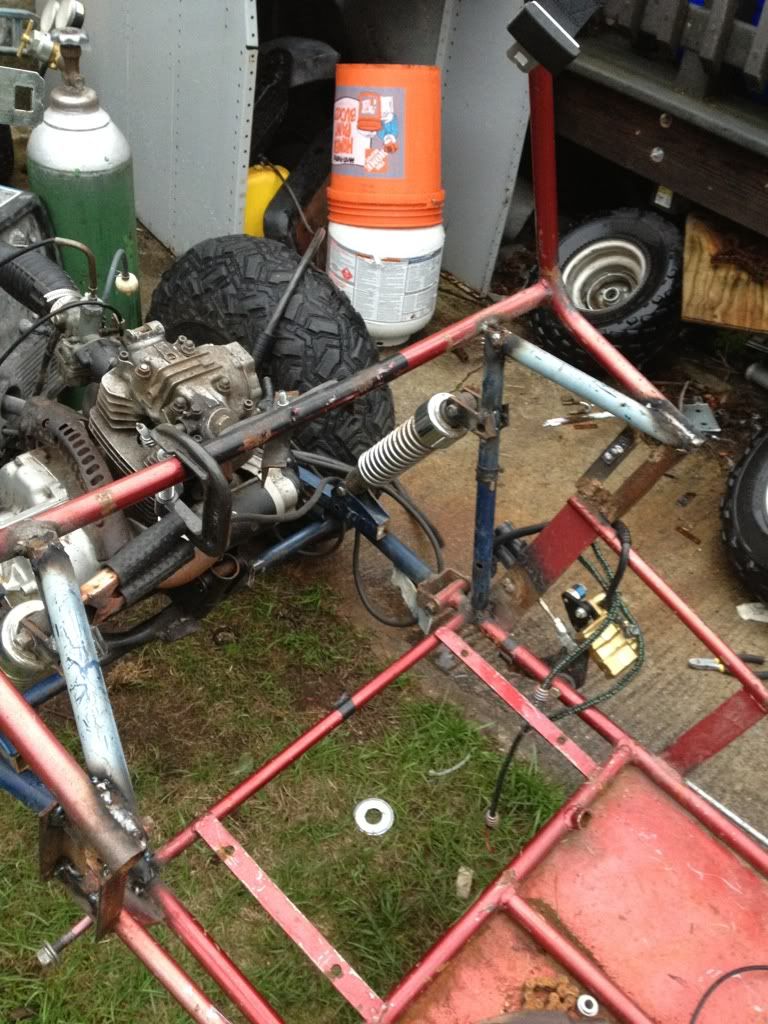 quick little update.. I put in the third pillow block bearing in the center of my axle so i wont have to deal with the axle flexing.. 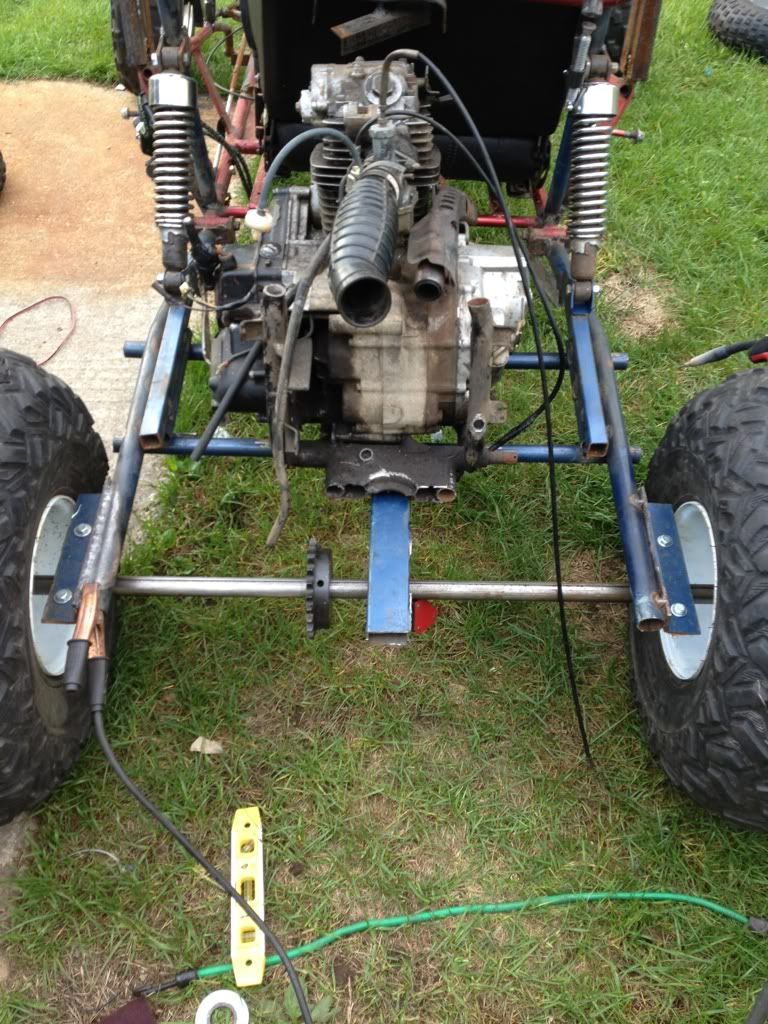 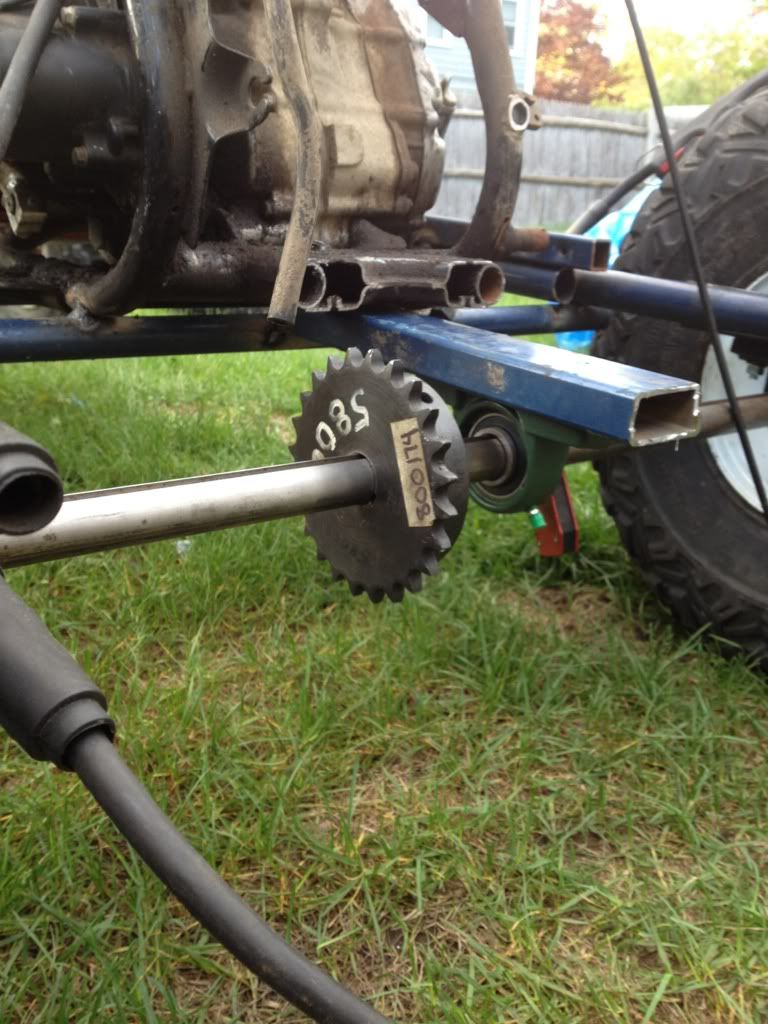 And for the concern about the metal my axle is bolted too it 1/4 in thick so im not scared of it failing.. 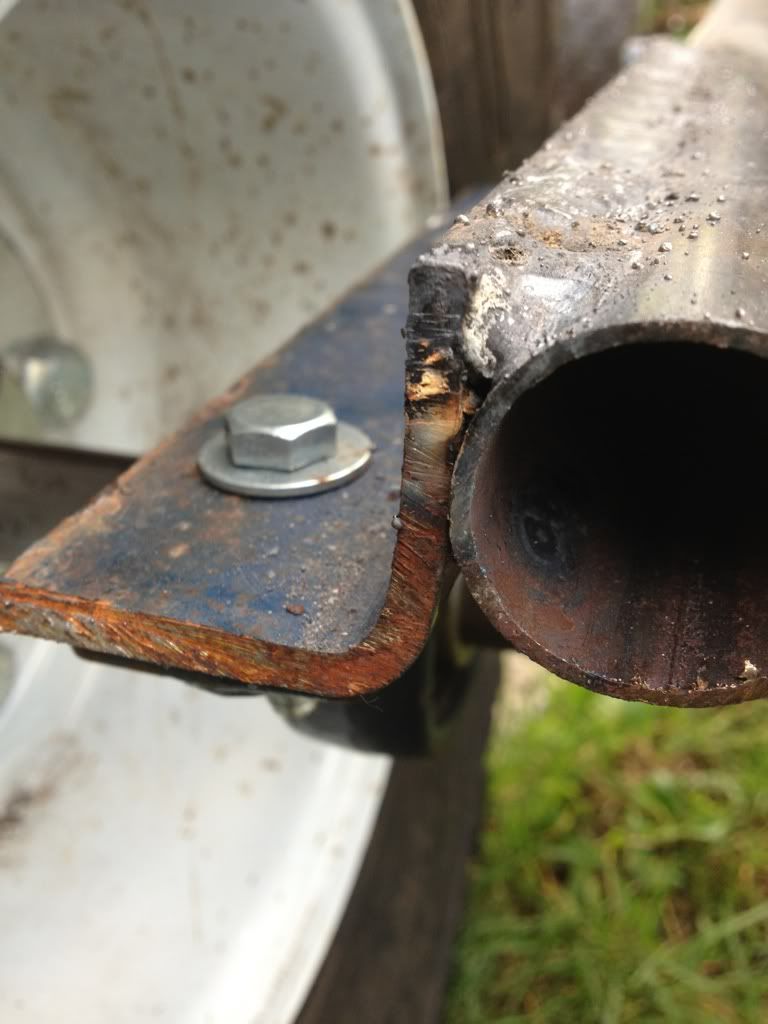
|
|
#15
|
|||
|
|||
|
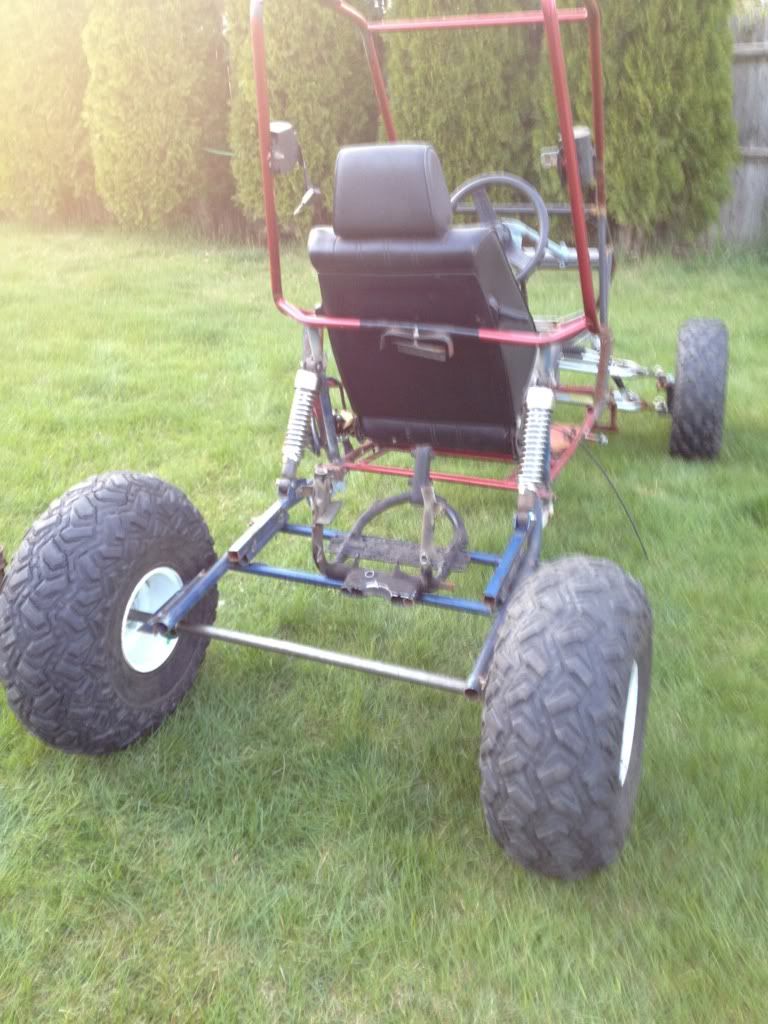
quick update.. I hated the way my a arms were so i went with the stock a arms with the heavy duty balljoints i think theyll hold up just fine! Also added the rear part of the cage i wanted hope you like it! ps. still waiting for the rear end to come back from the shop so i can start finishing up the buggy.
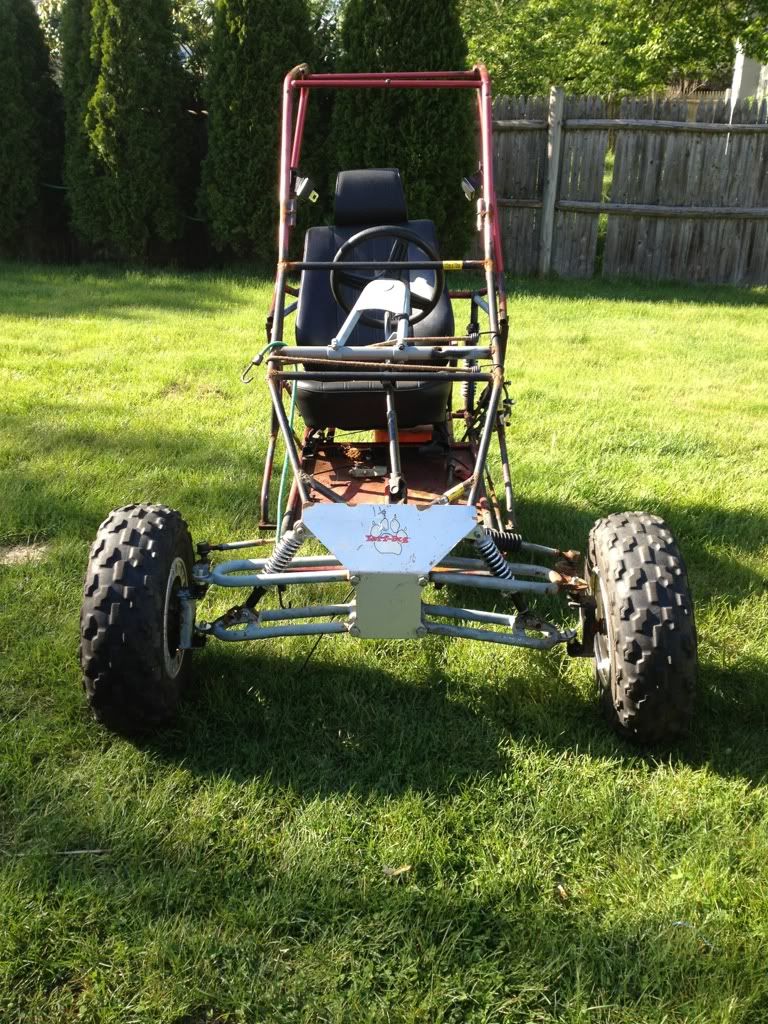 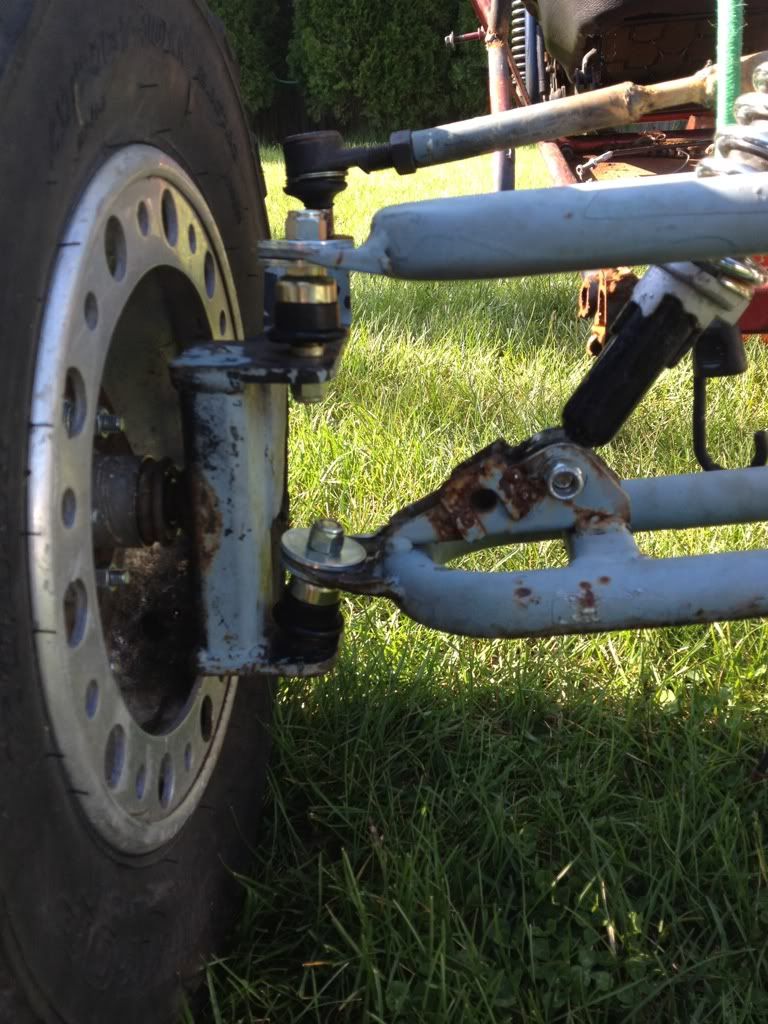 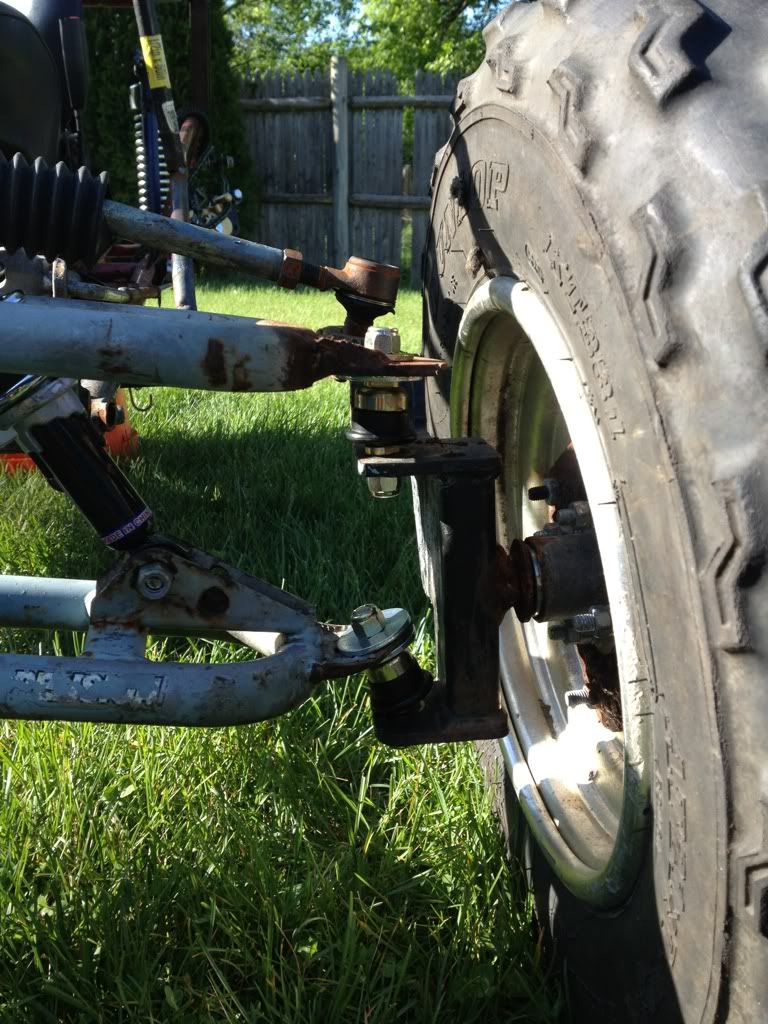 Now i need to straighten out where the joints bolt on and put in a few supports. 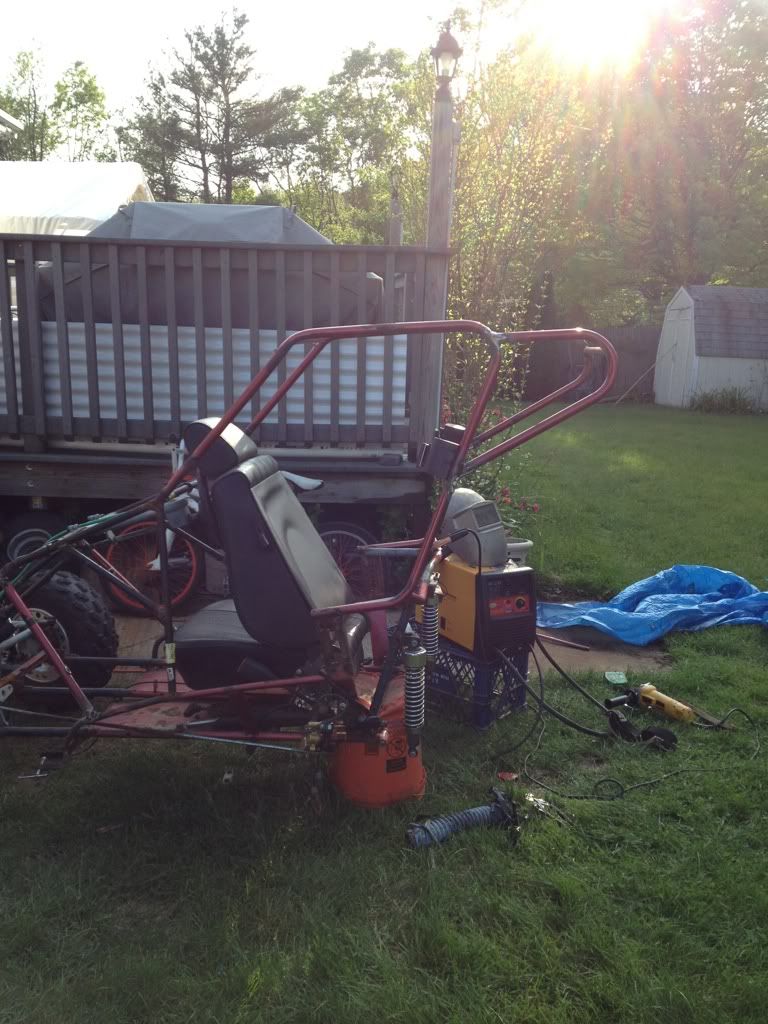 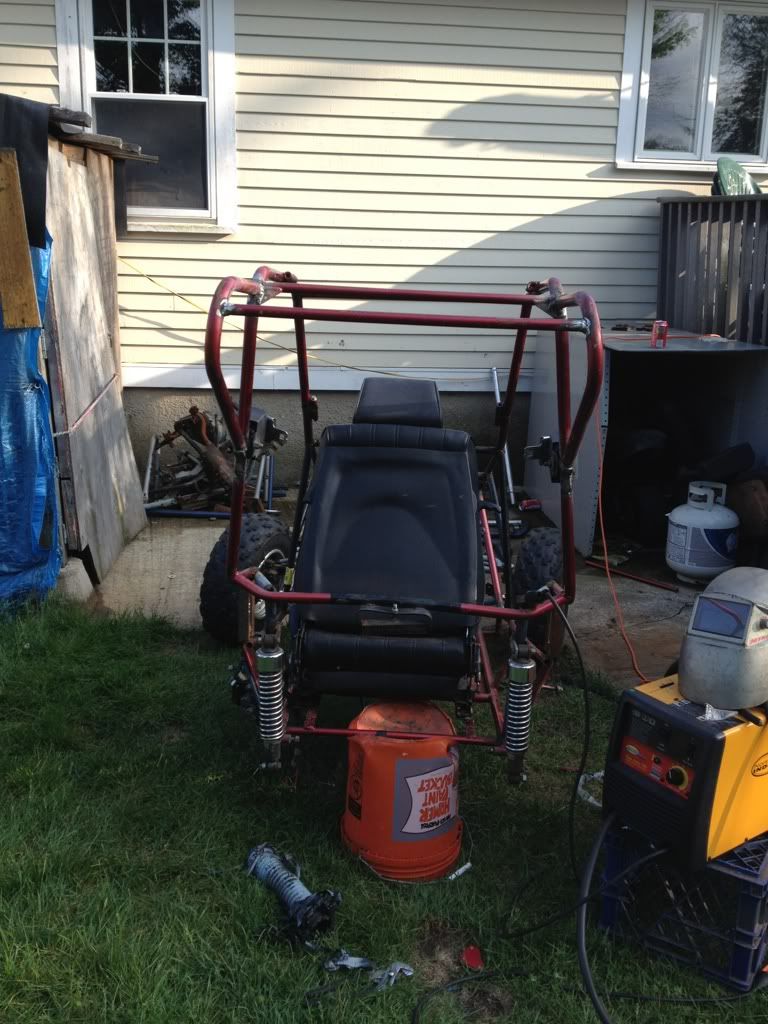 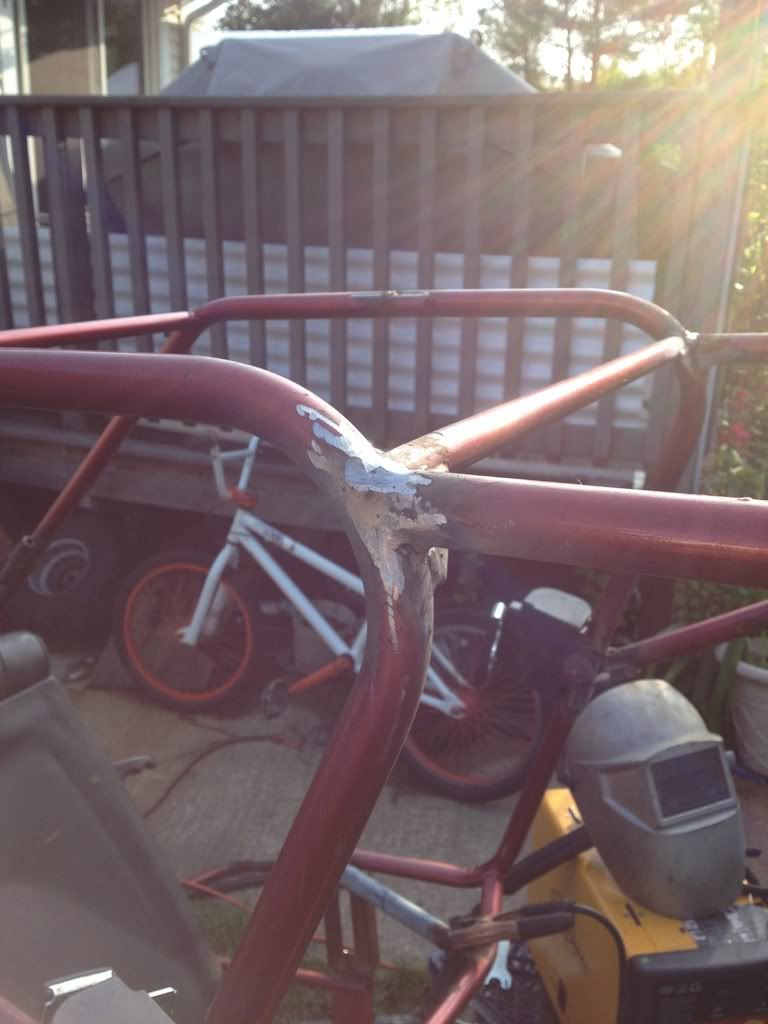 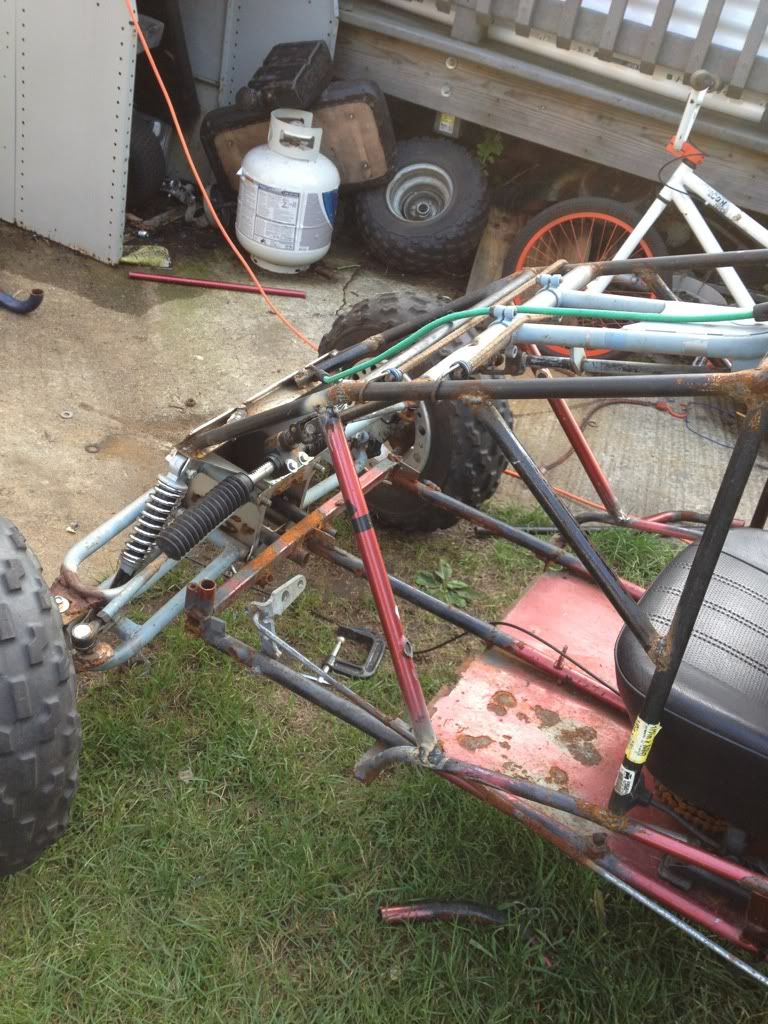 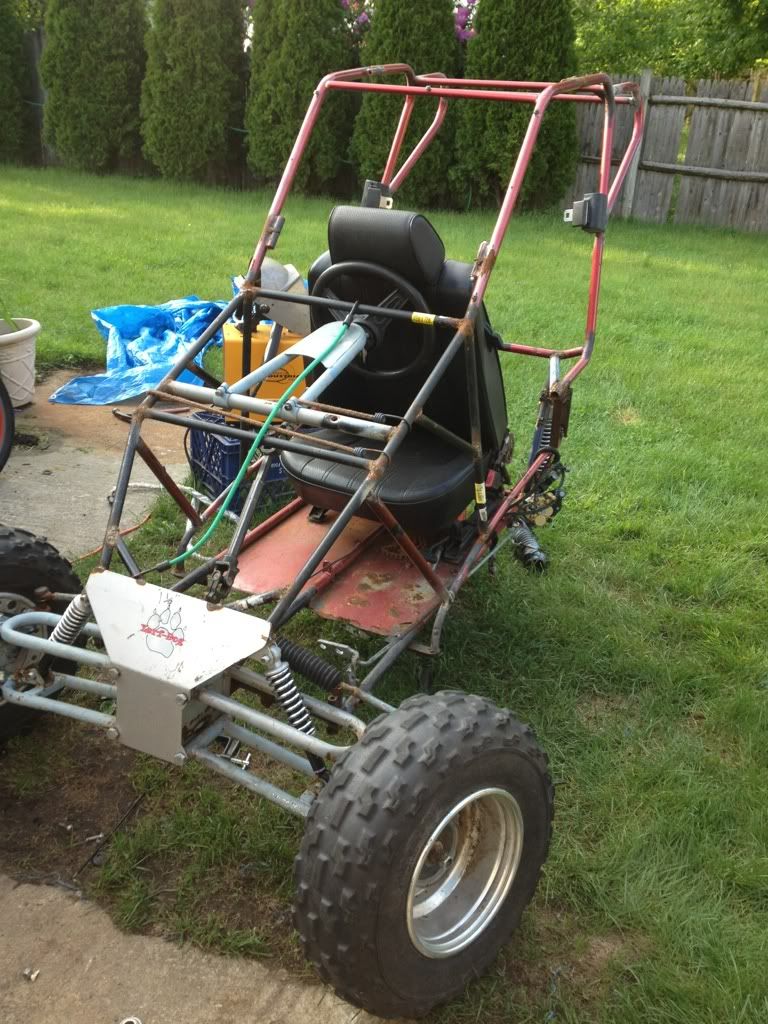 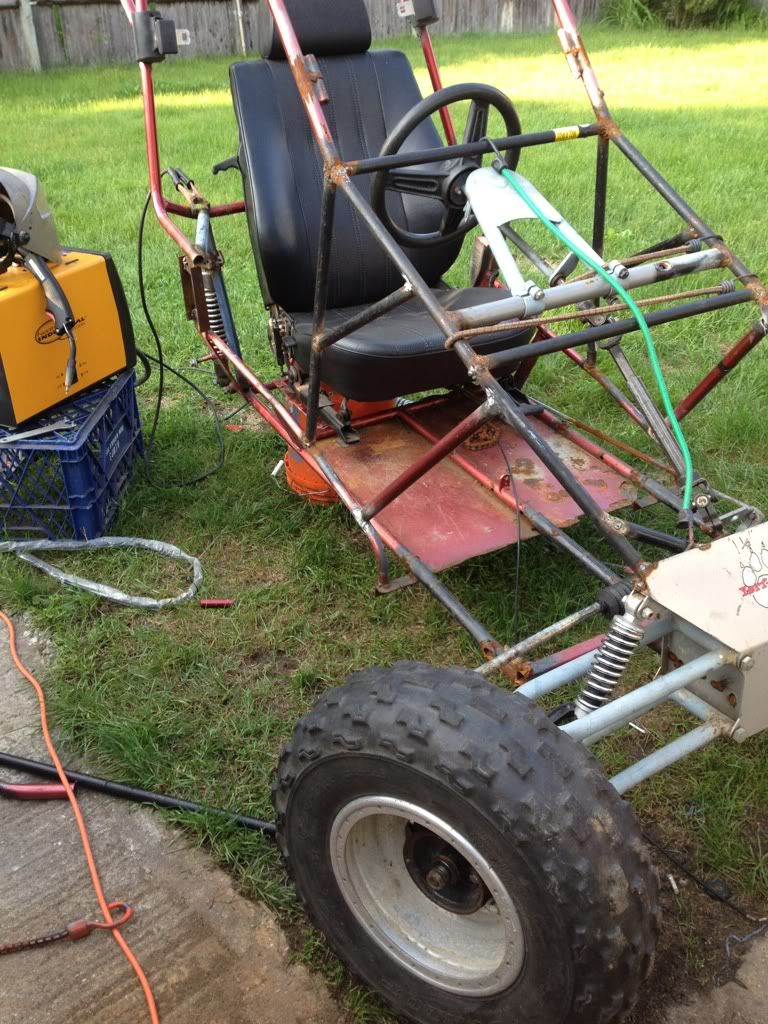 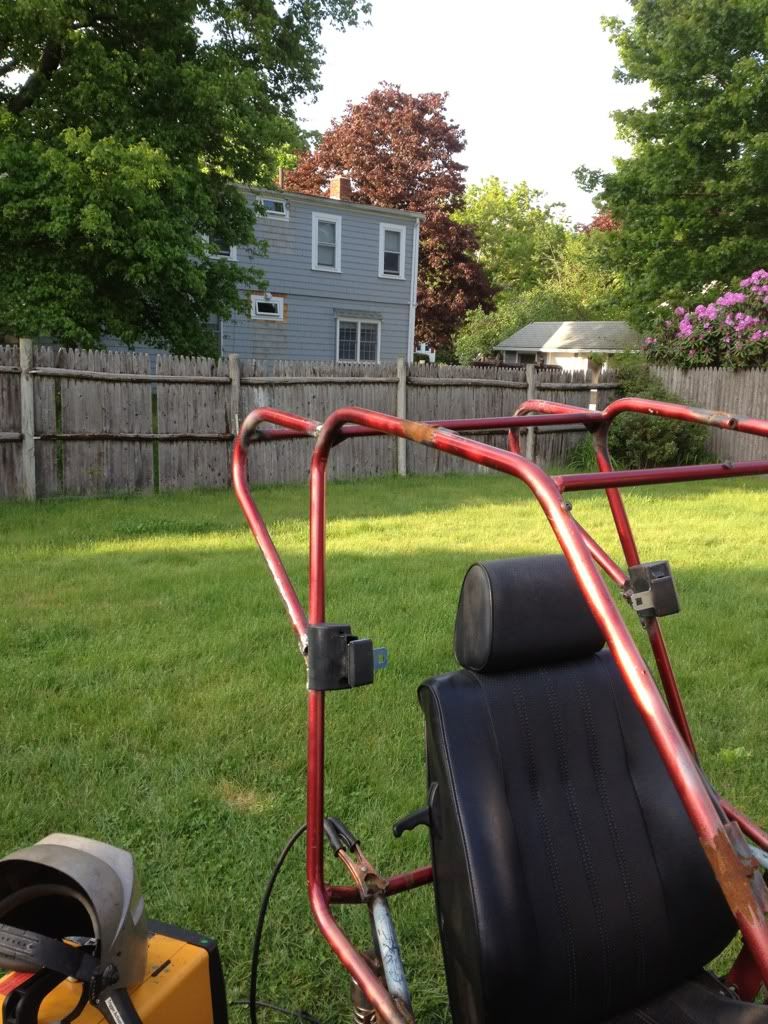 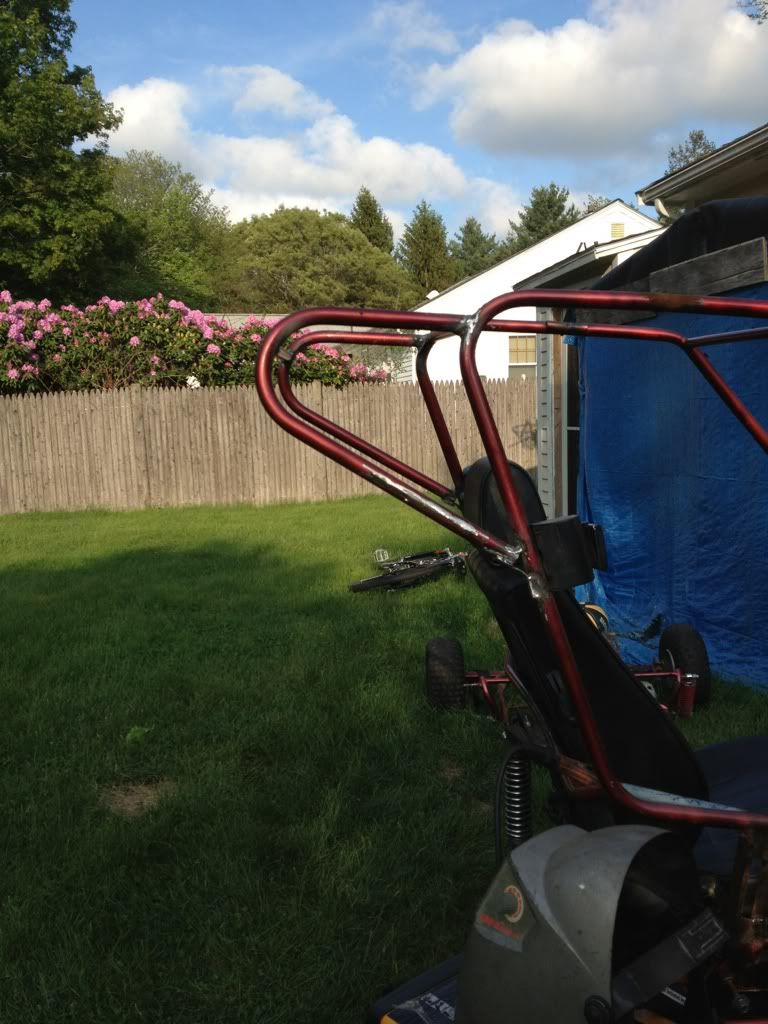 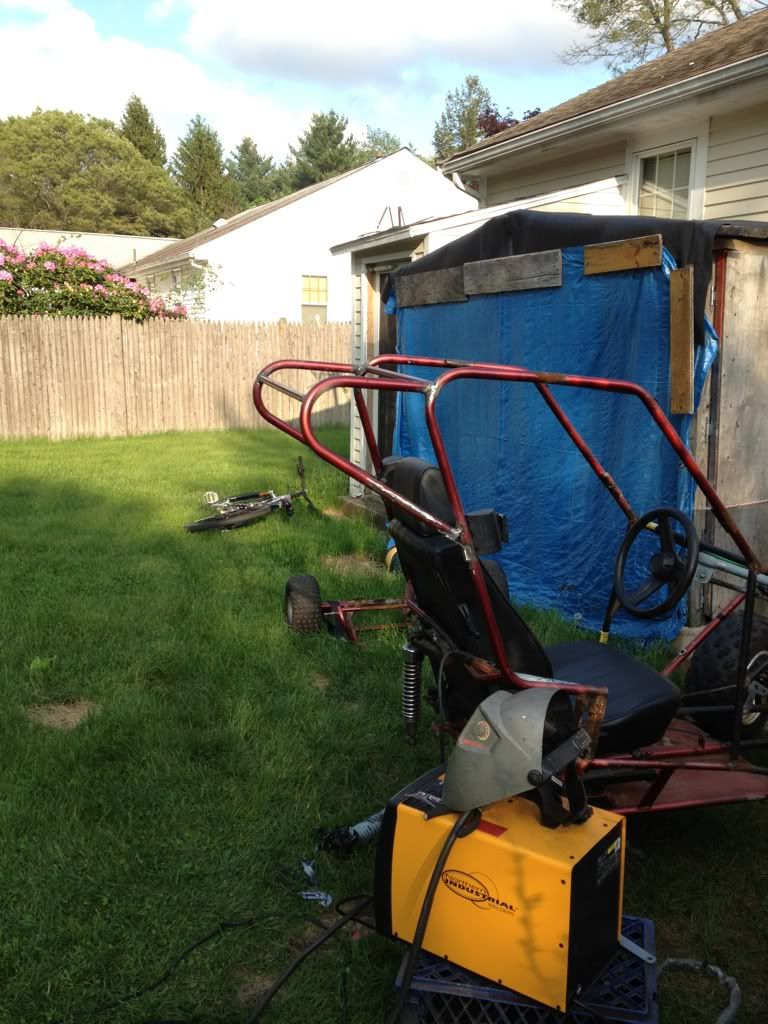
|
|
#16
|
|||
|
|||
|
Im still waiting on my swing arm but i managed to get the final supports on the cage and finish completely welding everything. I hope everyone is enjoying this build as much i am!
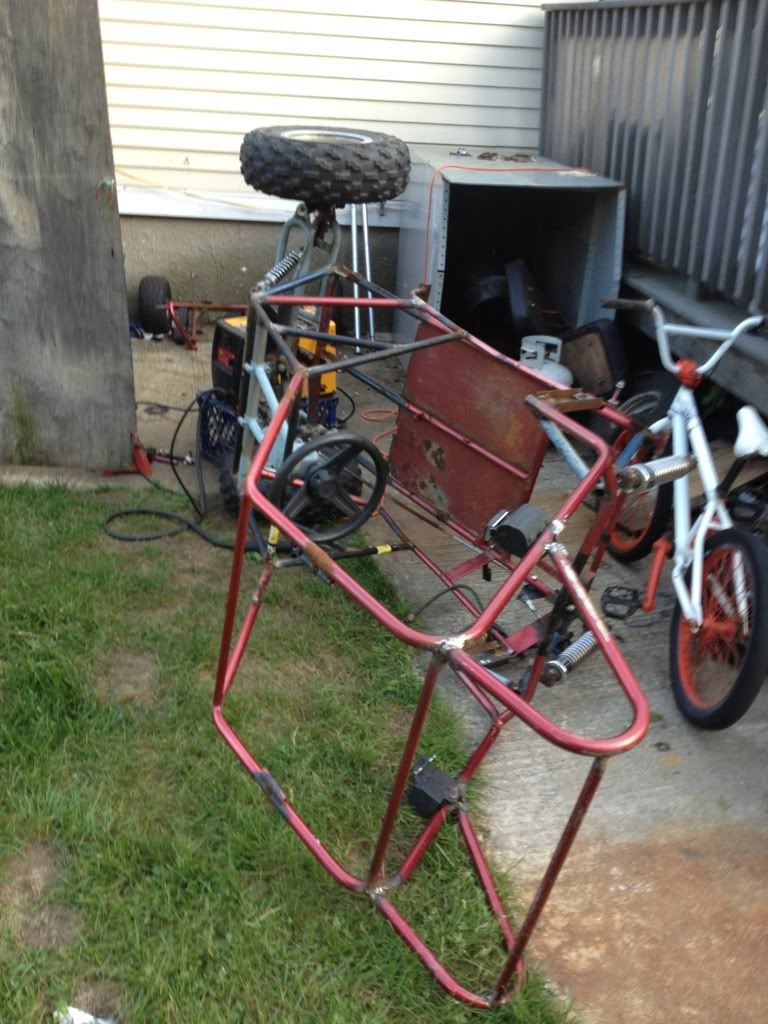 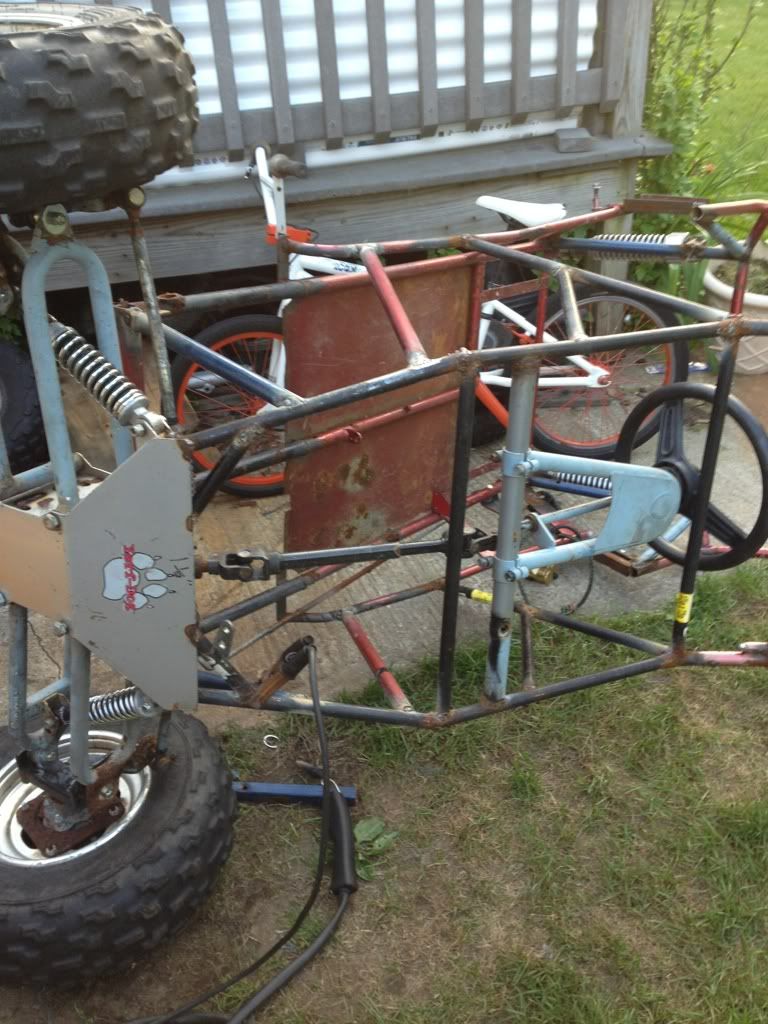 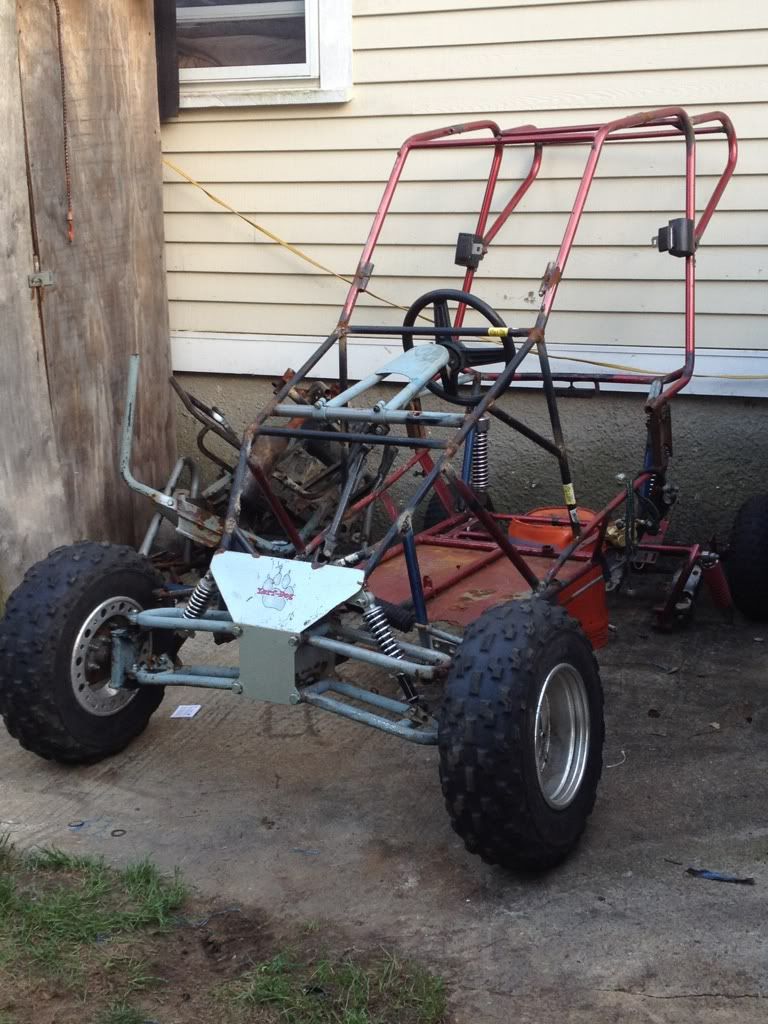 **And now you are up to date.. as you can see this buggy has come a long way and i hope you all like it c&c welcome!** |
|
#17
|
||||
|
||||
|
Wow! brain overload... That's a lot to take in, in so little of time. How long did it take you to do all of this?
I get my Heims from QS components also, they have really quick shipping and the prices are great. On the front end instead of the ball joints you could have done 1/2" heims and bungs, so that you could have some adaptability. The ball joints fail after so much use and they can be expensive to replace. Heims on the other hand are only $4.75 each, and seem to be much better.
__________________
T.J. Yerfdog Spiderbox, Uni Type air filter with 6" intake, 130 jet, Orange no-rev limit cdi, Red coil, iridium plug, 1500rpm clutch springs, 1500rpm contra spring, 13g sliders, 22" rears, 21" fronts, aftermarket reverse installed, and Trailtech Vapor. |
|
#18
|
|||
|
|||
|
Thanks for the reply i started in december.. Ik i could have done that but im really just looking forward to getting this thing done but if these ball joints fail ill be defiantly doing the heim mod again..
|
|
#19
|
||||
|
||||
|
The ball joints should hold up at least for a couple years minimum.
__________________
T.J. Yerfdog Spiderbox, Uni Type air filter with 6" intake, 130 jet, Orange no-rev limit cdi, Red coil, iridium plug, 1500rpm clutch springs, 1500rpm contra spring, 13g sliders, 22" rears, 21" fronts, aftermarket reverse installed, and Trailtech Vapor. |
|
#20
|
|||
|
|||
|
thats all im going to need lol now i just need to brace the a arms where the ball joints bolt on.. as you can see the bottom a arms are crazy bent and affecting the +camber
|
|
#21
|
||||
|
||||
|
Yeah, I noticed that... nothin you can fix with a little metal and a welder!
__________________
T.J. Yerfdog Spiderbox, Uni Type air filter with 6" intake, 130 jet, Orange no-rev limit cdi, Red coil, iridium plug, 1500rpm clutch springs, 1500rpm contra spring, 13g sliders, 22" rears, 21" fronts, aftermarket reverse installed, and Trailtech Vapor. |
|
#22
|
||||
|
||||
|
Welcome----My eyes are watering!!! I'm so glad you changed the swingarm pivots. I give you a thumb's up for effort- I hope you're the test driver.Small item- you may want to angle that Yerfdog bulkhead some , you have it straight up & down- it needs angle/leading edge/caster for proper tire angle when turning. (9 degrees is where it's set from the factory). Did you try your seatbelts? check and see if they'll lock up with a swift tug- usually don't work when turned sideways!!
I'm curious---You said:" Iv'e never seen anyone attempt this but i have always thought about doing it." What is it you haven't seen attempted? Last edited by metalstudman1; 05-21-2012 at 01:34 AM. |
|
#23
|
|||
|
|||
|
Thanks metalstudman1 i apreciate your feedback and i must start by saying i admire all your work and you gave me the inspiration to make my buggy how it is now. i know i dont have the expieriance and skill with this kind of stuff like you do but im trying
 About the yerfdog front end.. I realized that it needed to be angled but that was after i finished welding it all up im gonna keep it the way it is for now but if i see its a real problem down the road ill fix it in a heartbeat. Bothe of the seatbelts work perfectly and i also inspected both for rips or scuffs and both are great! The thing i never saw done before was run an engine and use a second engines bottom end for its transmition.. |
|
#24
|
||||
|
||||
|
I'm admiring your tenacity, especially seeing your work area/ tool limitations etc.--for your age, awesome! I thought that's what you meant re. the engine transmission, i nearly bought an ancient Triumph motorcycle transmission to do the same thing with--this was in the days when the engine and tranny were separate --but it needed too many parts. I think your toughest obstacle is going to be getting the transmission end to fit and keeping it sealed up. Keep at it though. I've always said nothing is impossible as long as you have a grinder, welder and a bit of common sense.
|
|
#25
|
||||
|
||||
|
I can't remember the members name that cut 2 GY6's in two and reconnected them to his industrial engine thinking it would for a tranny and clutch. The issue I think you might have with the seat belts is that the cam doesn't like to work when not setting horizontal in a wreck as they are gravity wieghted
|
|
#26
|
|||
|
|||
|
Finally all welded up and ready to throw on the buggy!
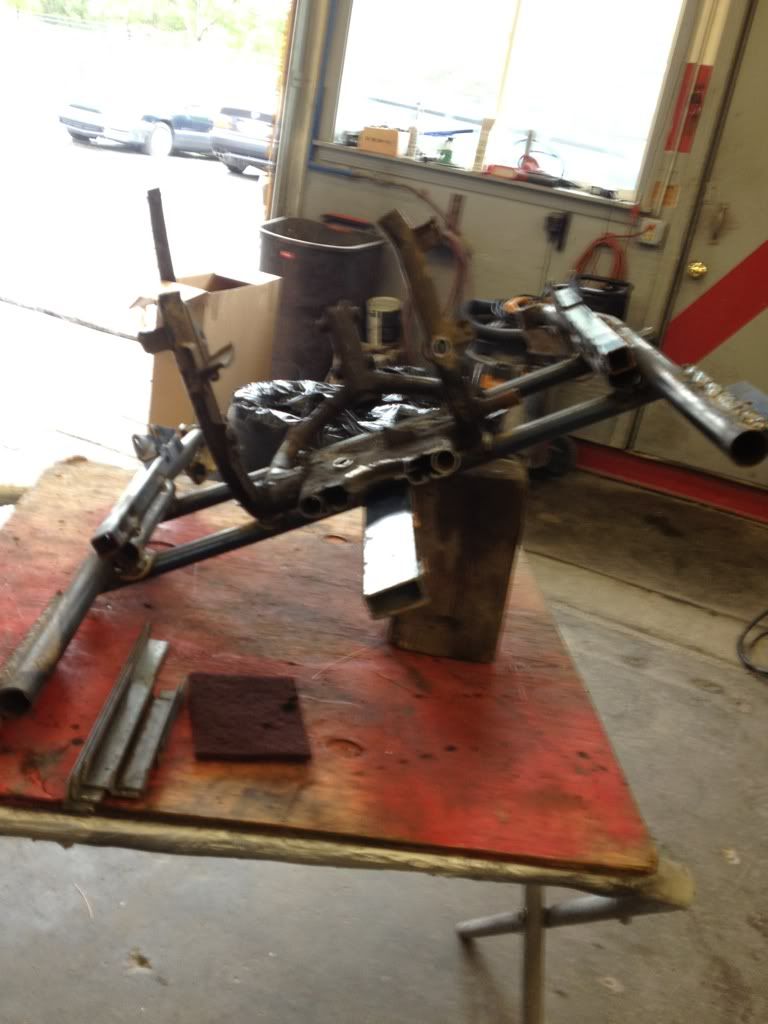 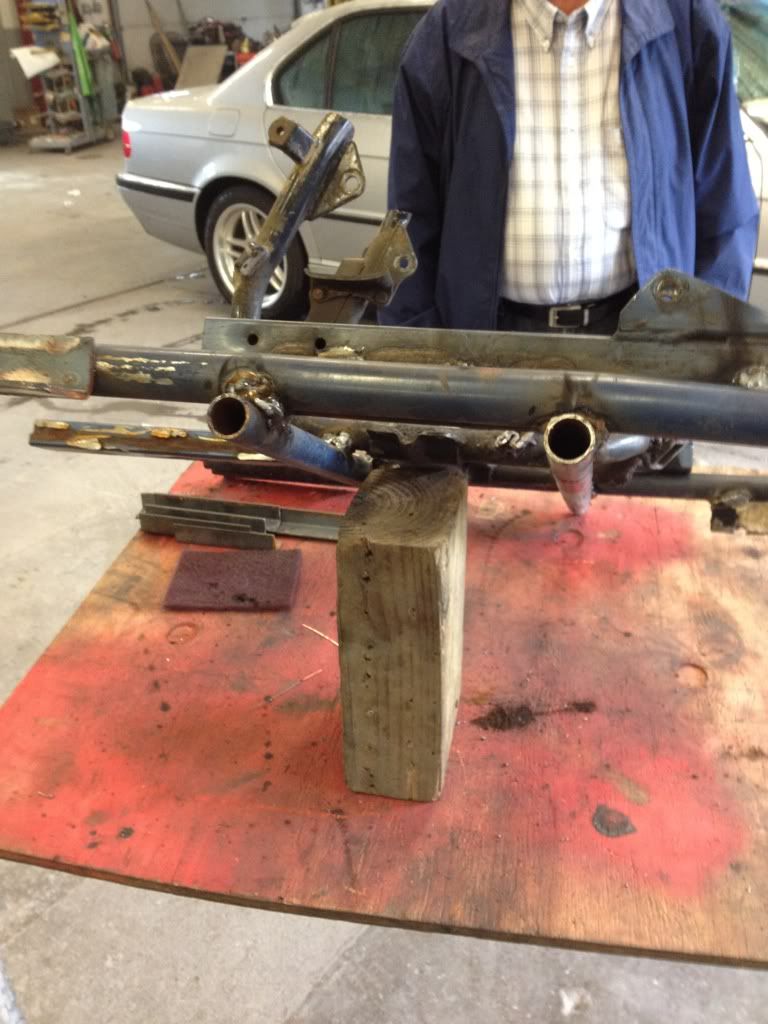 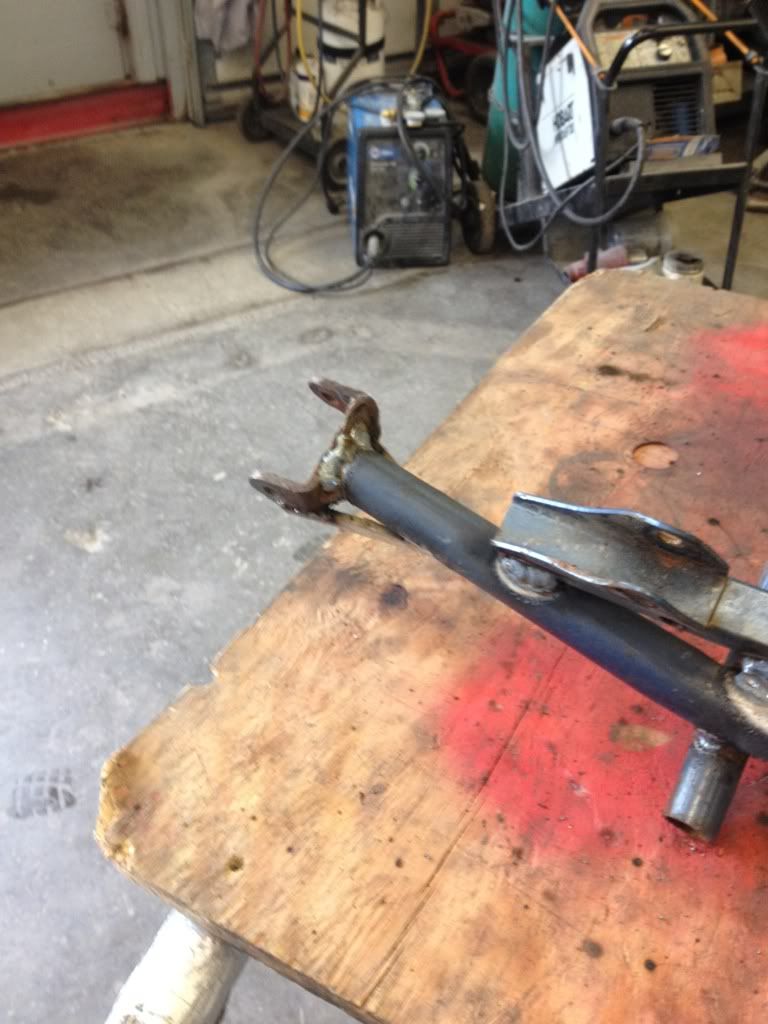 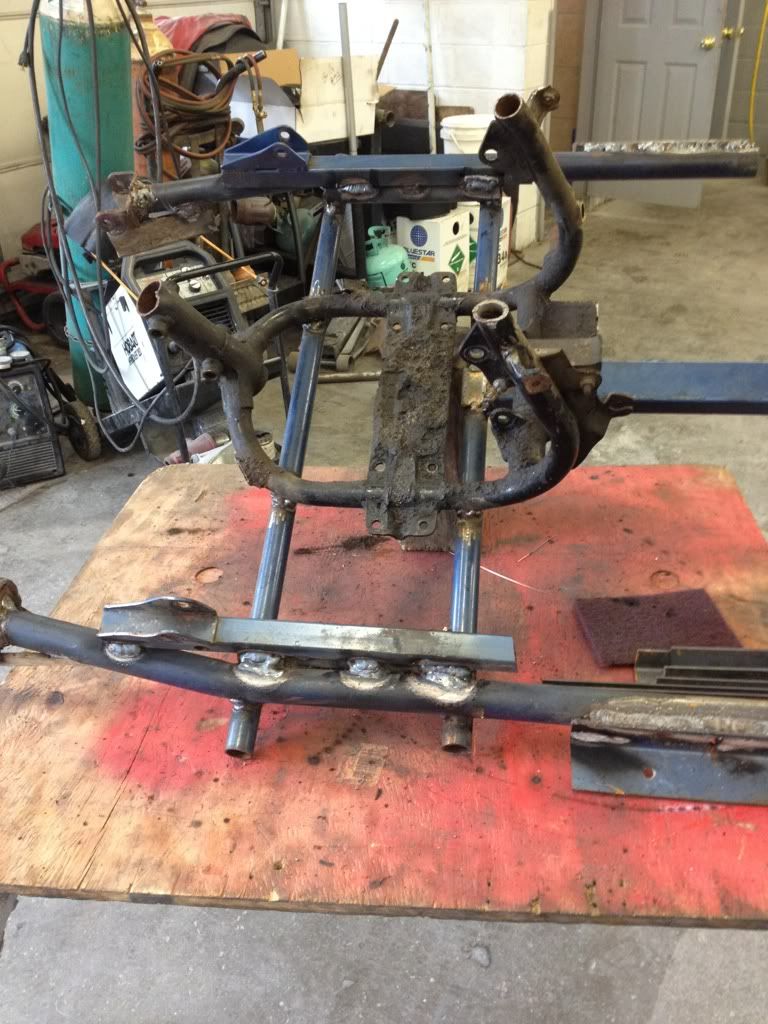 welds arent pretty but i did them myself because the shop was busy but they will defiantly hold! |
|
#27
|
|||
|
|||
|
Got a little work done today.. Engine is mounted and bolted down.. Seat is bolted in and also mounted my petals.. Now i need to get a brake disk, get the motor running, install a floor pan, mount the gas tank, and brace the a arms.. not too bad of a checklist.. enjoy
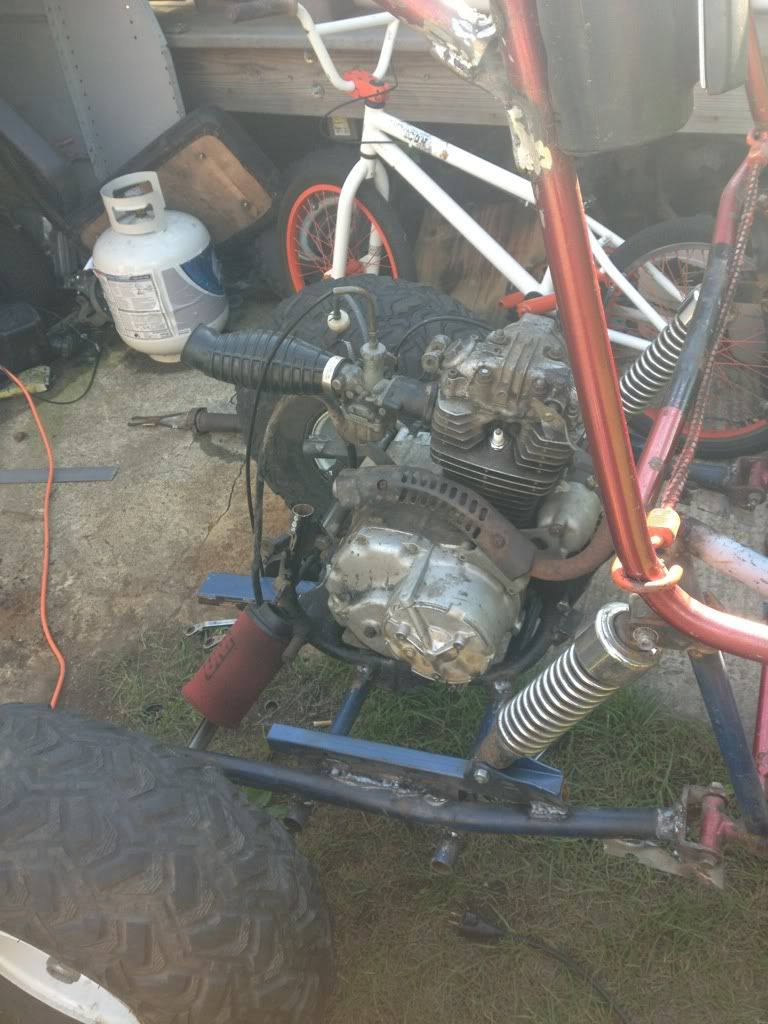 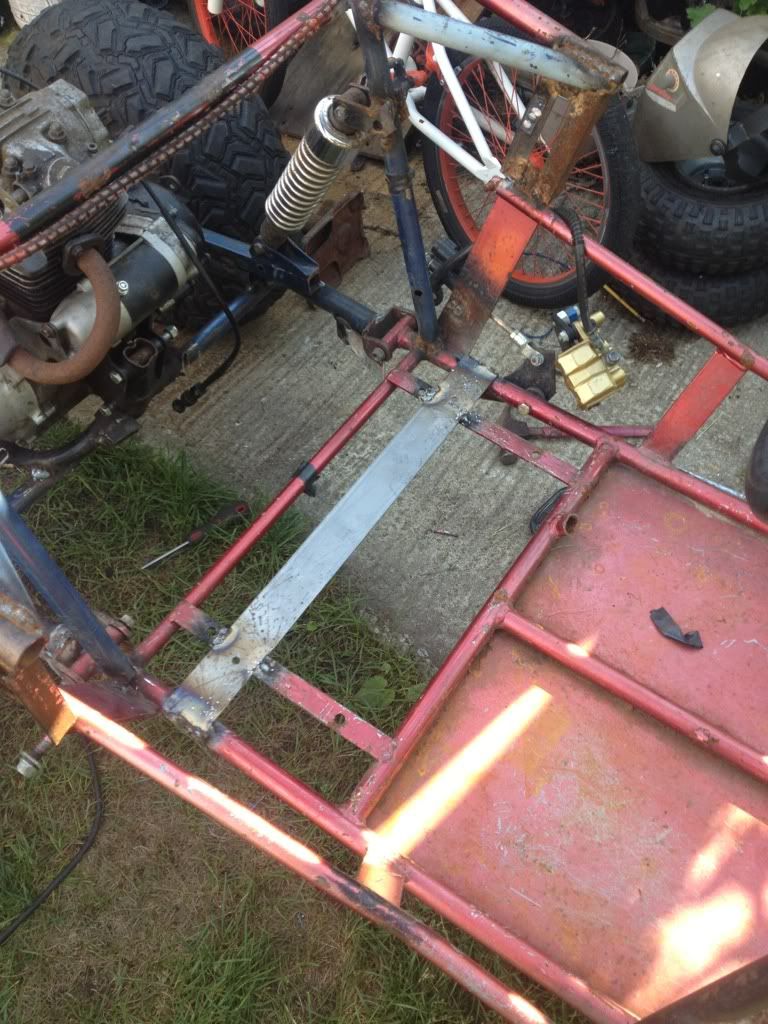 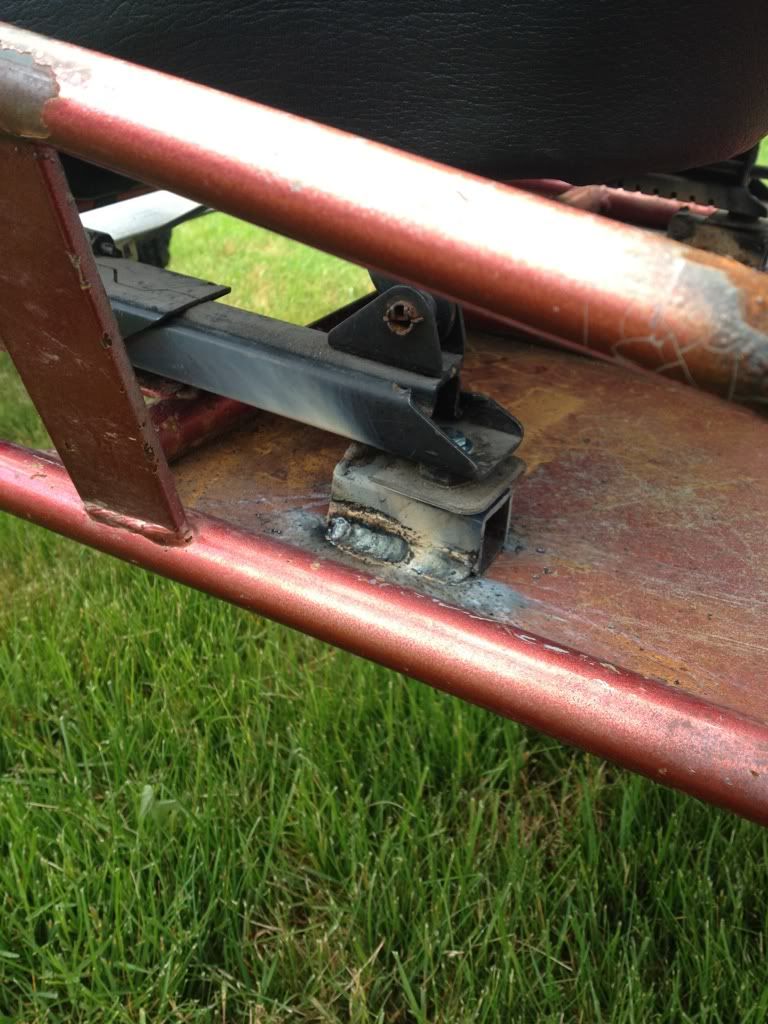 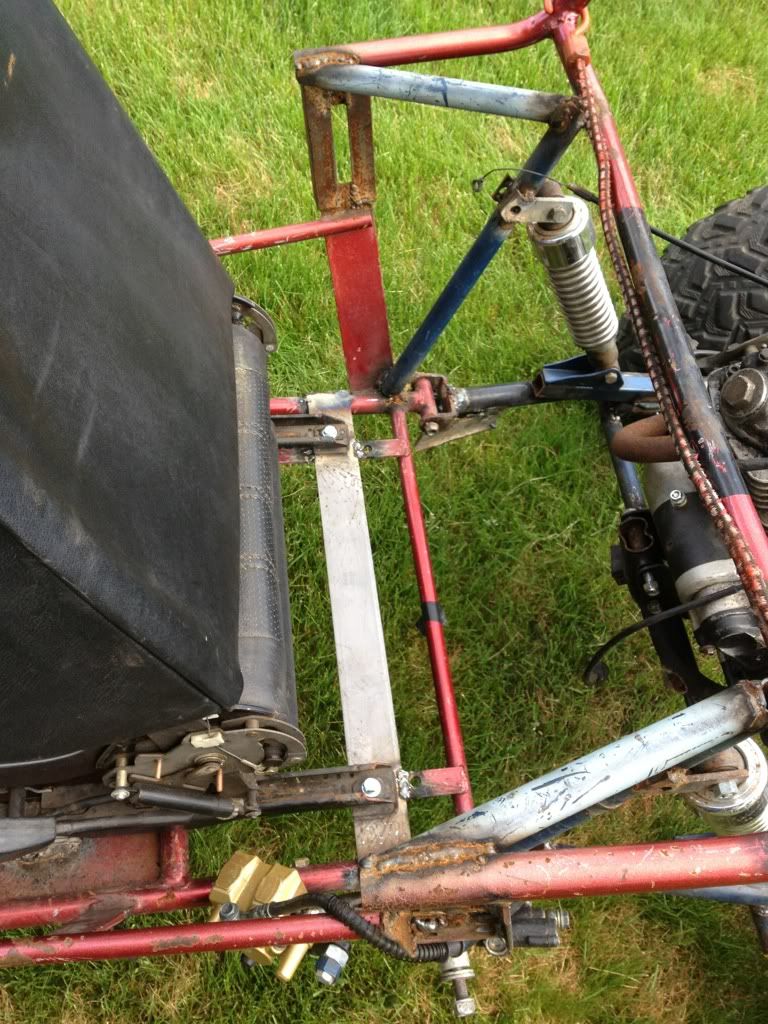 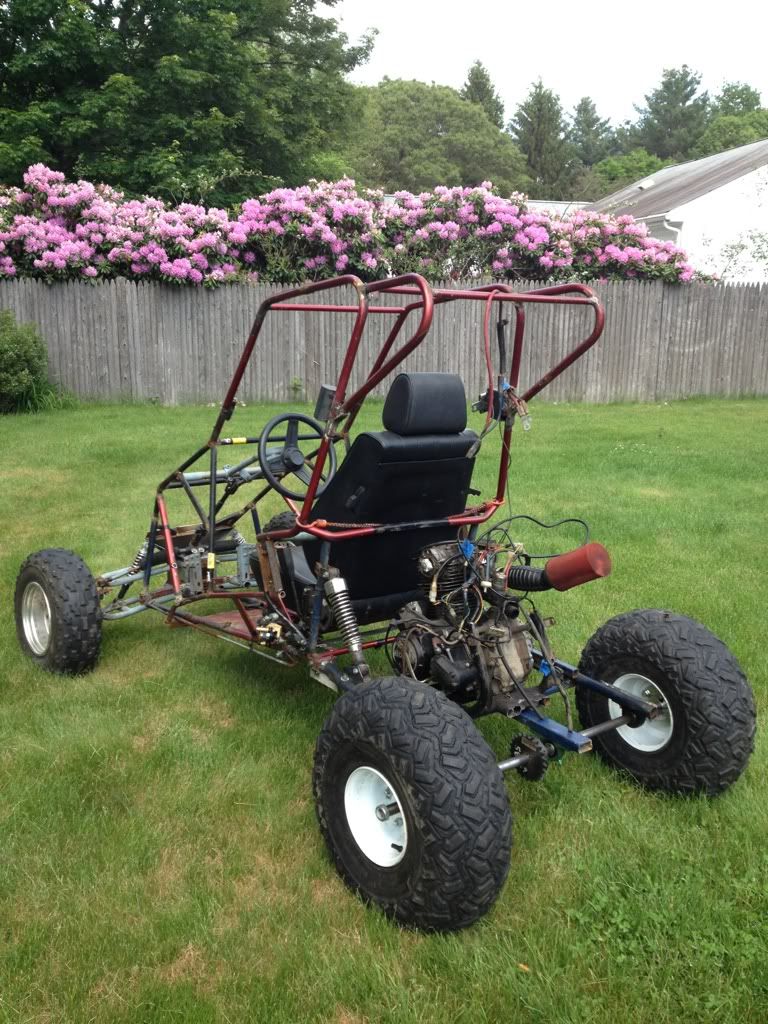 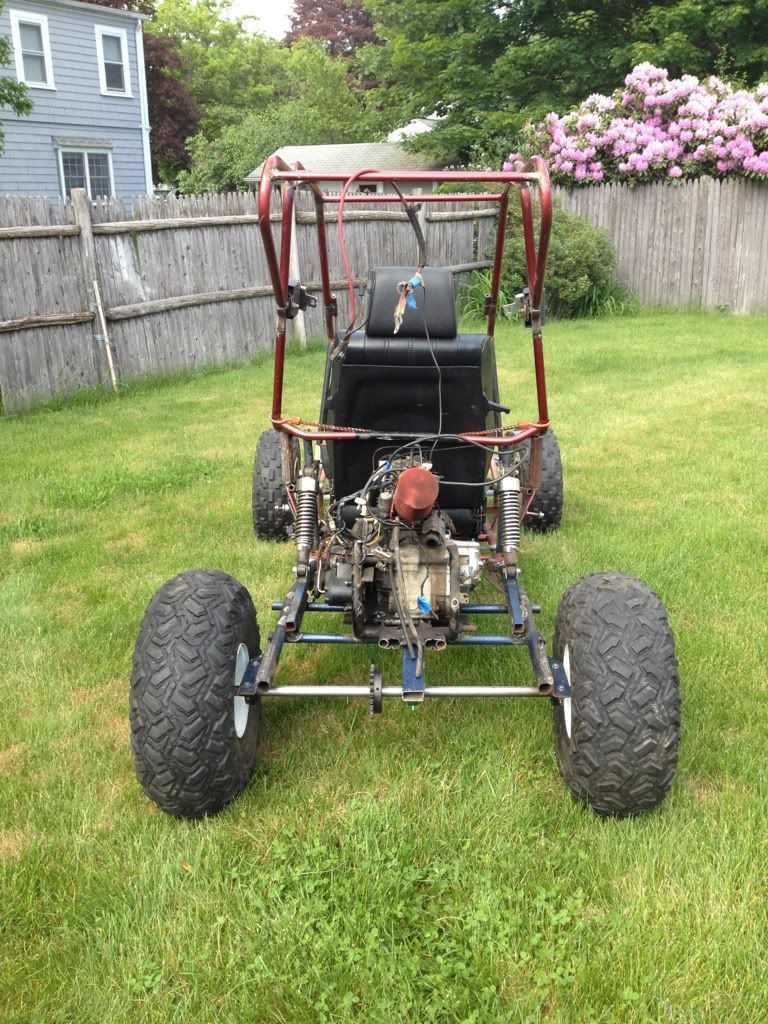 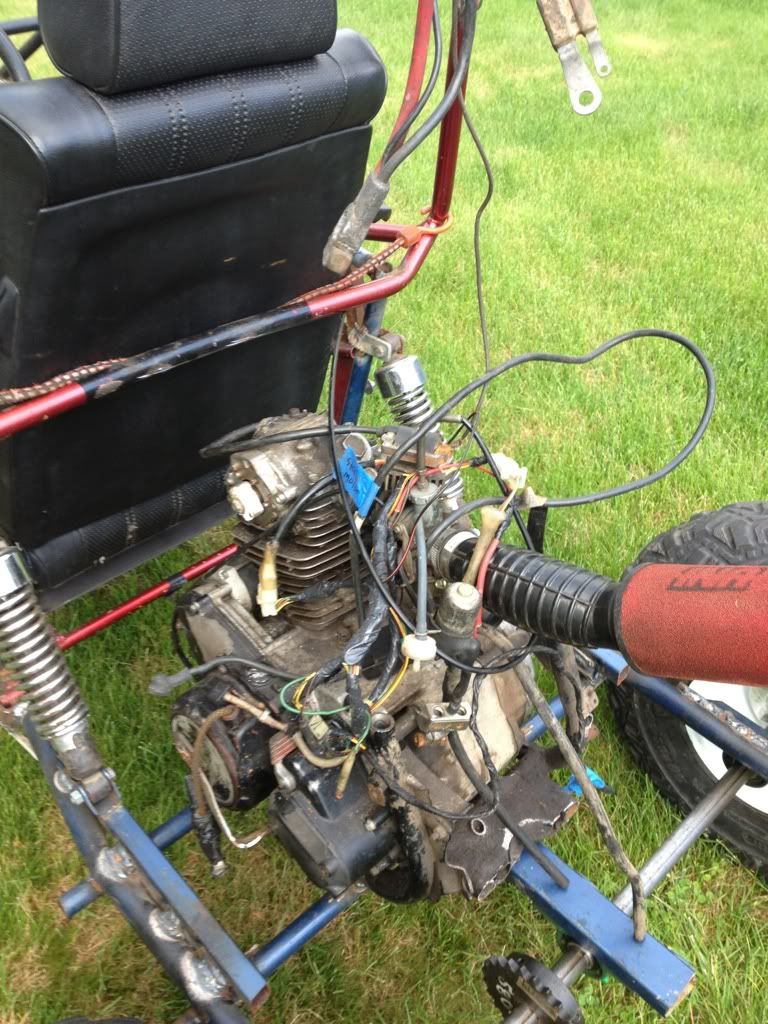 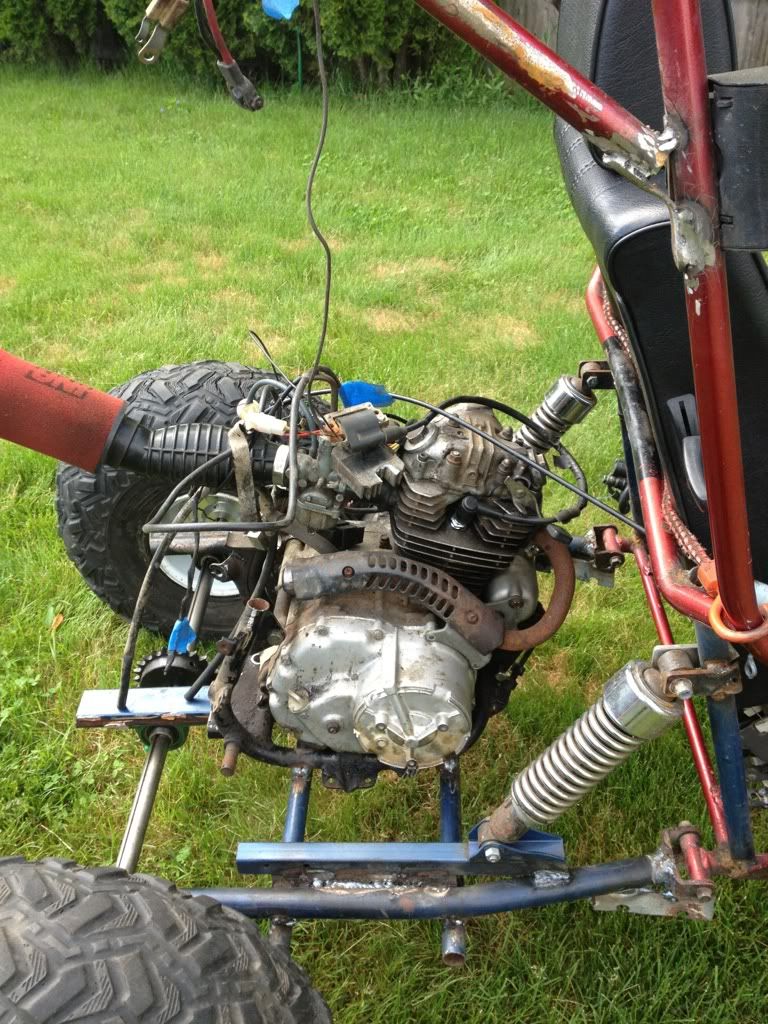 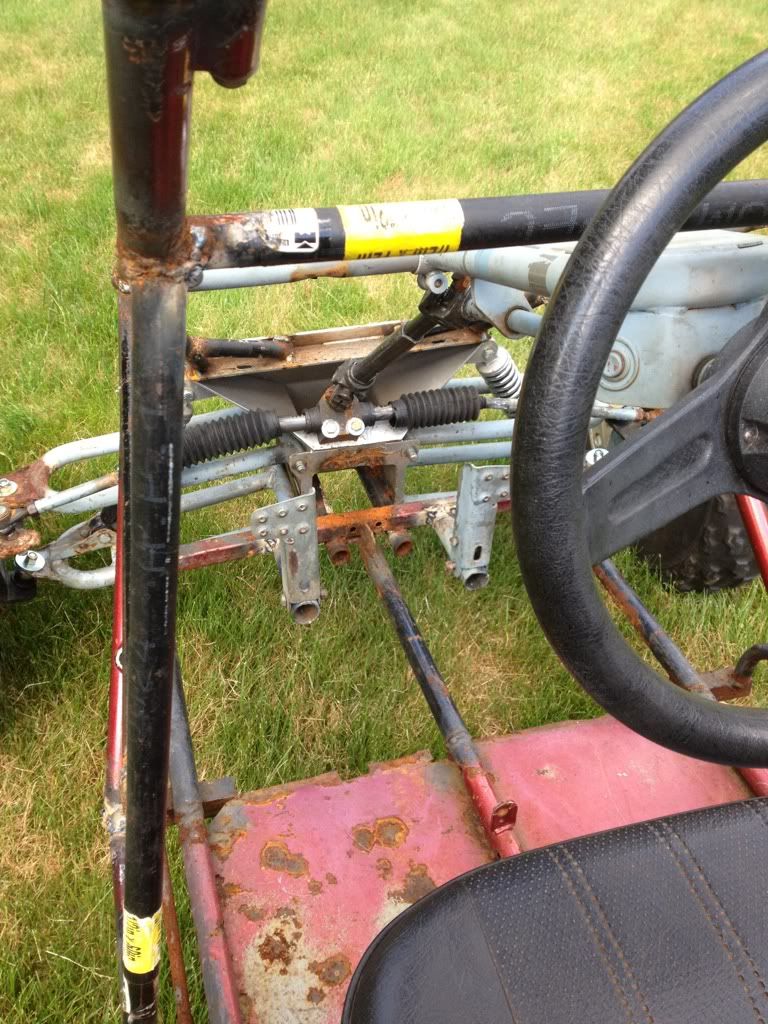 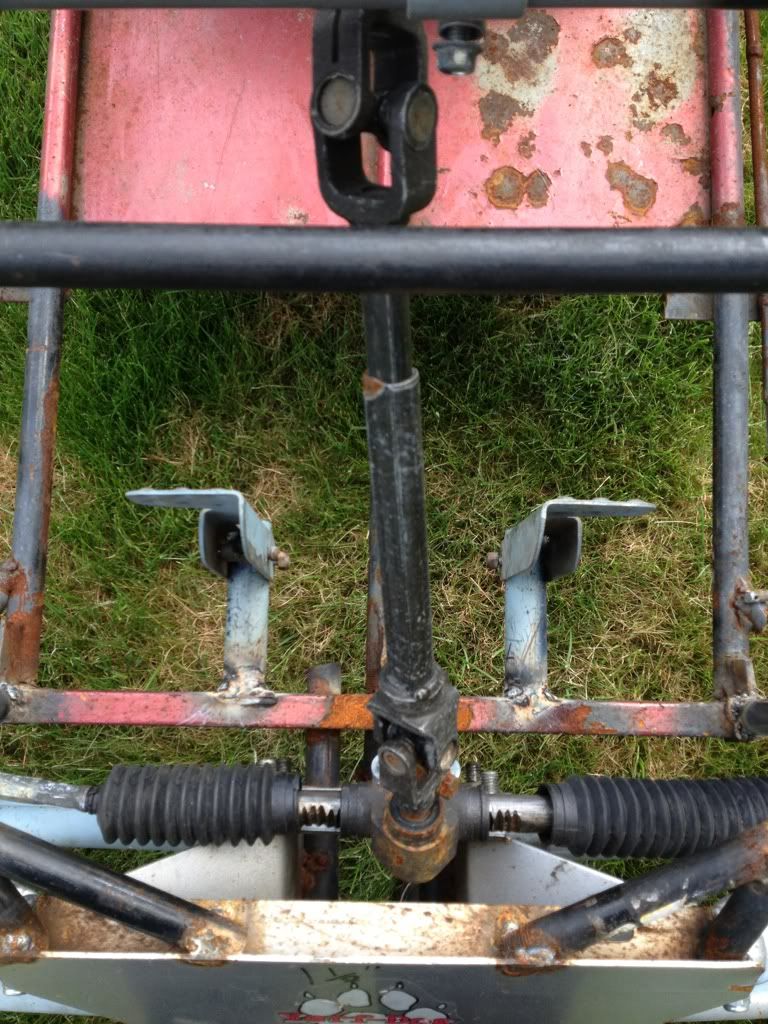 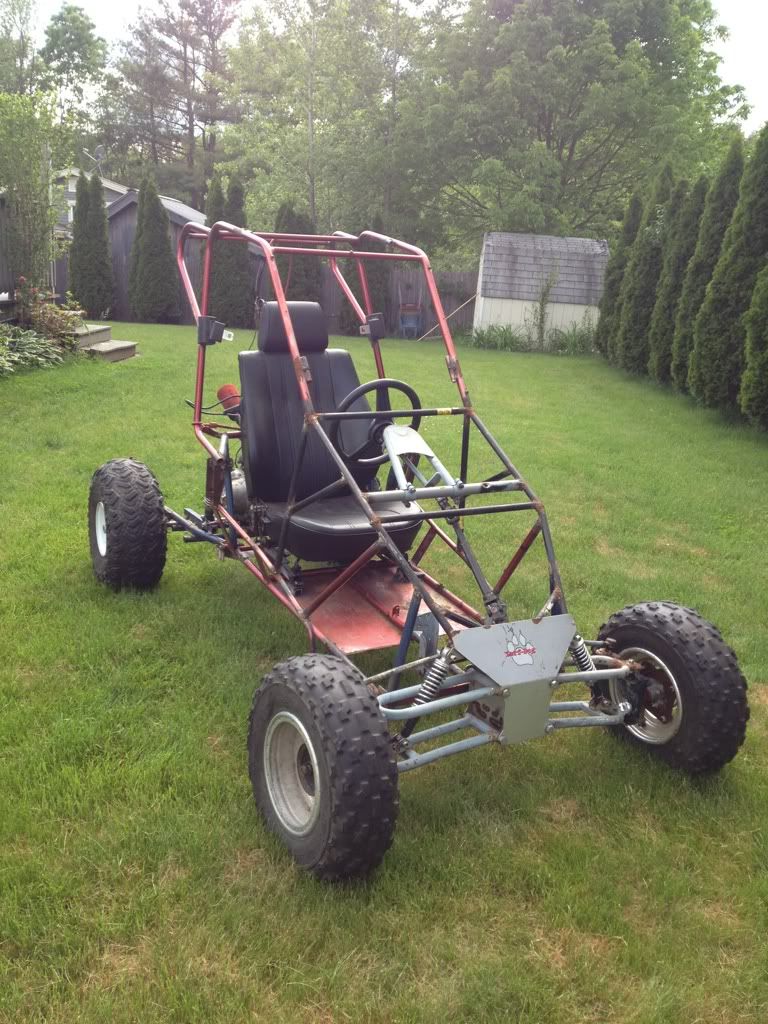 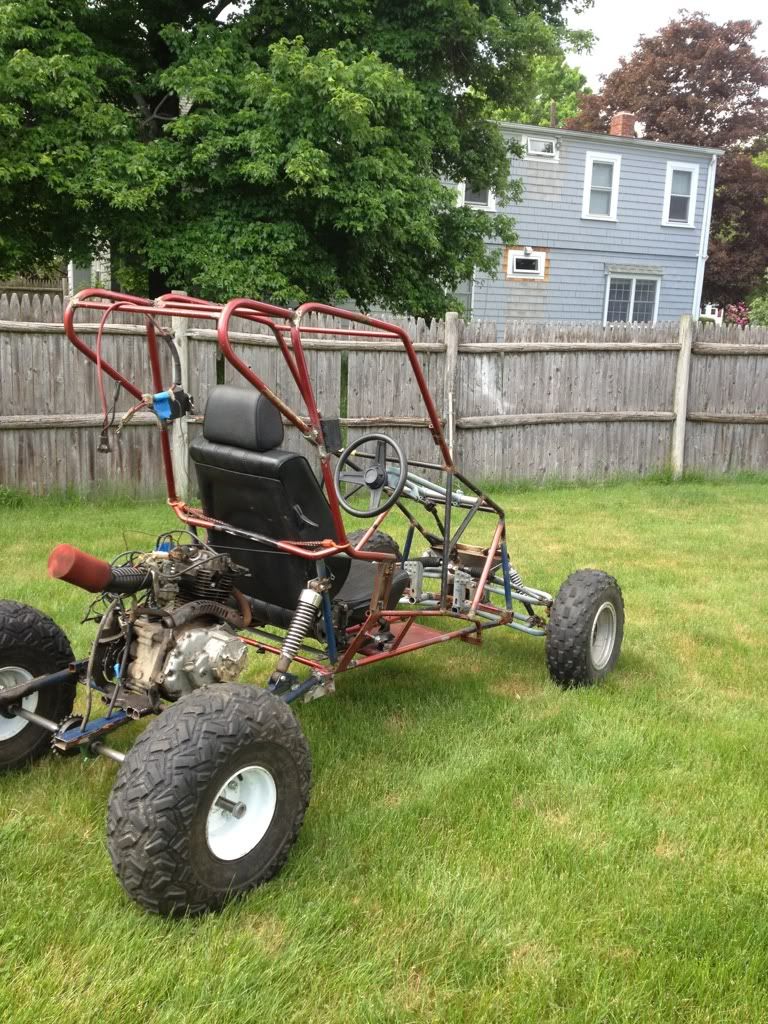 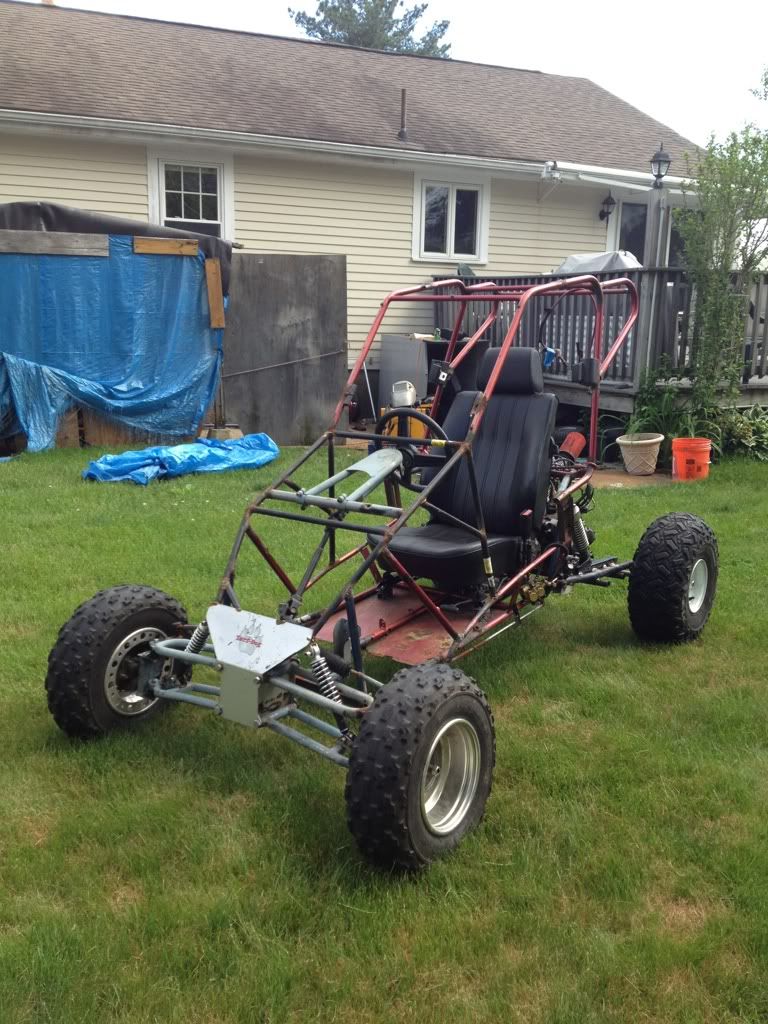 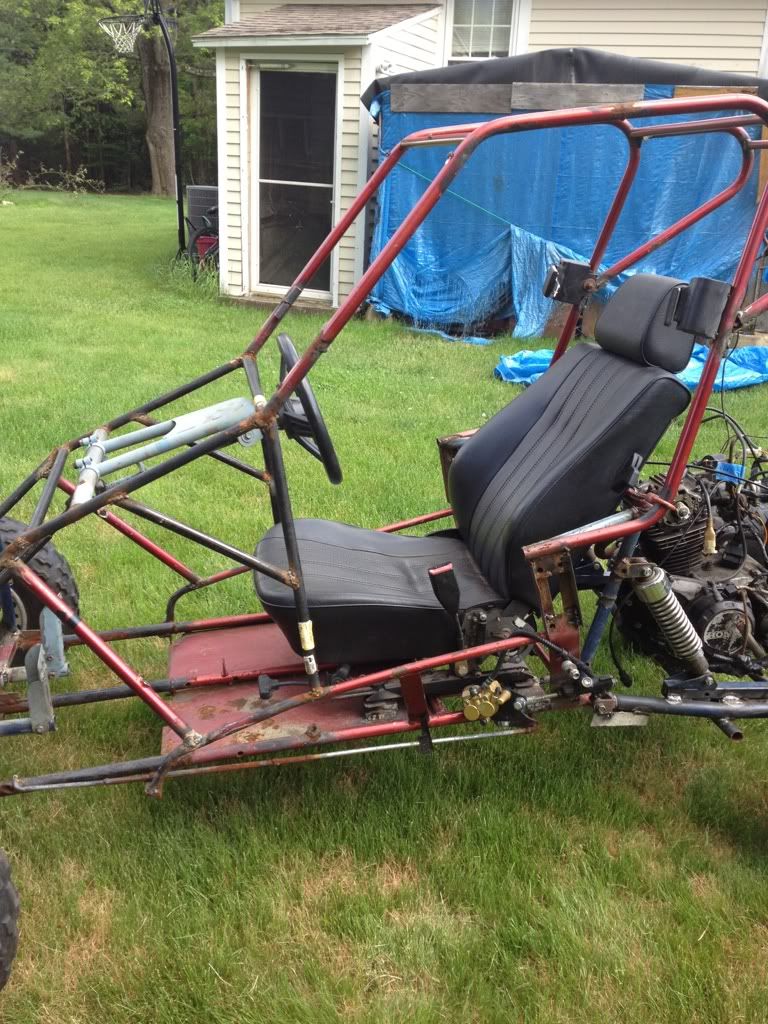 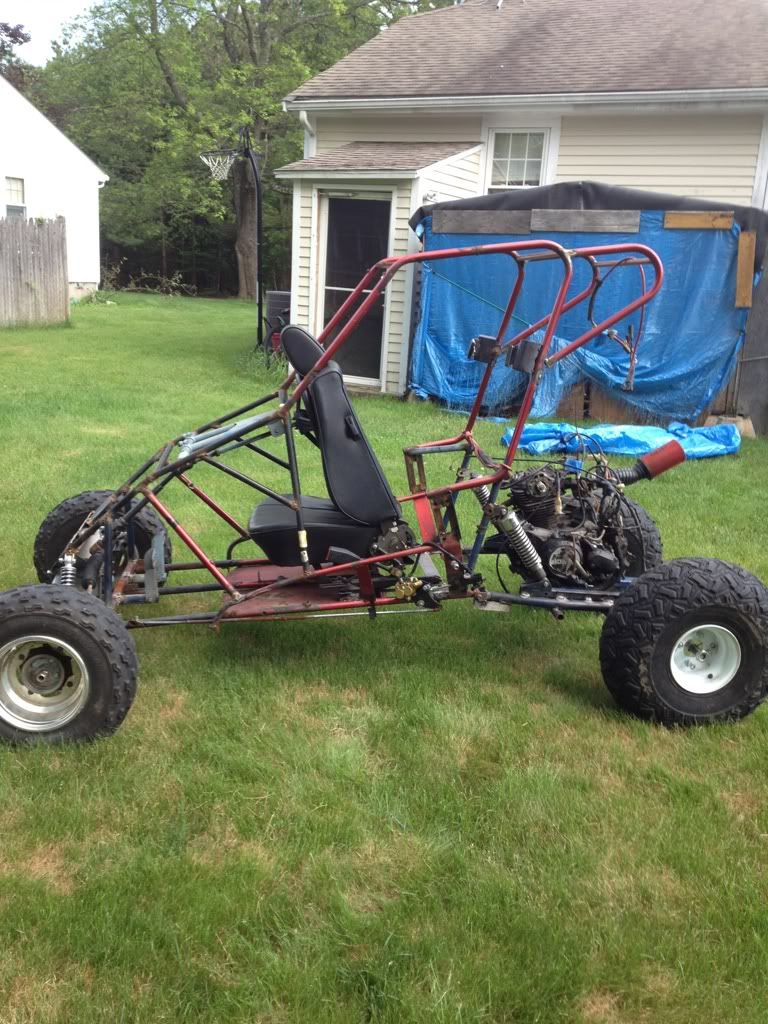 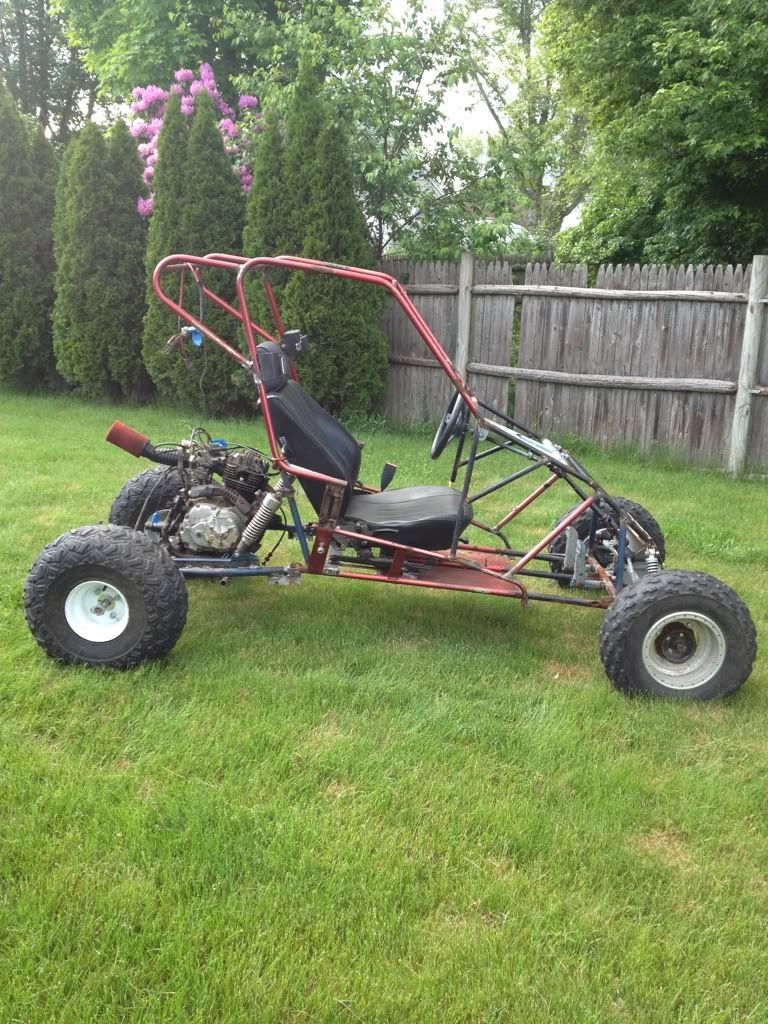
|
|
#28
|
|||
|
|||
|
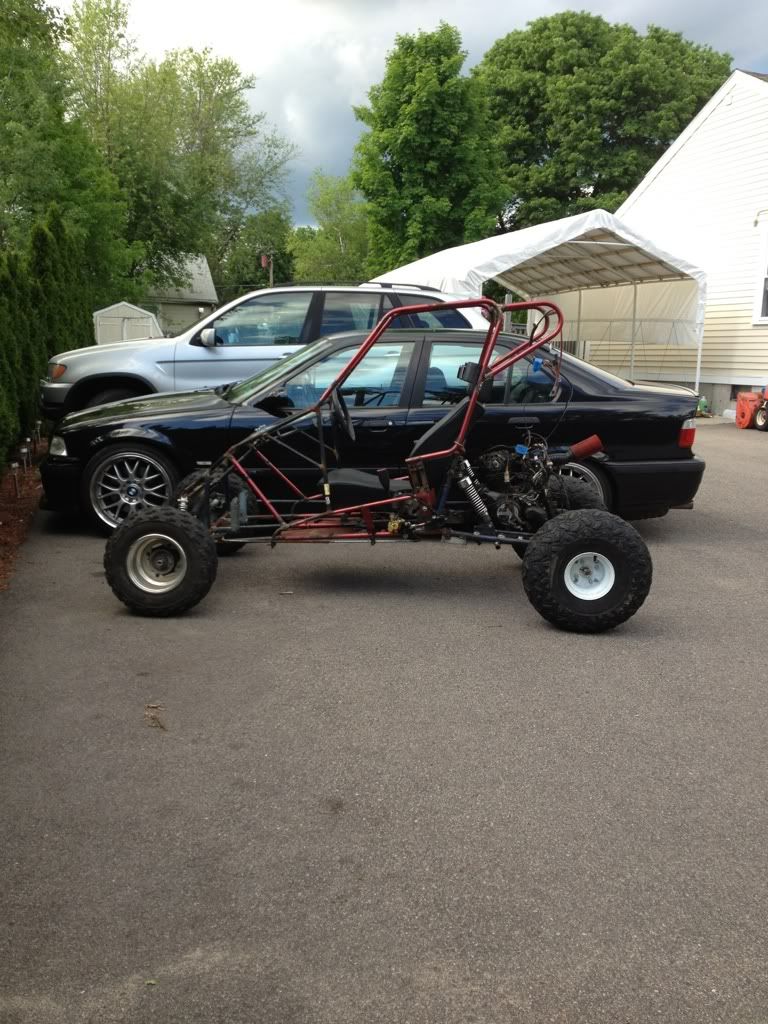
My two toys
 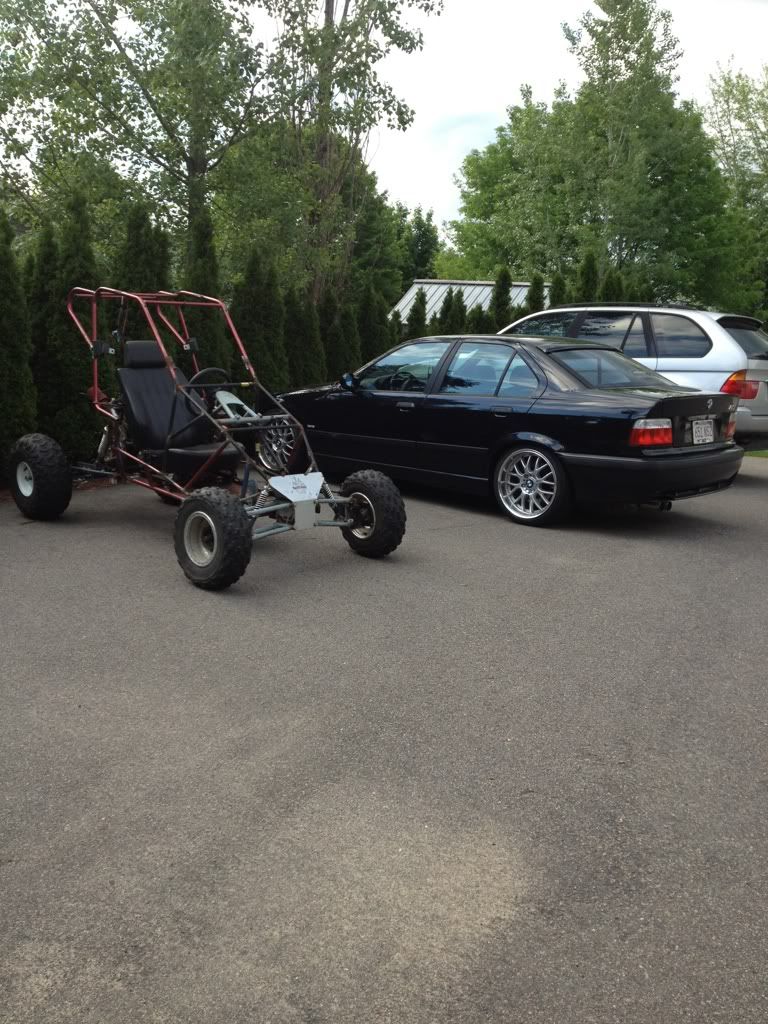 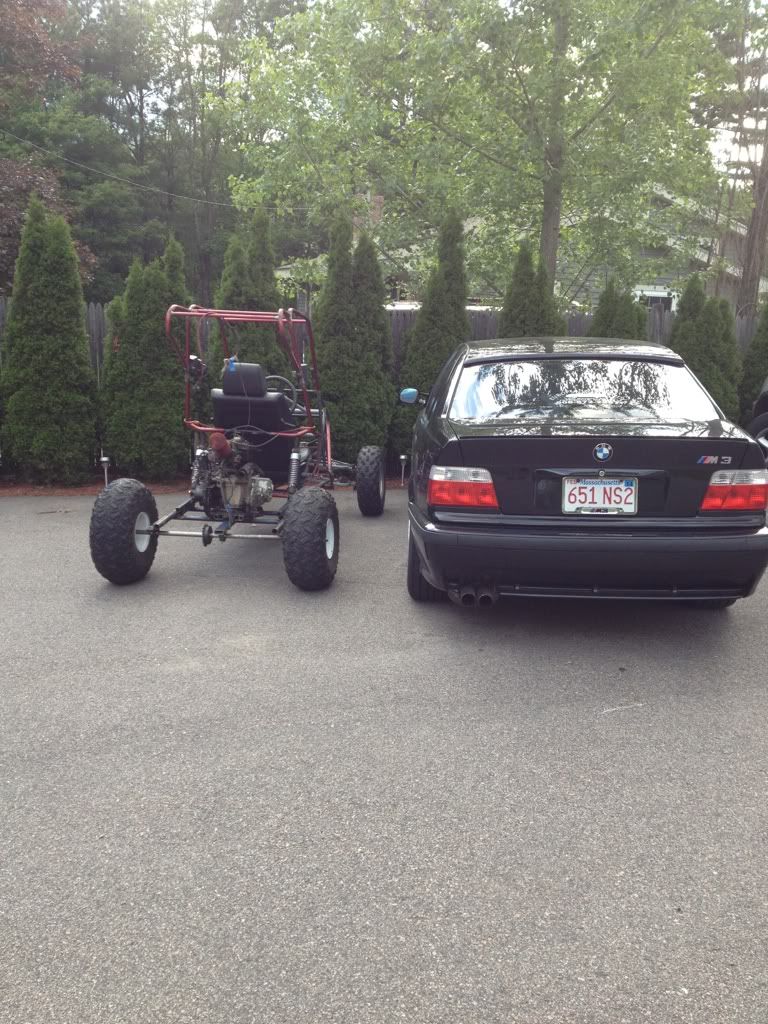 
|
|
#29
|
||||
|
||||
|
You're making good progress- Some known tips- tie the rear of the swingarm with something as it will tweek and rack with that engine, the flangettes won't support it for very long. With that engine -a gear ratio 12t front & 39-40 axle sprocket for descent climbimg and just above 50mph top-end. The intake manifold for that engine isn't available anymore- it's a 2 piece aluminum with rubber tieing them together, with just a uni-filter(no extension) it will bounce without the support of the airbox and crack the rubber very quickly- the more length you have hanging off the end of the carb the worse it will be. The next thing is your swingarm "IS" going to bend from front to rear as the 1" sch.40 isn't strong enough & you've made several welds that has weakened it even more, you'll need to create some type of box/truss to help spread the load out. The next place that has failure written all over it is the cockpit portion of the chassis- you only have the floor tubes supporting the length, if you were to have a hard impact on the front I'd be worried it will fold in half, all your roll cage bracing is on the old nerf bars that don't tie into the floor where the loads would be terminated- this would be true with a roll of this buggy as well. Not trying to pick apart your work- I just don't want you hurt.
Last edited by metalstudman1; 05-26-2012 at 12:47 PM. |
|
#30
|
|||
|
|||
|
for the swingarm i was going to do a bar that goes up and around the engine to help tie the motor to it and try and prevent it from tweeking a bit.. this is just a build that is helping me learn alot and if it fails it fails at least im having fun building it.. my next build will most definatly be alot more planned out and be built with strong metal not scrap.. thanks dor the concerns metal well just see how it goes
|
|
#31
|
||||
|
||||
|
You're doing incredibly good for your age and equipment, I'm no expert, I build for the fun of it too! I only want you to have a safe test run!!!! I was young once too- My test runs were--WOT till something failed!!!!! I'm anxious for it to come alive- make sure you get someone to video or take a picture of you grinning when you take it out for the first time.
|
|
#32
|
|||
|
|||
|
Thanks metal it means alot! And ill be sure to get a video for everyone to see my huge smile cruising around on this thing!
|
|
#33
|
||||
|
||||
|
I like the BMW, it looks good. The buggy looks good also, I'm looking forward to the video. Hope all is safe!
__________________
T.J. Yerfdog Spiderbox, Uni Type air filter with 6" intake, 130 jet, Orange no-rev limit cdi, Red coil, iridium plug, 1500rpm clutch springs, 1500rpm contra spring, 13g sliders, 22" rears, 21" fronts, aftermarket reverse installed, and Trailtech Vapor. |
|
#34
|
|||
|
|||
|
Thanks! ive put two years of work and alot of money into that car and let me tell you its a blast! i hope the buggy turns out the same way!
|
|
#35
|
|||
|
|||
|
Quick little update... I got bad news.. the motor is toast and i really dont want the hassle of getting all the parts together and also rebuilding the top end.. Good news is i found a chinese 250 dirtbike for real cheap. ikik it chinese junk blah blah but i have notice through my own experiences that if you take car of these engines they last just as long as any other brand name ones but i always tend to throw honda carbs on them helps alot..
|
|
#36
|
|||
|
|||
|
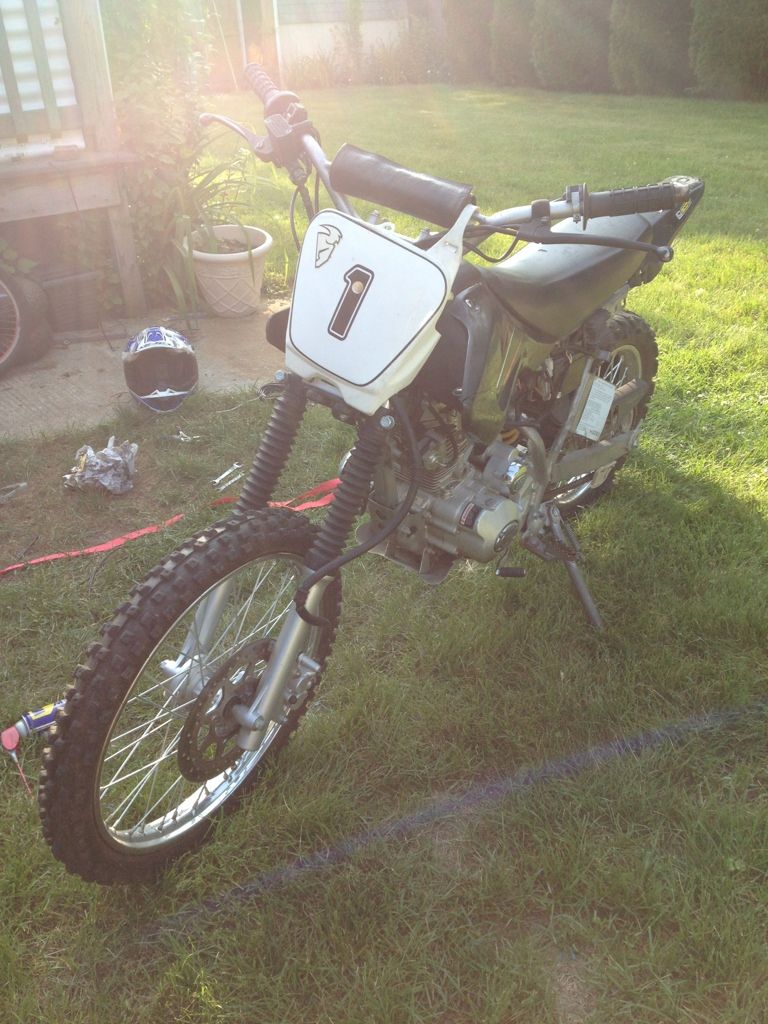
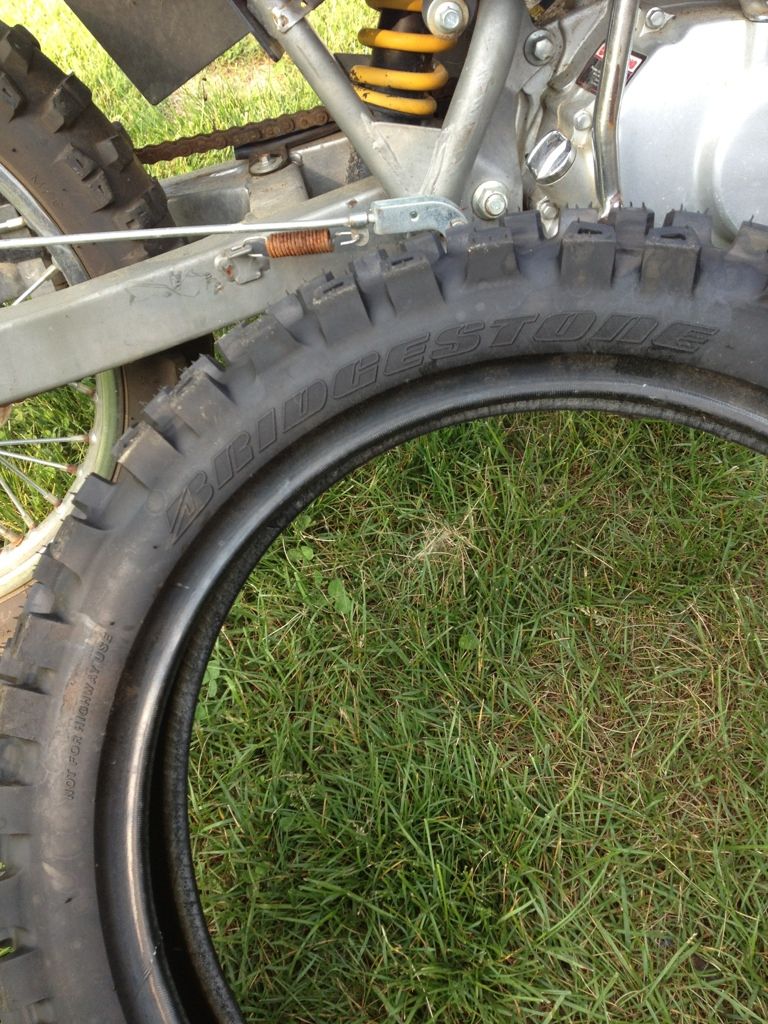
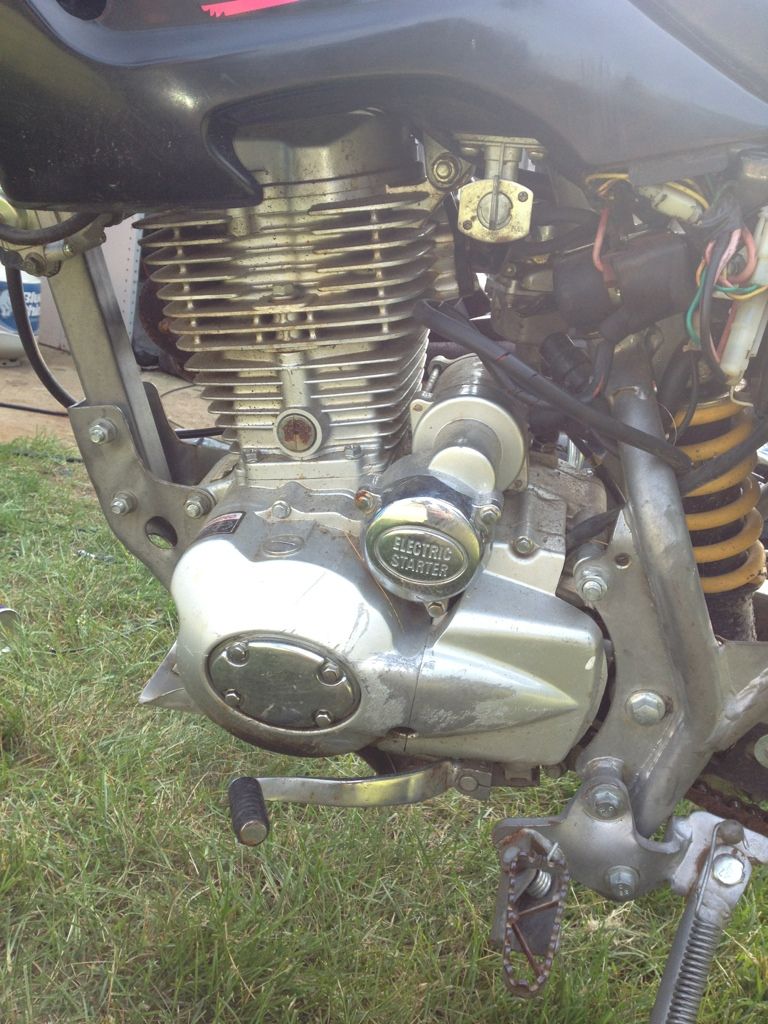
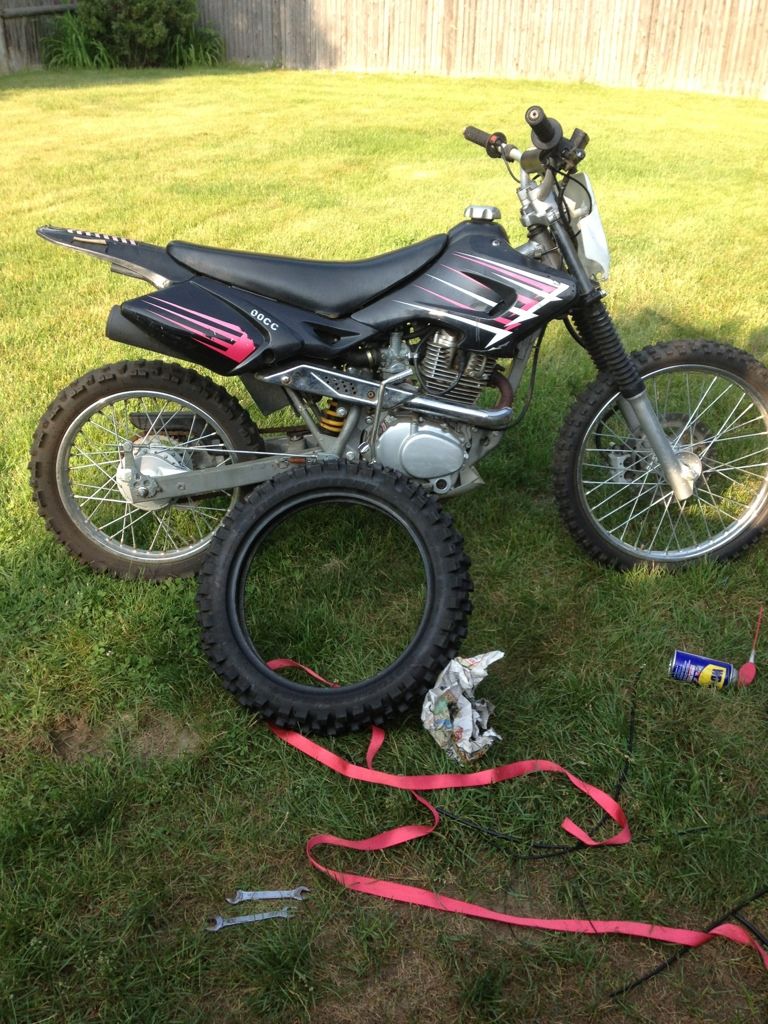
Good news! i picked up a 2007 rocketa 200cc pitbike for 200 bucks today had a title and everything.. the bike was sitting for a while but i brought it home put some gas in it and it started right up.. I feel i got a great deal seeing as this is a perfect running bike and plus it came with a brand new tire! On to the reason that i bought this tho.. it has a 200cc 5spd manual w/clutch and electric start but the best part of it is that it has the same mounts as the buggy so i wont have to chop/cut/rebuild.. Hope everybody likes it!
|
|
#37
|
||||
|
||||
|
Man you got a great deal! that's a nice bike, I don't know if I could muster up the will to destroy it! lol
__________________
T.J. Yerfdog Spiderbox, Uni Type air filter with 6" intake, 130 jet, Orange no-rev limit cdi, Red coil, iridium plug, 1500rpm clutch springs, 1500rpm contra spring, 13g sliders, 22" rears, 21" fronts, aftermarket reverse installed, and Trailtech Vapor. |
|
#38
|
|||
|
|||
|
Since i got it so cheap i wont feel bad tearing it apart..
|
|
#39
|
||||
|
||||
|
Nice bike!!! I'd repair the bike and sell it for a motor that has reverse.
|
|
#40
|
|||
|
|||
|
ehhh i dont know metal i dont really care much for reverse since ill be in a pit but if i was in trails i would most defiantly consider it..
|
|
#41
|
|||
|
|||
|
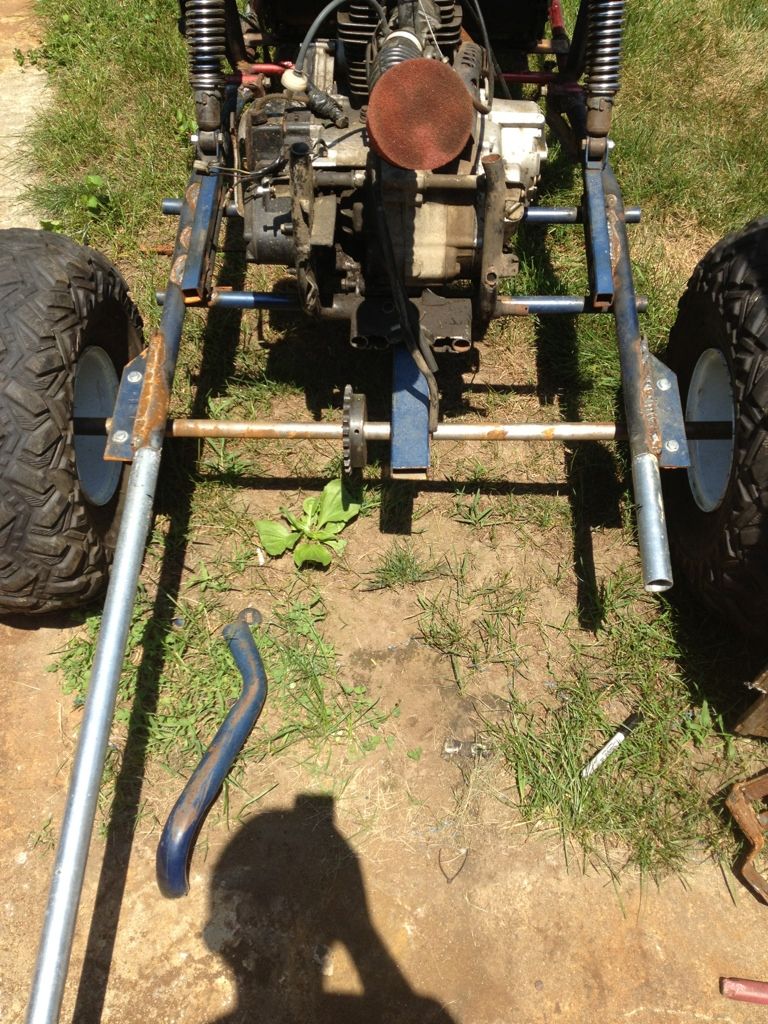
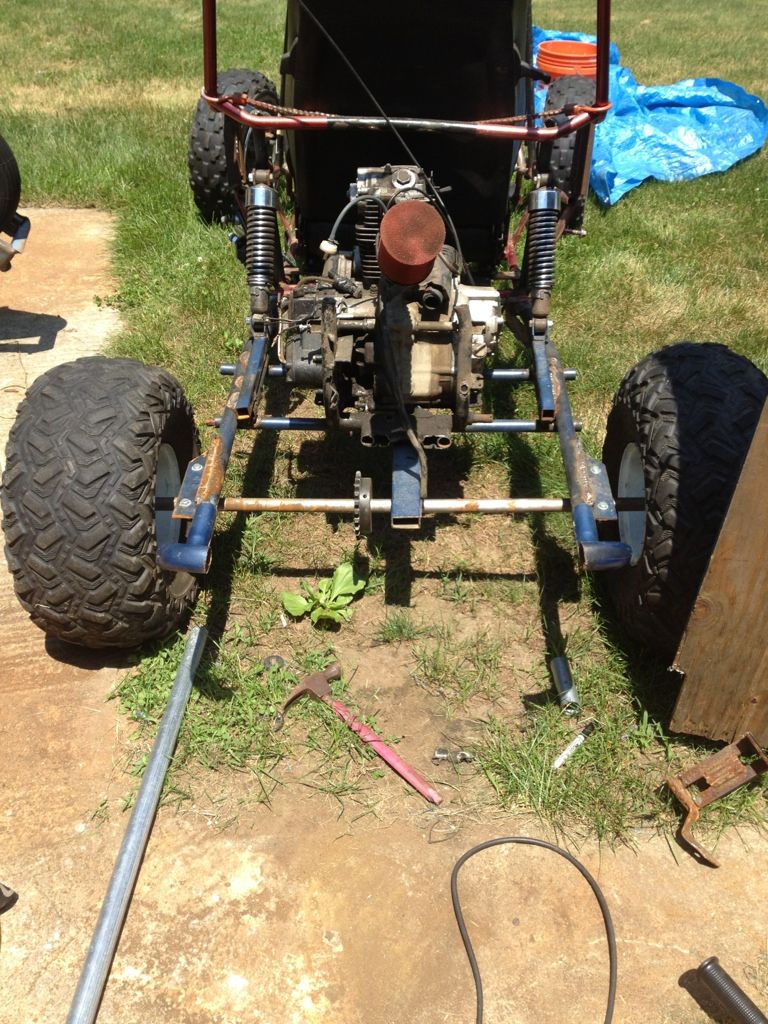
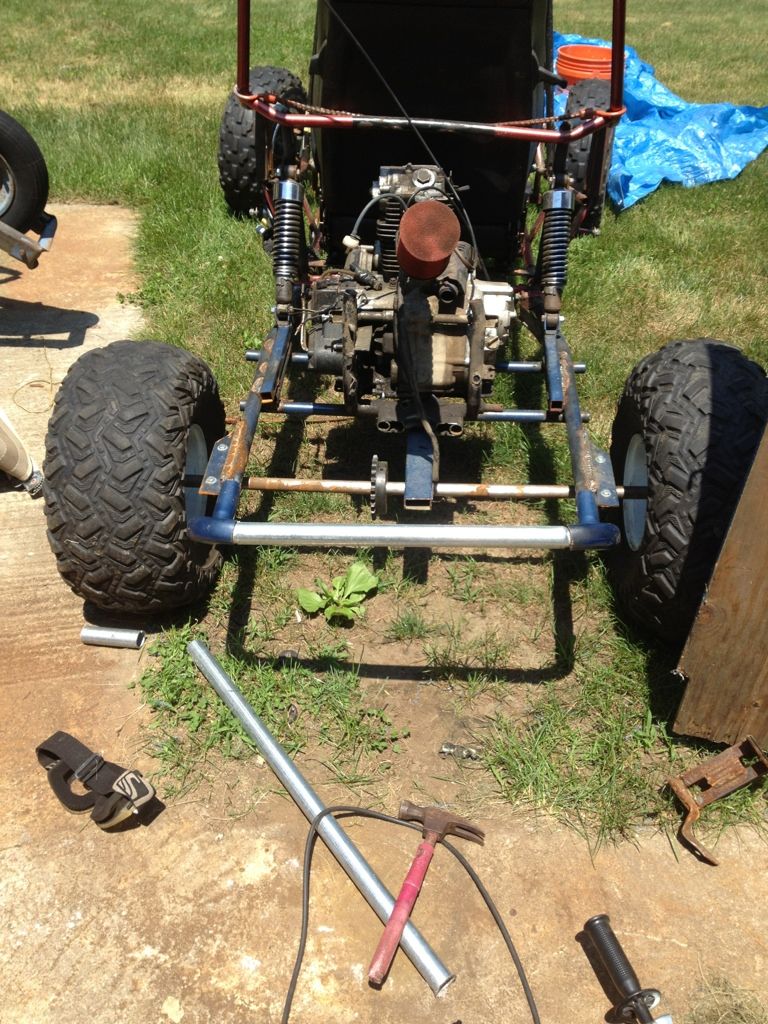
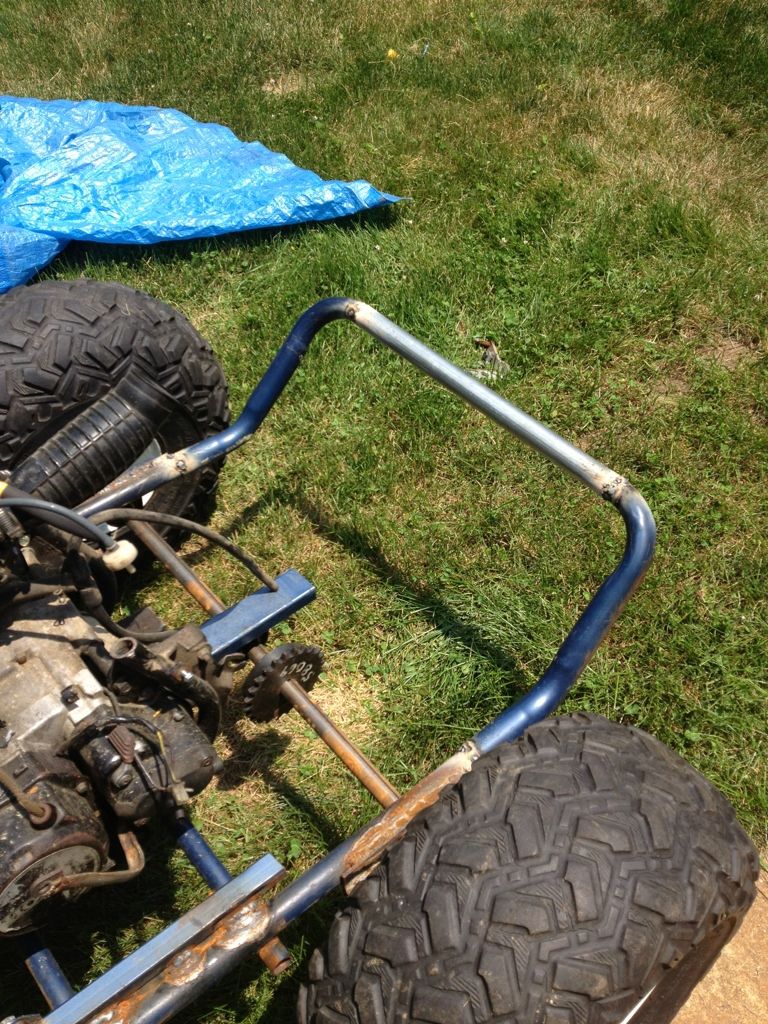
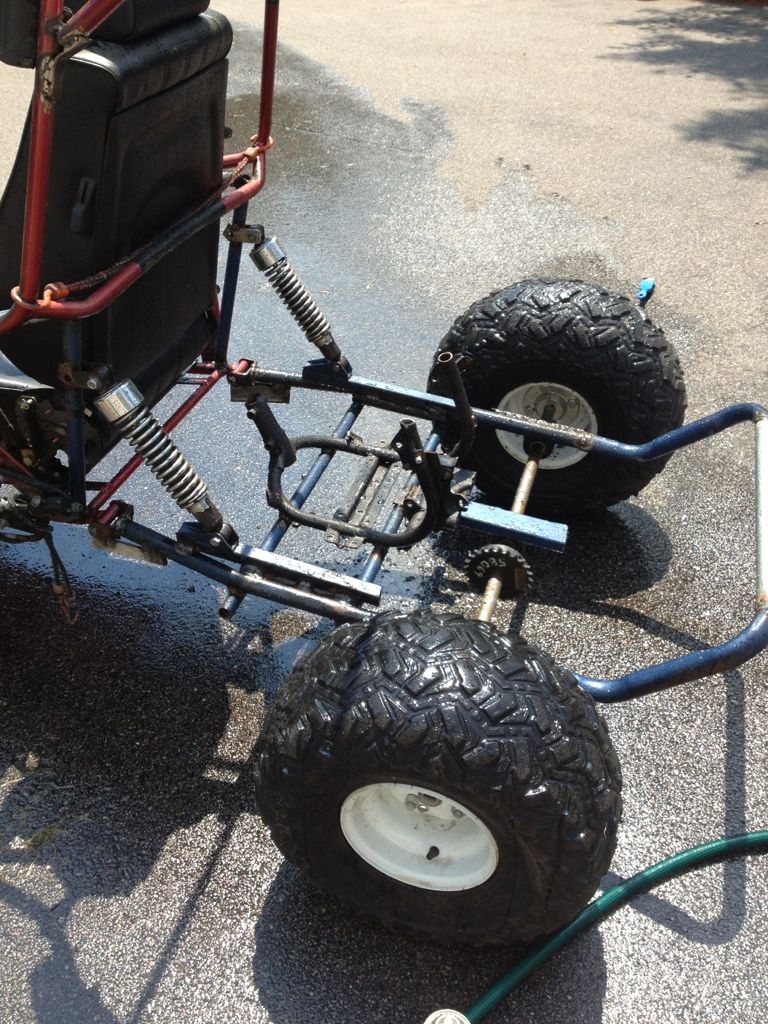
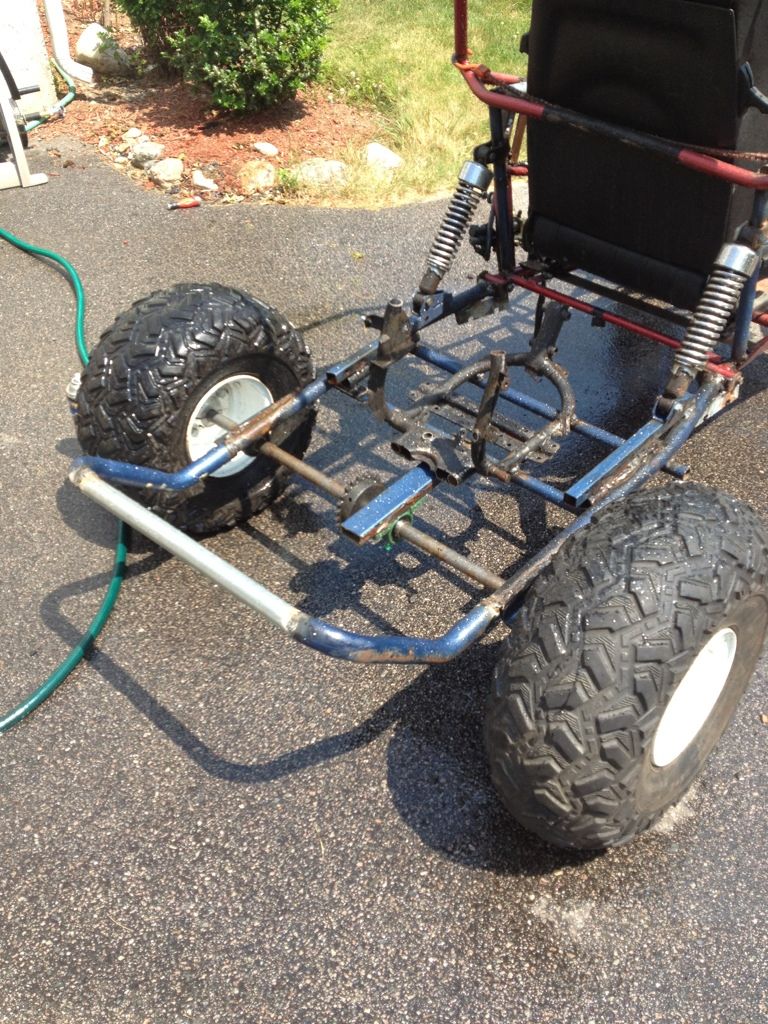
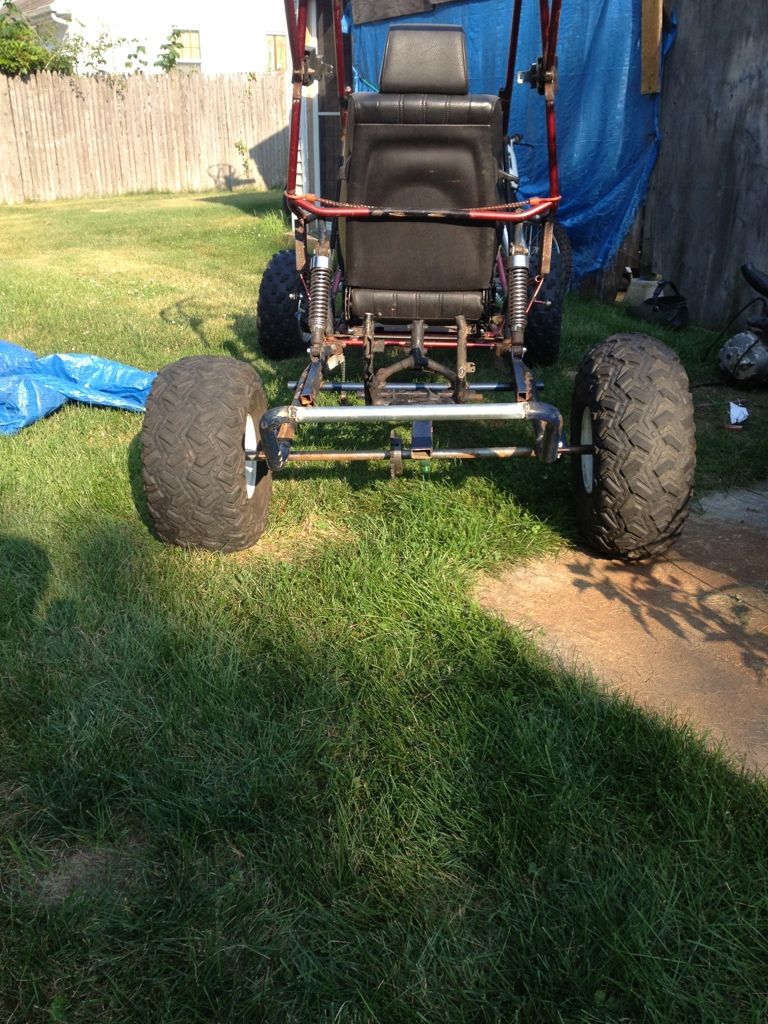
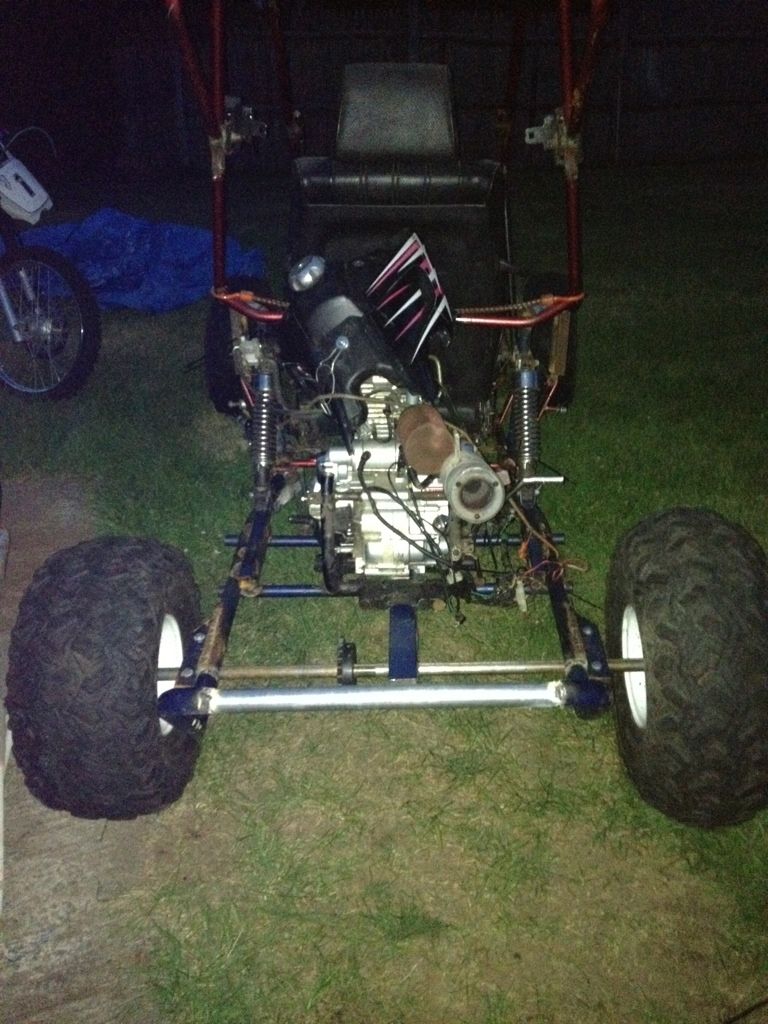
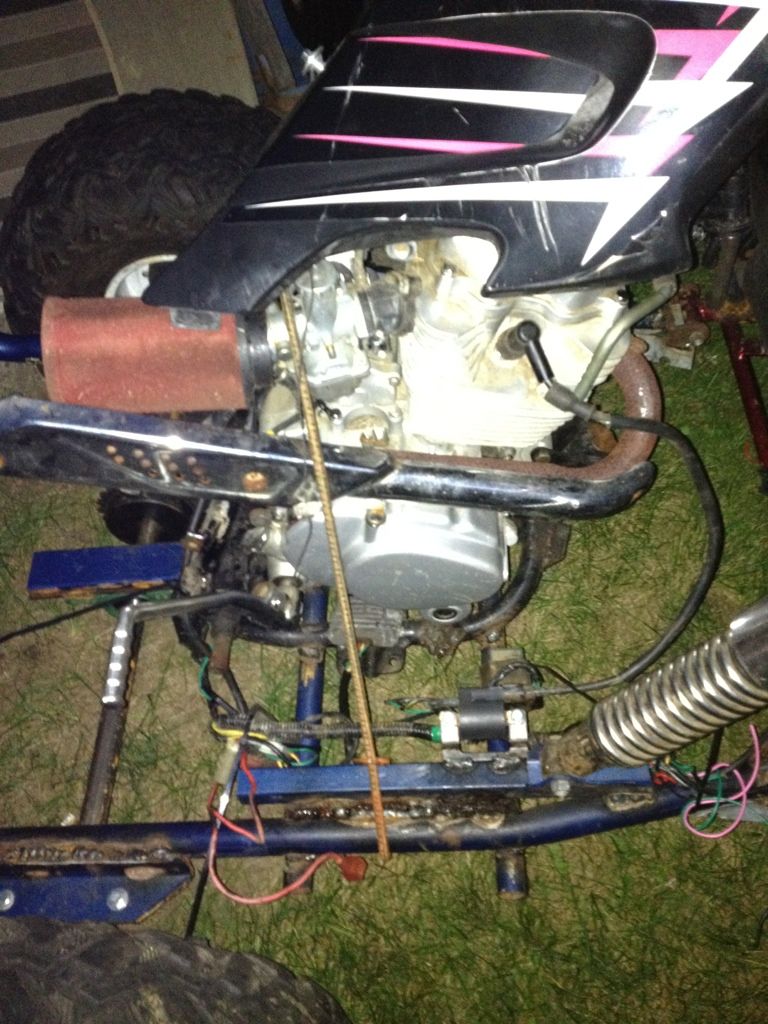
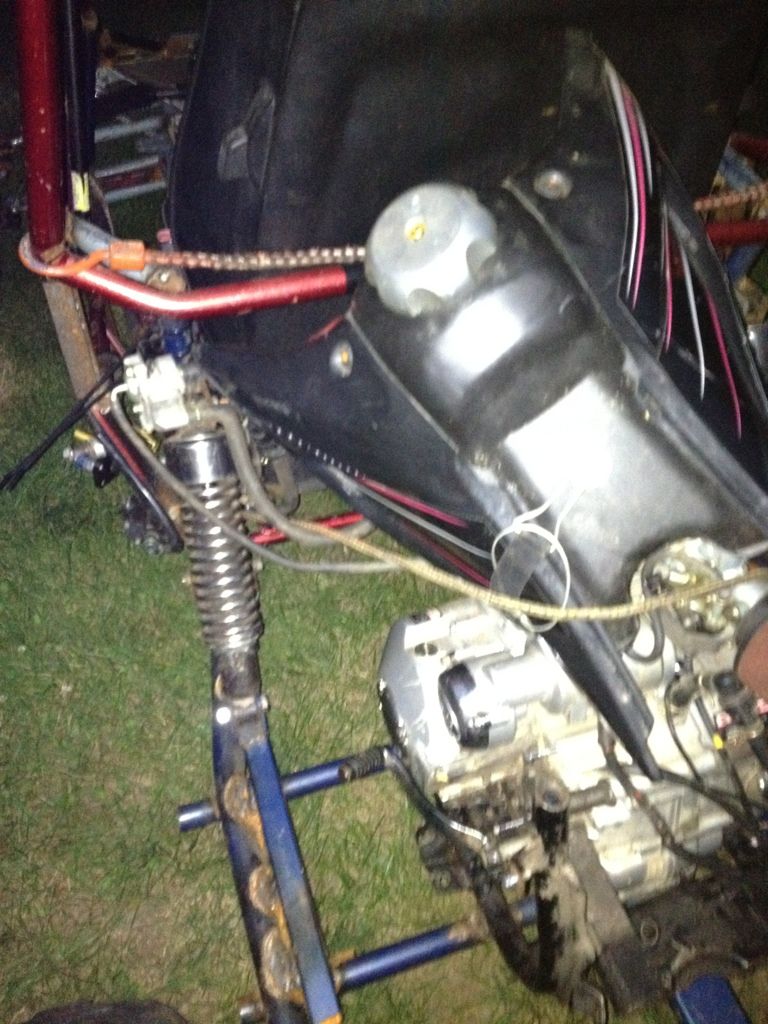
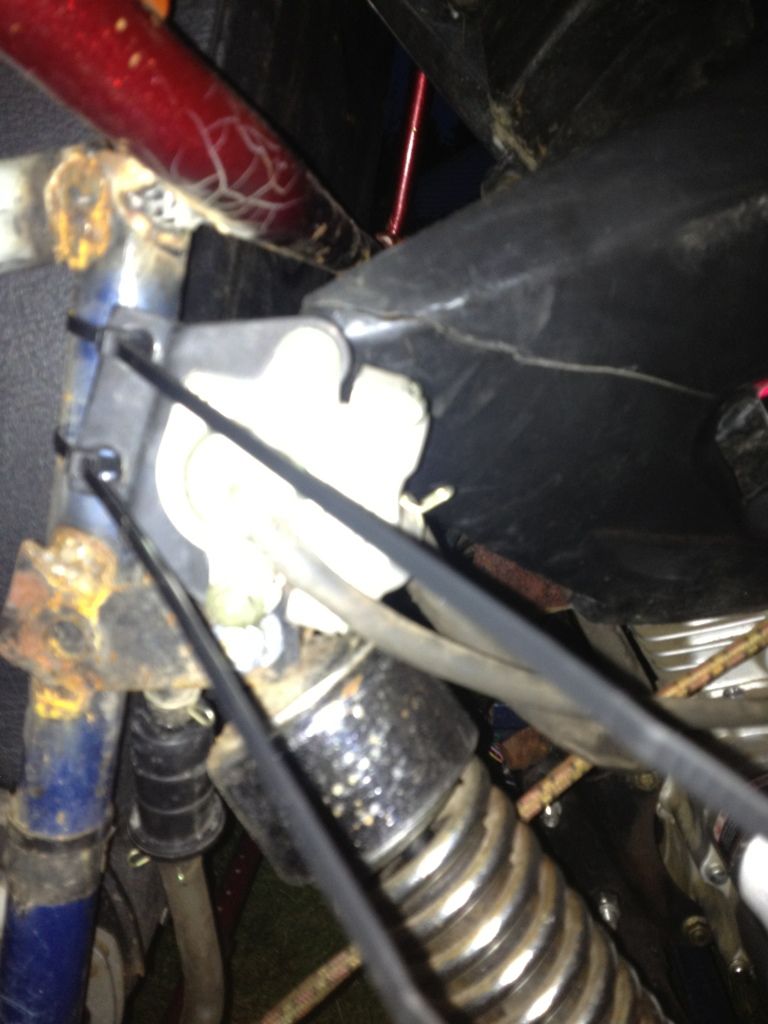
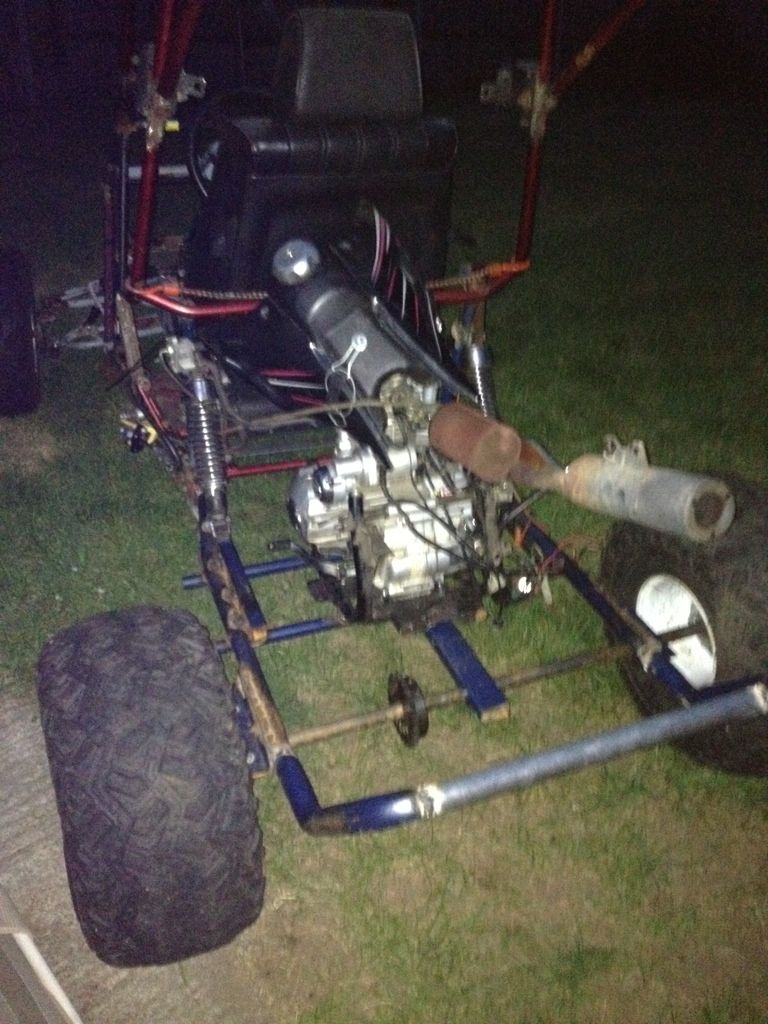
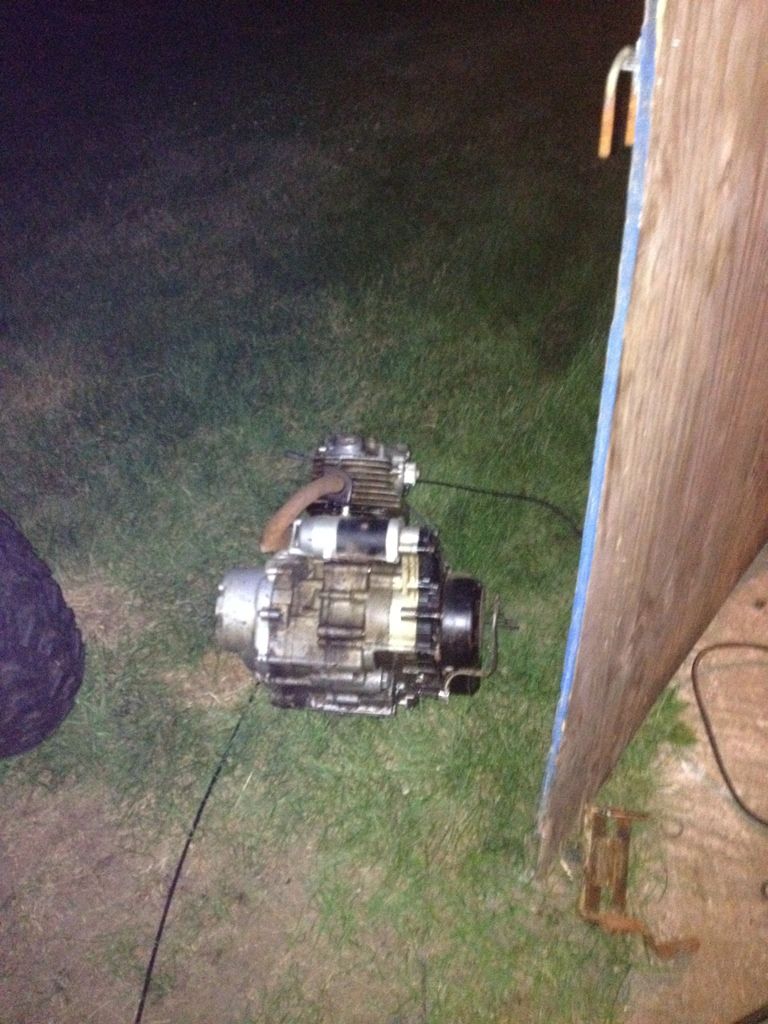
finally built a little bar to square off the rear end and put in my new engine with all of its wiring! Cant wait to ride this thing!!! Enjoy
|
|
#42
|
||||
|
||||
|
Great job!I wish I would have started when your age.
__________________
http://www.youtube.com/watch?v=IUgir...ature=g-t=2668 FABRICATION ITS HARDER THAN YOU THINK |
|
#43
|
|||
|
|||
|
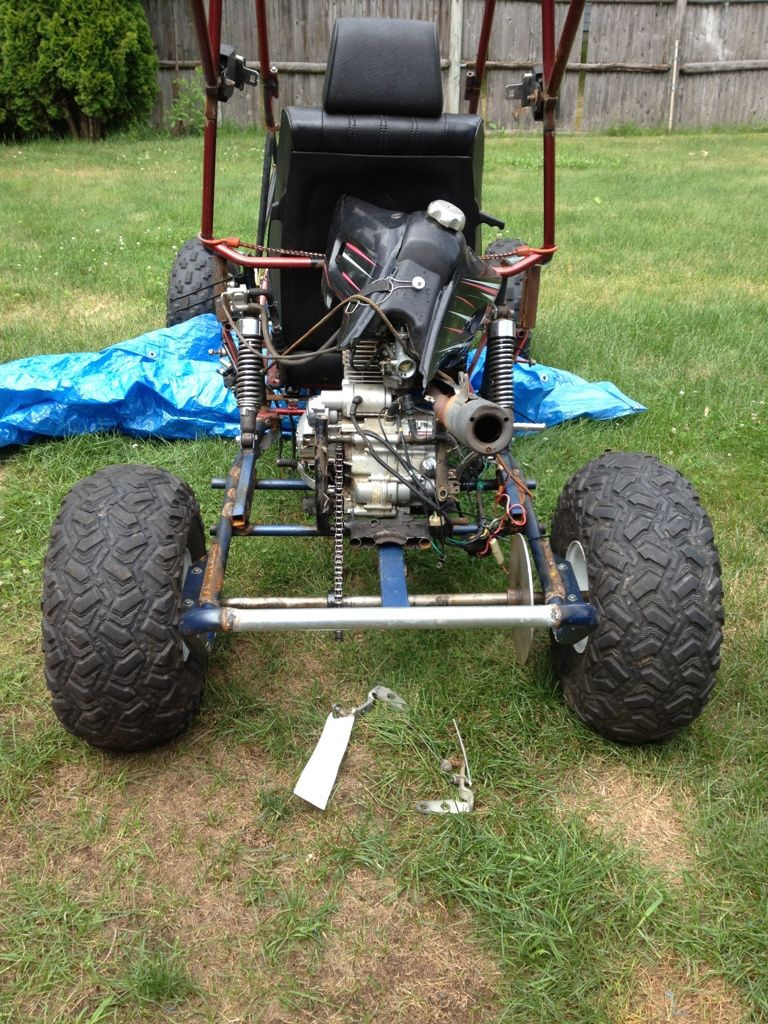
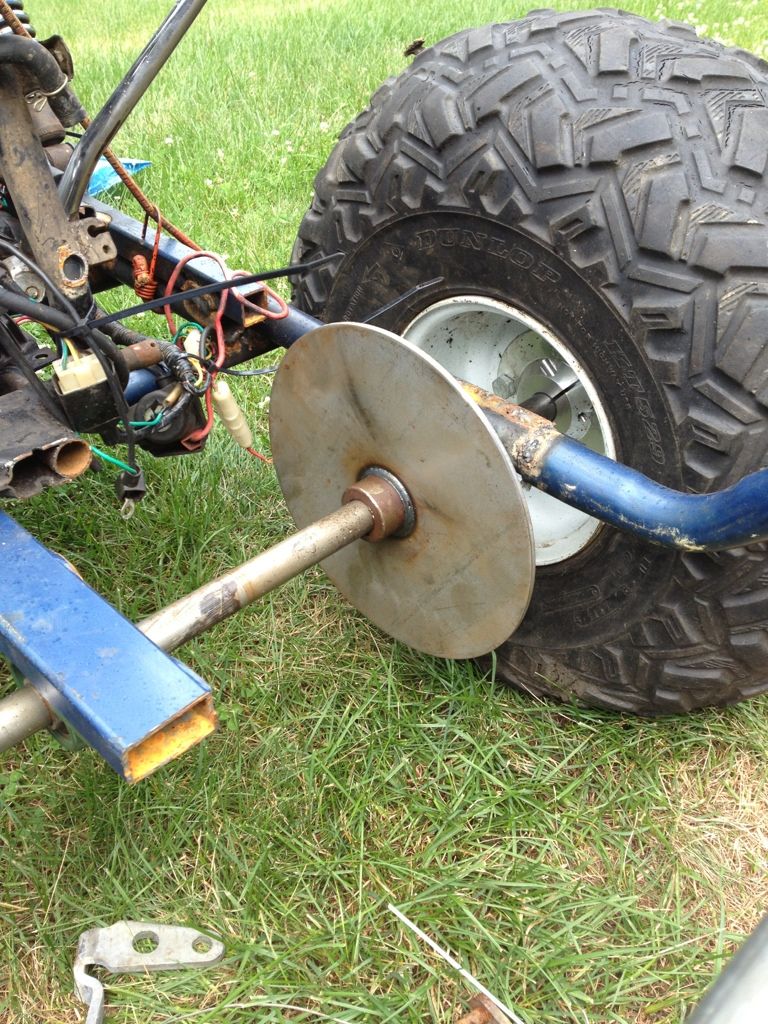
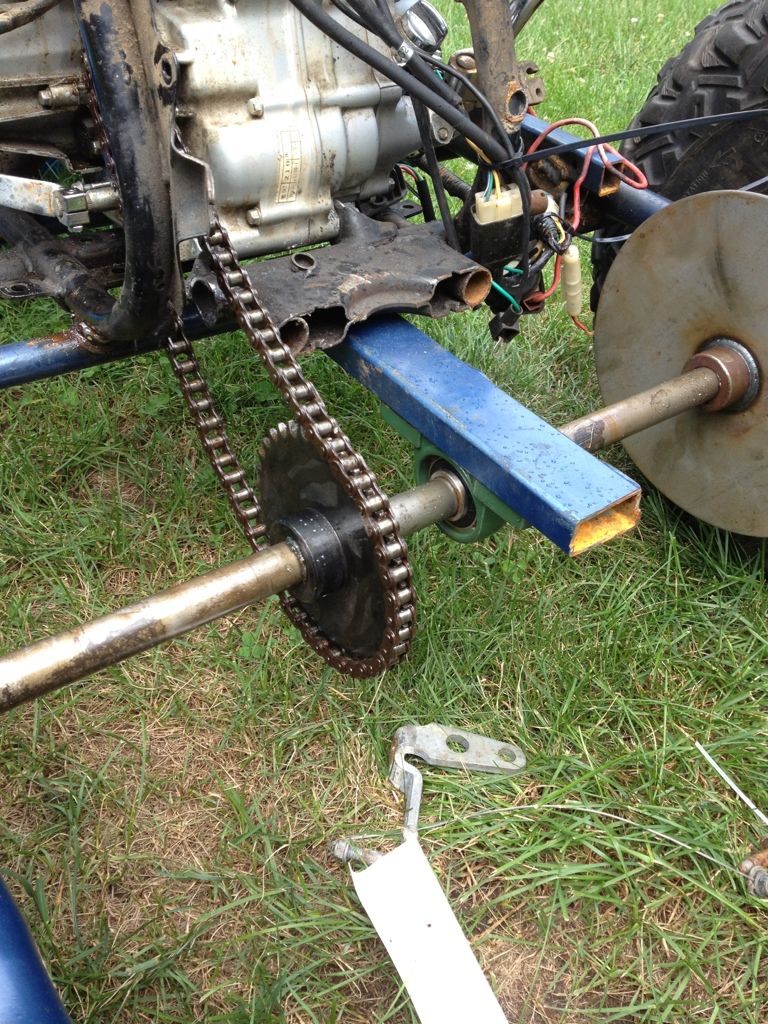
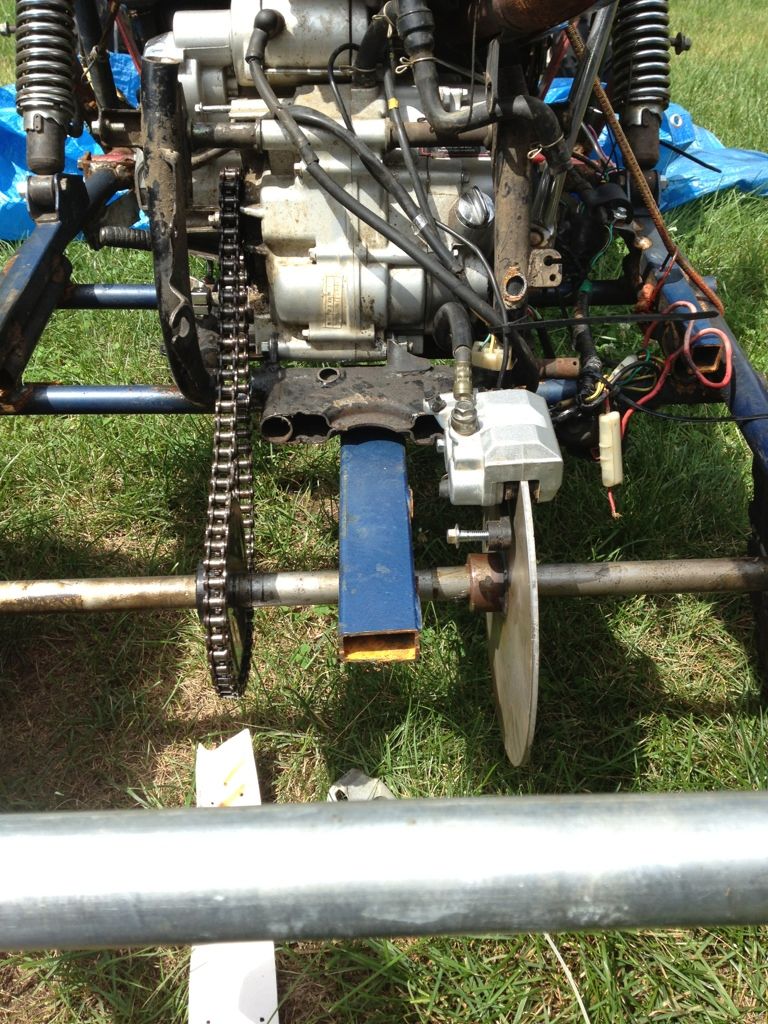
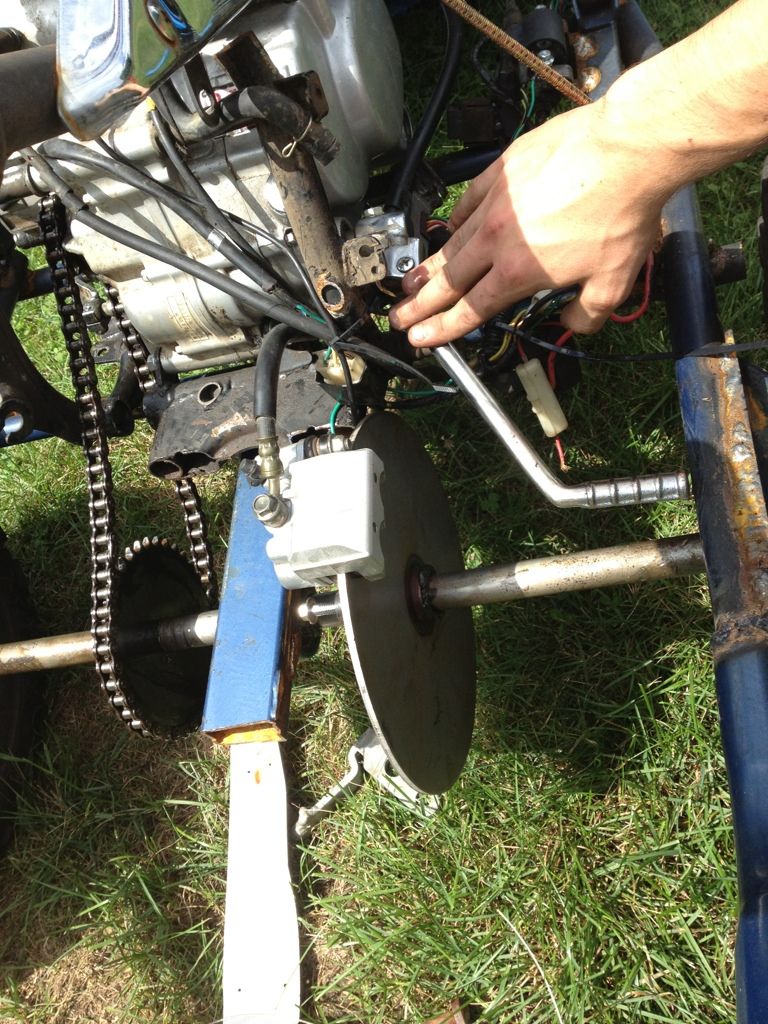
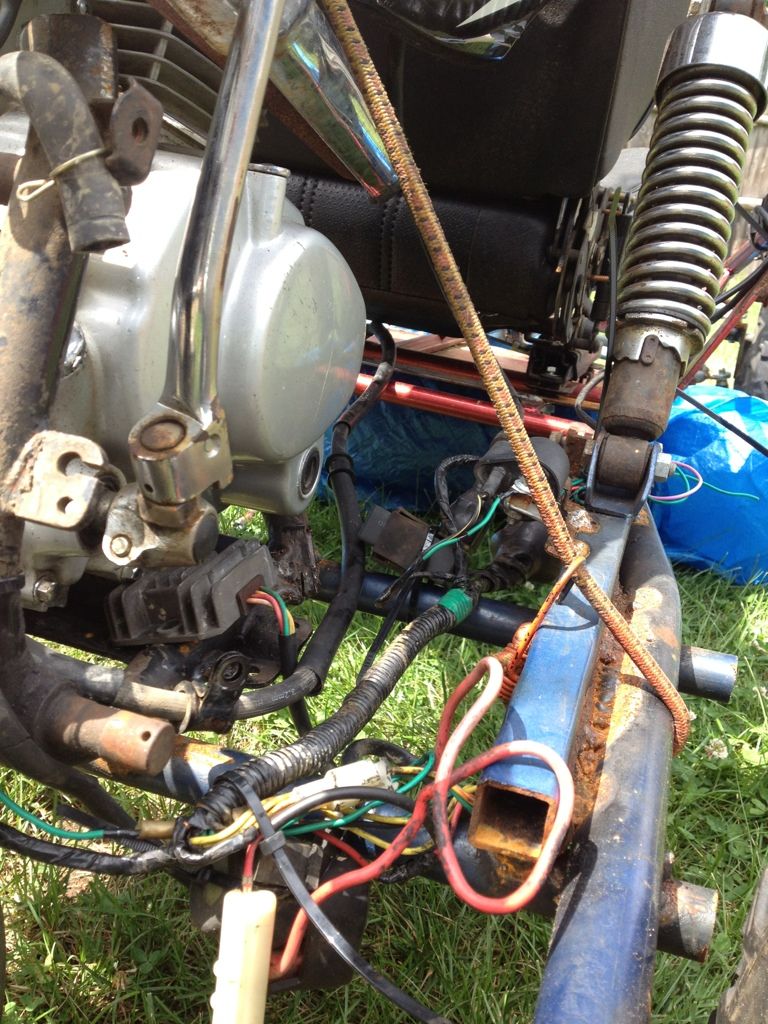
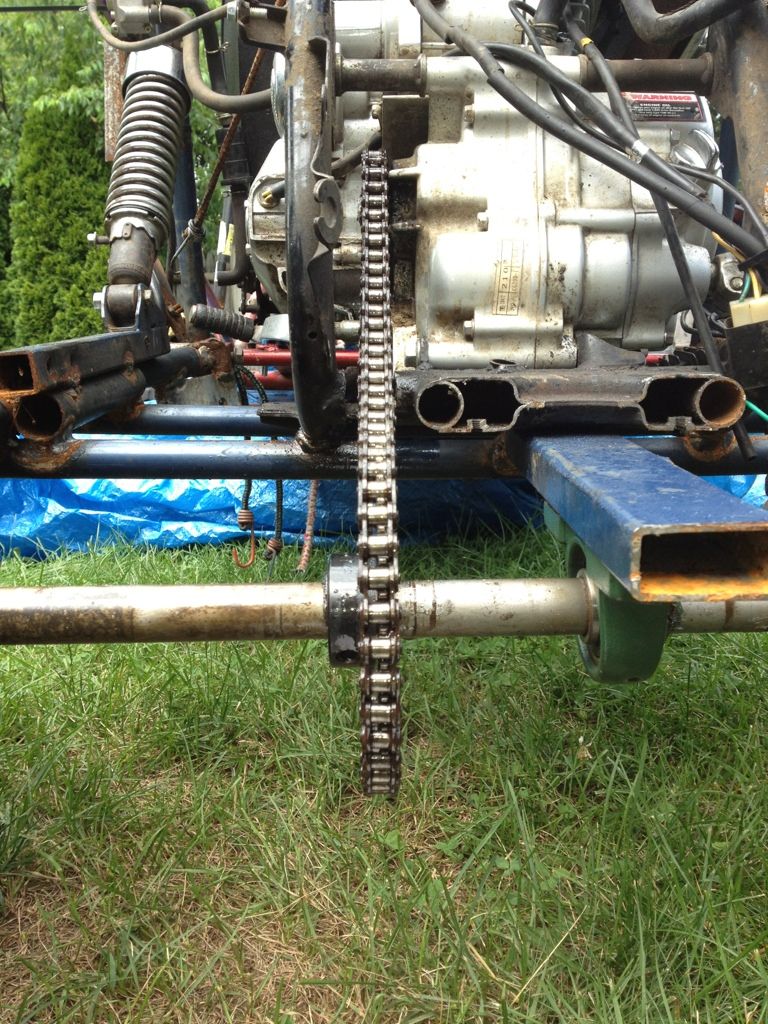
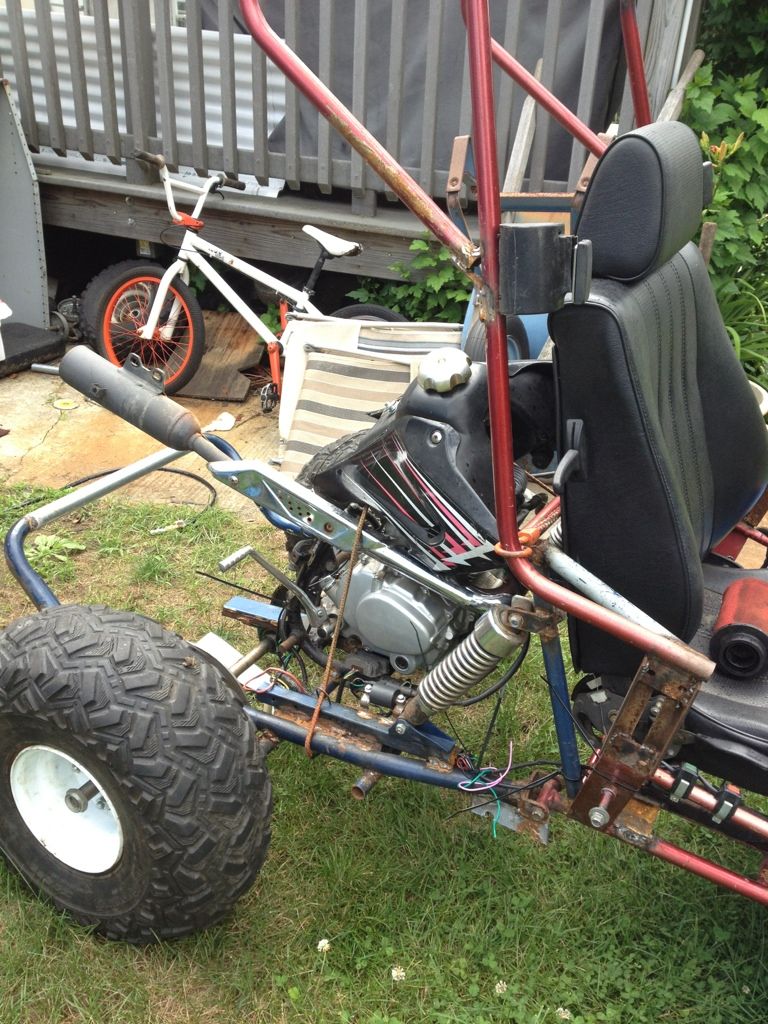
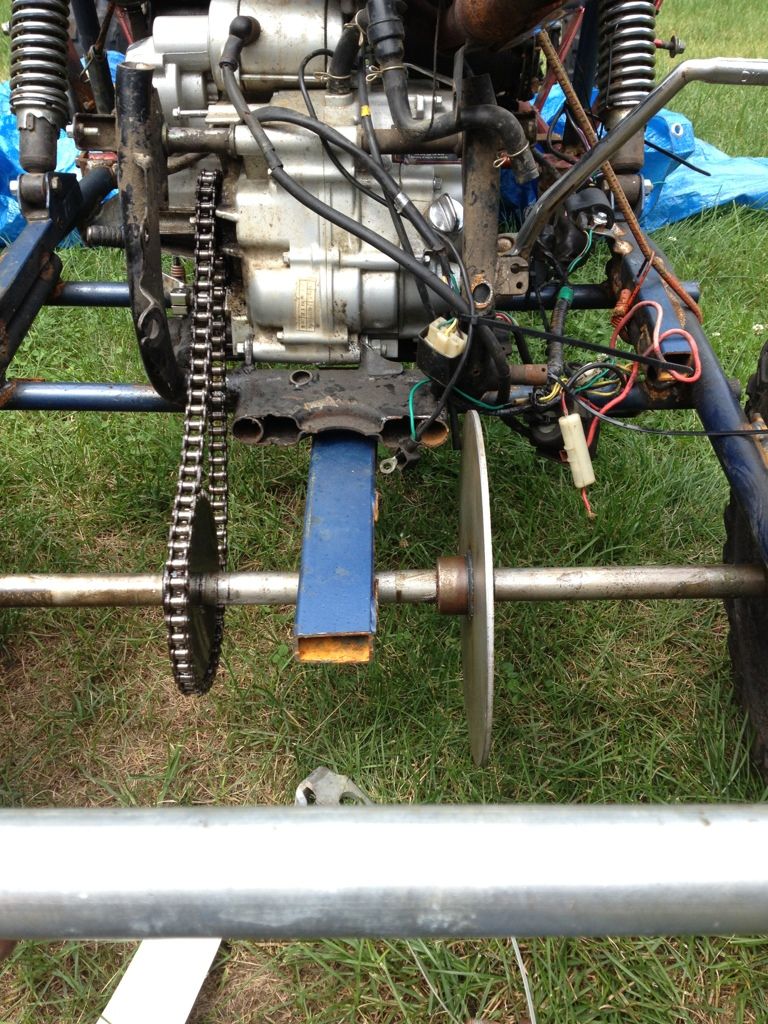
Got my chain on and my brake disc.. The disk is not where i originally wanted it to be dude to the kick start but i can still easily make it work. Enjoy
|
|
#44
|
||||
|
||||
|
Looking like it's all coming together, can't wait to see it in action.
__________________
T.J. Yerfdog Spiderbox, Uni Type air filter with 6" intake, 130 jet, Orange no-rev limit cdi, Red coil, iridium plug, 1500rpm clutch springs, 1500rpm contra spring, 13g sliders, 22" rears, 21" fronts, aftermarket reverse installed, and Trailtech Vapor. |
|
#45
|
|||
|
|||
|
Thanks appreciate it! Neither can I!
|
|
#46
|
||||
|
||||
|
Make your brake caliper bracket very strong- It doesn't take a lot of hard braking to bend or shear a flimsy bracket. What's your game plan for the chain tension?
|
|
#47
|
|||
|
|||
|
Thanks metal will keep that in mind! For the tensioner i will probably do a simple set up with a chain roller i have.. Will keep you posted on it
|
|
#48
|
|||
|
|||
|
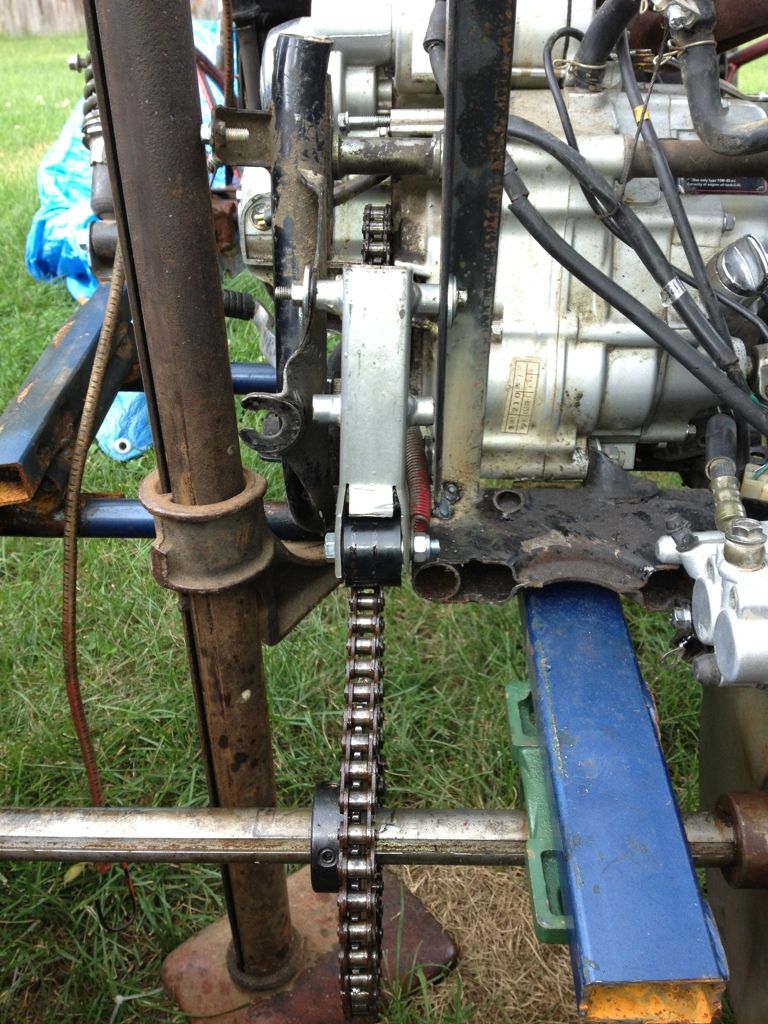
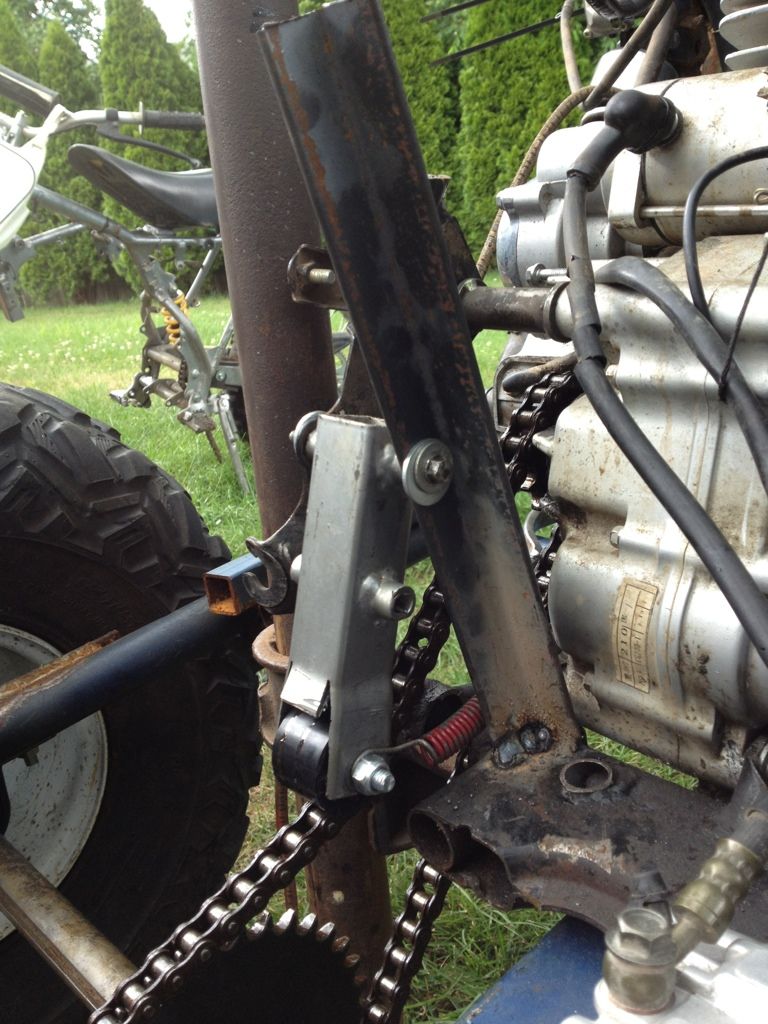
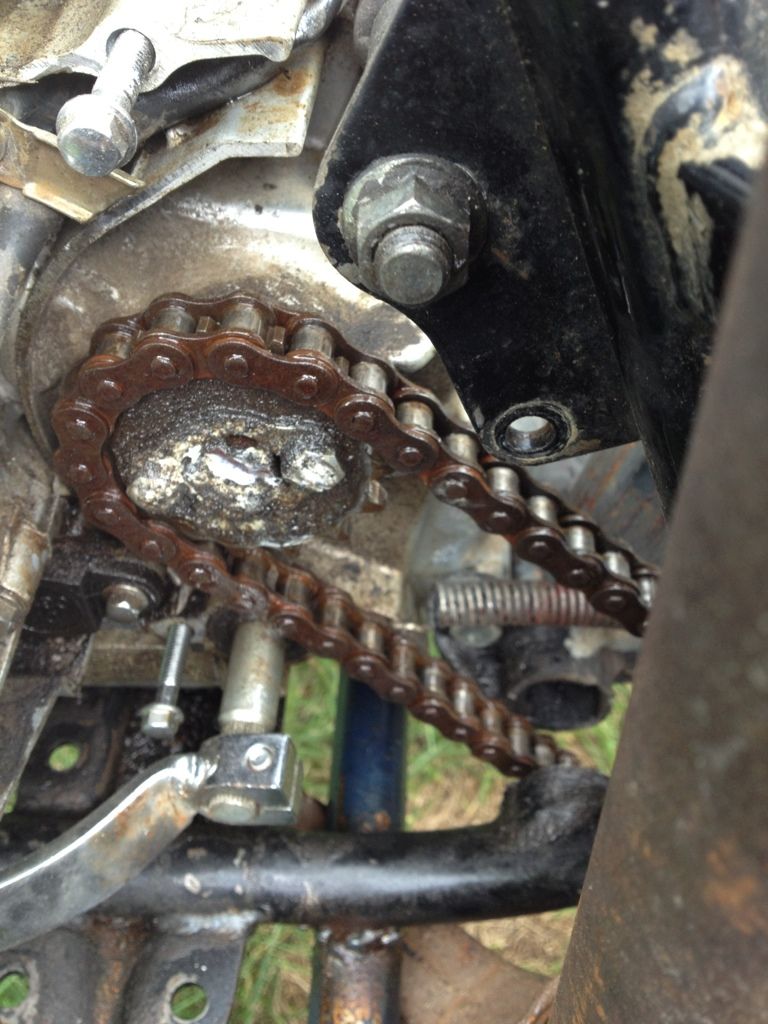
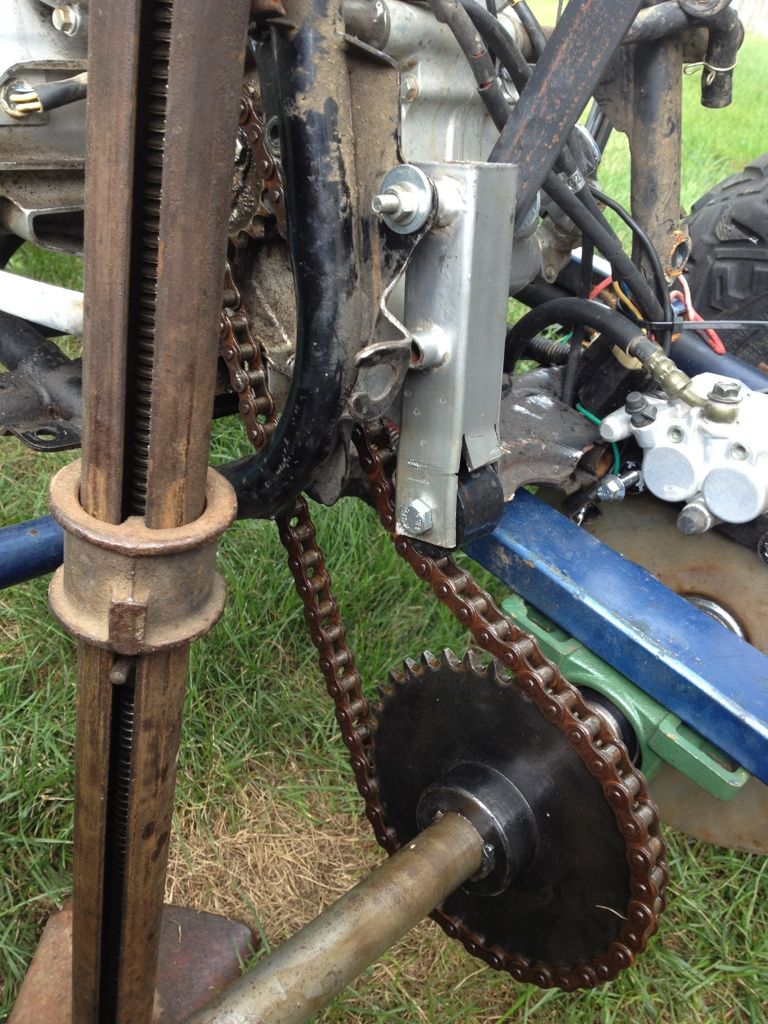
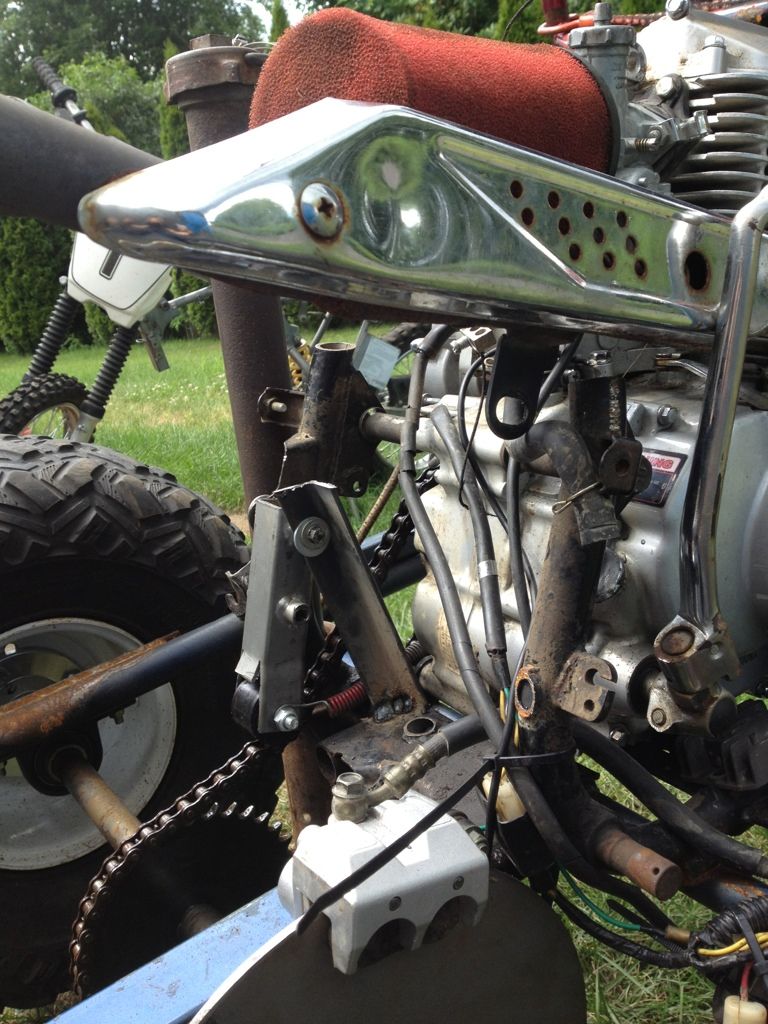
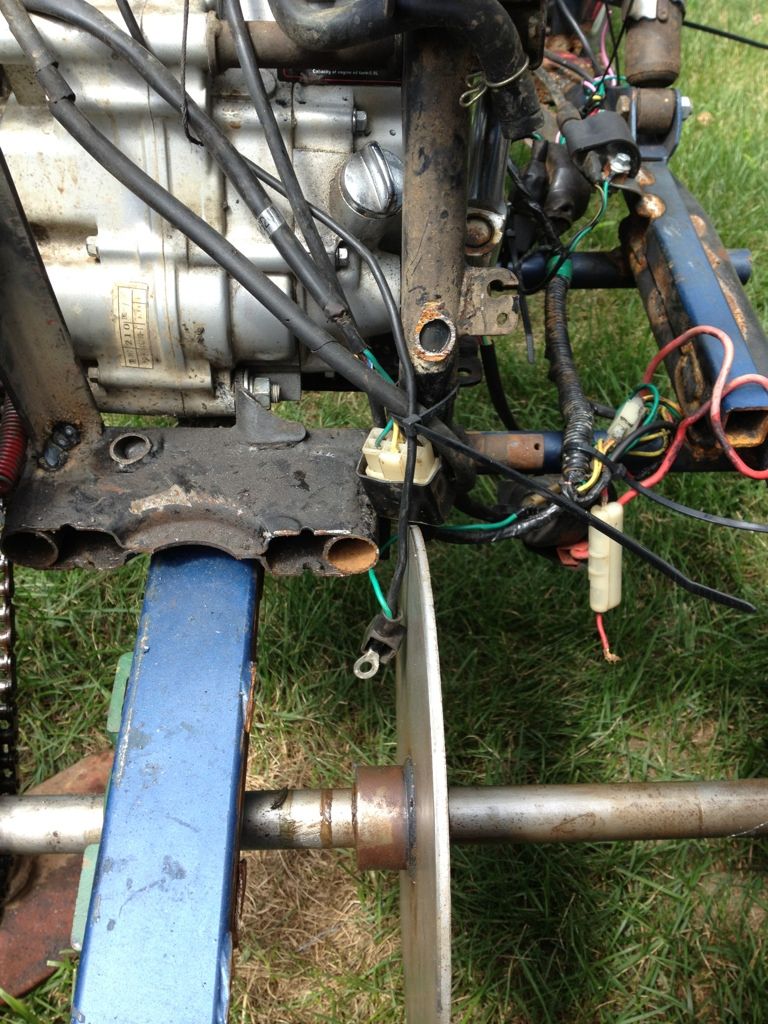
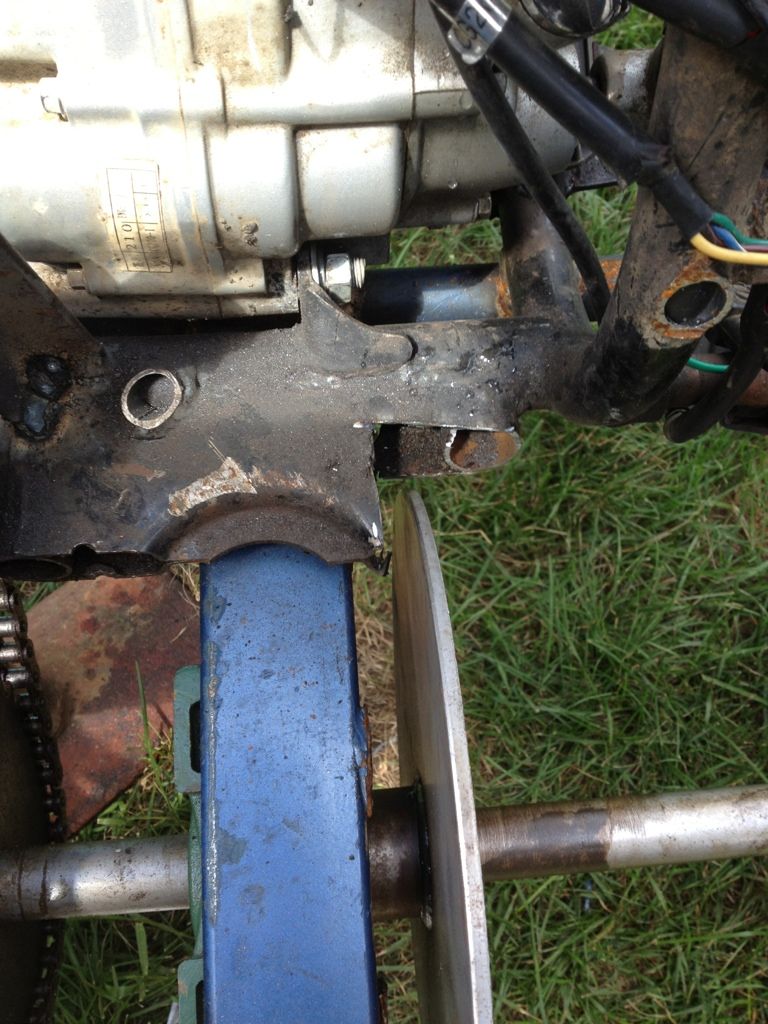
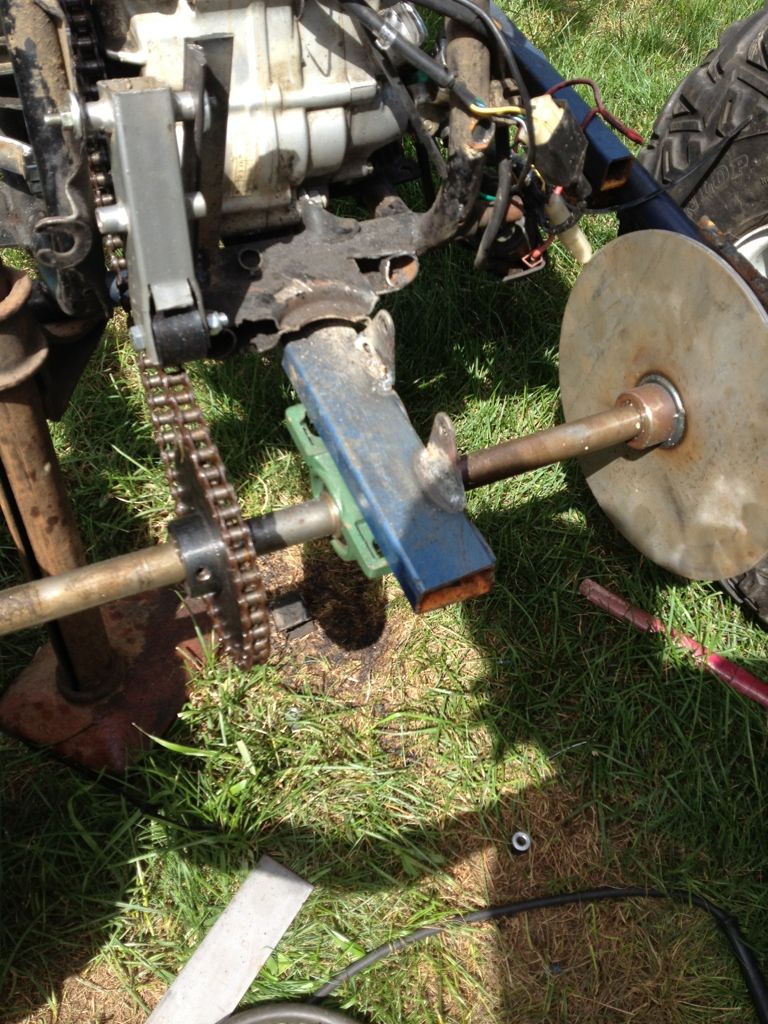
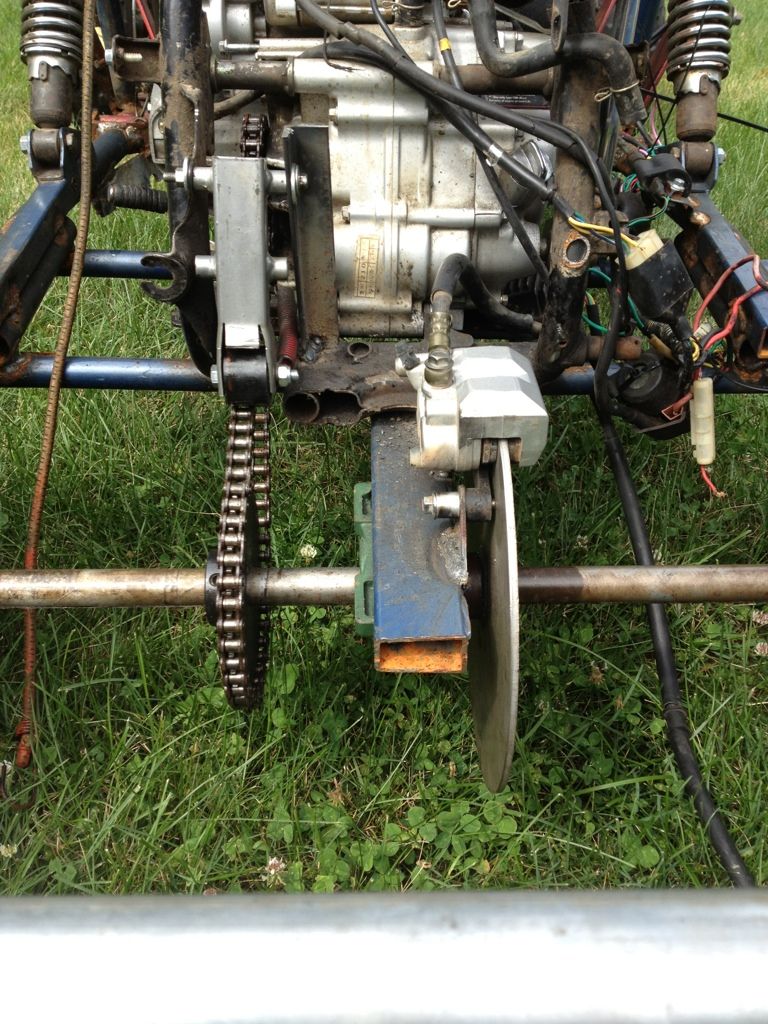
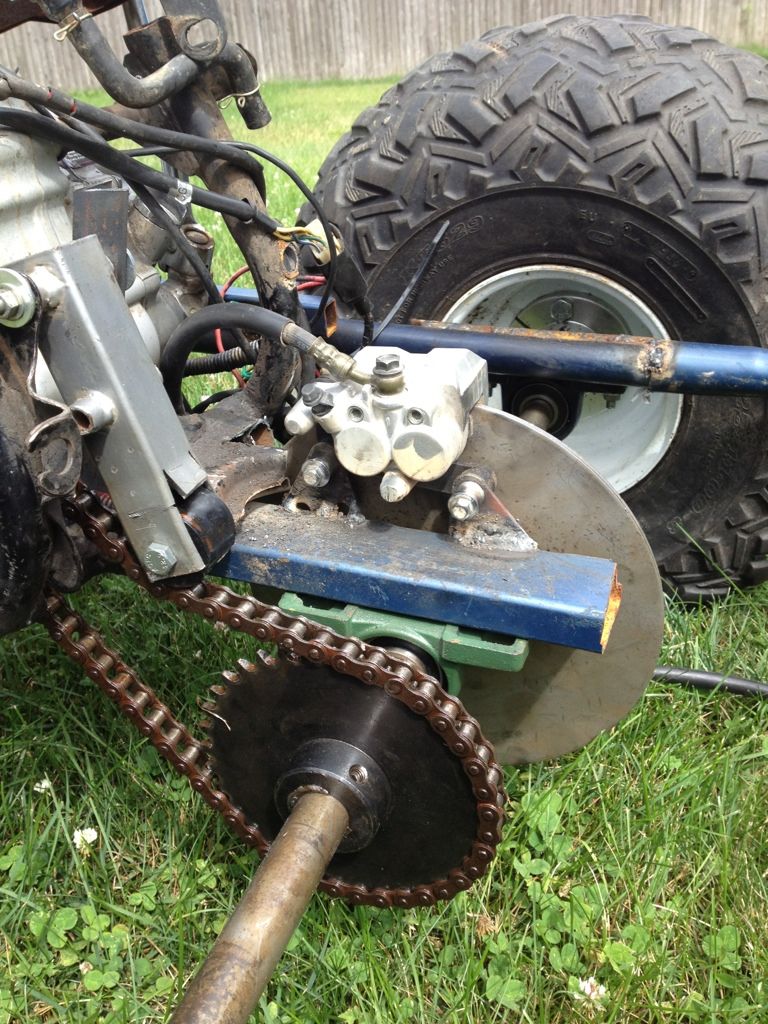
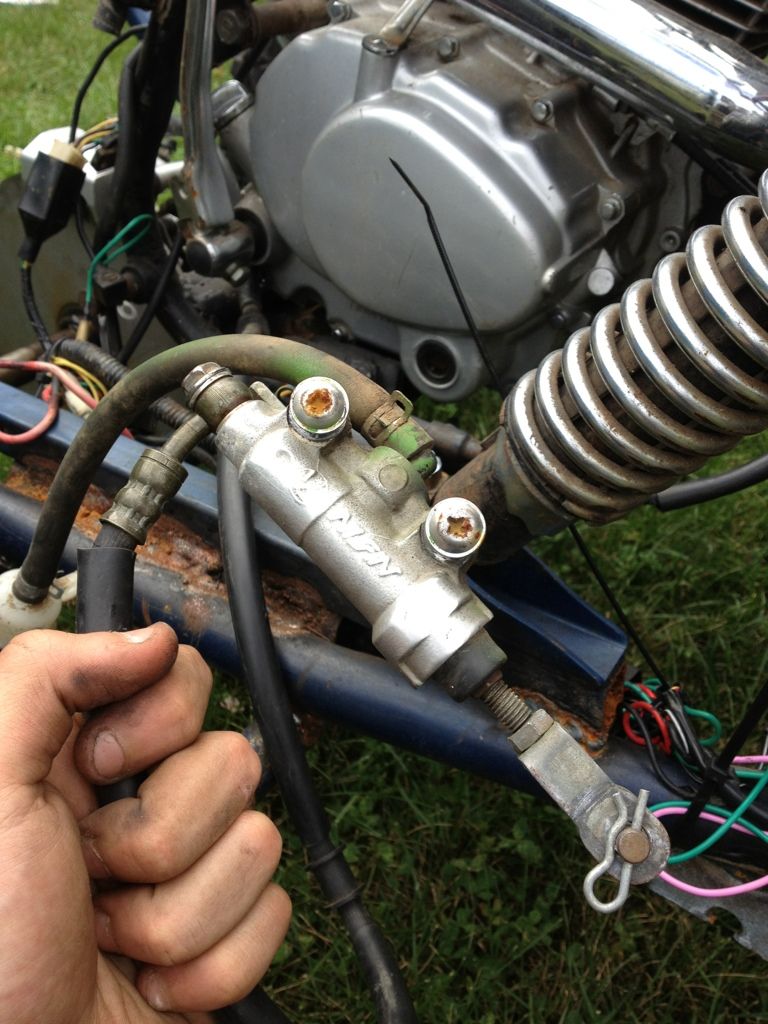
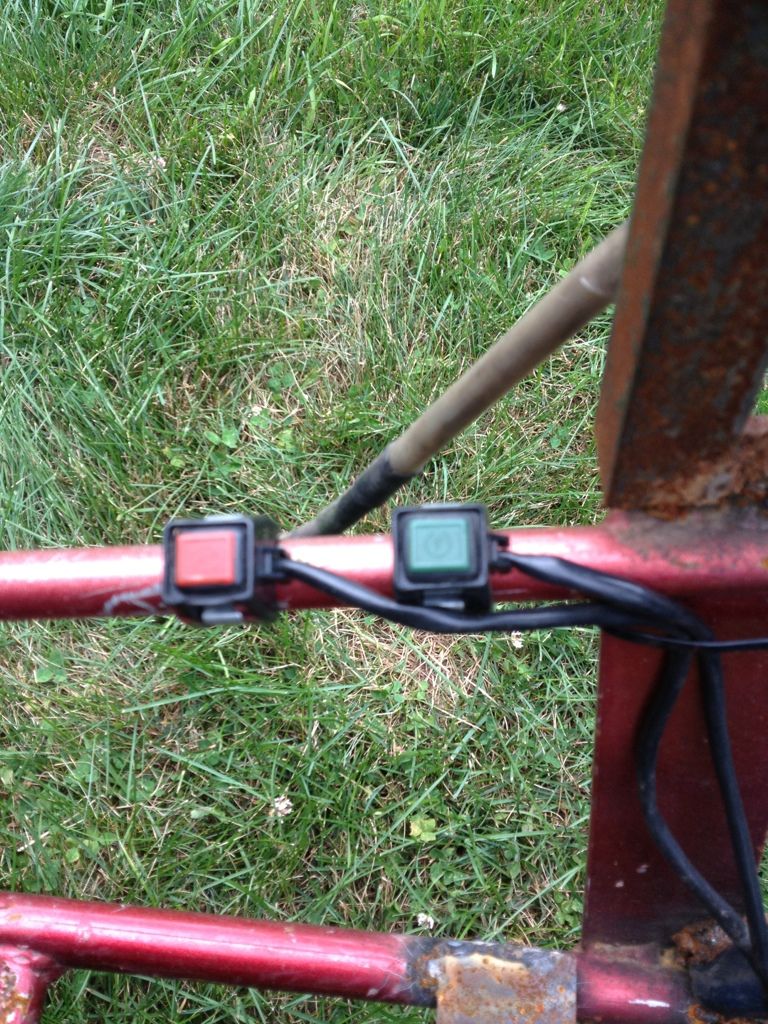
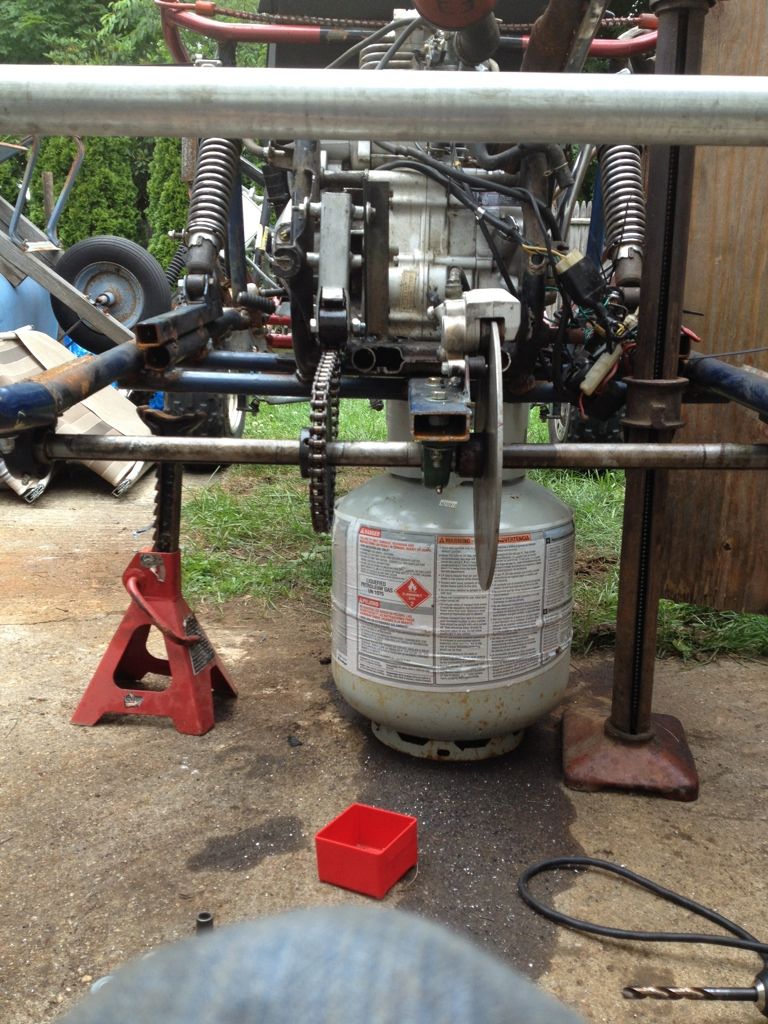
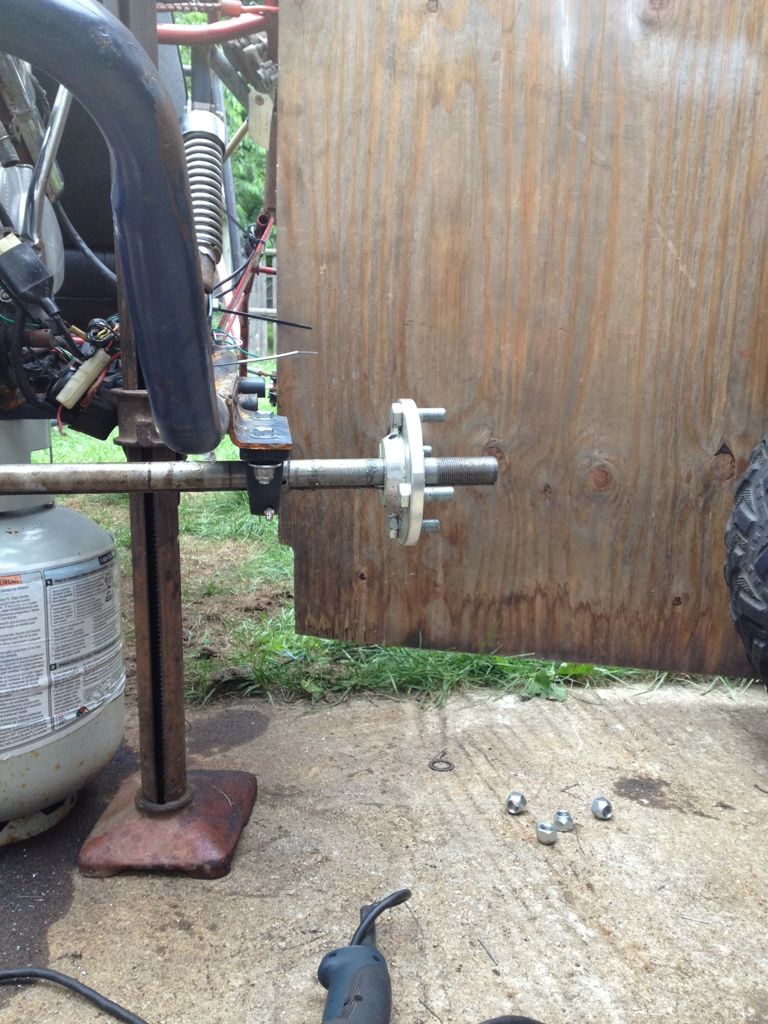
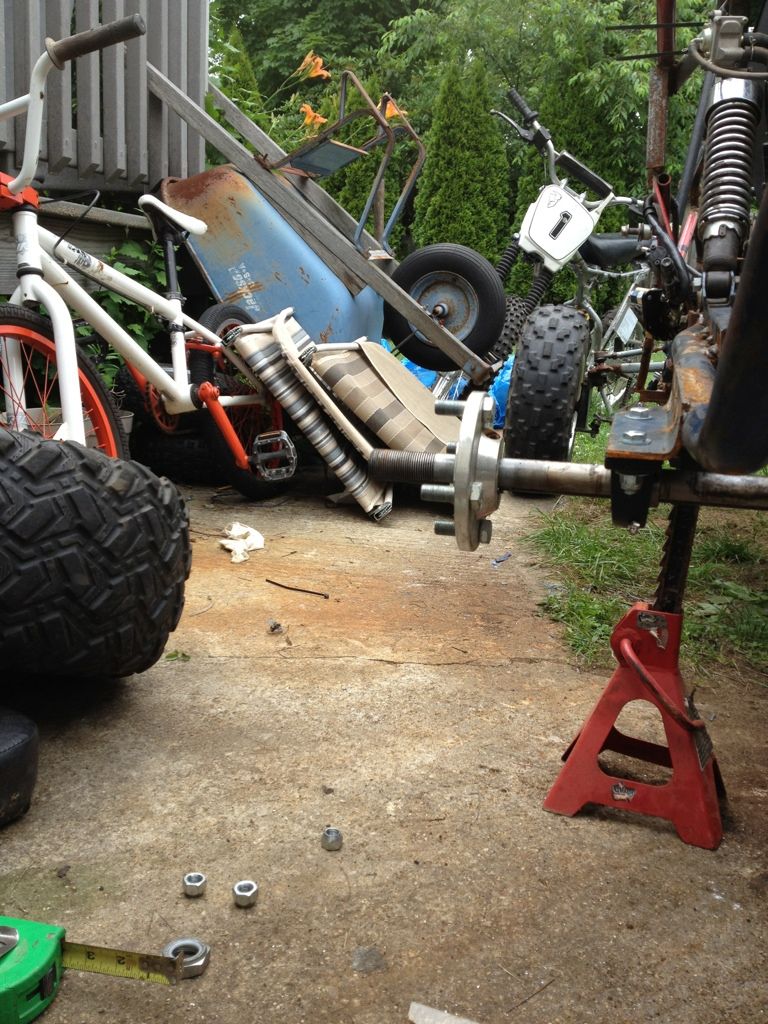
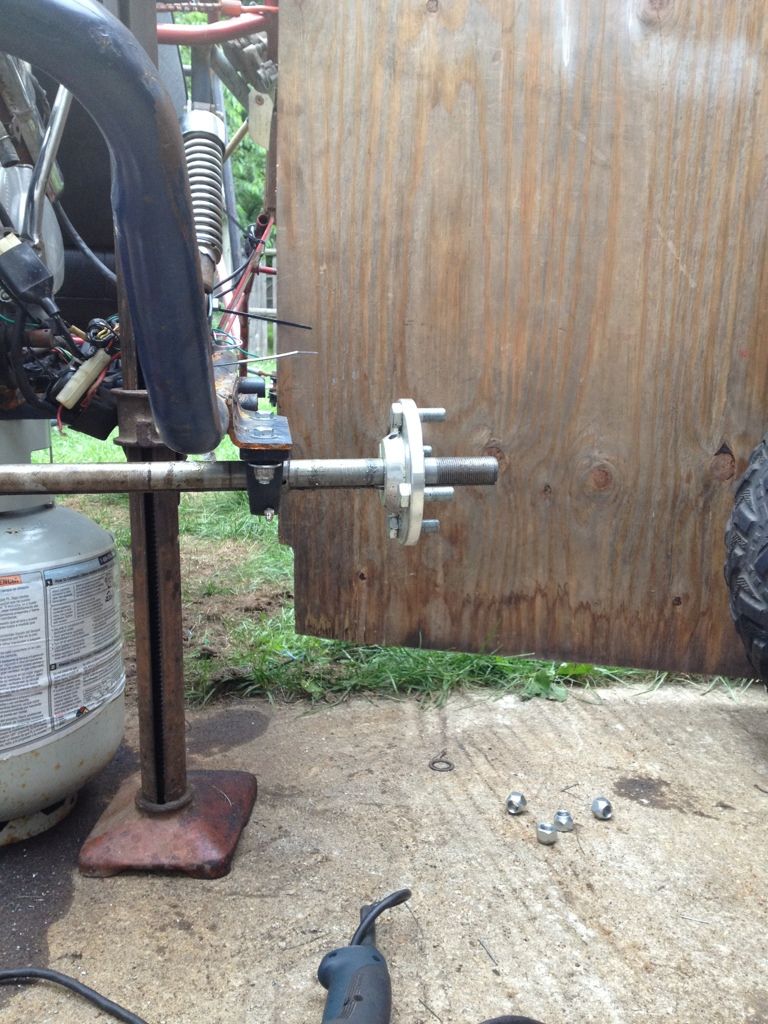
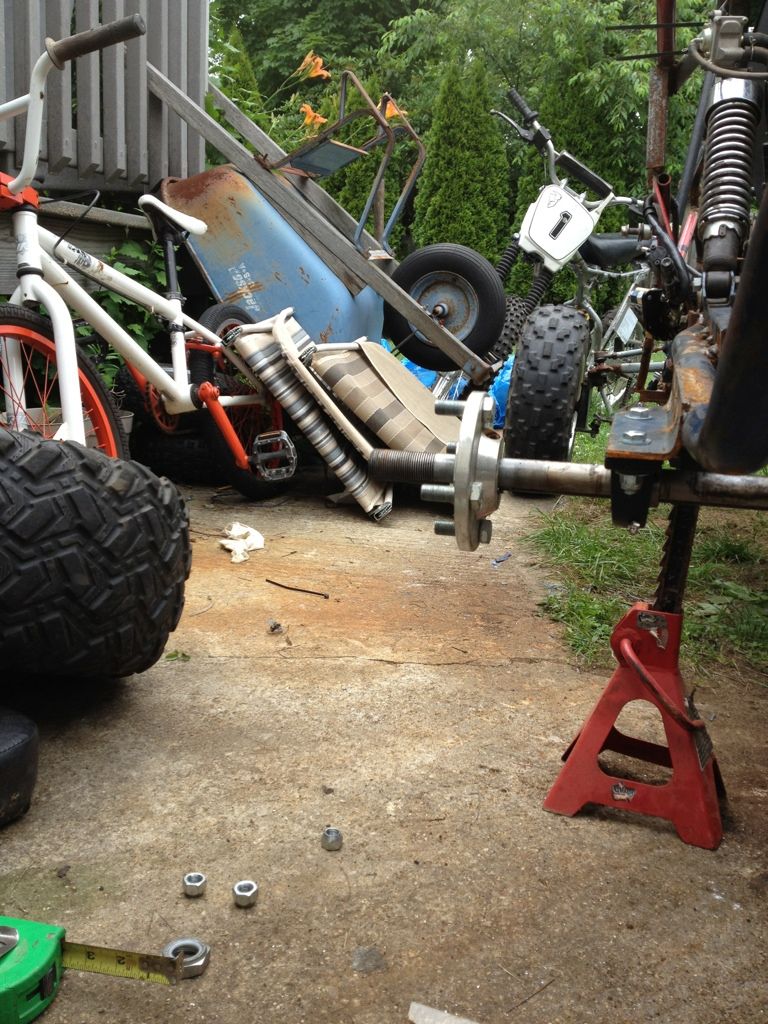
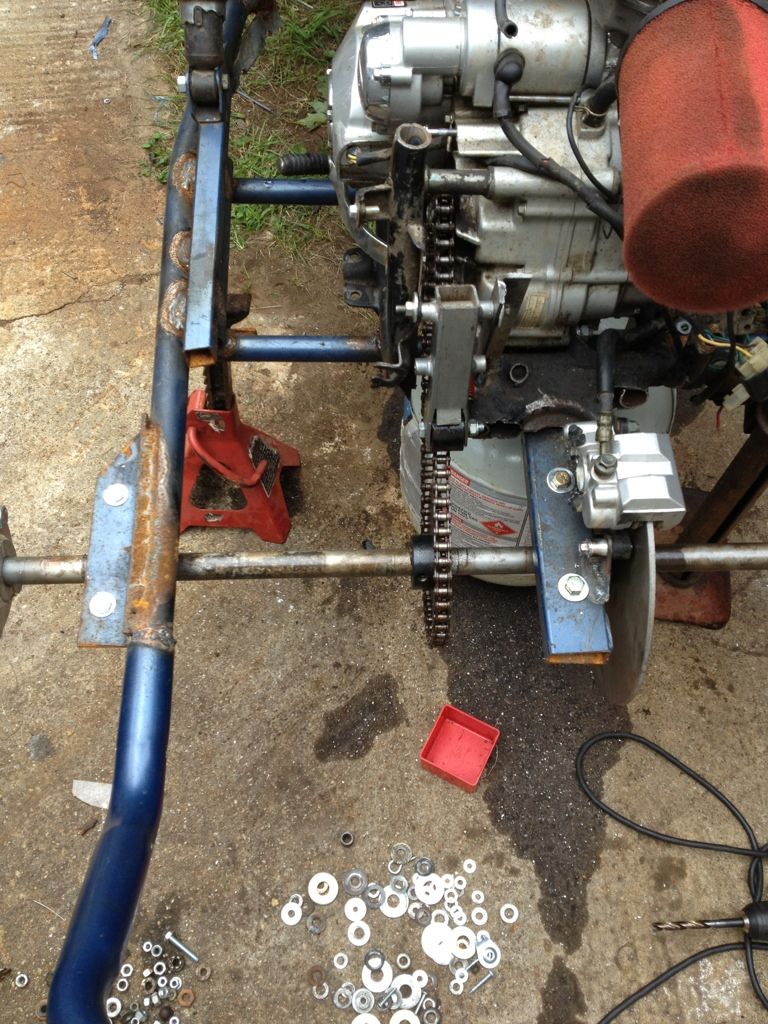
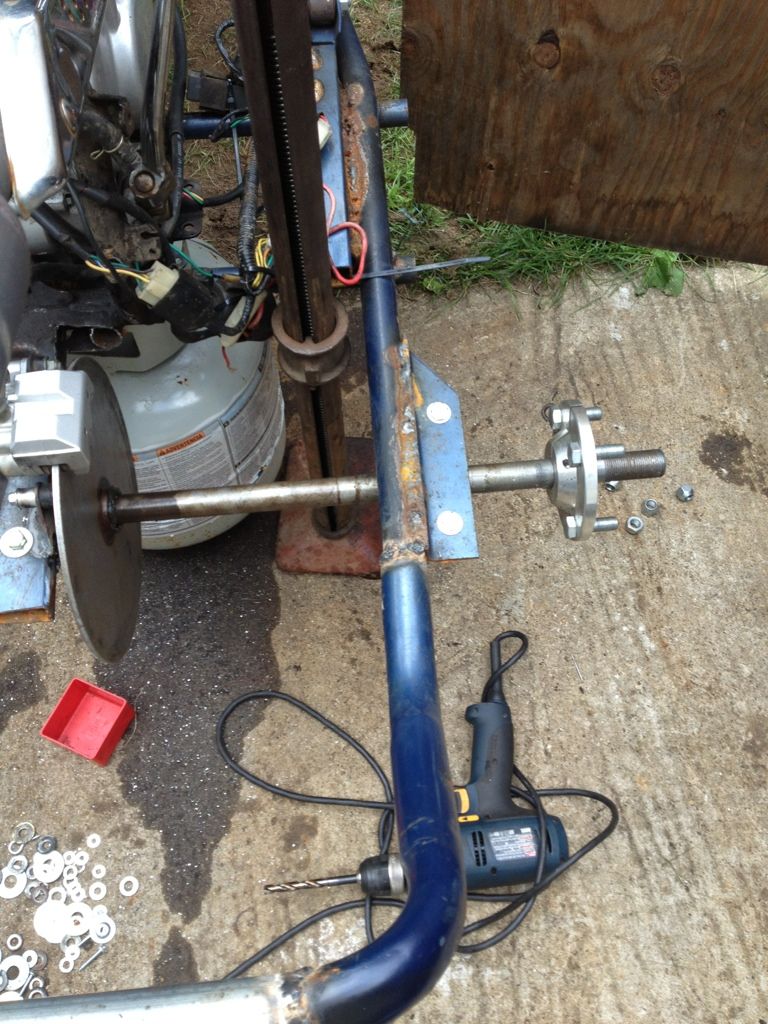
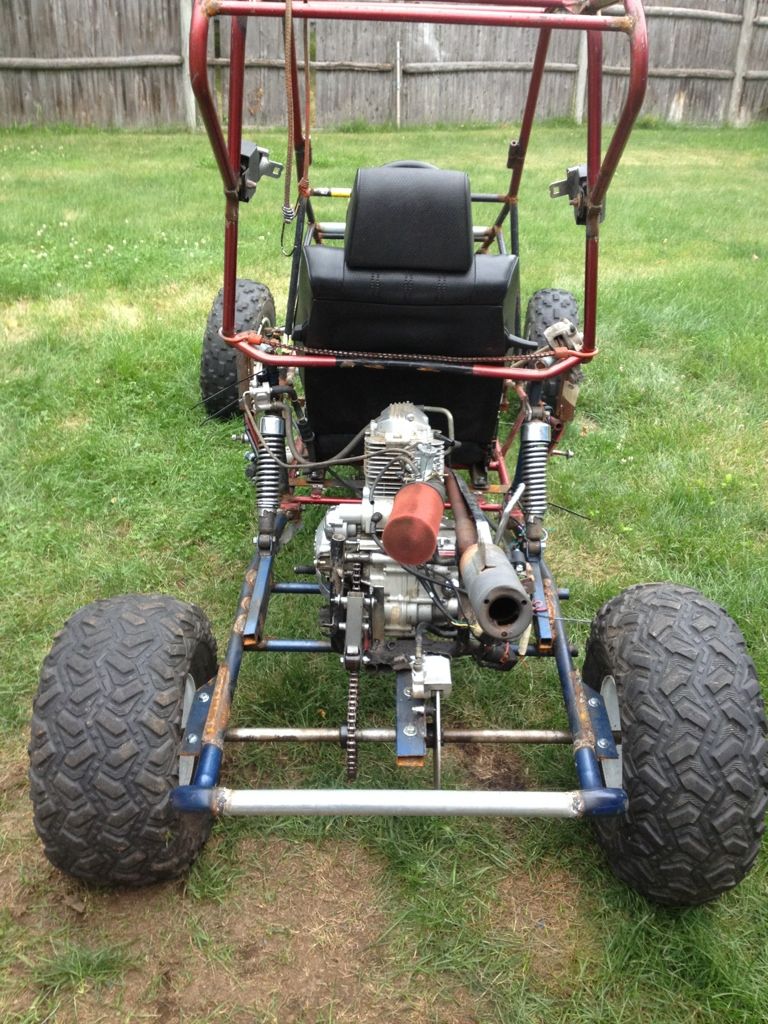
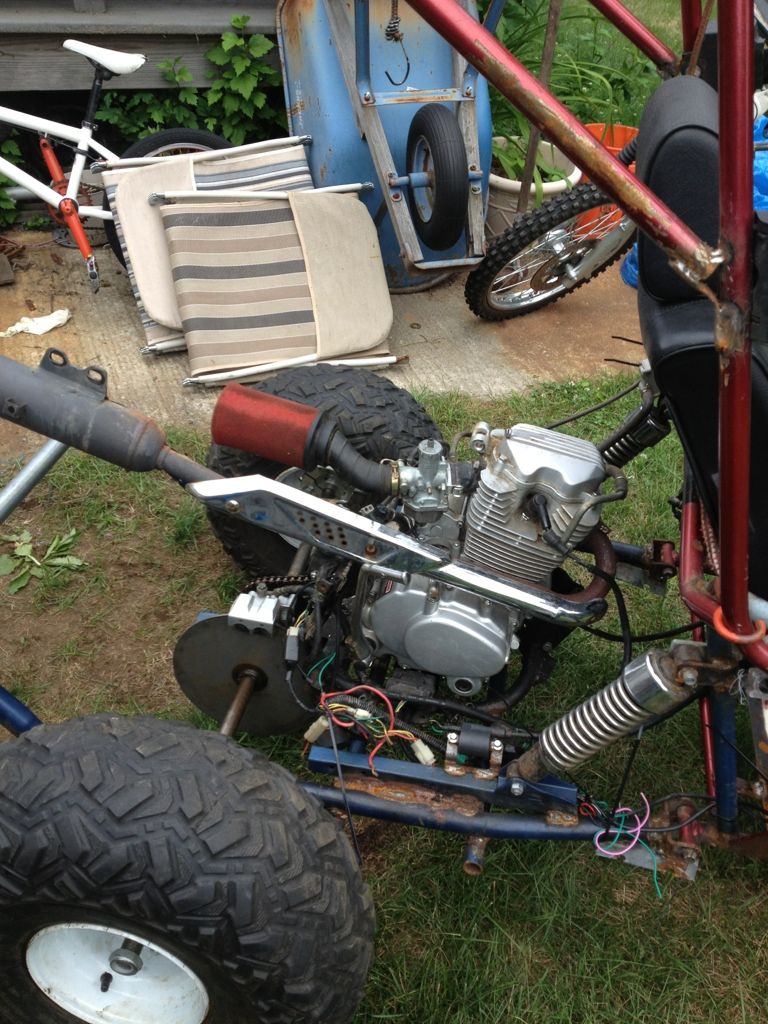
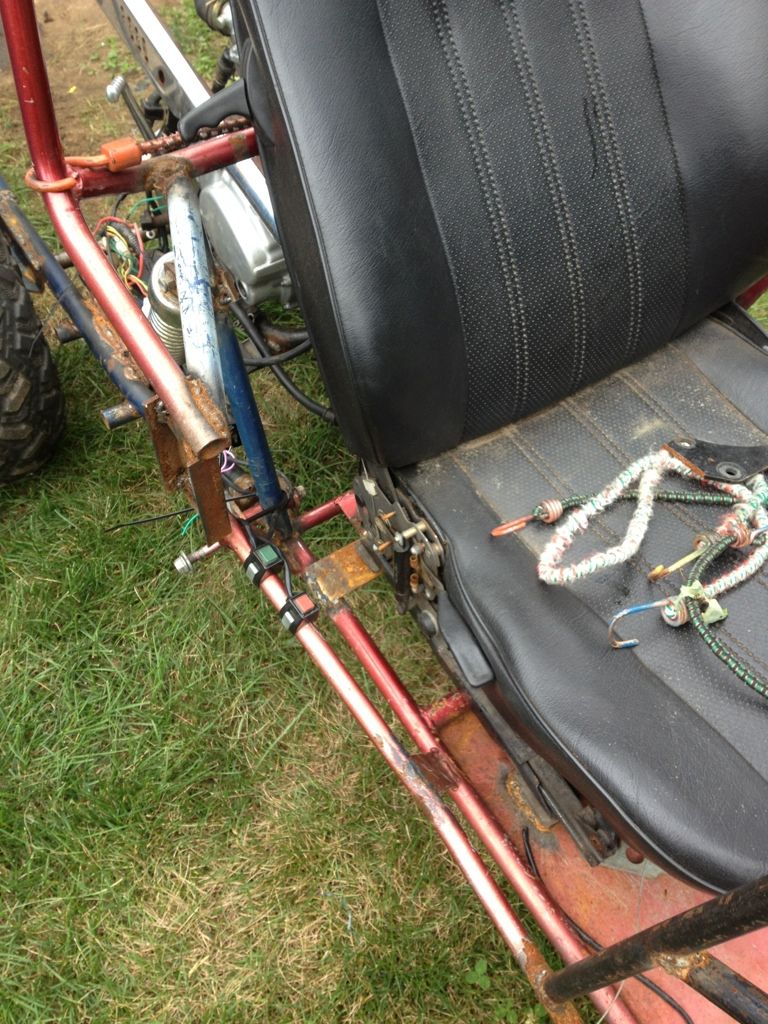
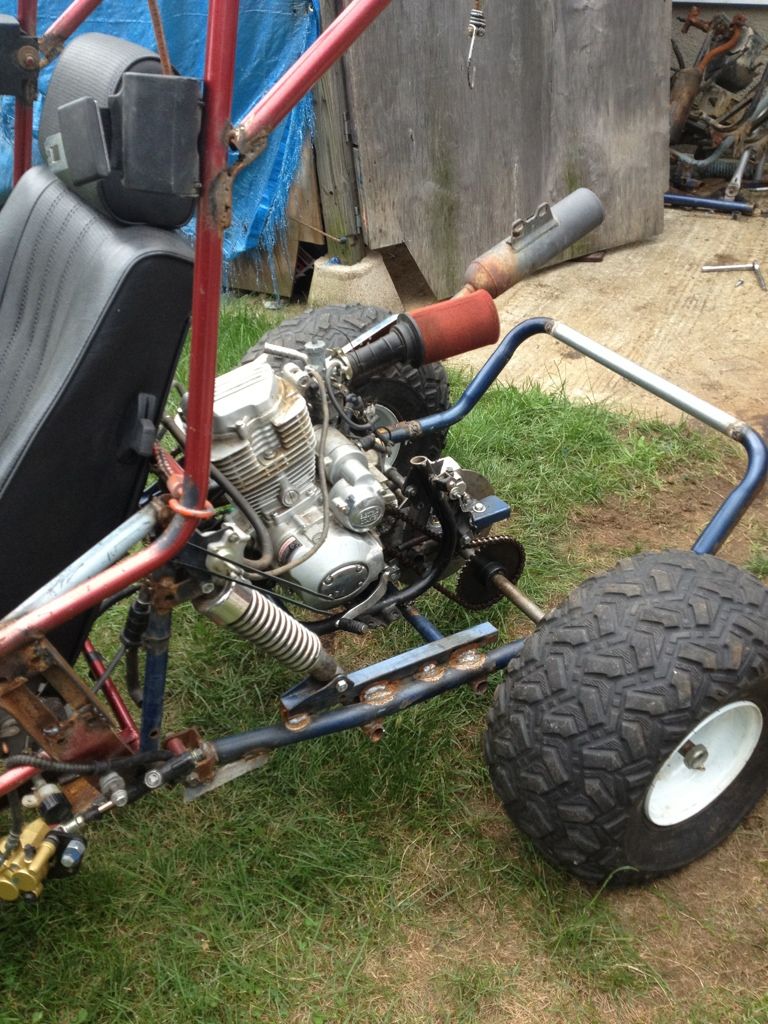
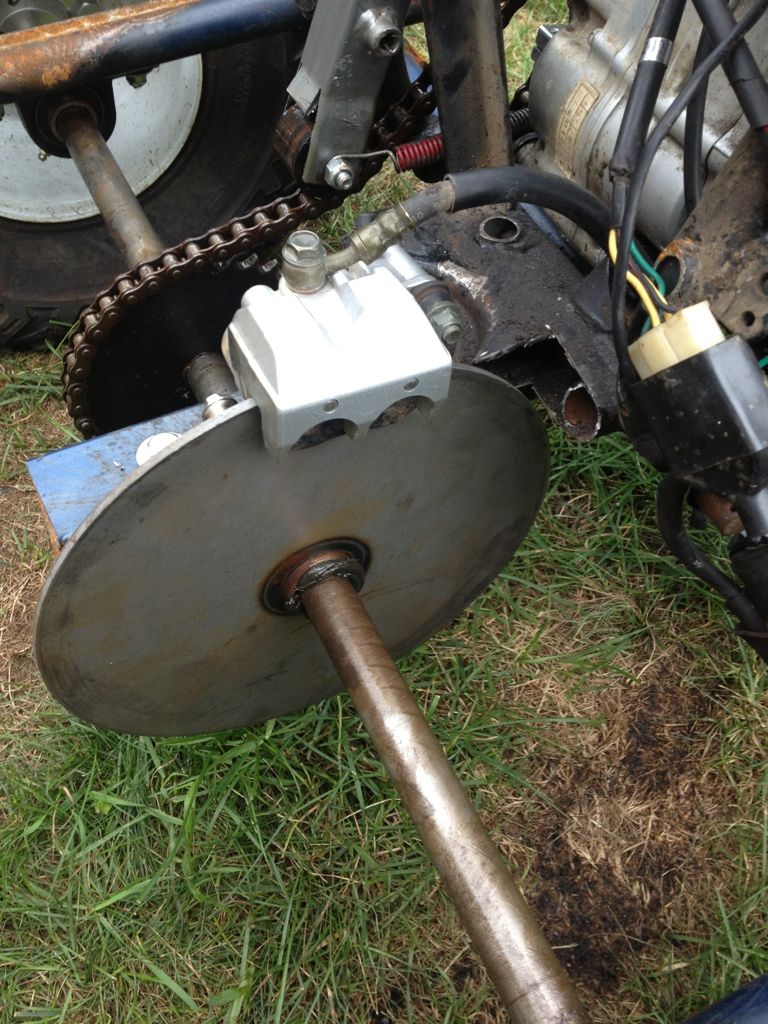
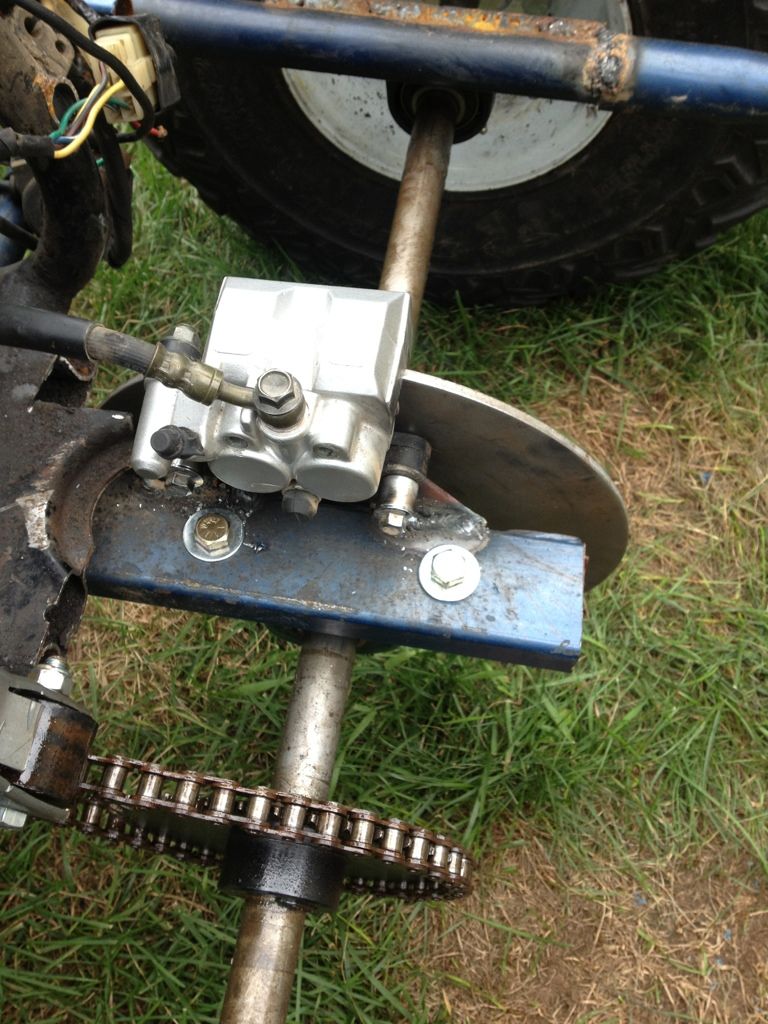
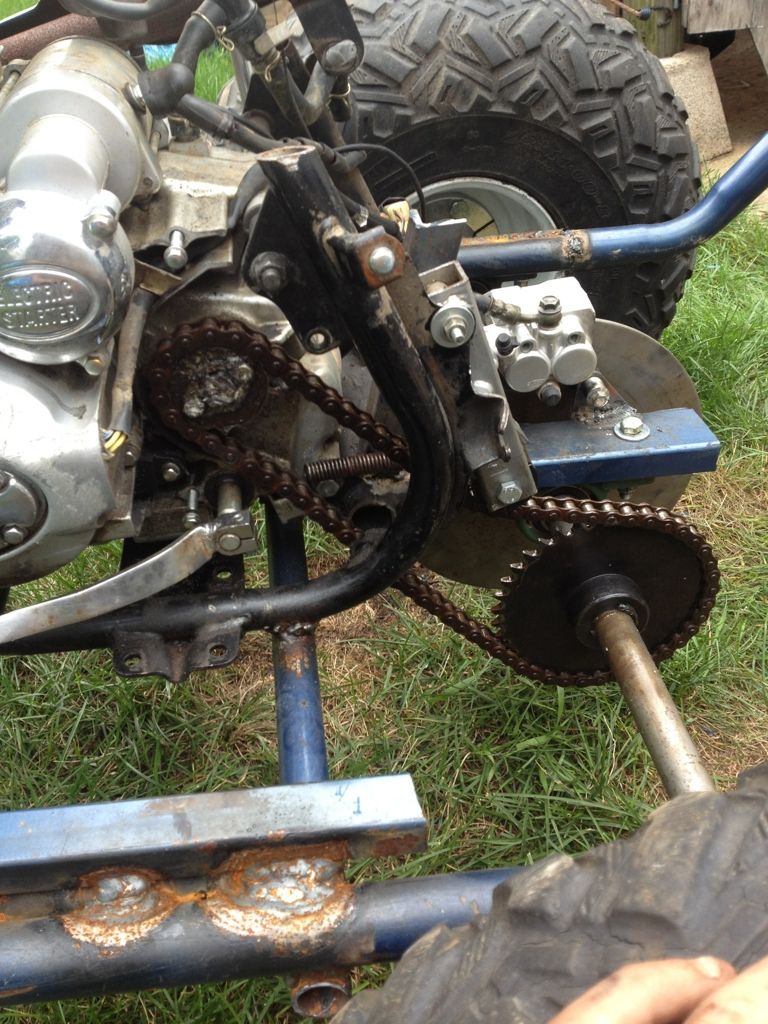
Got alot of work done today! The rear end is for the most part finished enjoy the many pics!
|
|
#49
|
|||
|
|||
|
|
#50
|
|||
|
|||
|
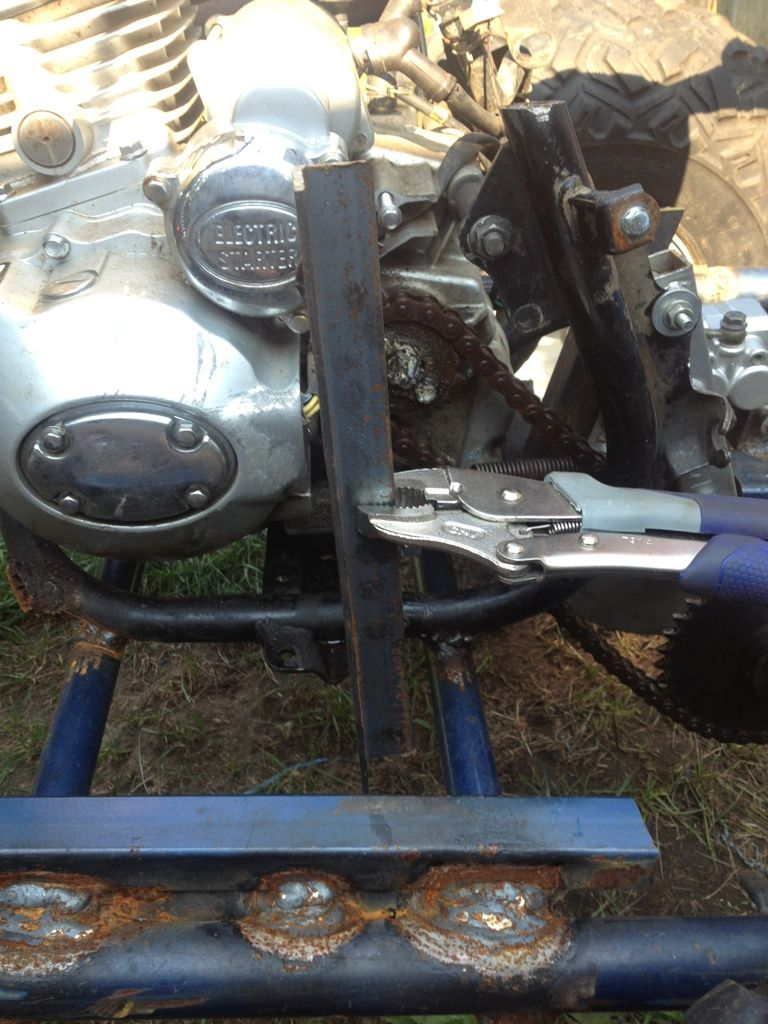
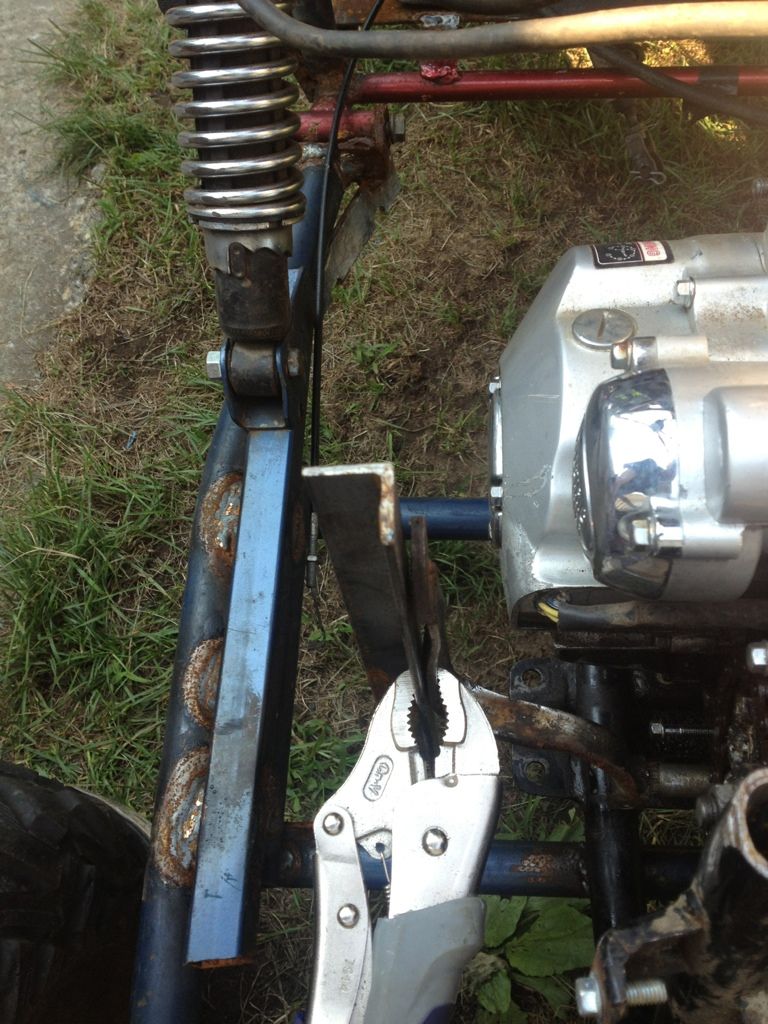
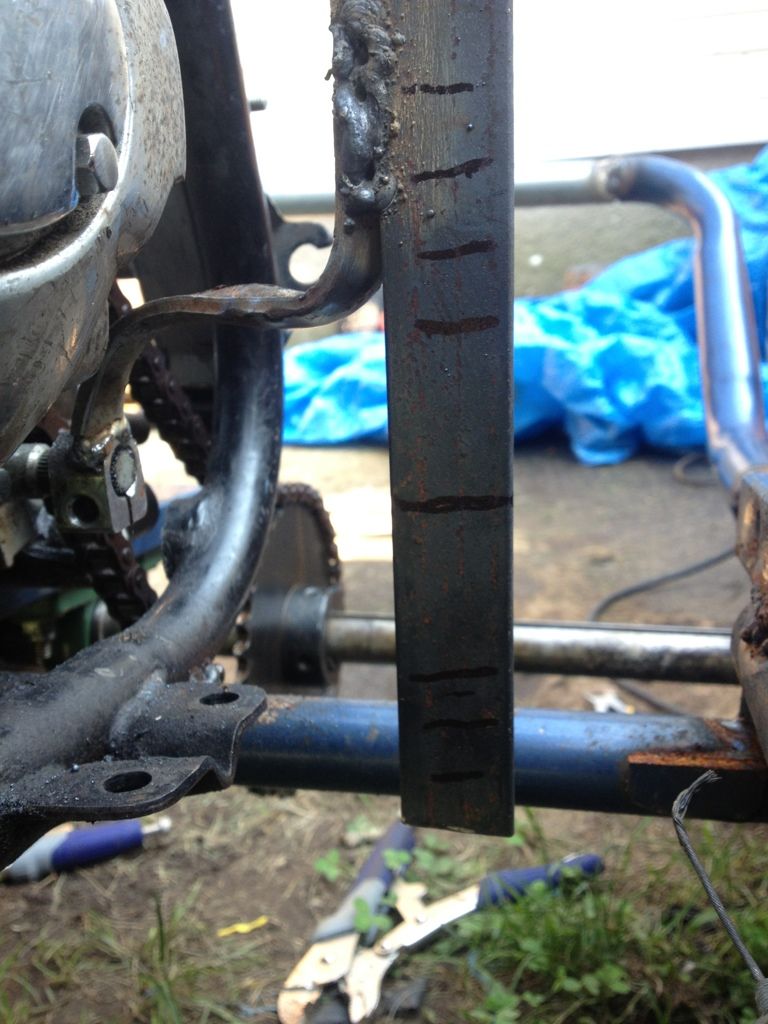
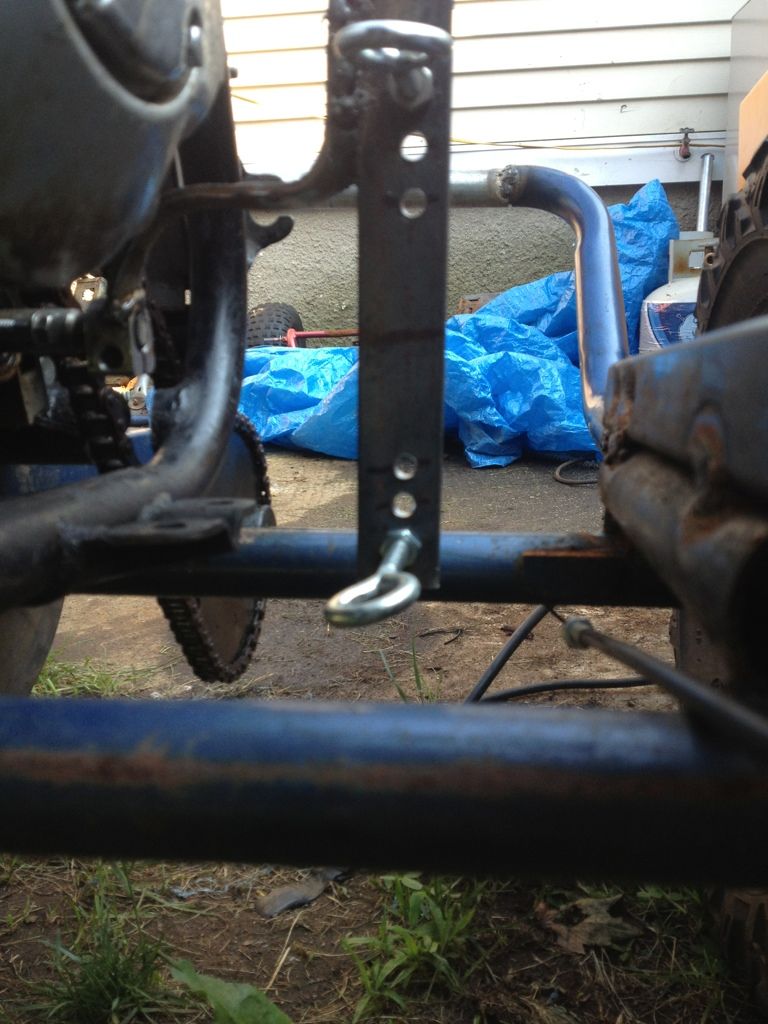
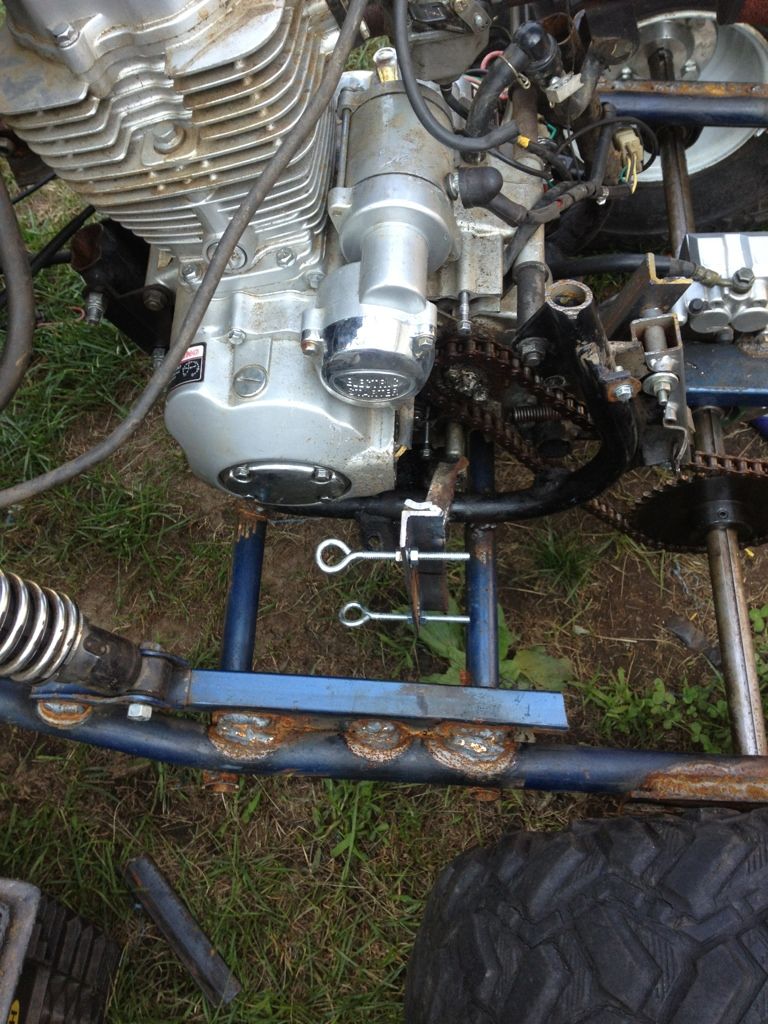
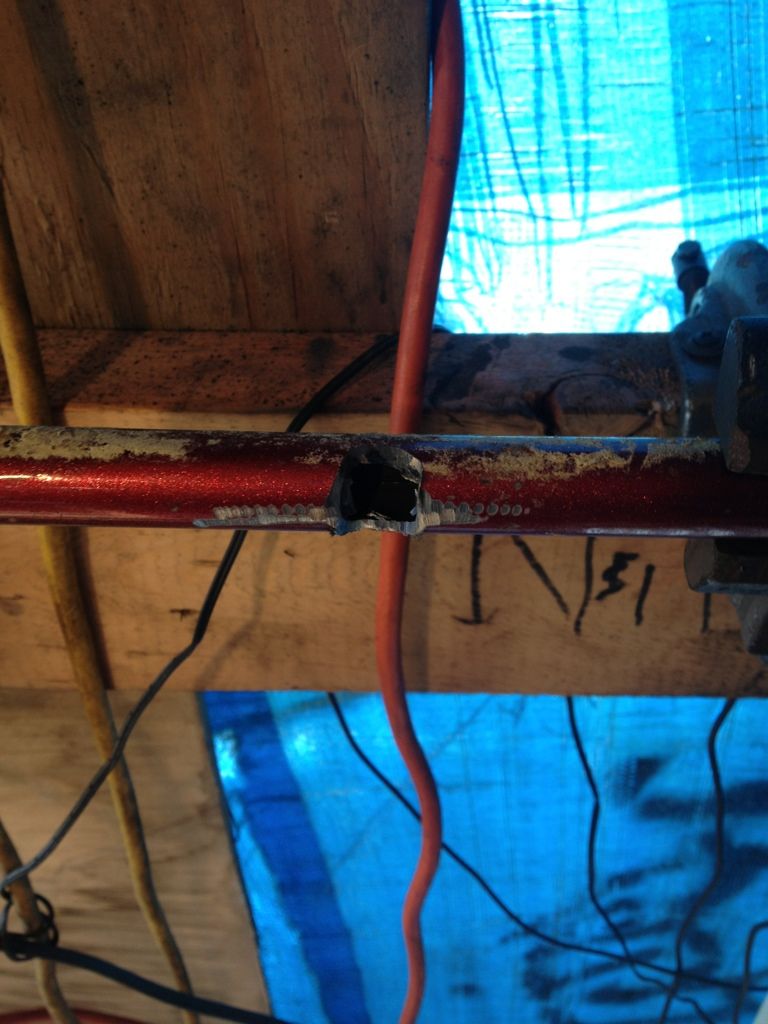
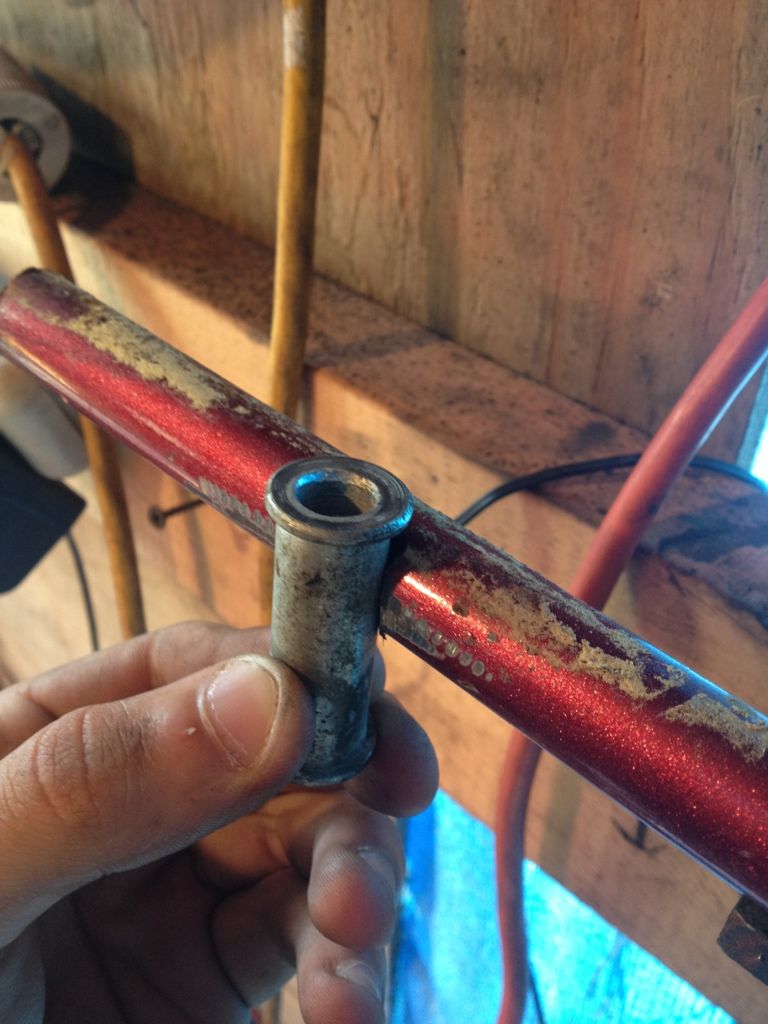
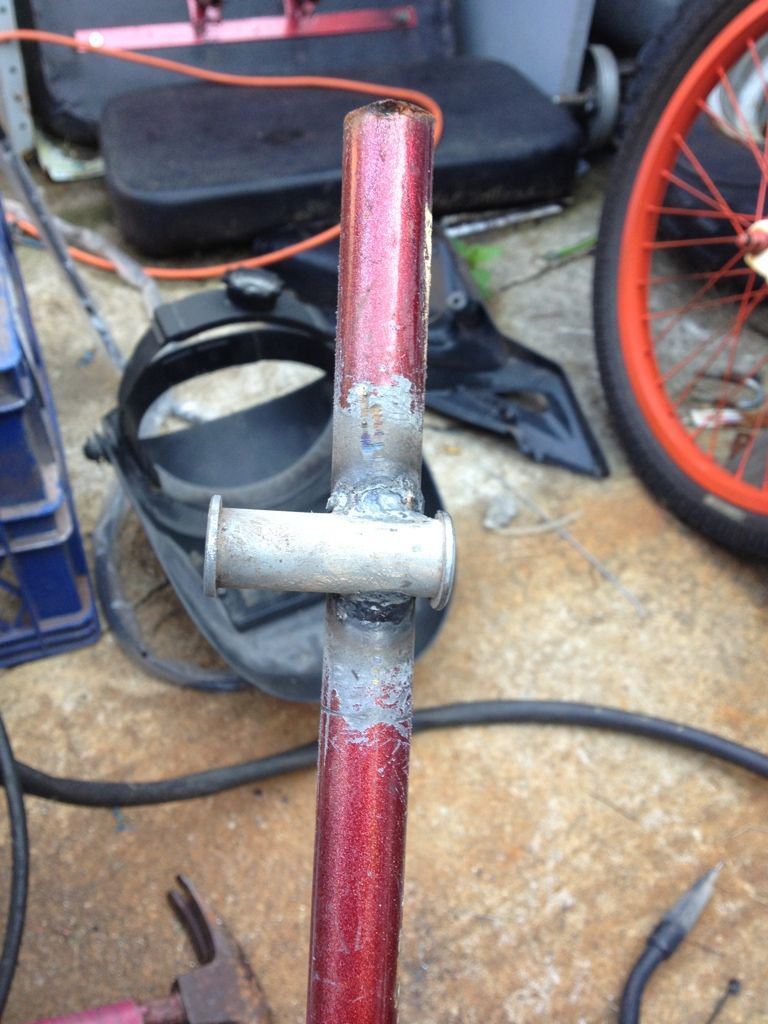
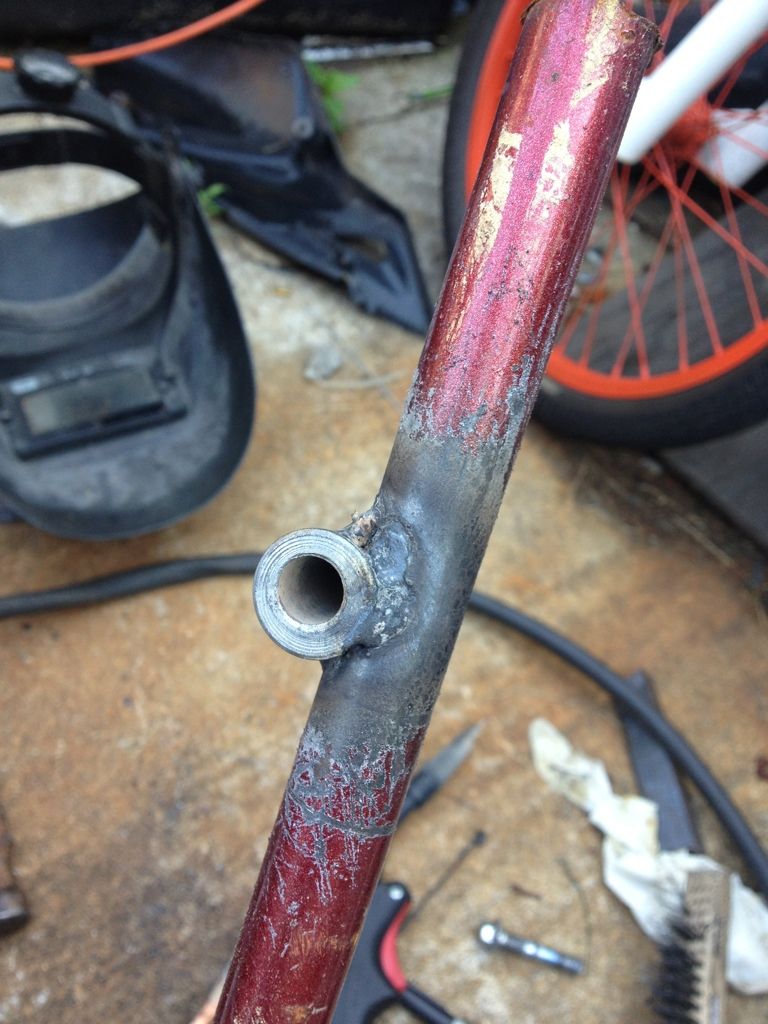
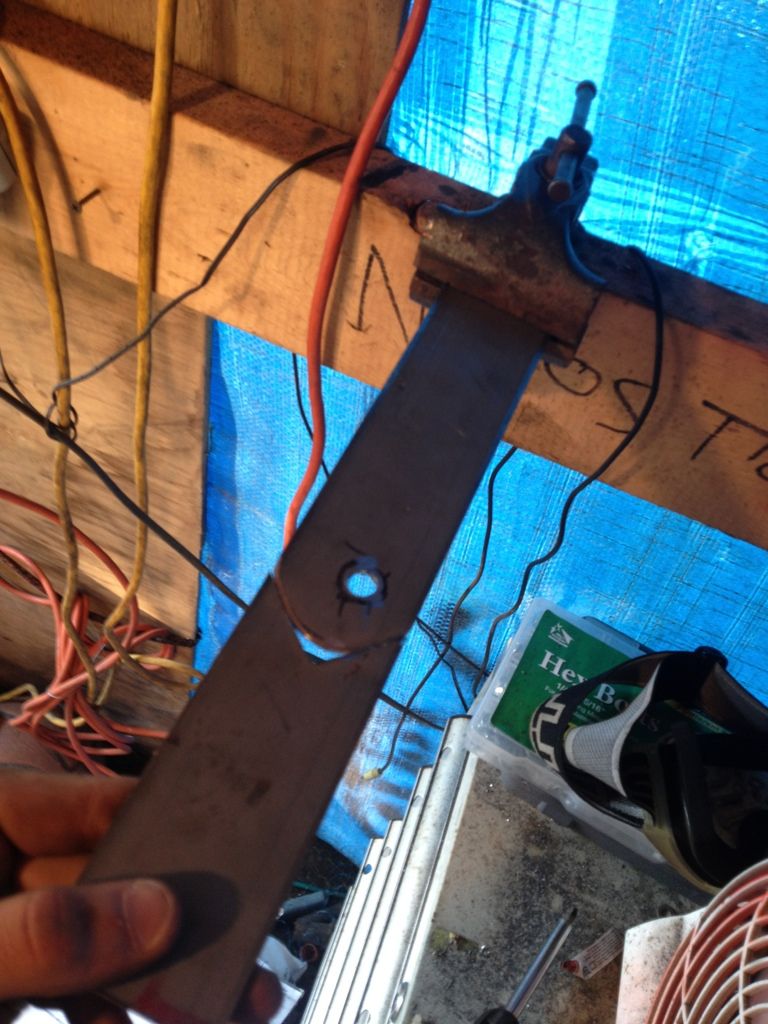
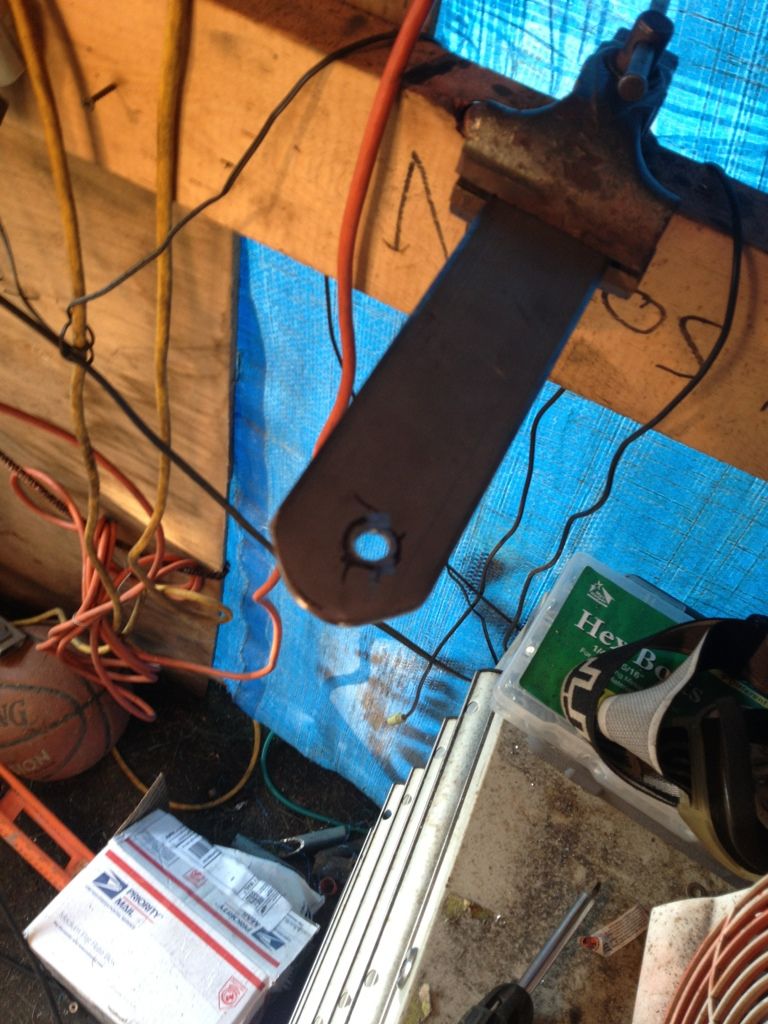
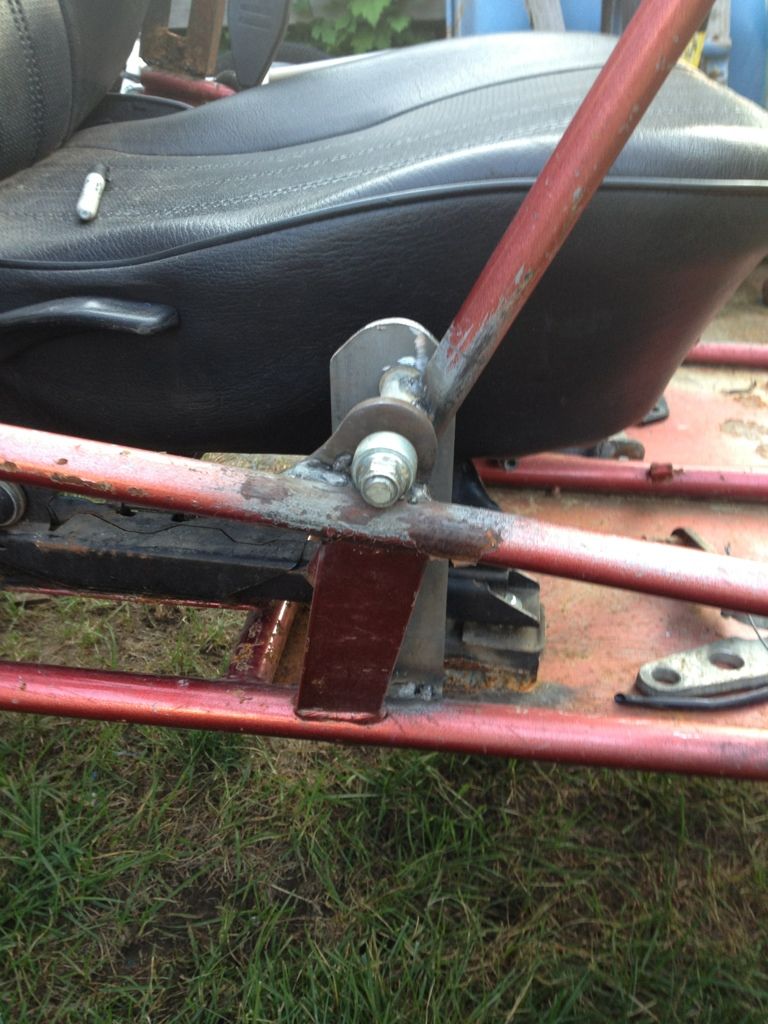
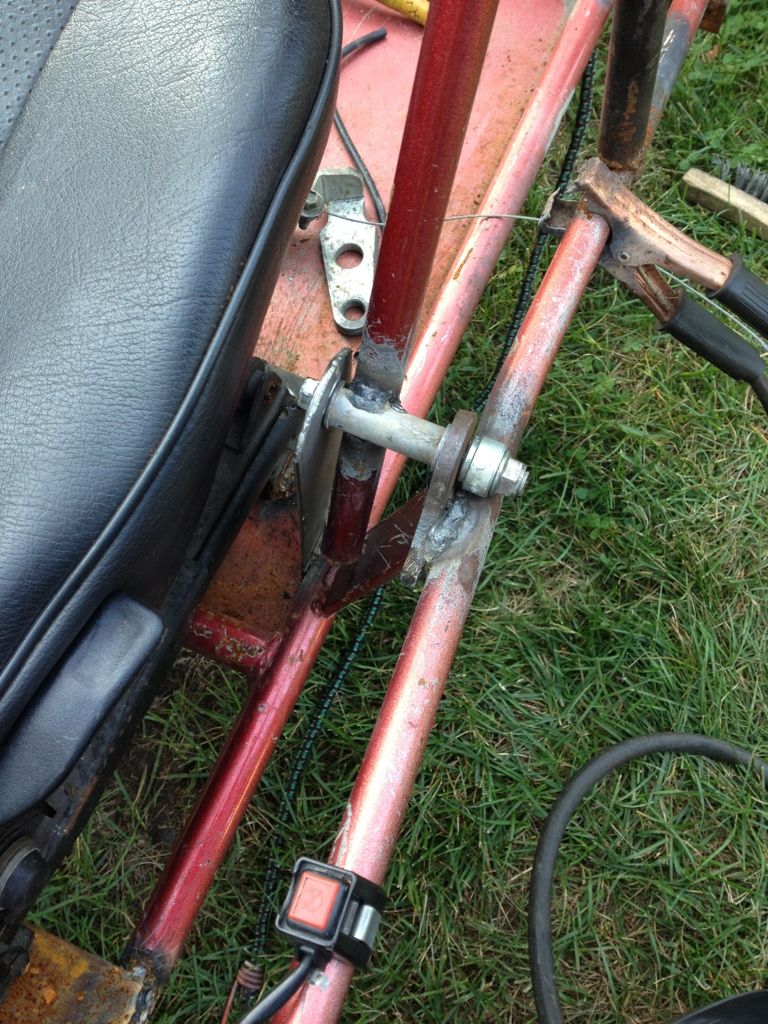
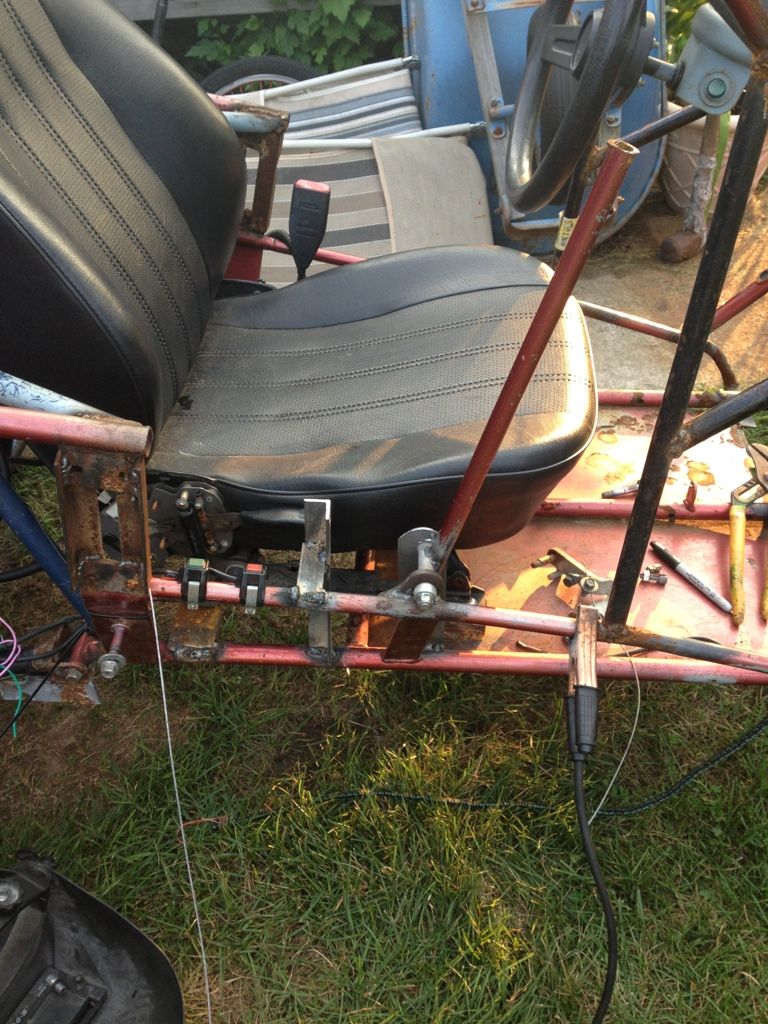
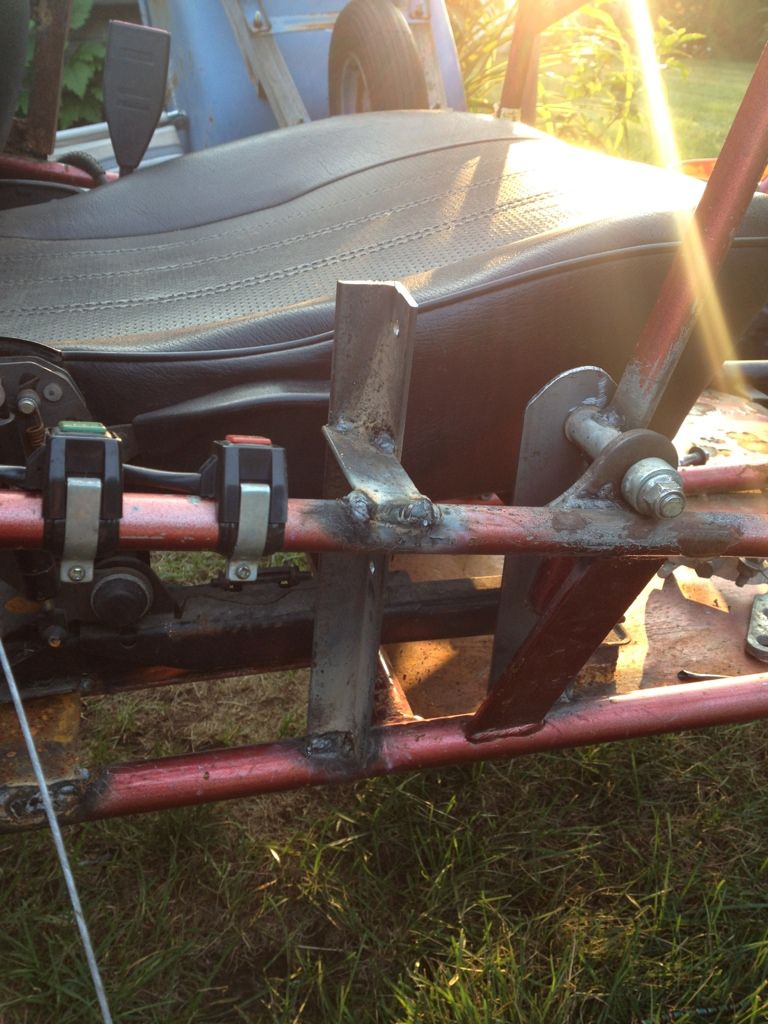
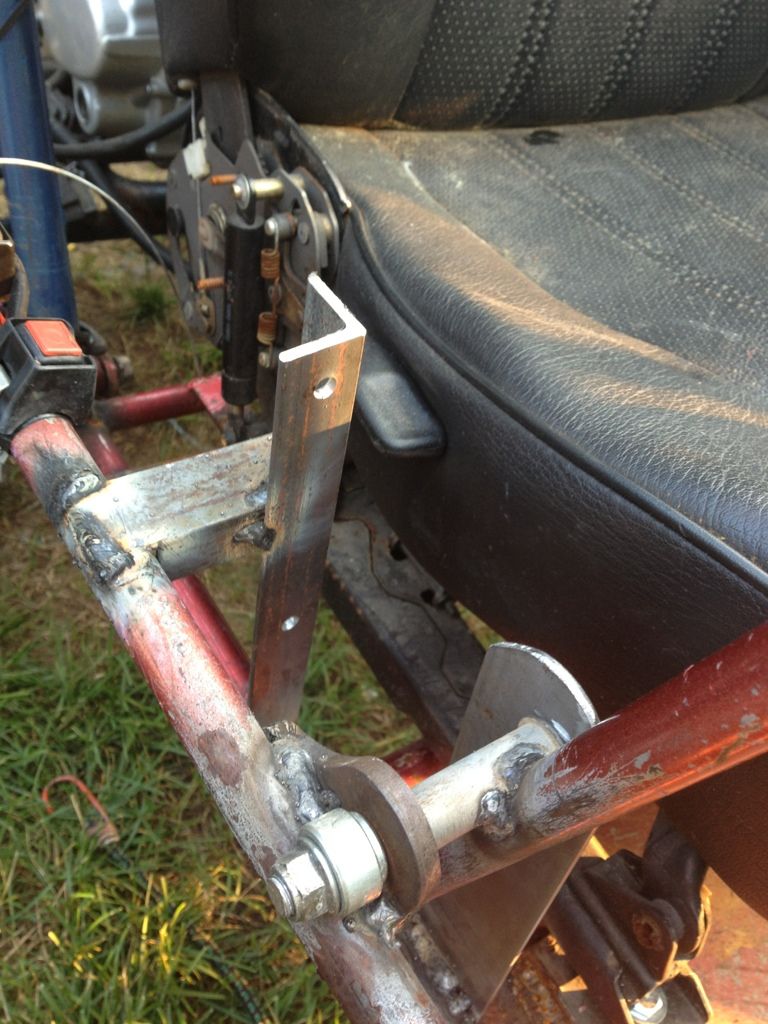
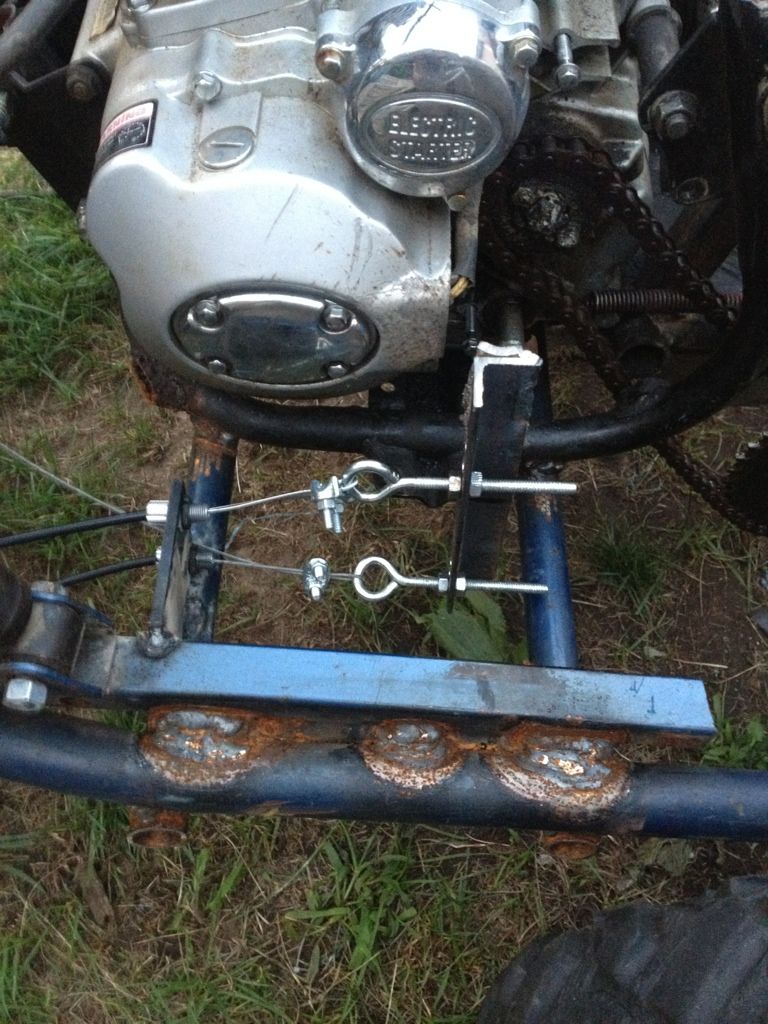
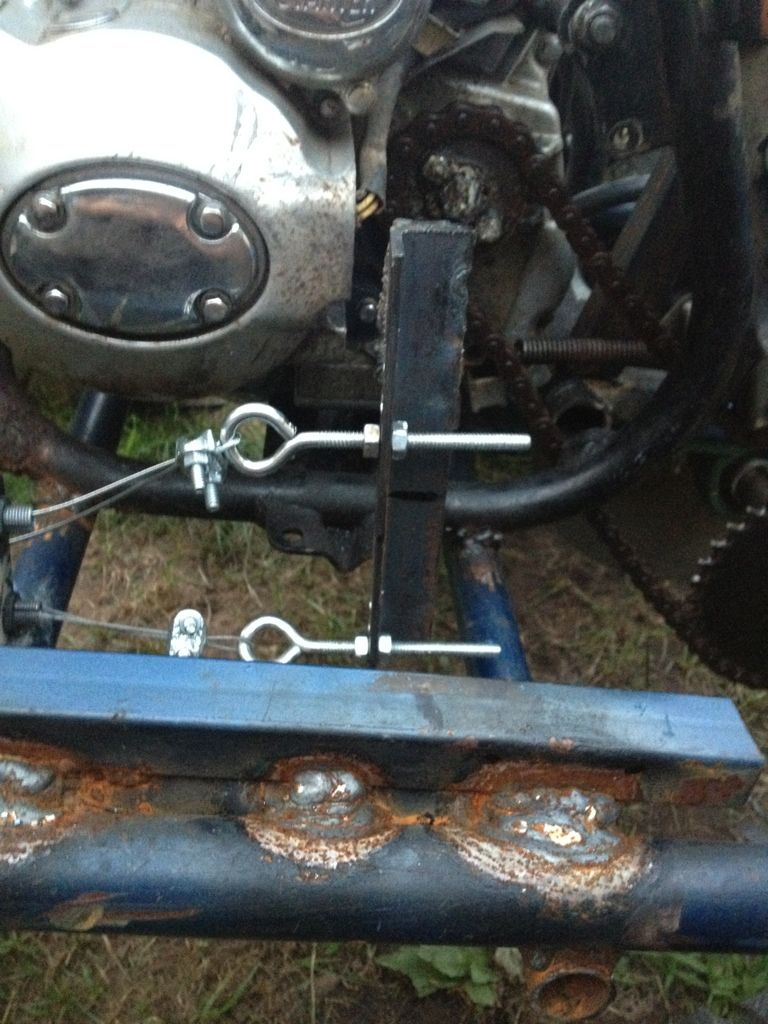
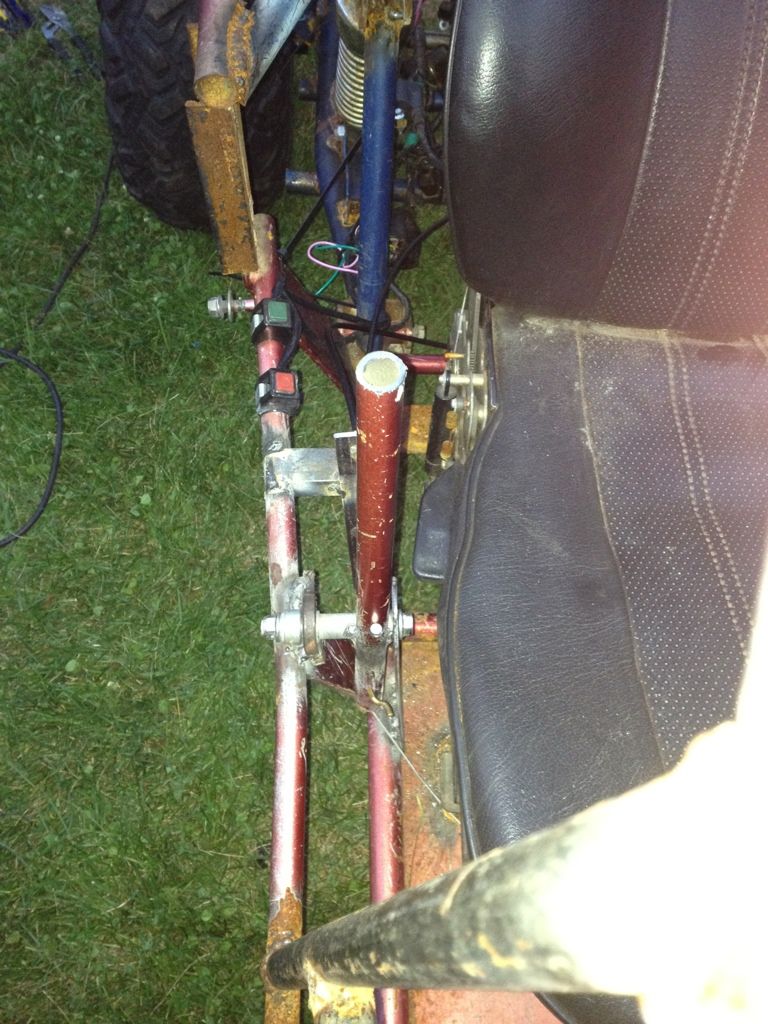
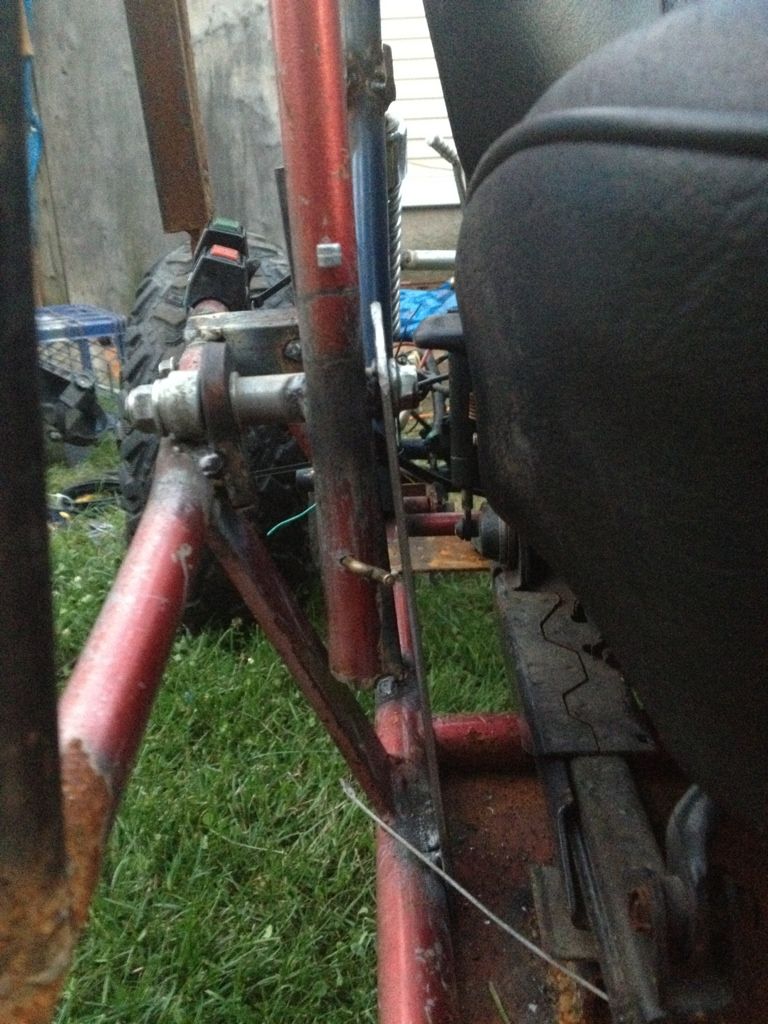
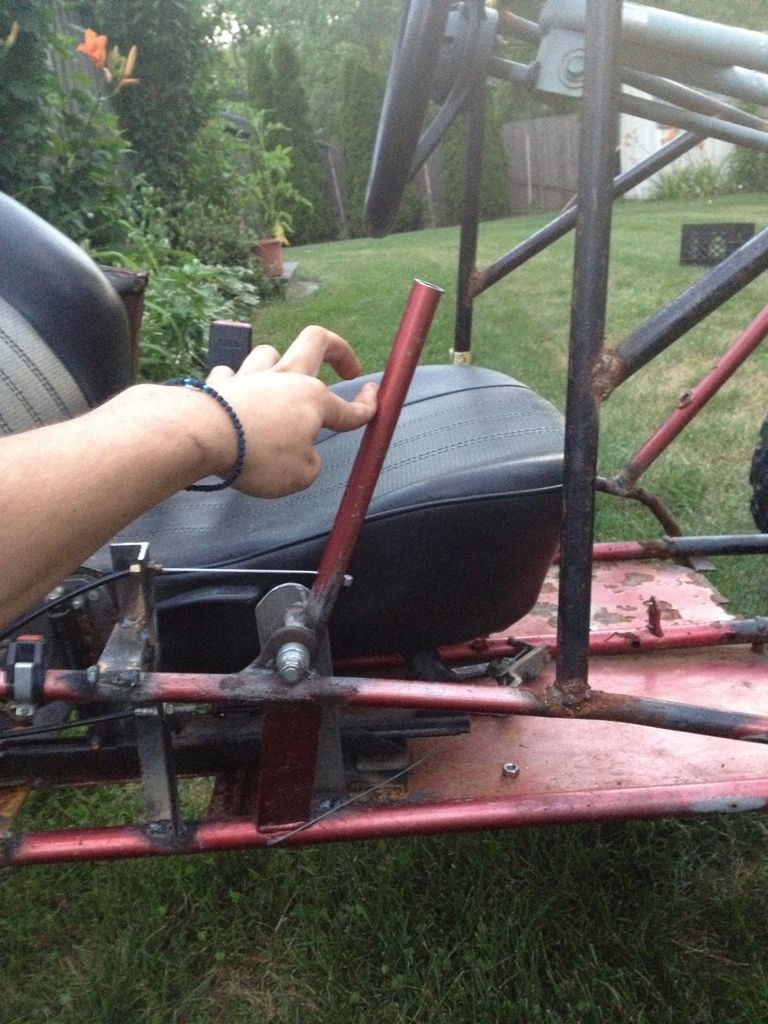
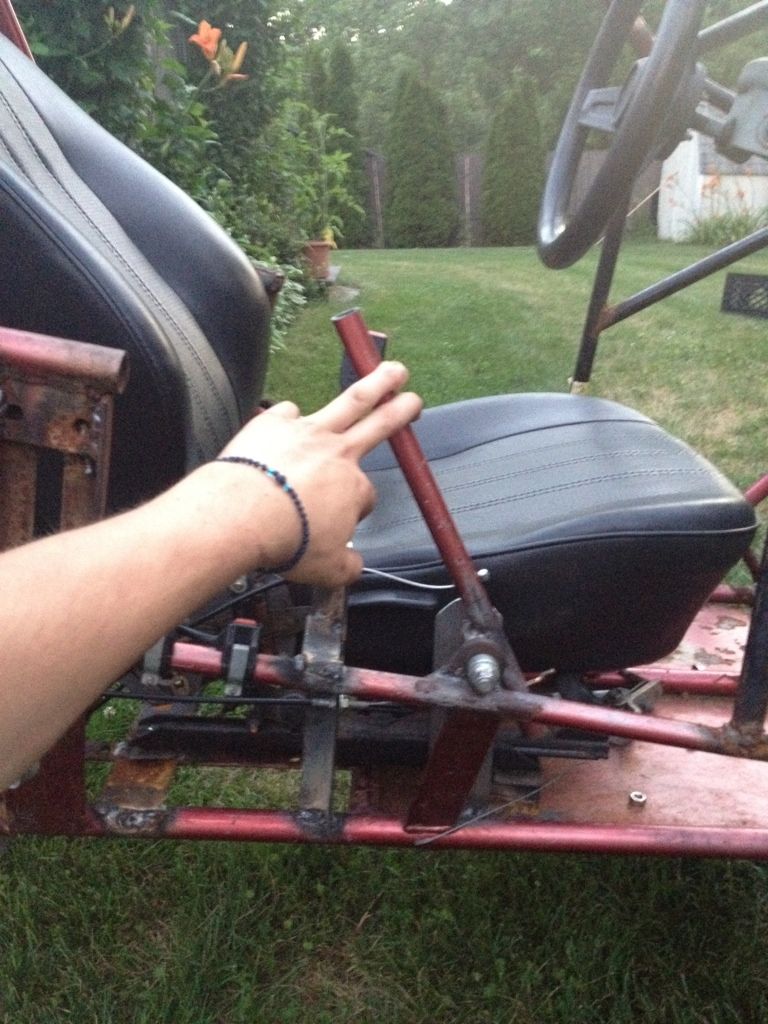
Got my shifter done today! Dont feel like paying $40 for a push pull cable so just made my own. Works great i just need to add two springs to help the shifter come back into position but other than that works great! Almost ready for the test drive!!
|
|
#51
|
|||
|
|||
|
|
#52
|
|||
|
|||
|
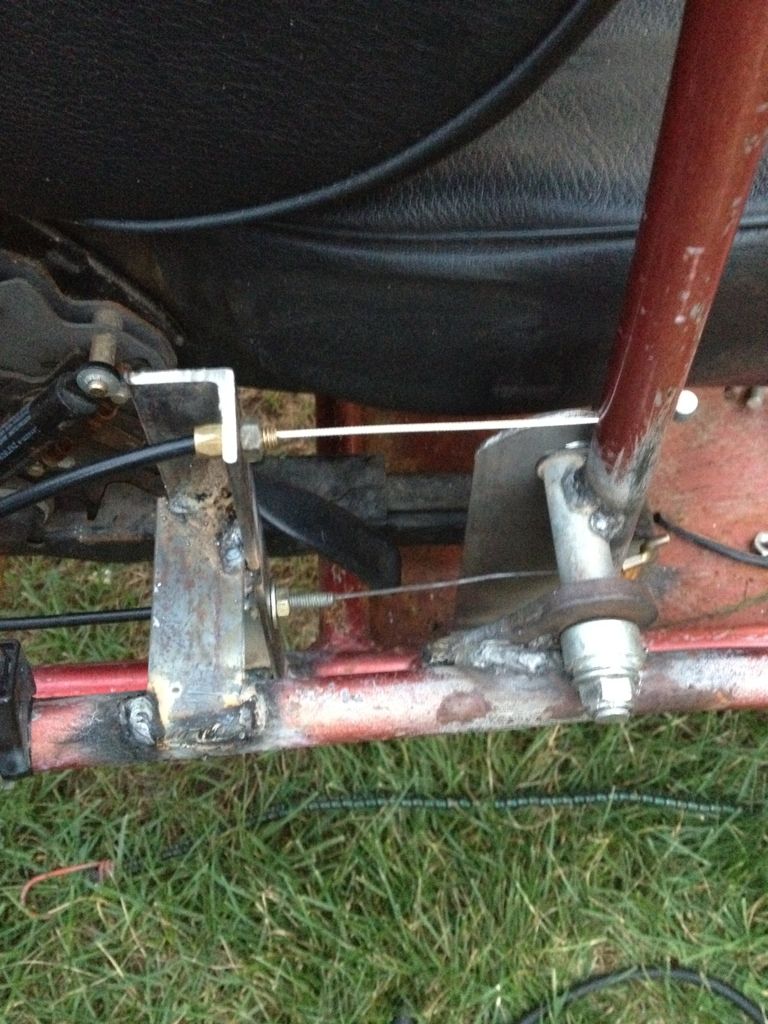
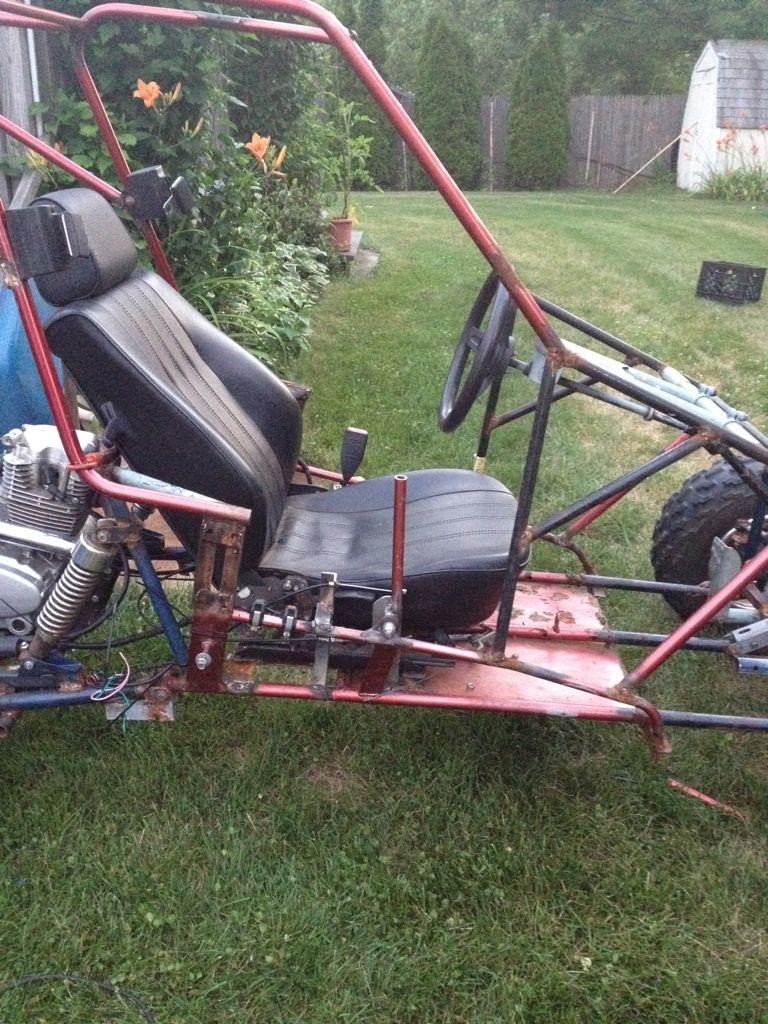
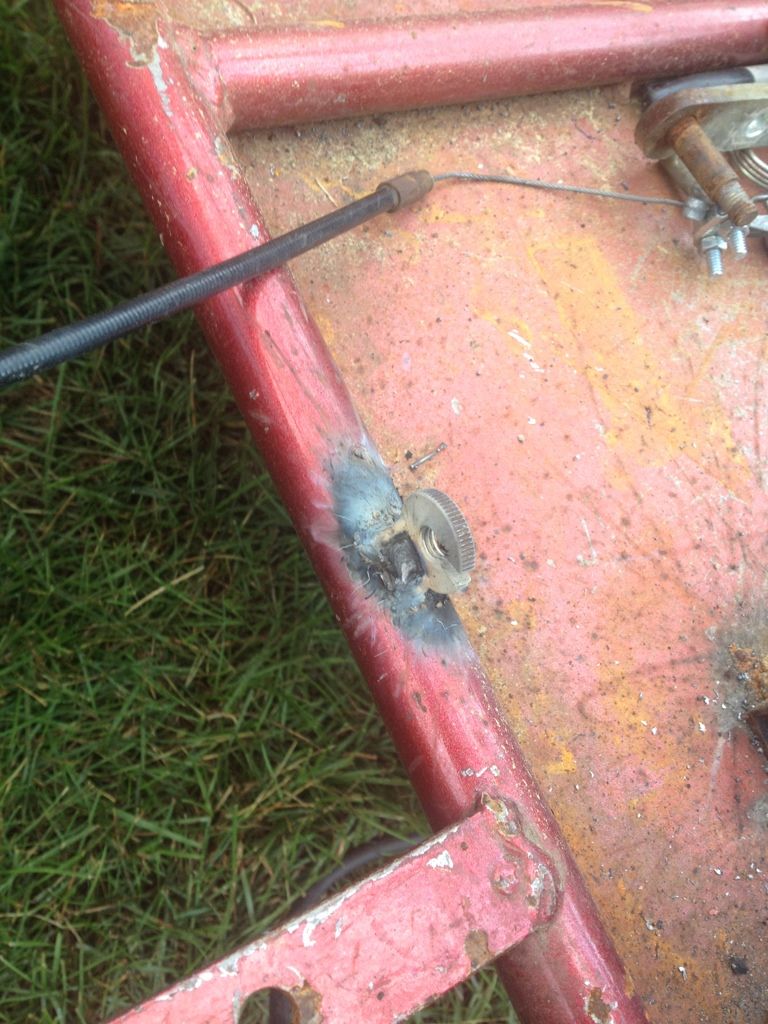
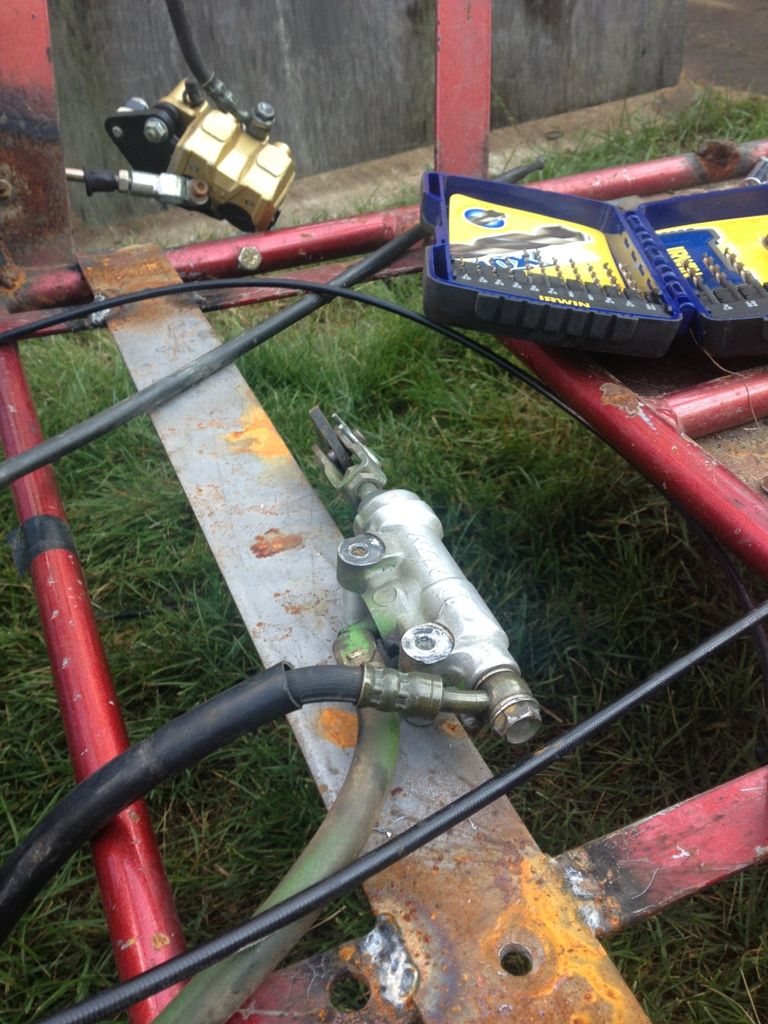
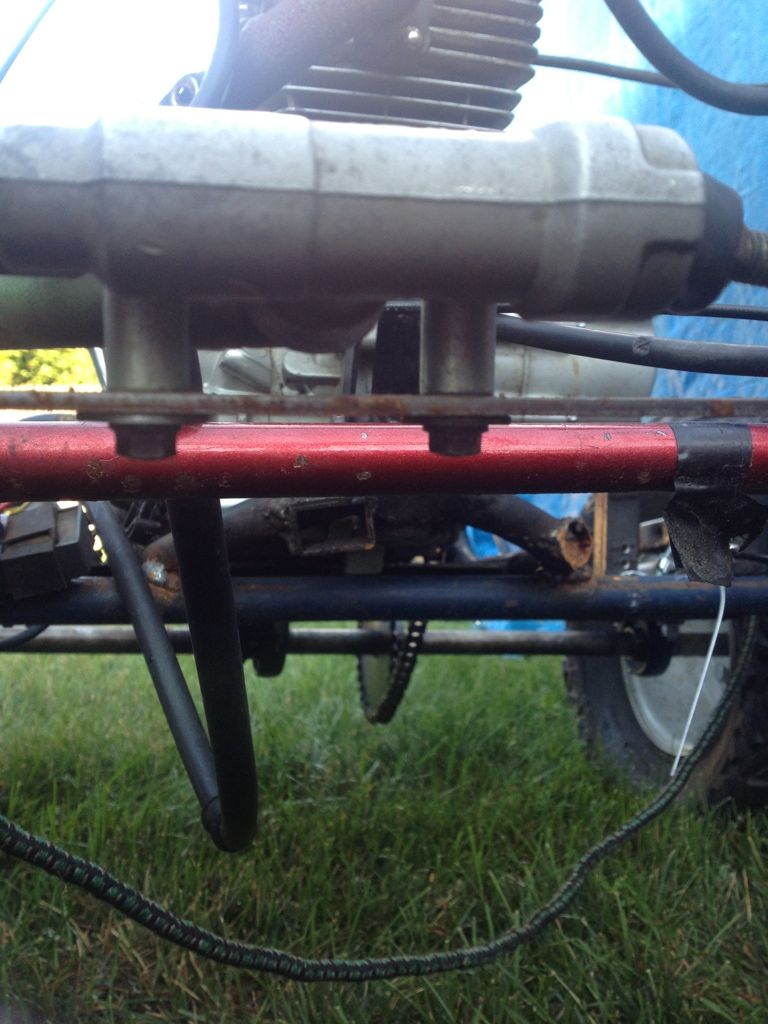
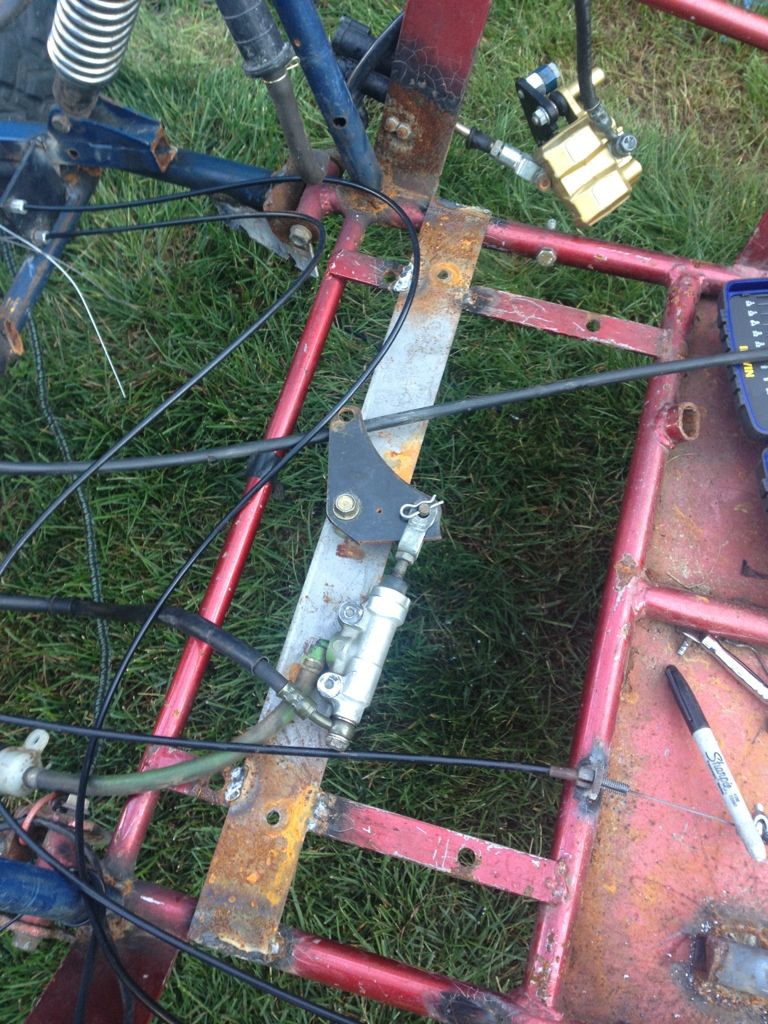
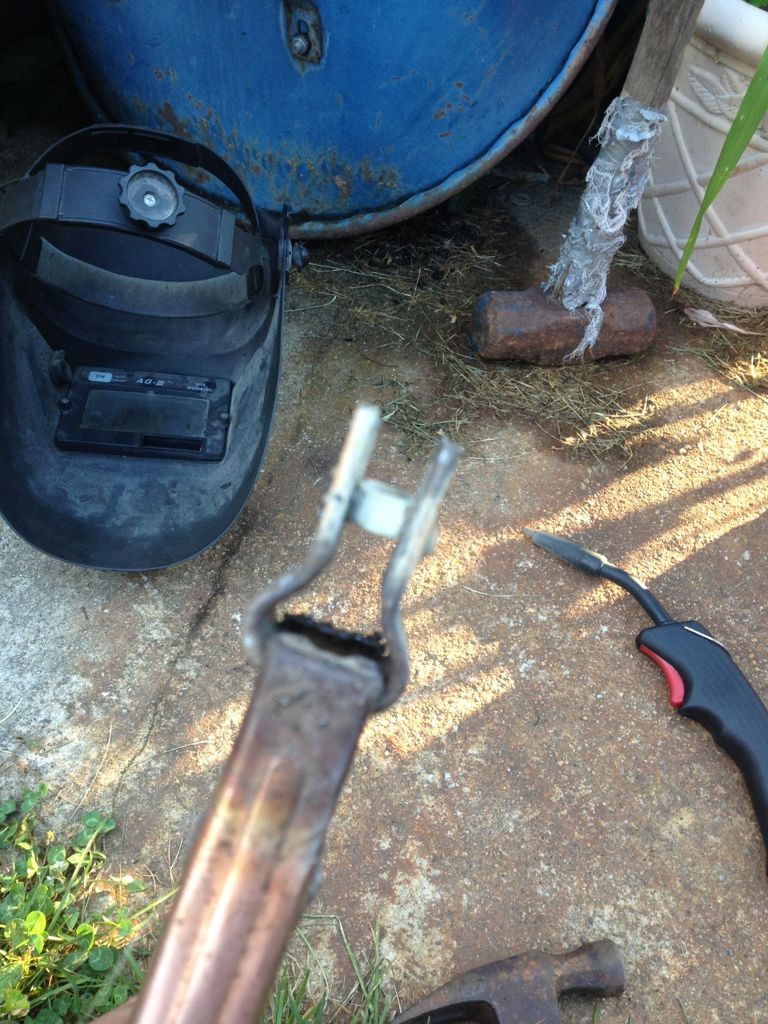
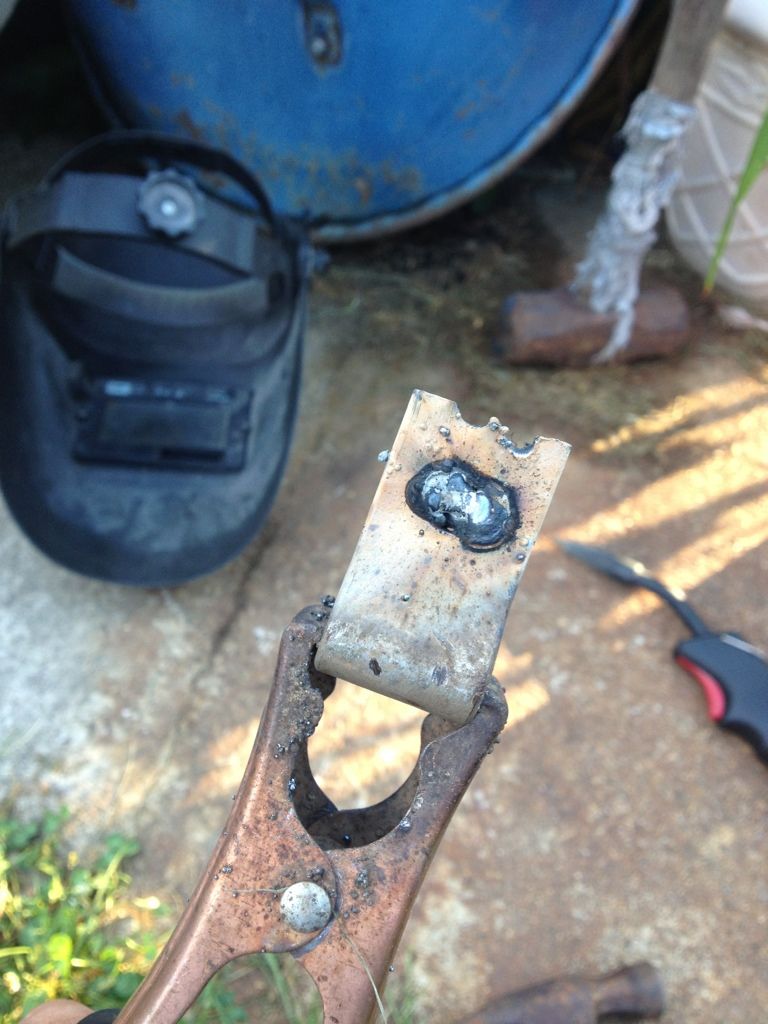
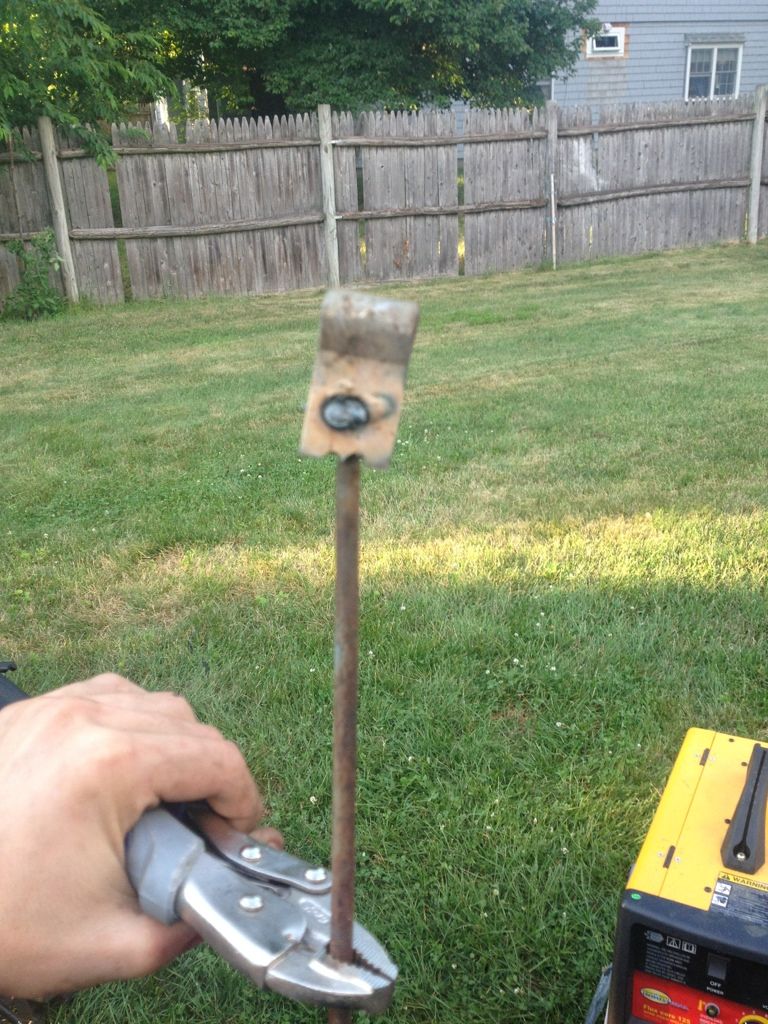
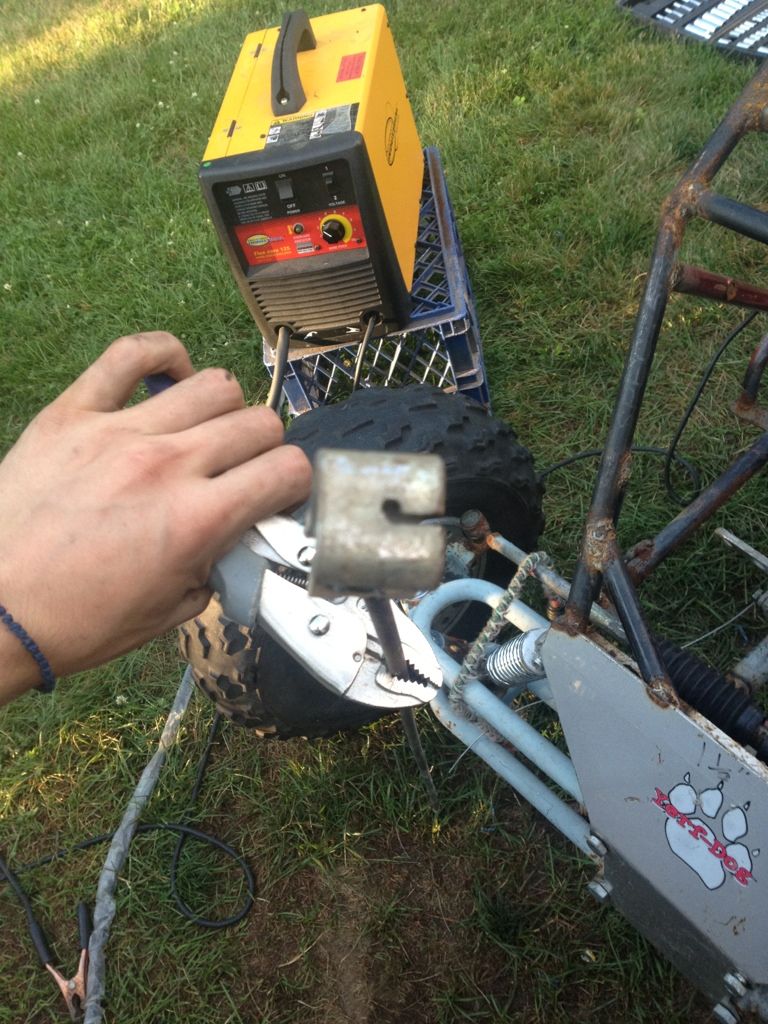
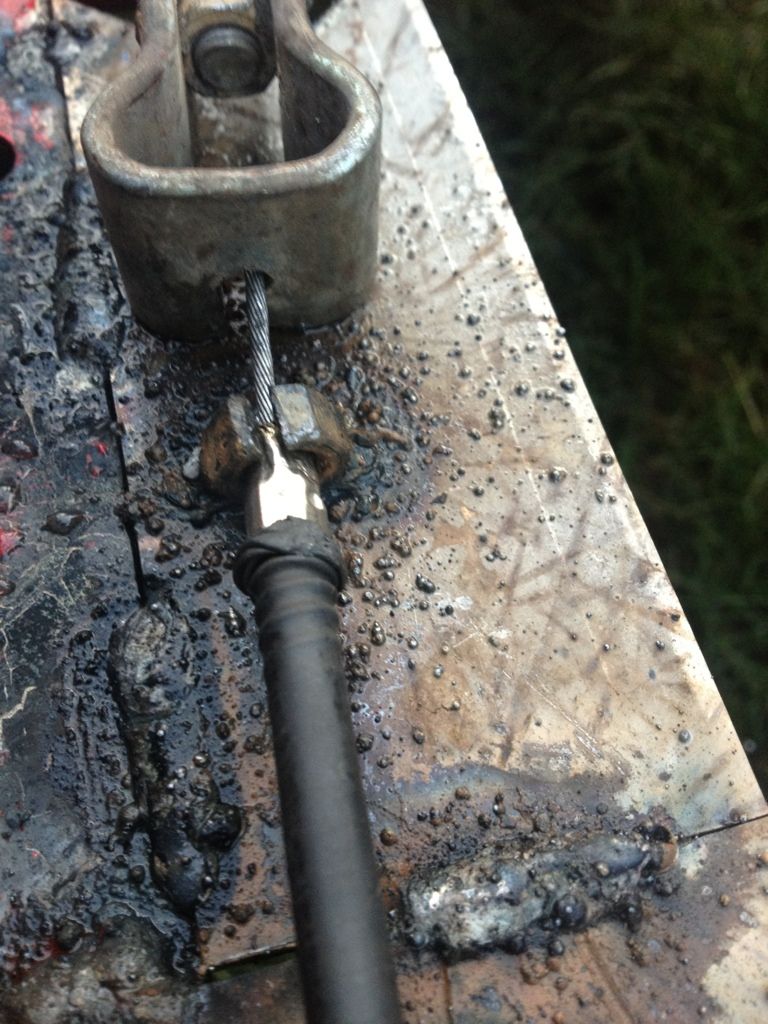
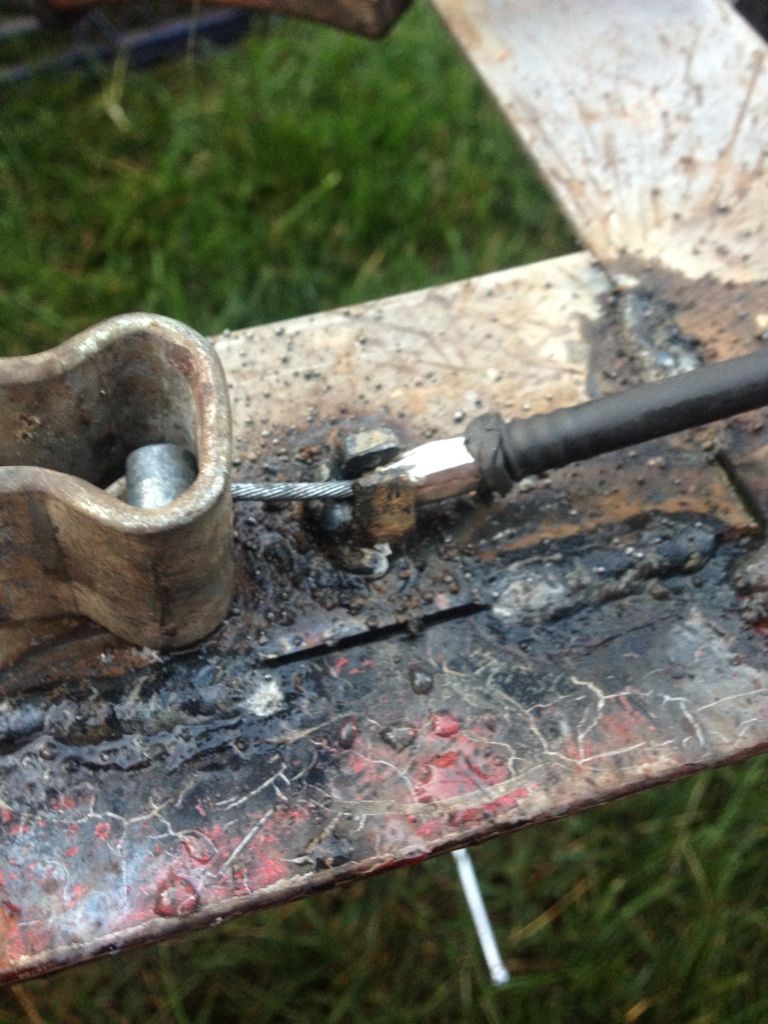
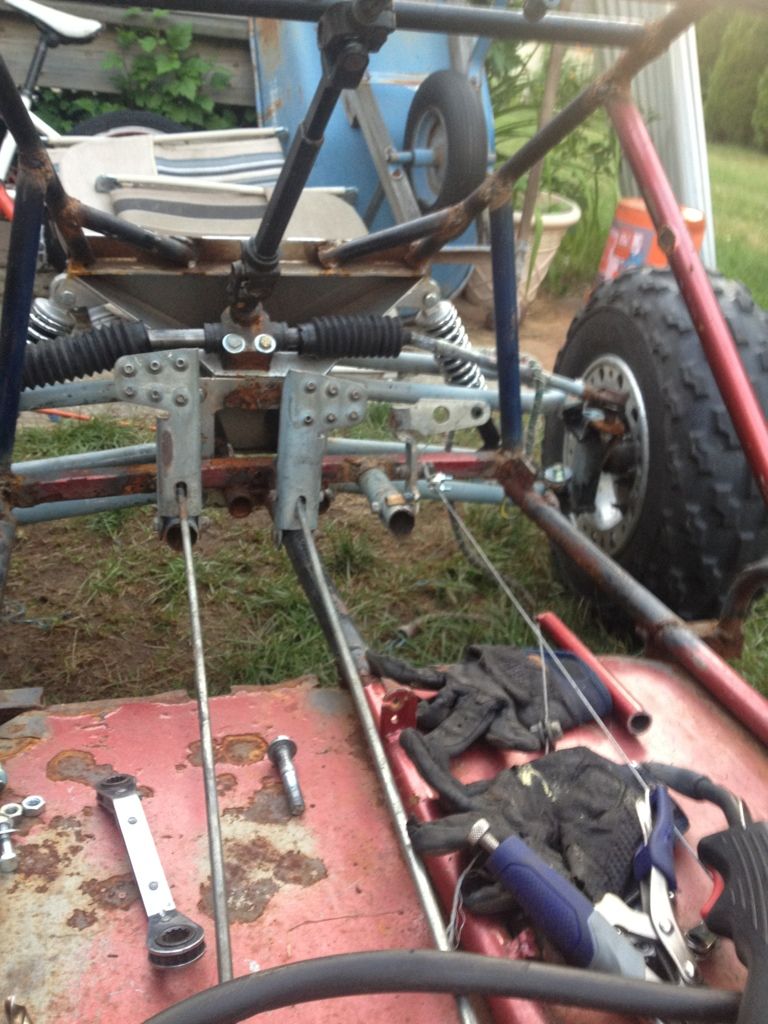
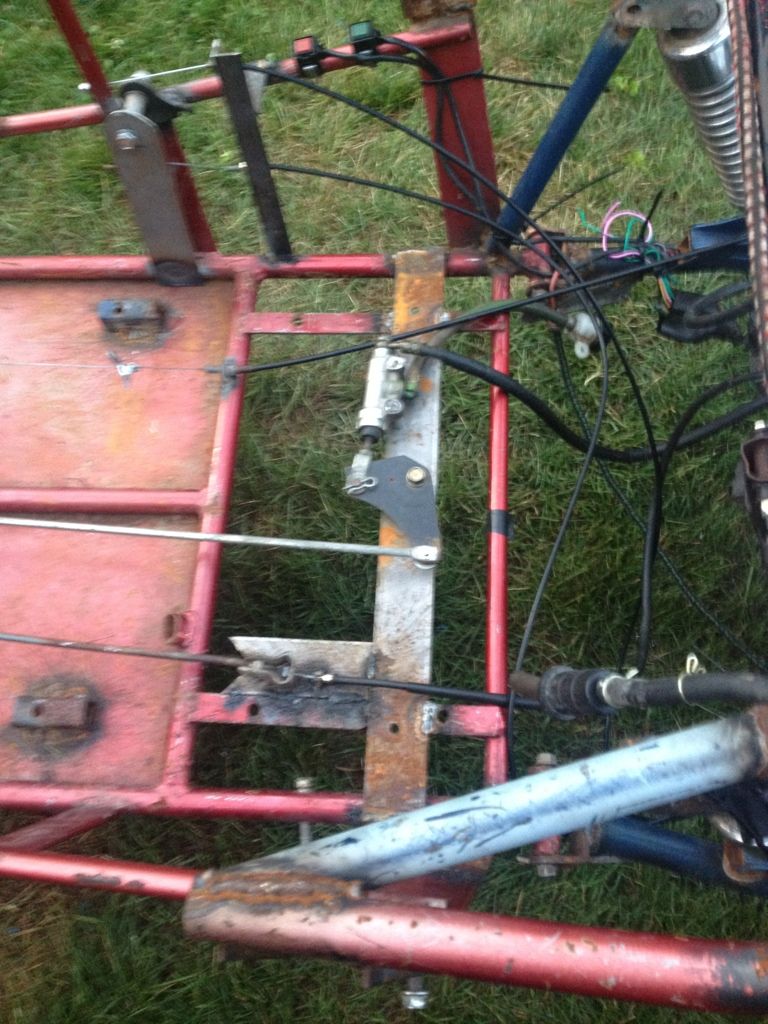
Got my pedals done today. I really like the clutch and the brake cable but the gas pedal needs to be thought out again because the cable gets in the way when you hit the brakes... I also got a little problem with this engine. My problem is its really hard to find neutral but it shifts perfectly just seems to jump over neutral idk im going to start it up tomorrow then see if the spinning transmission helps me.
            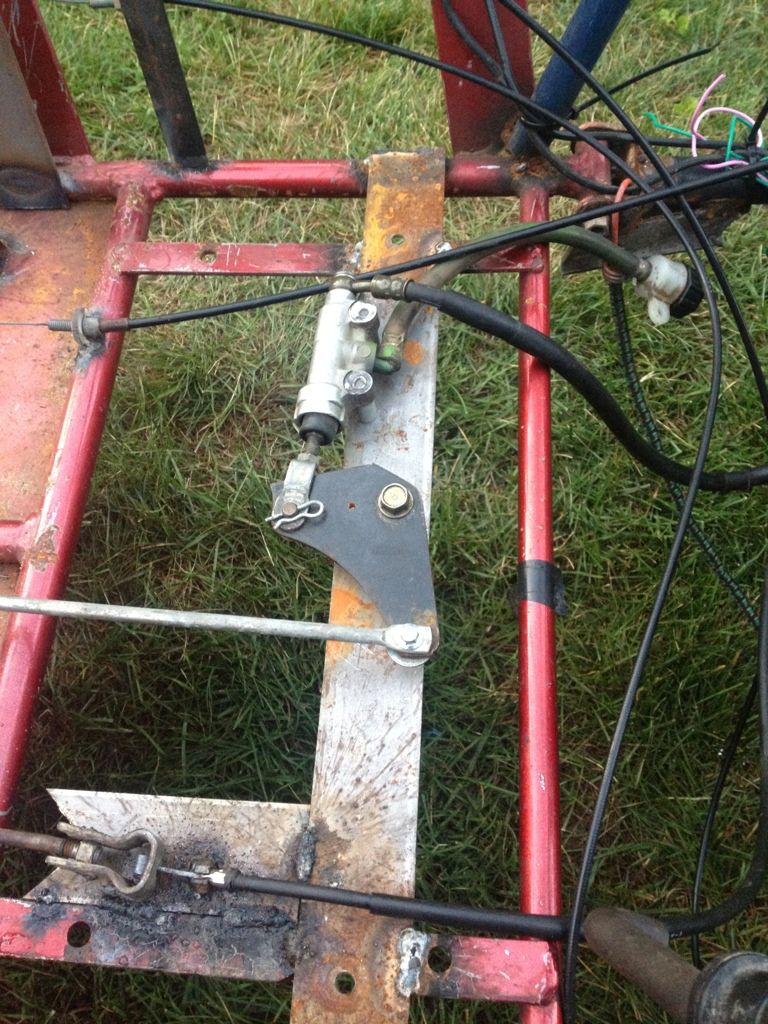
|
|
#53
|
|||
|
|||
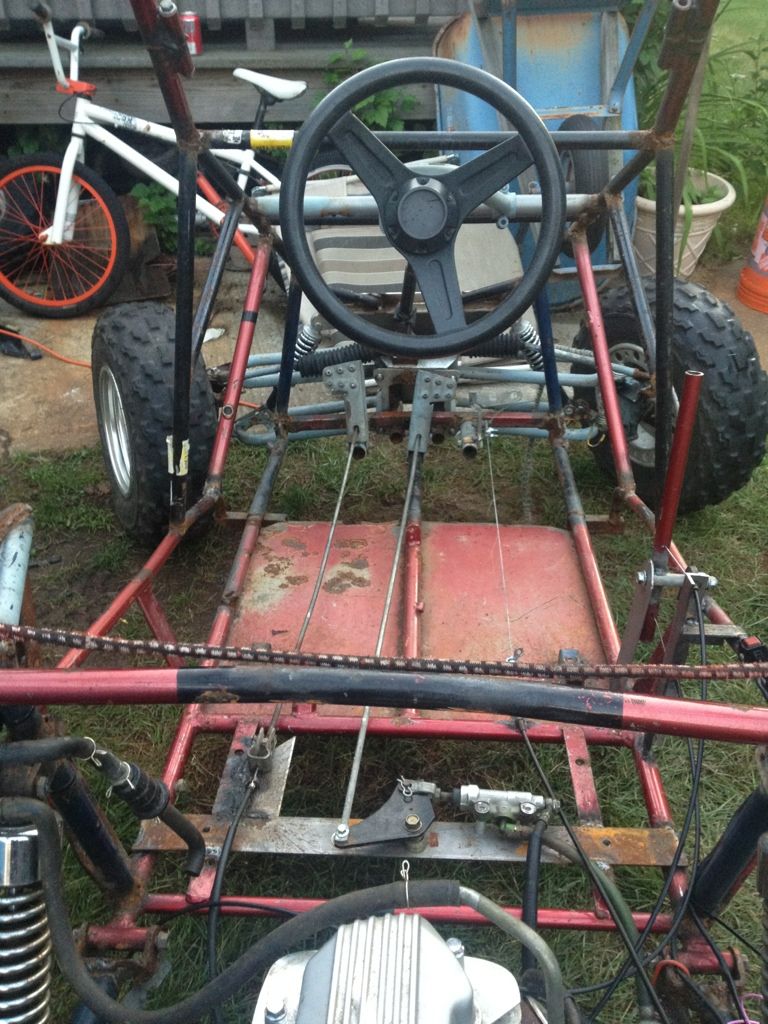 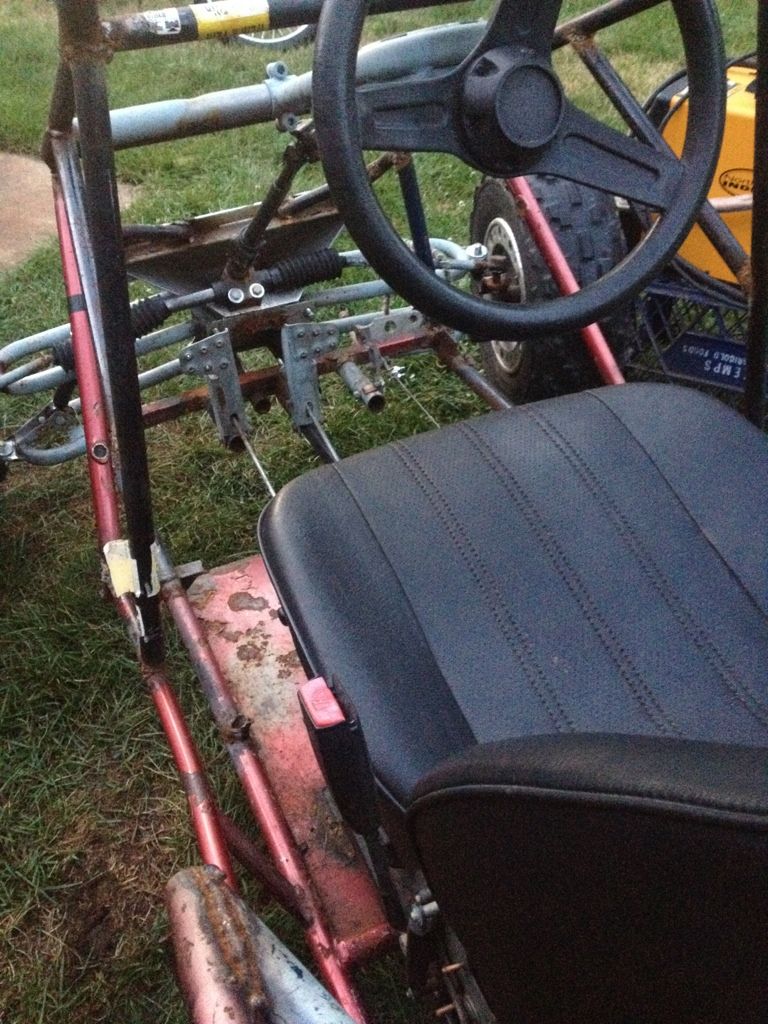 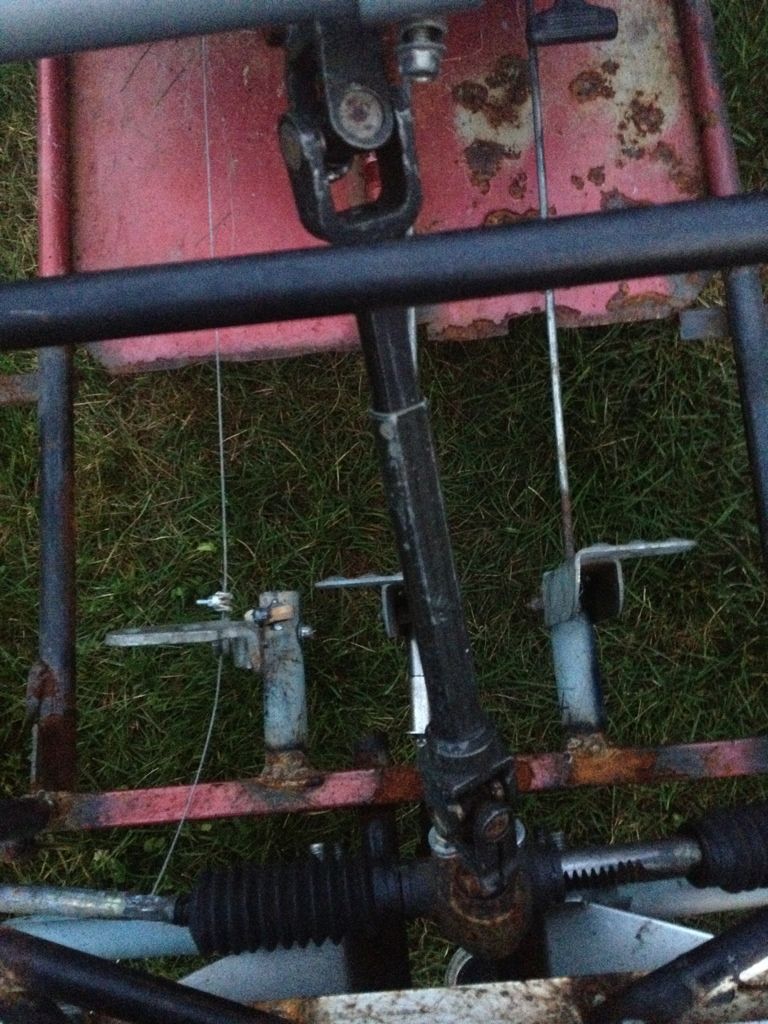 Also i got a pretty bad boo boo today 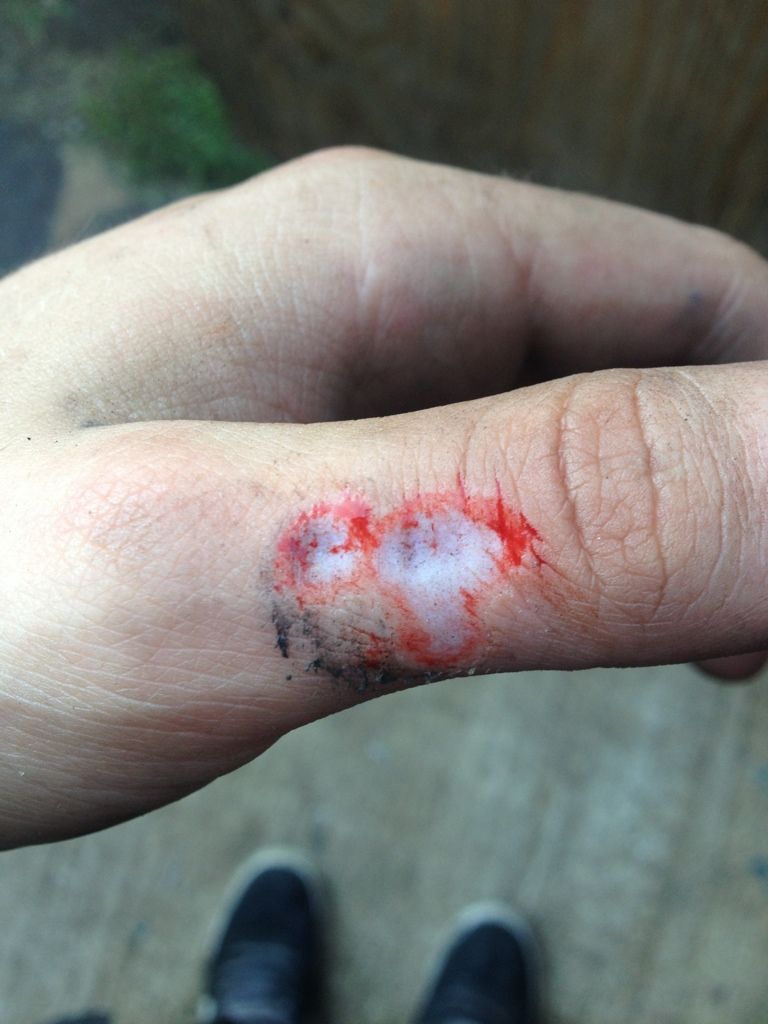
|
|
#54
|
||||
|
||||
|
Ouch!!!!!!!
|
|
#55
|
||||
|
||||
|
what made you put the throttle and break on the opposite sides? also how did you hurt your finger?
__________________
T.J. Yerfdog Spiderbox, Uni Type air filter with 6" intake, 130 jet, Orange no-rev limit cdi, Red coil, iridium plug, 1500rpm clutch springs, 1500rpm contra spring, 13g sliders, 22" rears, 21" fronts, aftermarket reverse installed, and Trailtech Vapor. |
|
#56
|
|||
|
|||
|
My grinder jumped and gave me a kiss.. i should have had my gloves on. And what do you mean by having the throttle and brake on opposite sides?
|
|
#57
|
||||
|
||||
|
My bad I just looked again, I didn't see that third pedal on the right... it looked invisible.
__________________
T.J. Yerfdog Spiderbox, Uni Type air filter with 6" intake, 130 jet, Orange no-rev limit cdi, Red coil, iridium plug, 1500rpm clutch springs, 1500rpm contra spring, 13g sliders, 22" rears, 21" fronts, aftermarket reverse installed, and Trailtech Vapor. |
|
#58
|
|||
|
|||
|
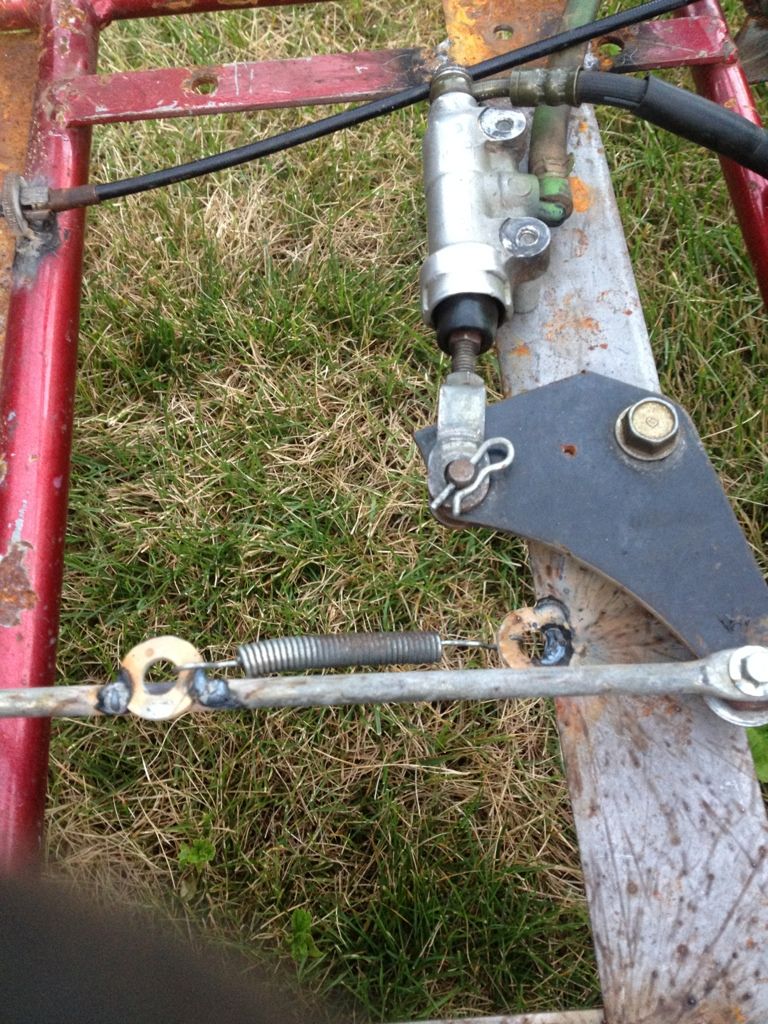
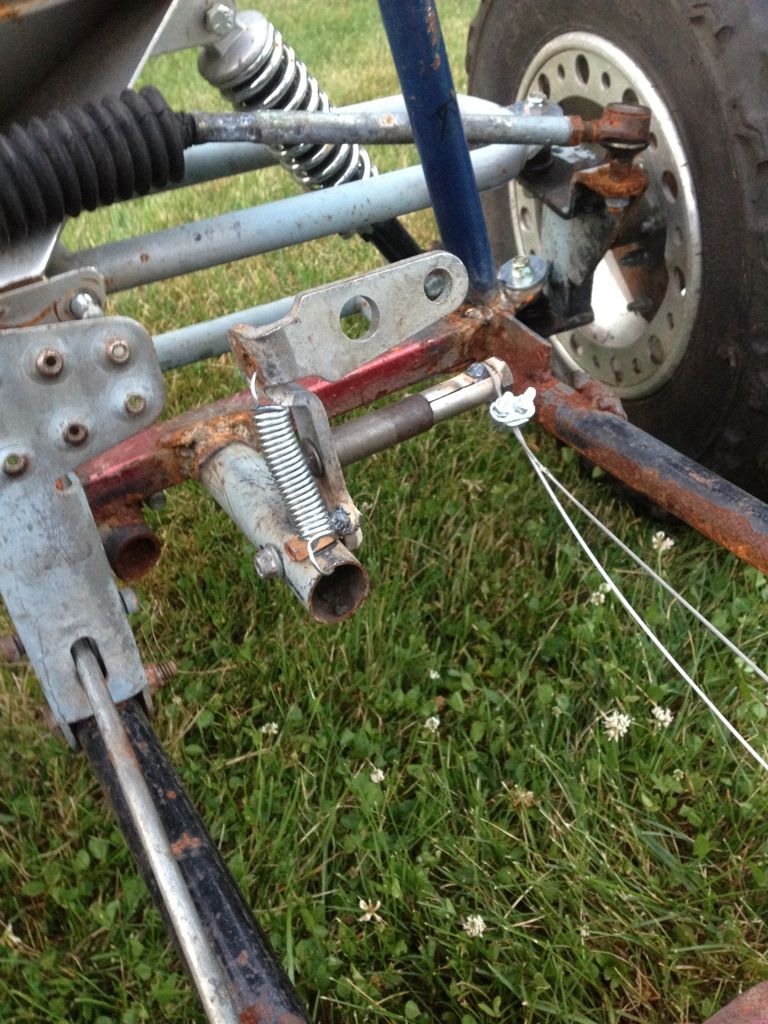
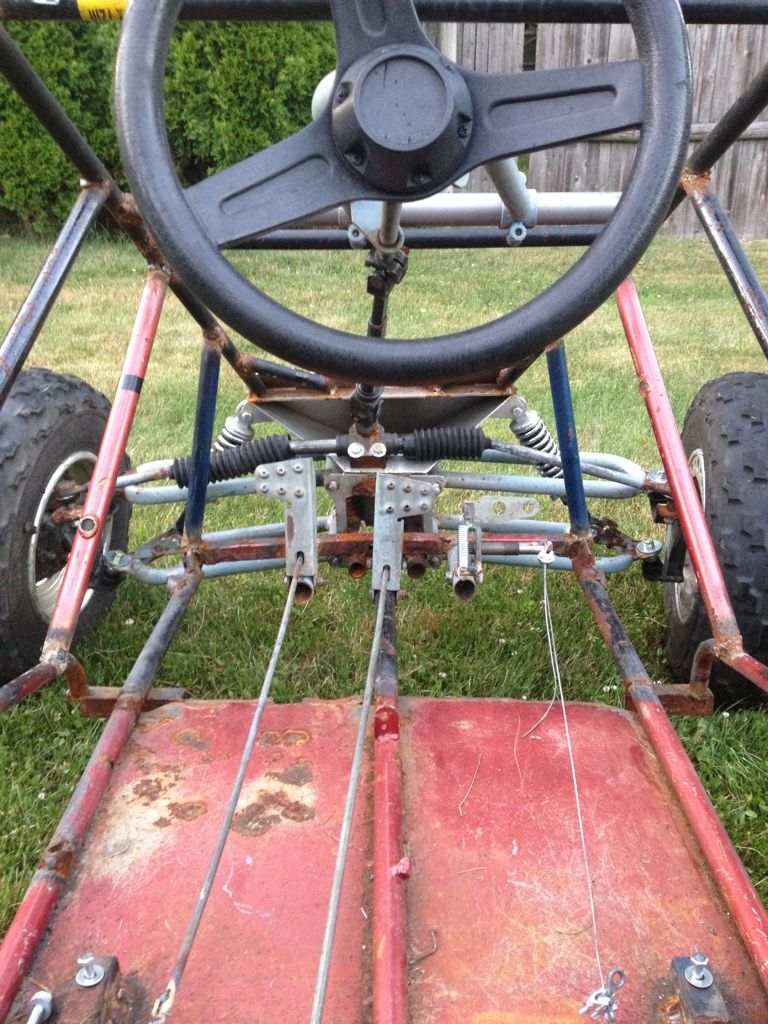
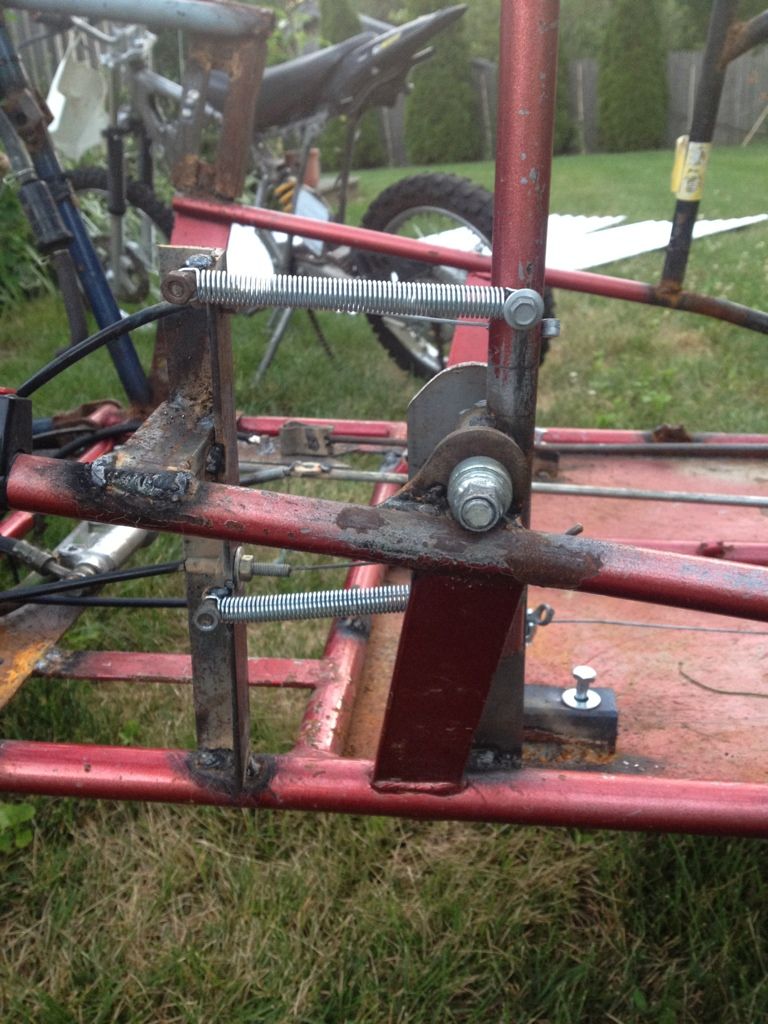
not much but its a little update.. Got my return springs installed and mounted my gas tank
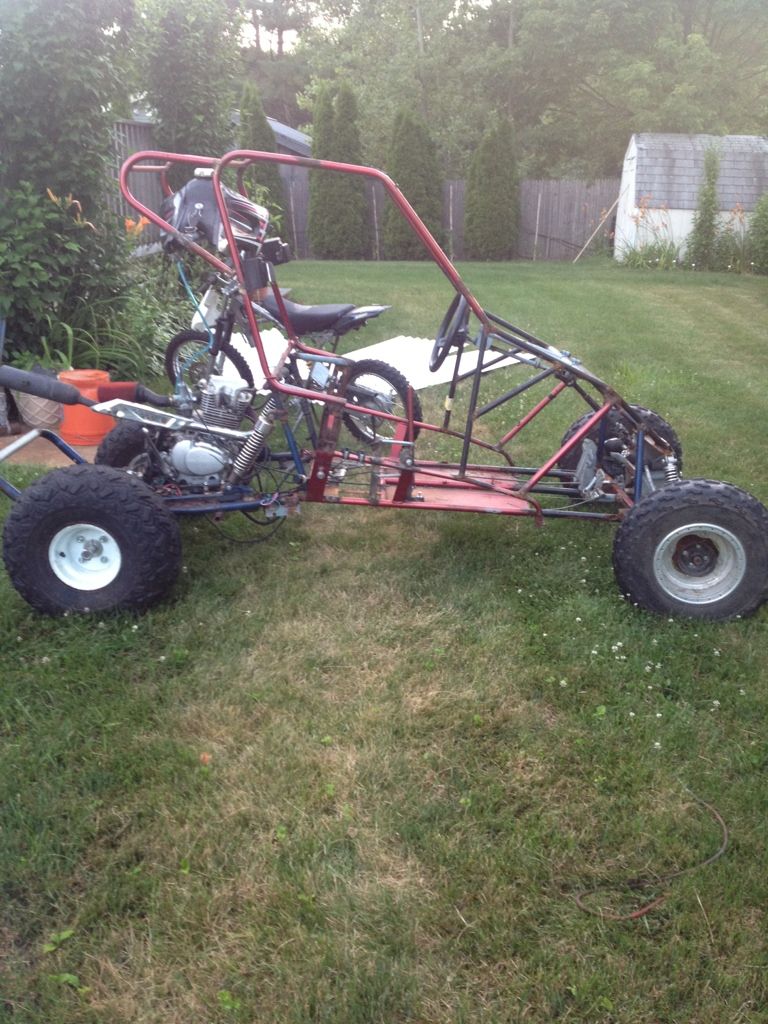 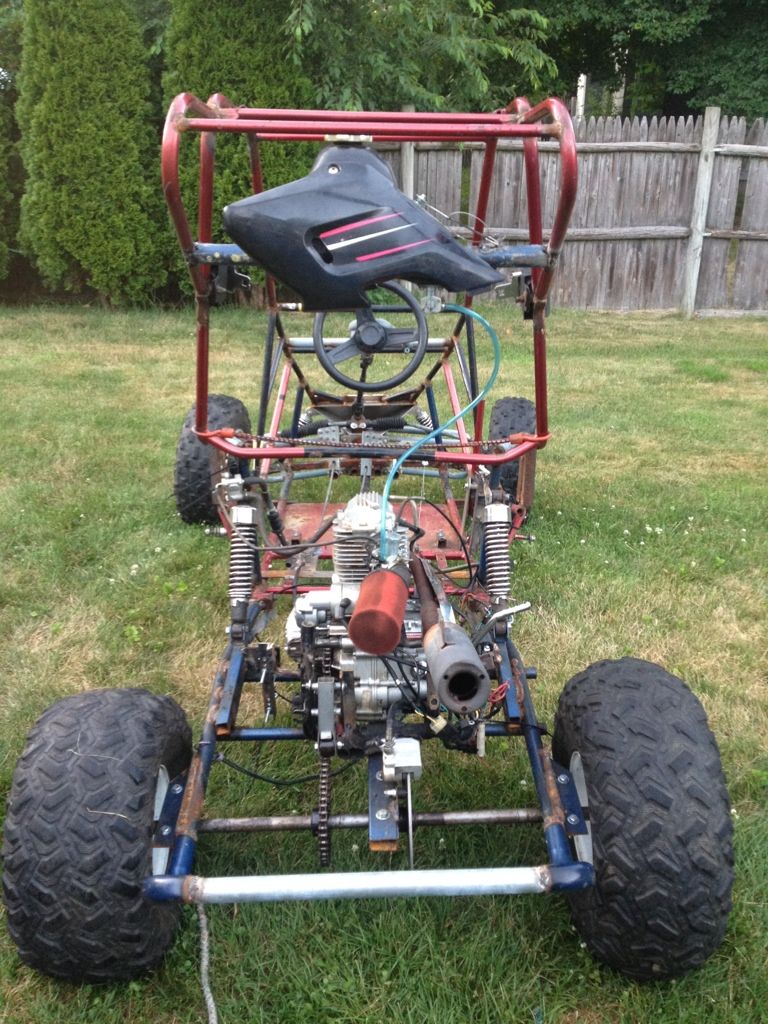 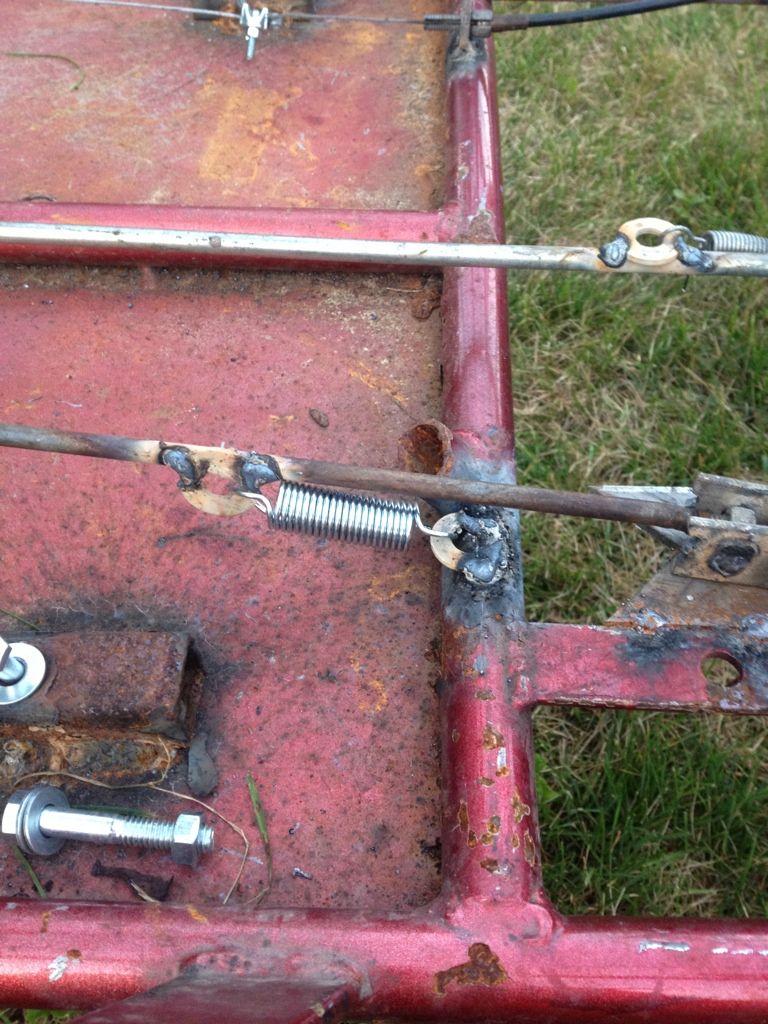     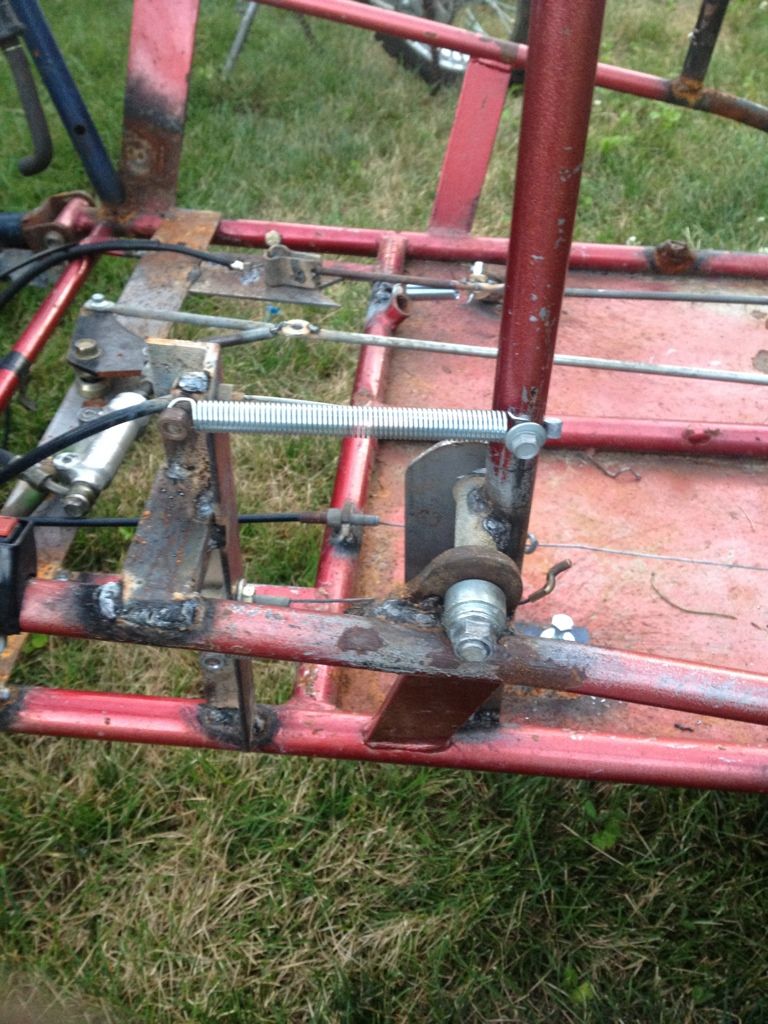
|
|
#59
|
|||
|
|||
|
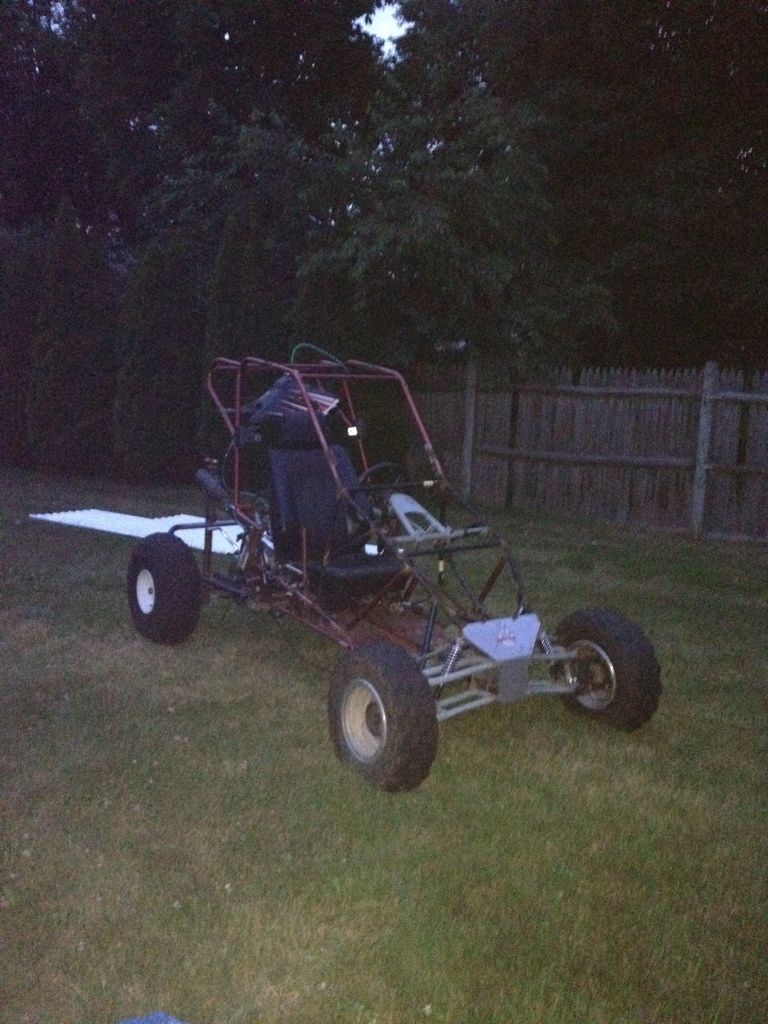
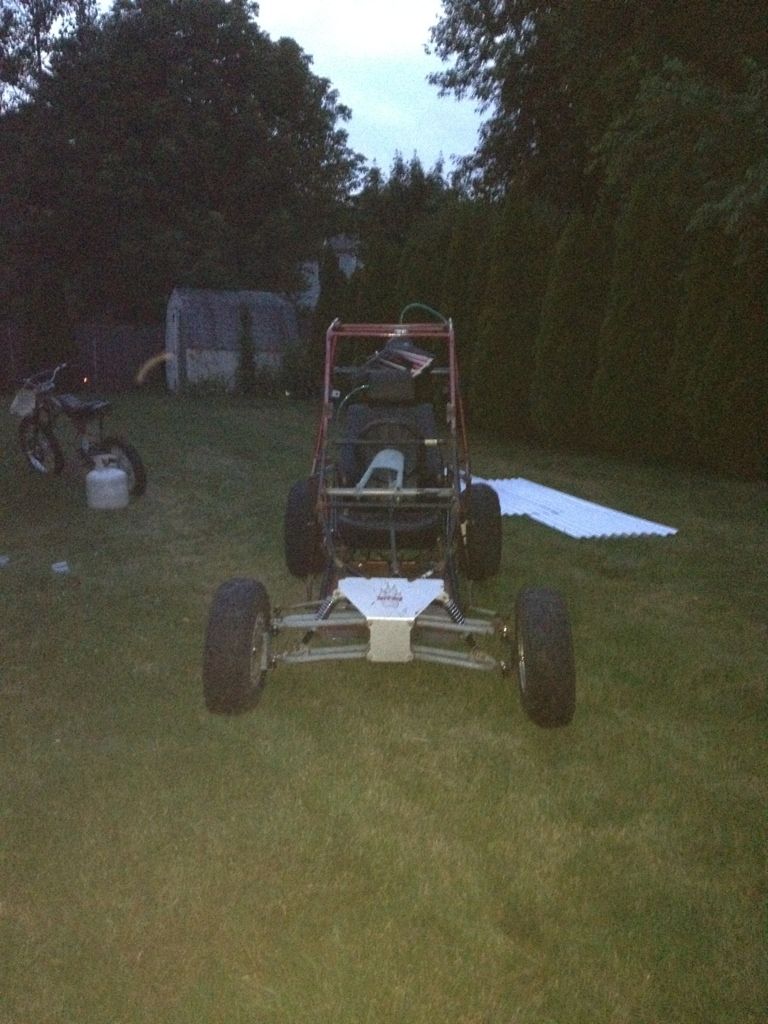
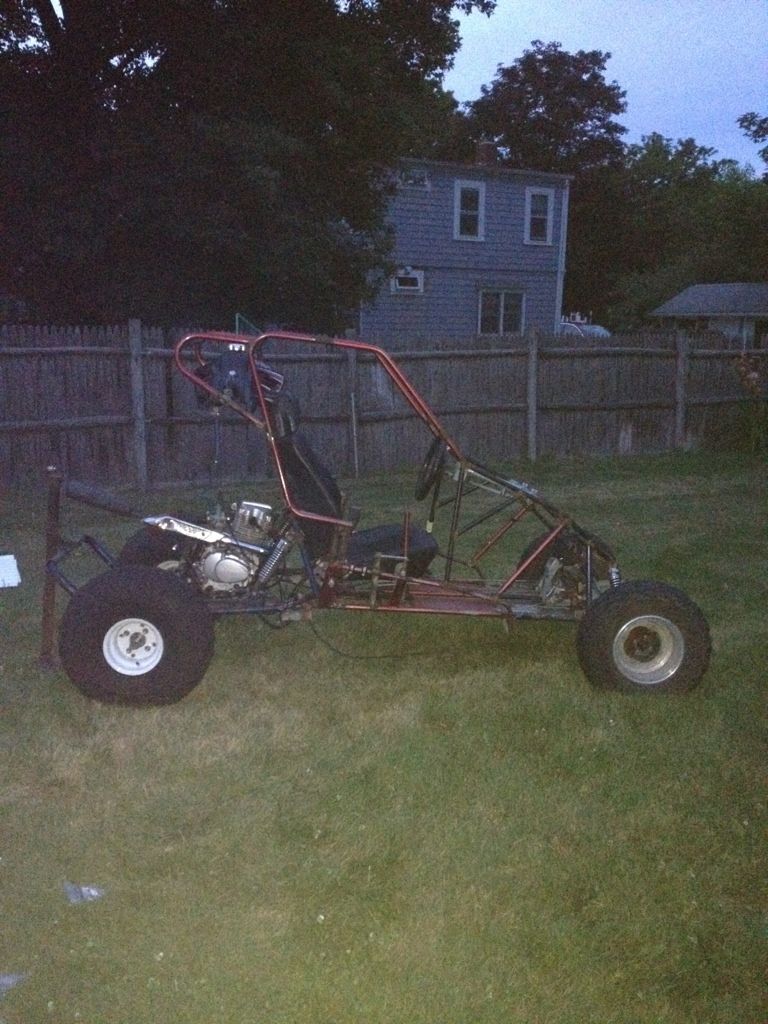
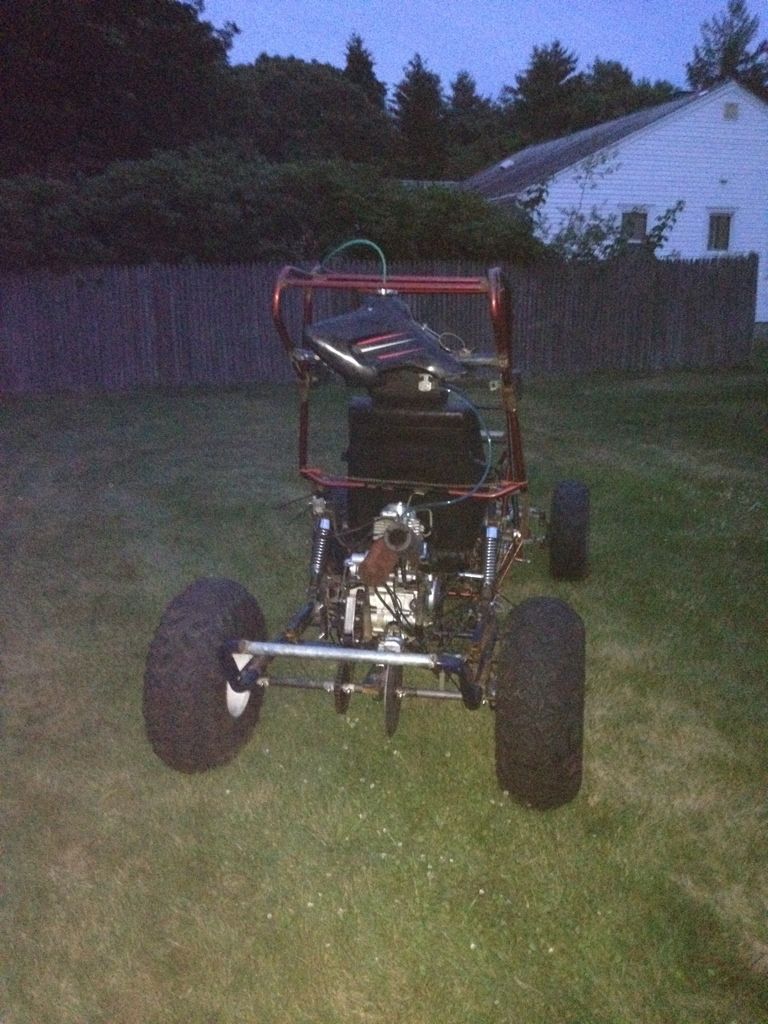
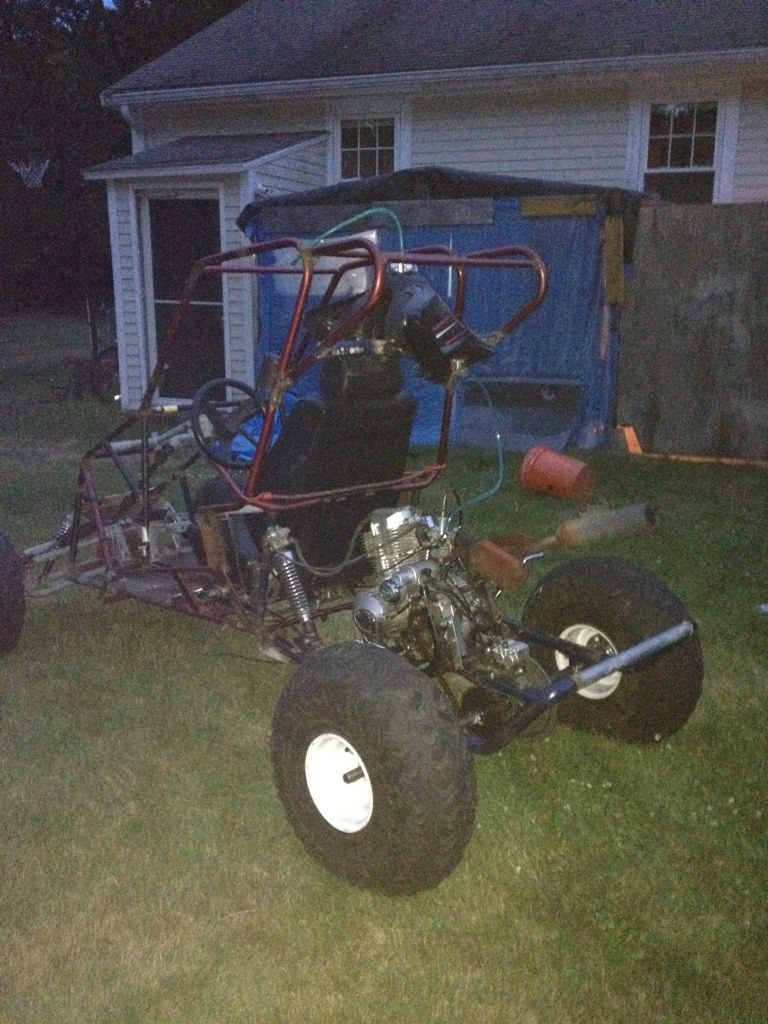
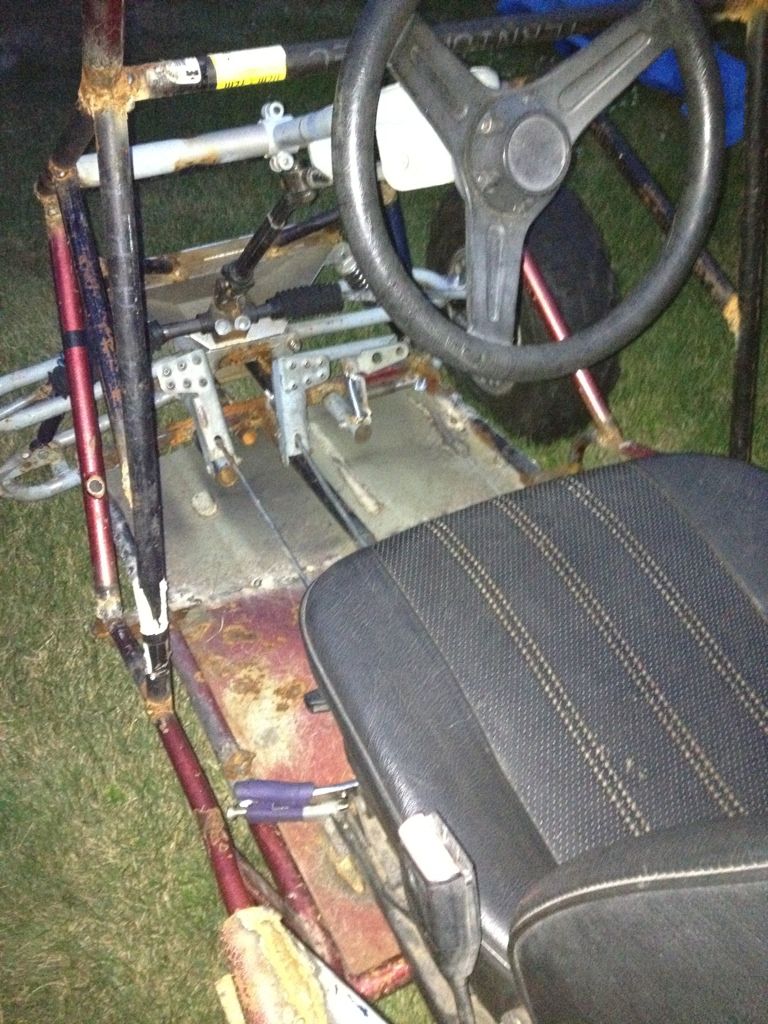
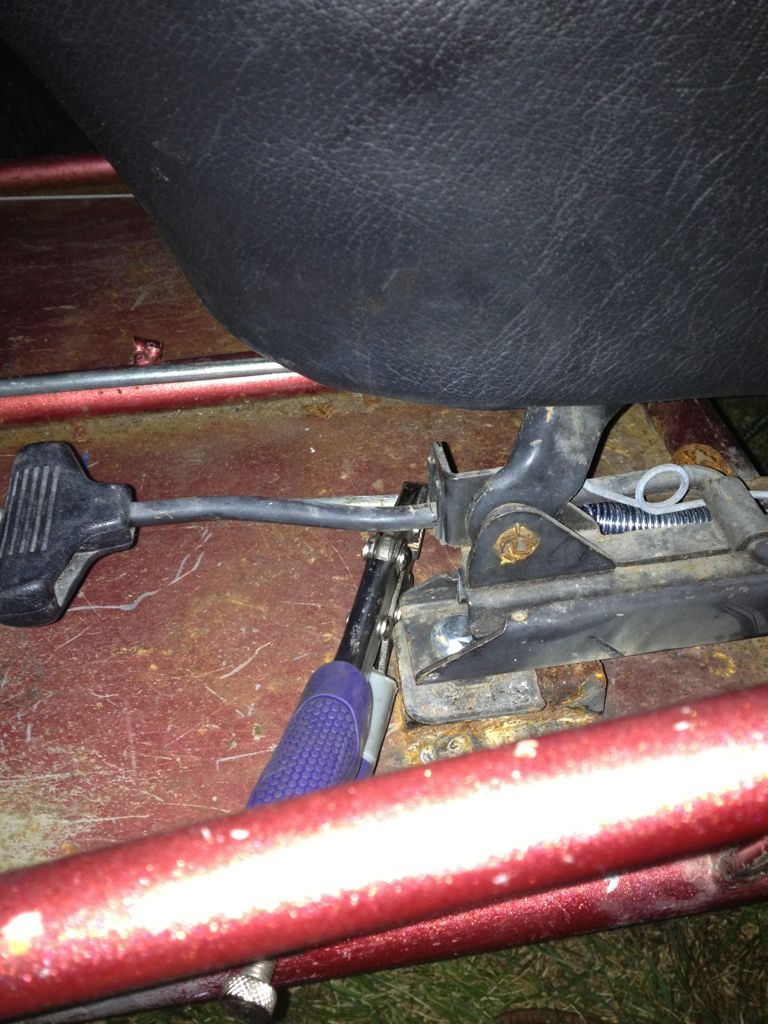
Lots of progress done today but we have two problems.. First problem is that the engine will not go into neutral for some reason as much as i try i cant get it so at the moment i keep the clutch engaged with a vicegrip untill i build something to keep the clutch engaged just so i can roll it around. Second problem is that i tried driving it and the sprocket is just way too small (36tooth#41) so i am just going to quickly order a new one tonight probably close to 50teeth.
As for the updates i put my floor in. Got a door from the scrap pile at my dads shop and welded it up as a floor pan. Got my locking collars made but i just need to go get shorter bolts for them. Also put in two tubes in my back tires.. The tires are complete junk but im going to run them just to see how the buggy works out.. Lastly i torqued down everything and used locktight, lock nuts, and lock washers because i dont want anything coming loose.. All i have left to do is fill and bleed my brakes!!! Enjoy the pics! 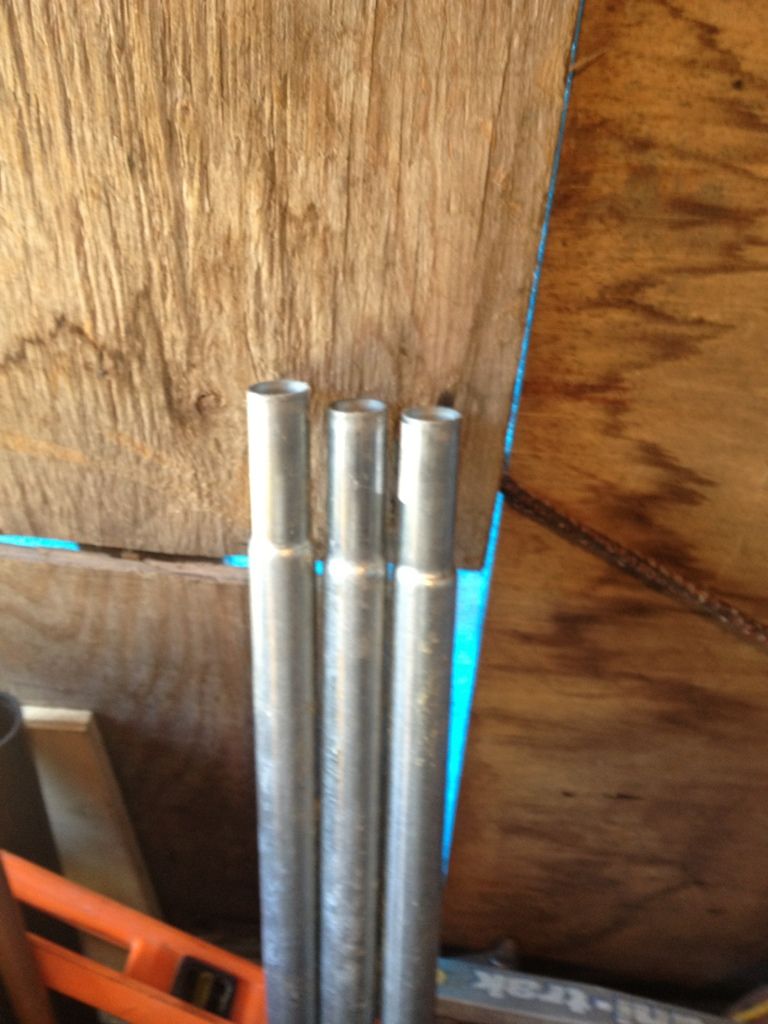 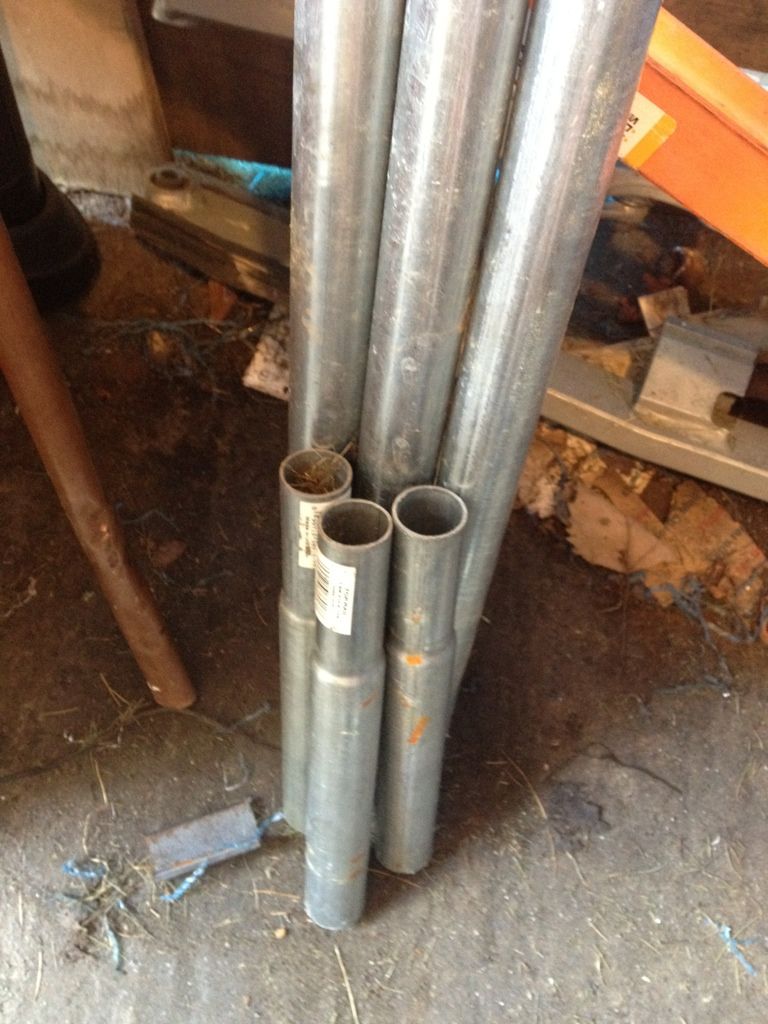 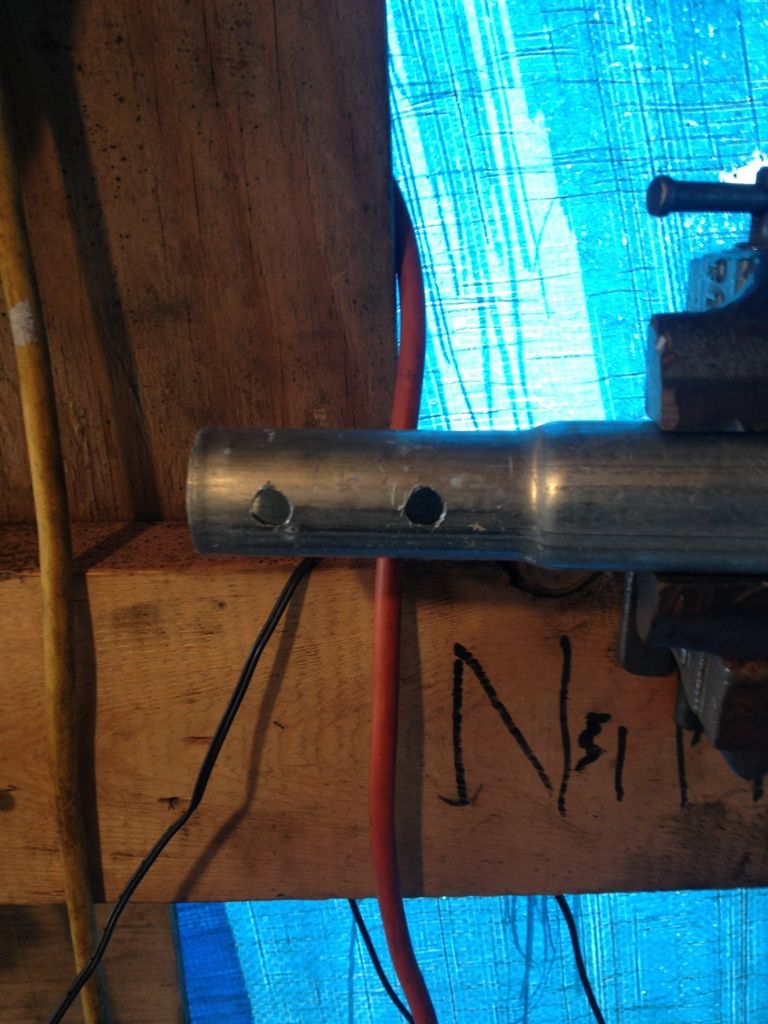 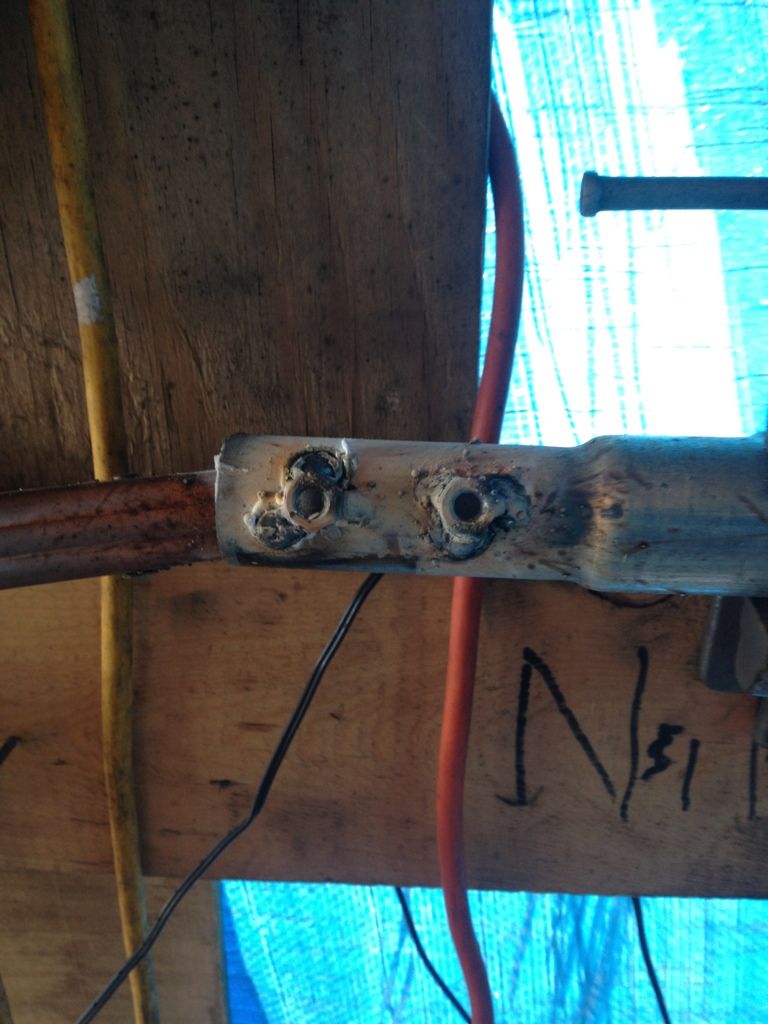 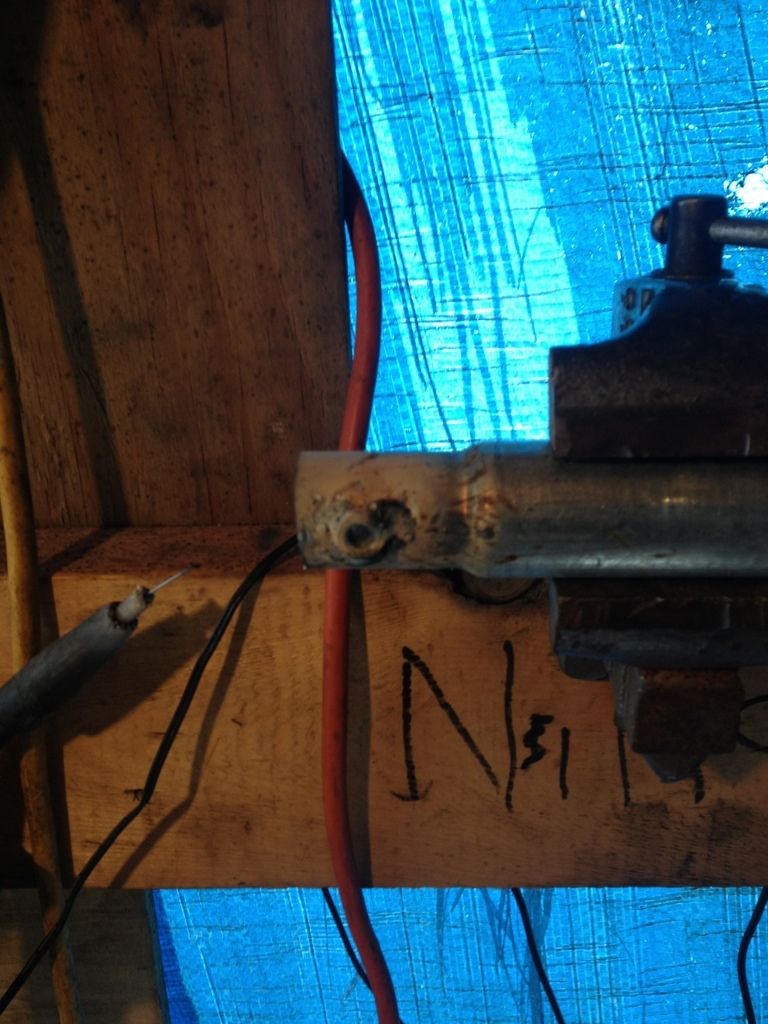 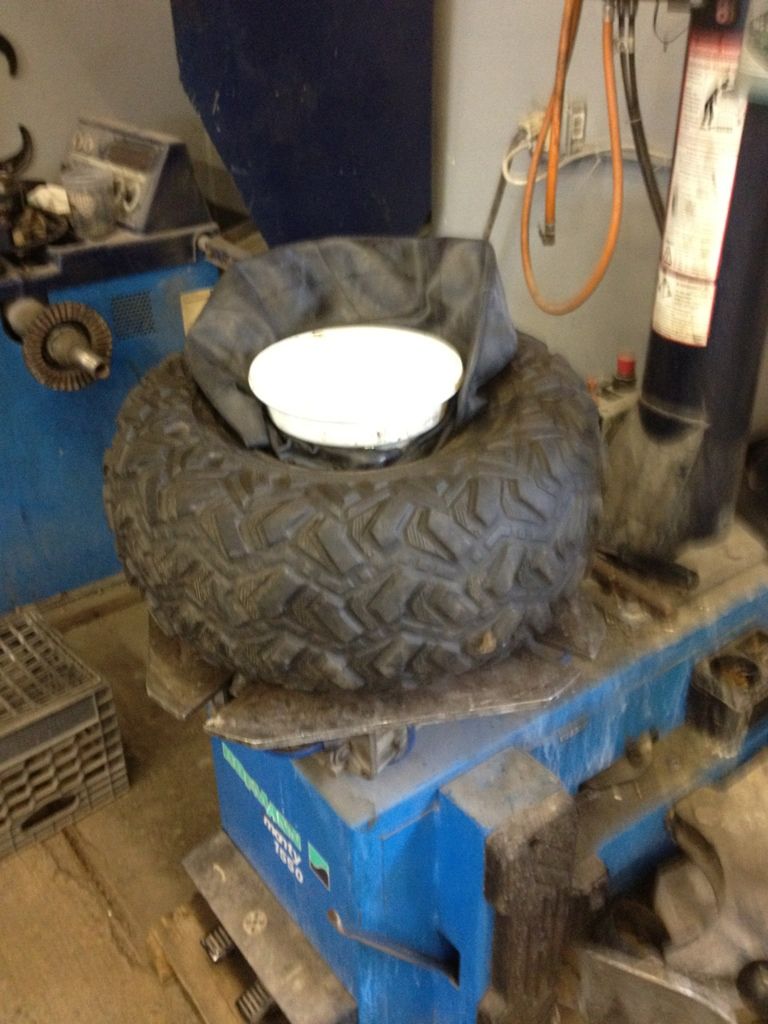 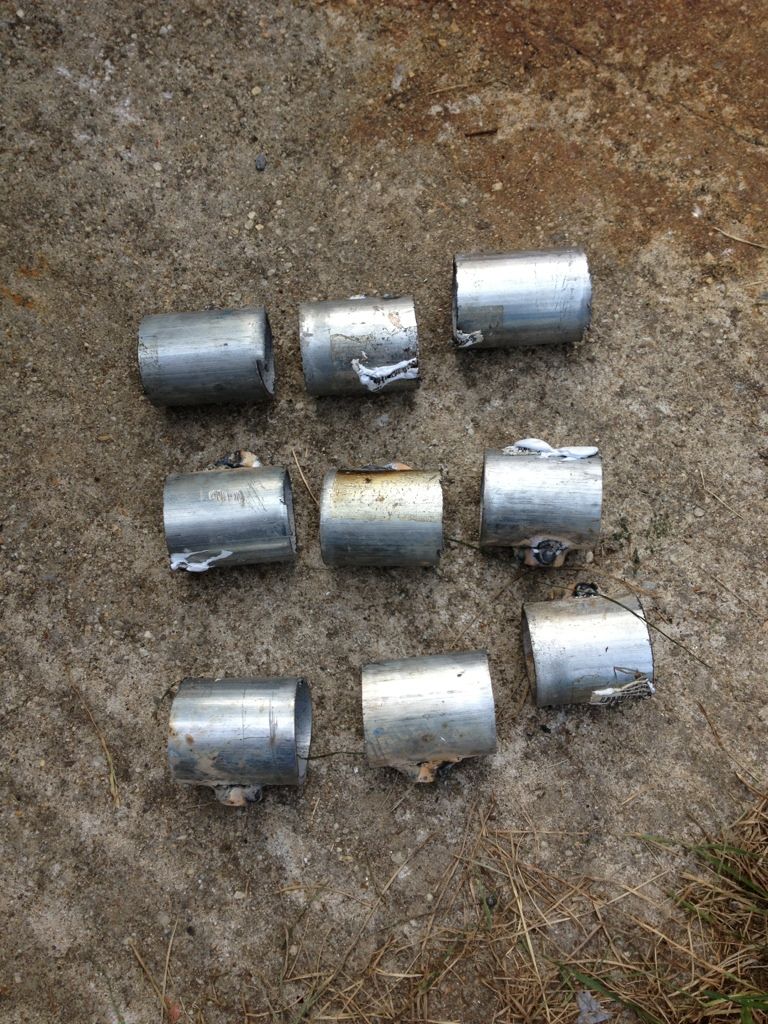  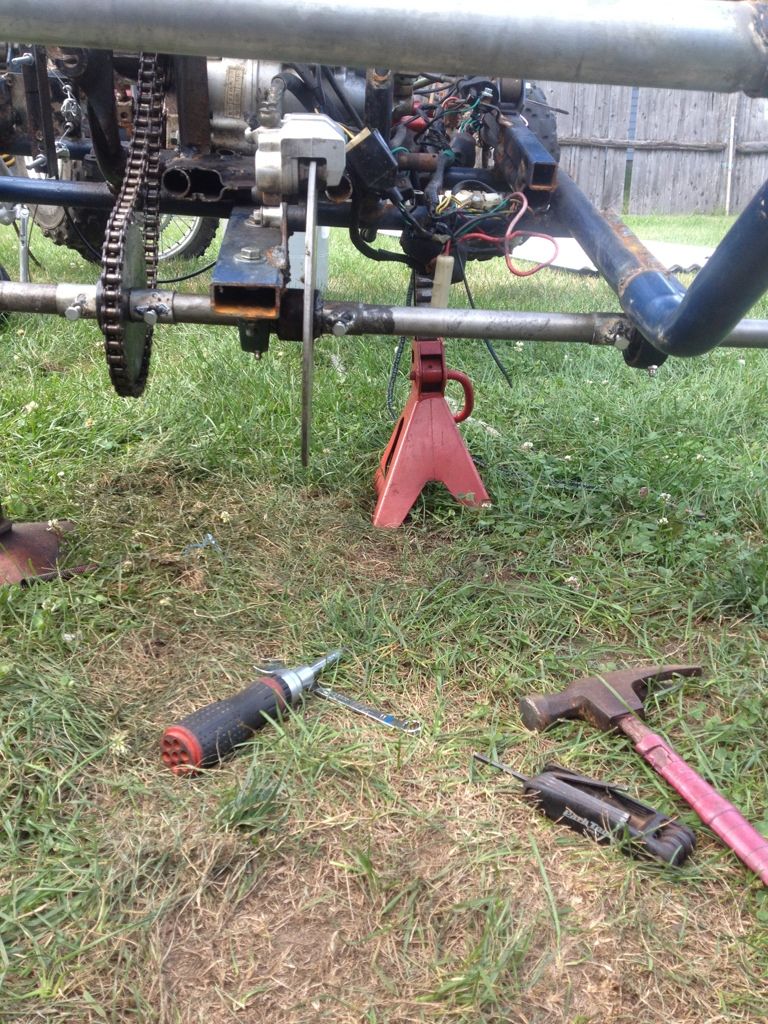 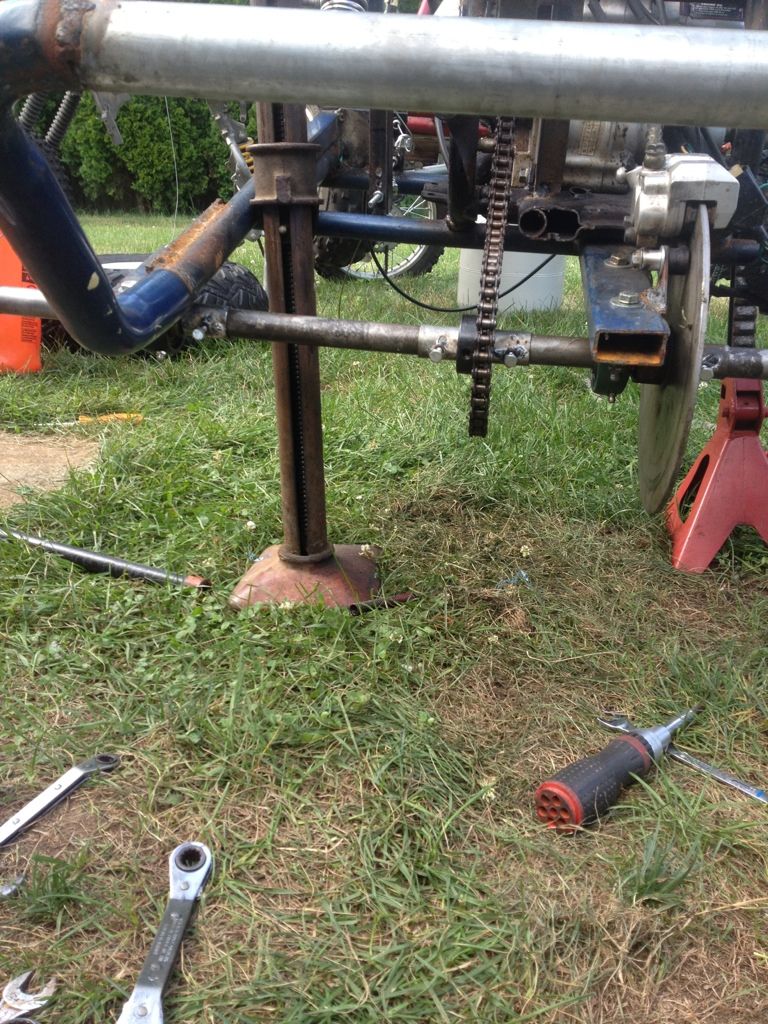 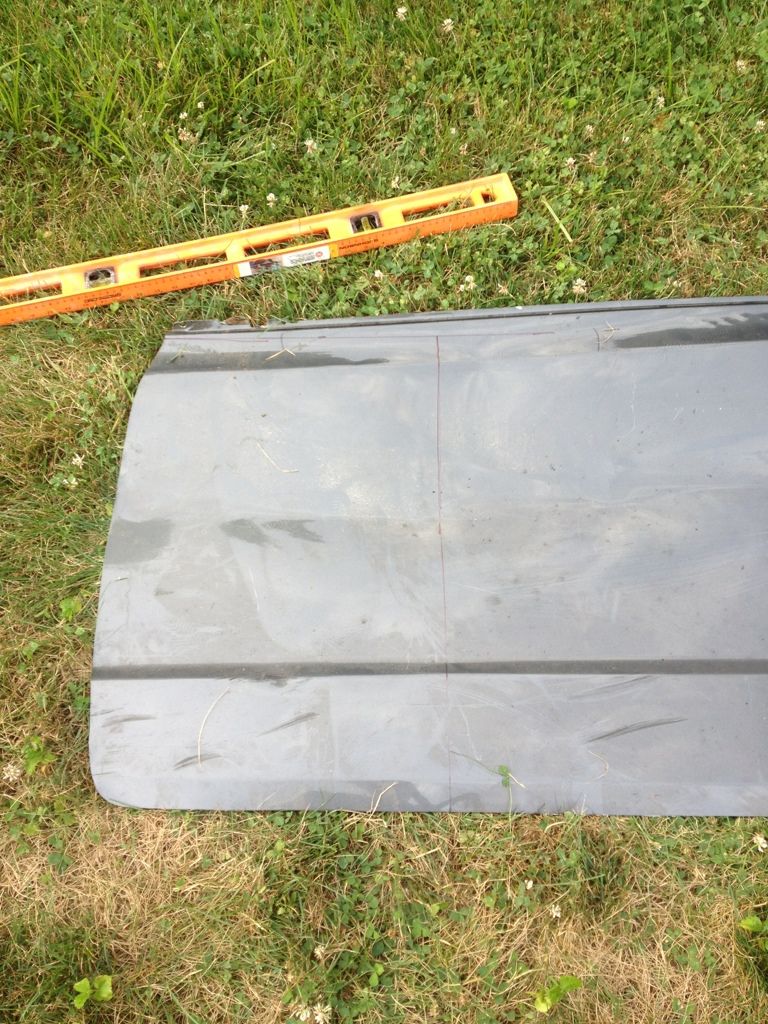 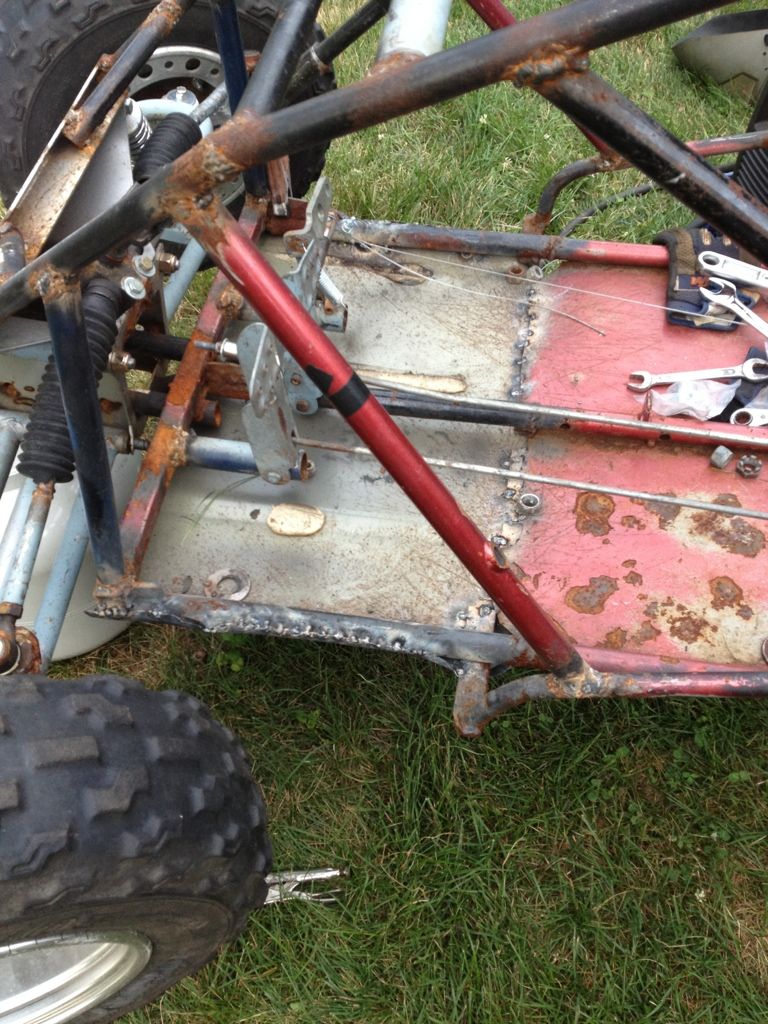 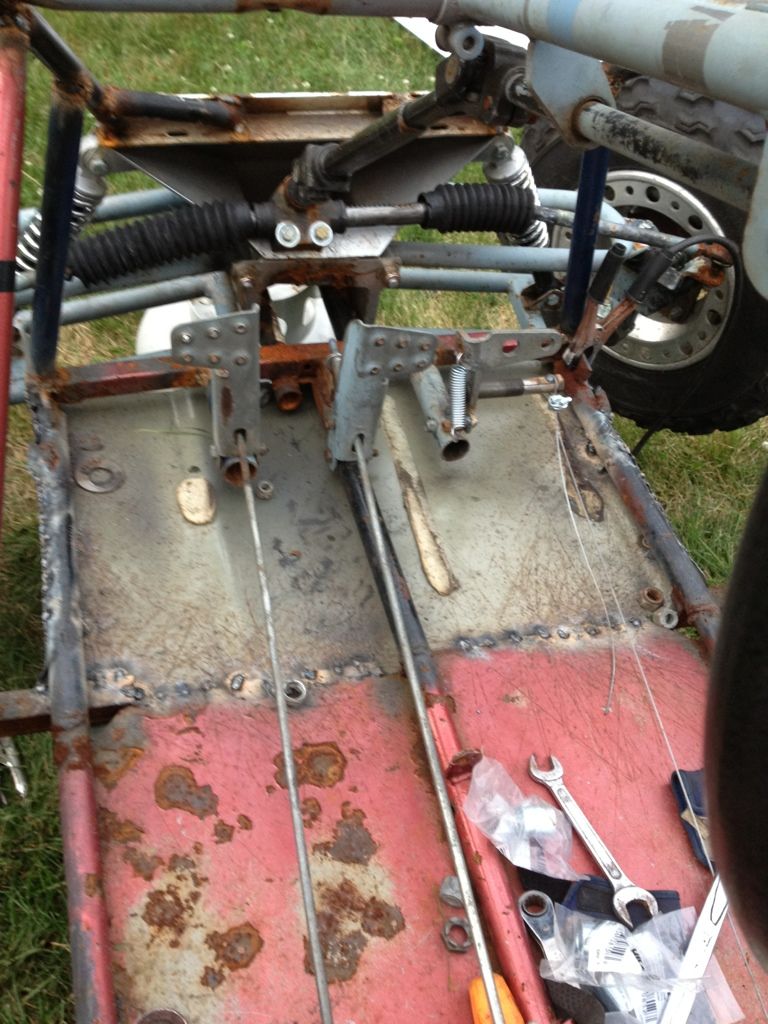 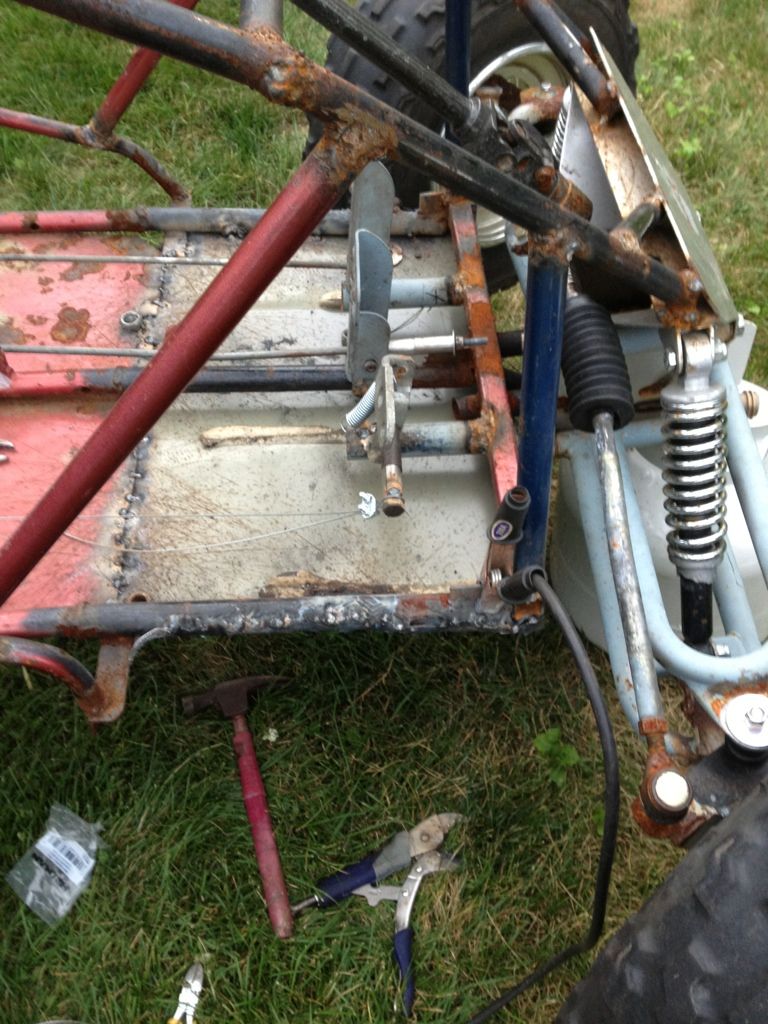 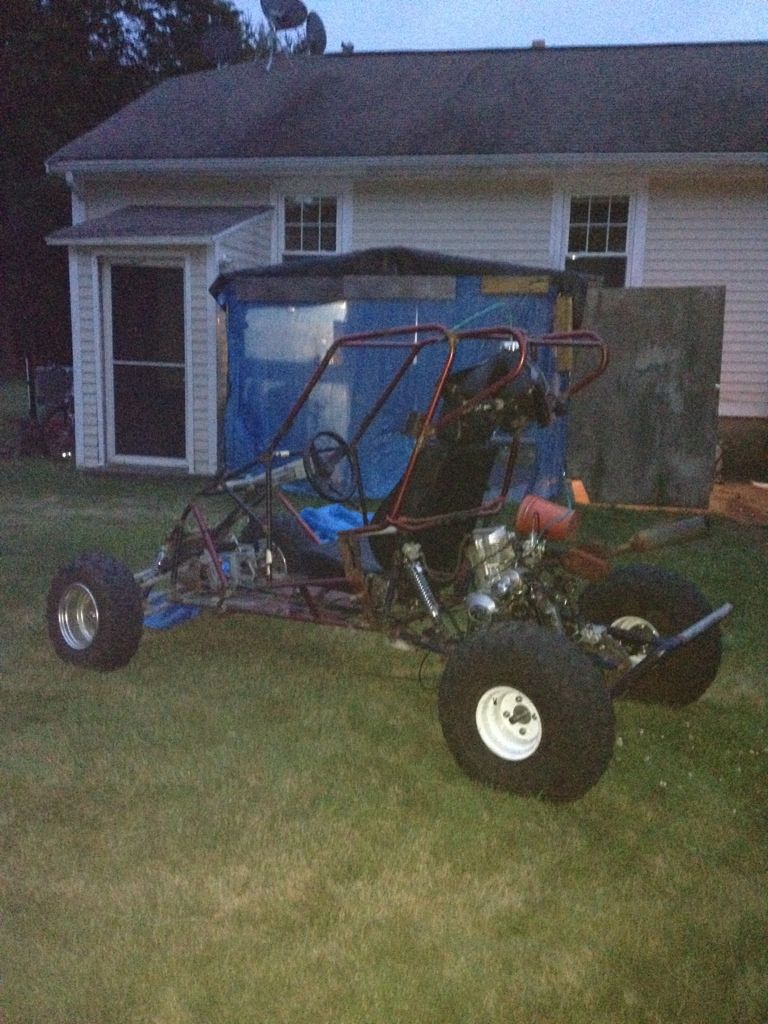
|
|
#60
|
|||
|
|||
|
|
#61
|
||||
|
||||
|
What size is that engine? it can't move that 36T sprocket?
__________________
T.J. Yerfdog Spiderbox, Uni Type air filter with 6" intake, 130 jet, Orange no-rev limit cdi, Red coil, iridium plug, 1500rpm clutch springs, 1500rpm contra spring, 13g sliders, 22" rears, 21" fronts, aftermarket reverse installed, and Trailtech Vapor. |
|
#62
|
||||
|
||||
|
i see your using galvanized fence tubing--be careful, the fumes from welding that will make you sick. really should sand/grind the coating off before welding on it.
|
|
#63
|
||||
|
||||
|
I agree with T3beatz's 2nd question- I ran a 26tooth sprocket just to try it out on my Honda TRX200SX engine and it took more rpm's to take off fast, just not enough bottom end for our trails, I could have used it if I was on level ground most of the time and would've had a top speed of about 70+mph. -
Locking collars?- Are you just try to keep all the items from shifting? I doubt those galvanized locking collars will last any length of time. If you were trying to keep things aligned,you could've used a piece of pvc cut to the right length!!! Hope it works for you. |
|
#64
|
|||
|
|||
|
The engine is a 200cc.. it will move but you have to give it a good rev to start off and im afraid of frying the clutch
|
|
#65
|
|||
|
|||
|
Fixed my neutral thank god it was just my adjustments on the shift cables now it shifts perfectly! Also put my new sprocket on and took it for the first drive i did not hammer it or anything as i was looking for rideability. Let go of the wheel and it drove straight as an arrow, turned wheel and it slowly started coming back into the straight position. Thats what i wanted!!! Also for my wheels i found some 8" tires they are beat up but no cracks just warn down so i will order up some hubs and rims. Now of course everything cant be perfect.. The problem i had today was no brakes.. i pump them filled cup up but it just wont get rid of the big air gap it has
 need help need help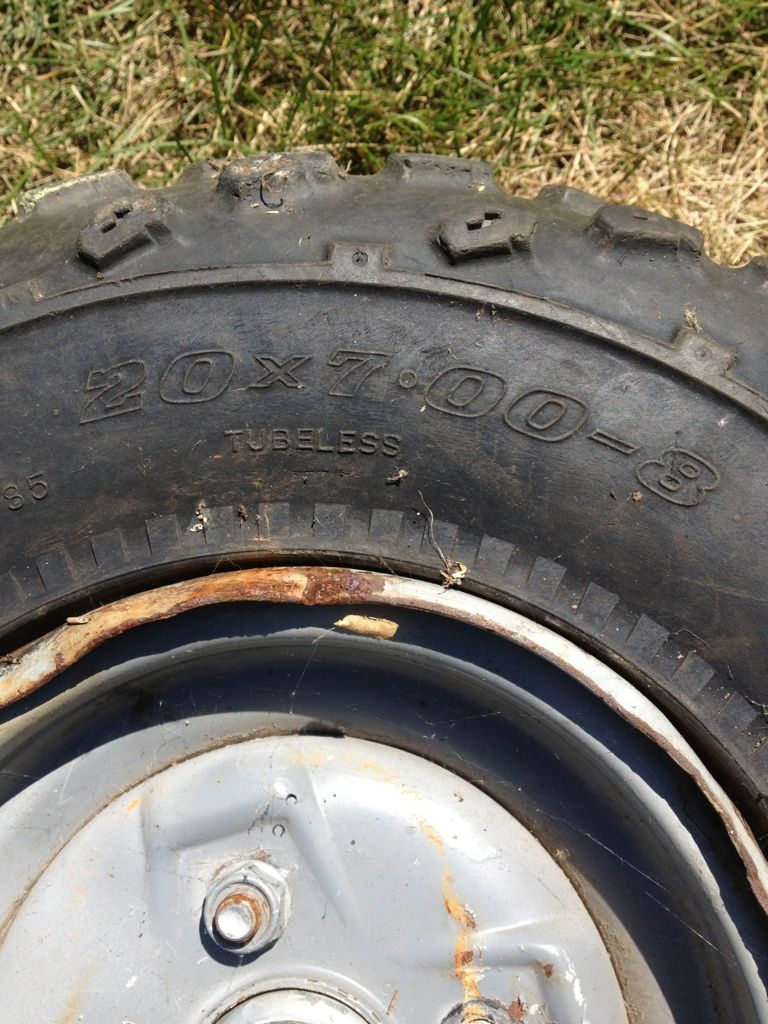 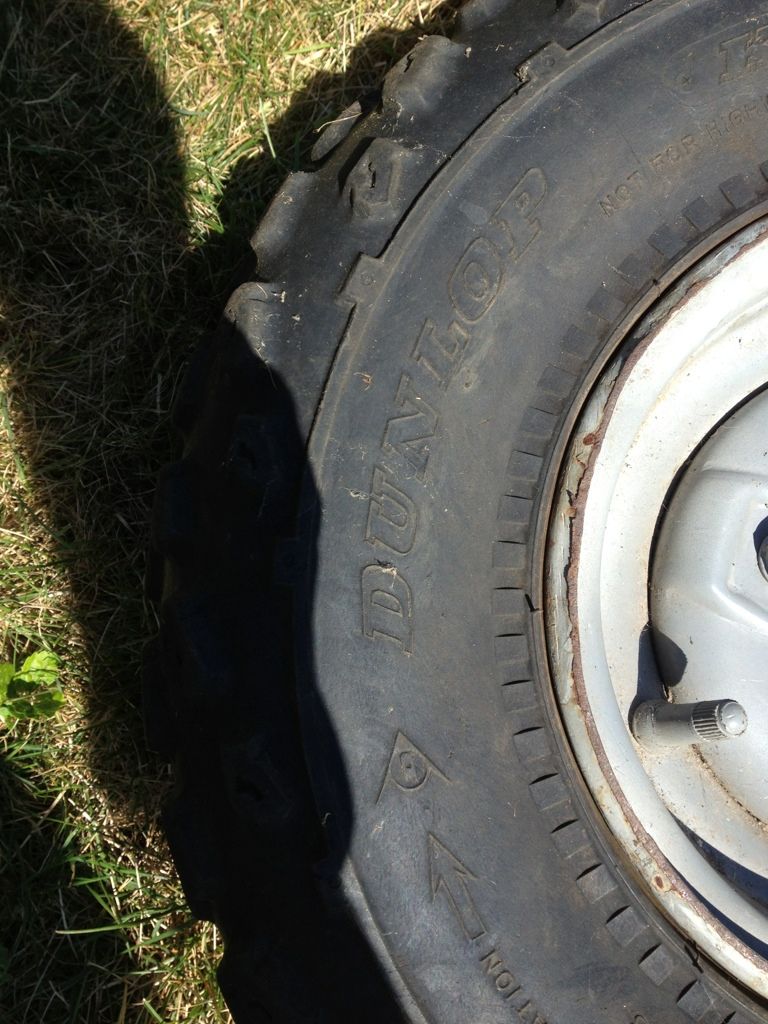 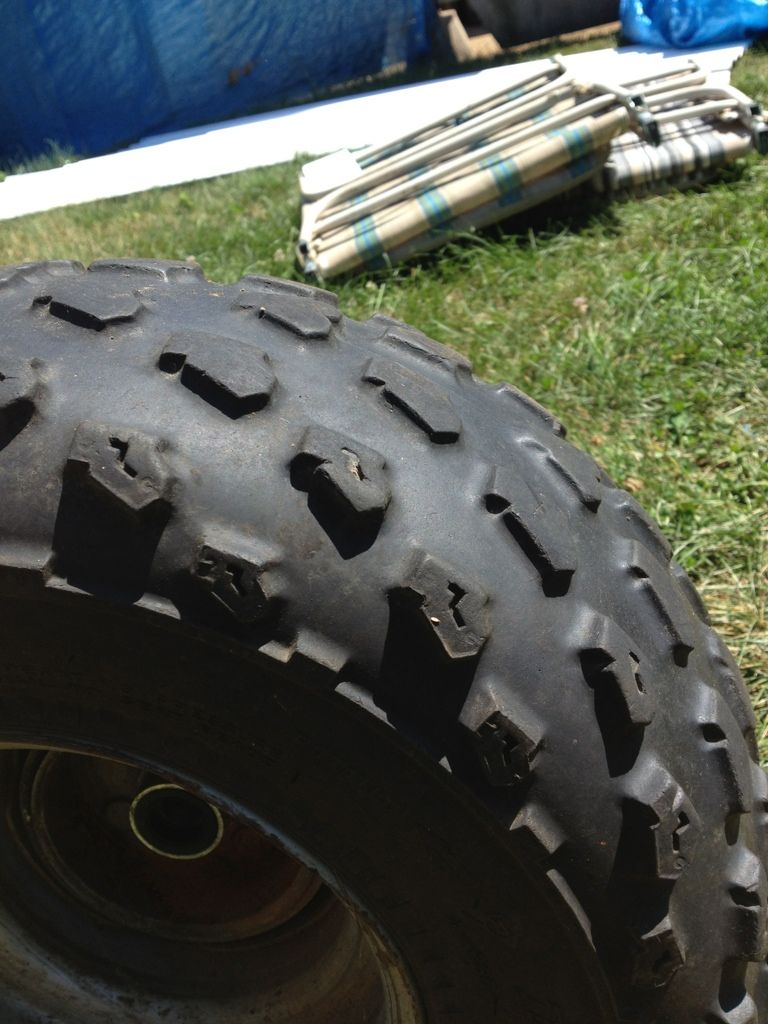 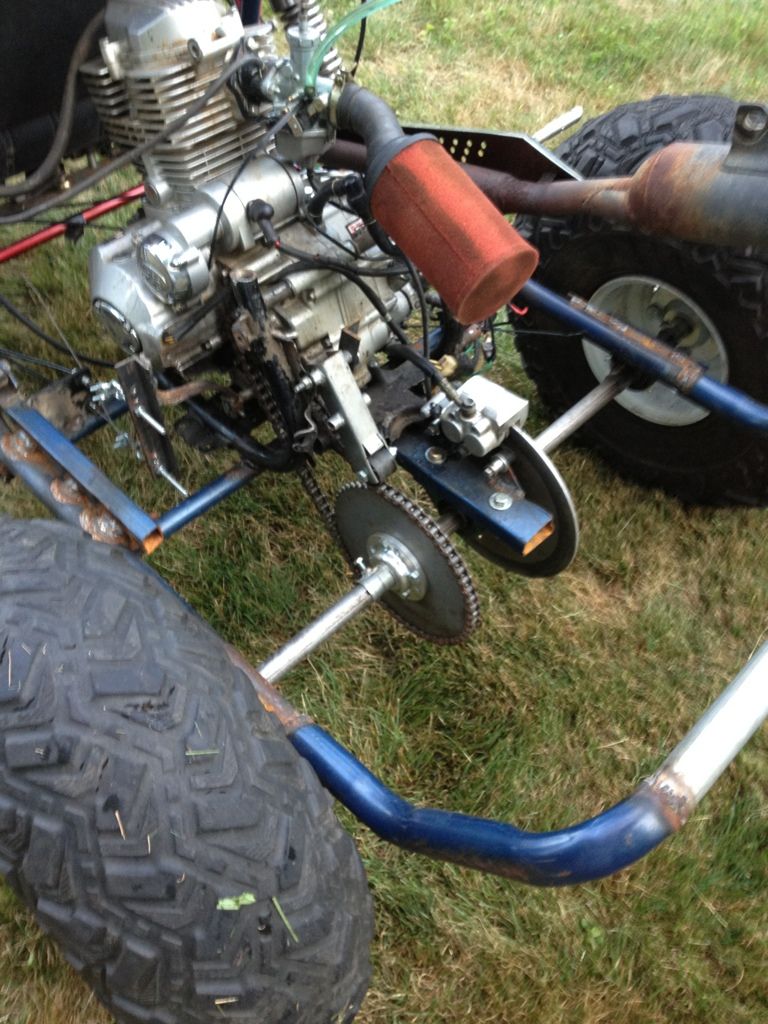 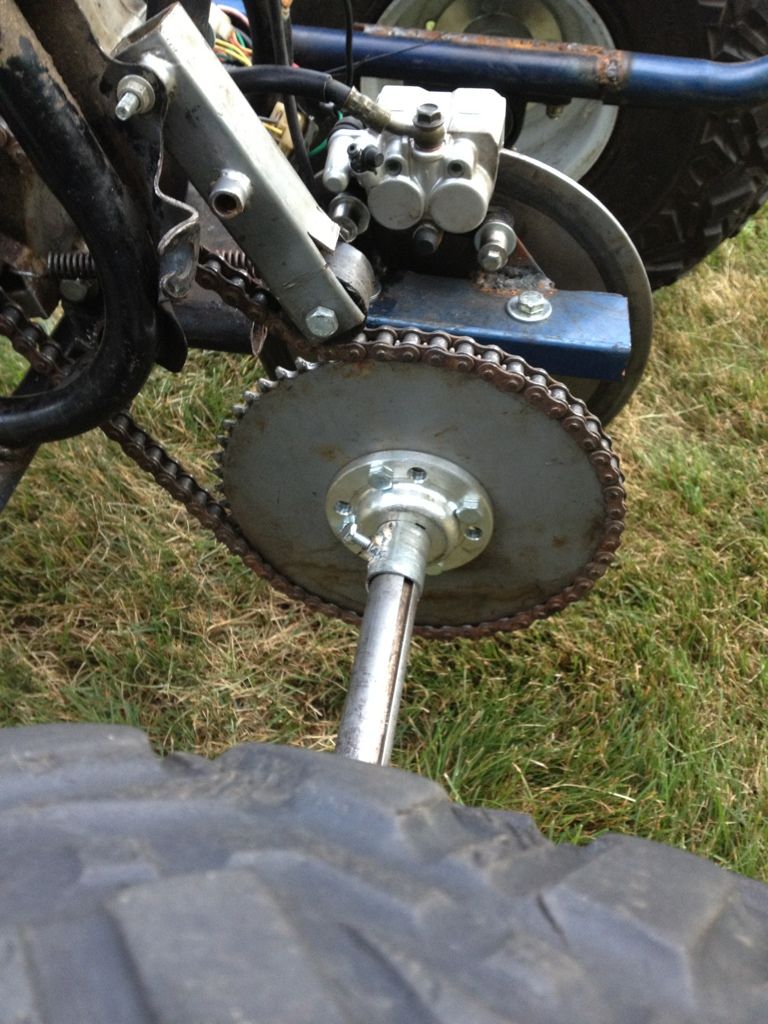 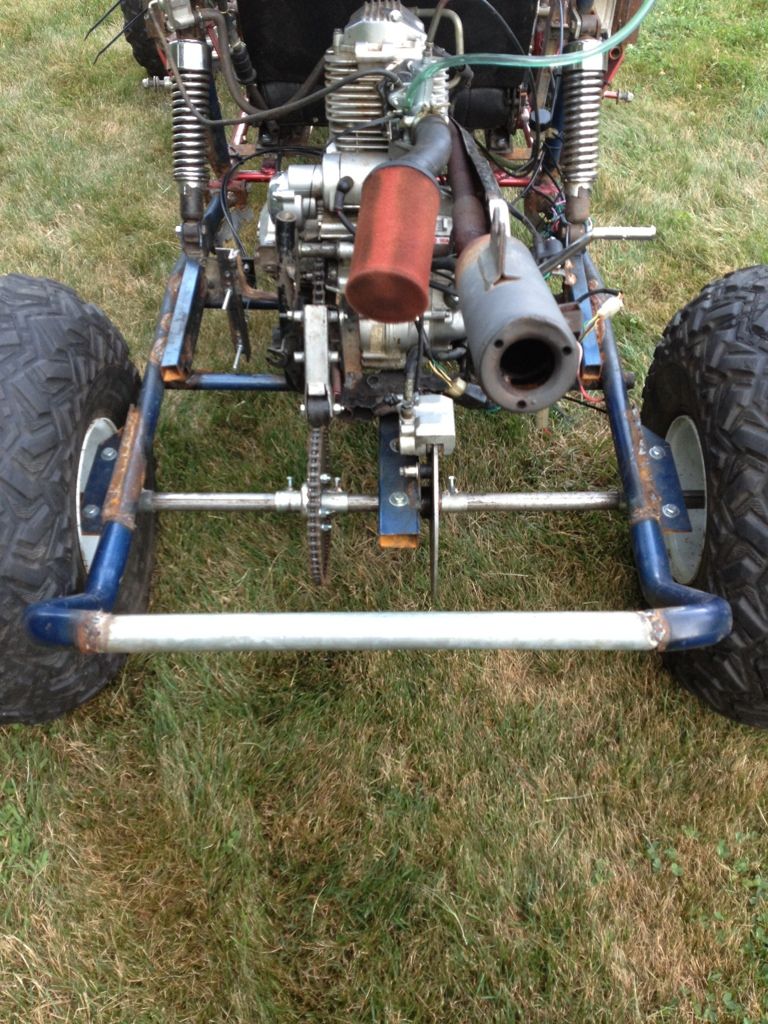
|
|
#66
|
||||
|
||||
|
Glad you got to drive it-
To bleed your brakes- the bleeder screw has to be the highest point on the caliper for it to bleed properly, right now it's not. Take the caliper loose,drop it down close to the ground and angle the bleeder screw up above the brake hose connection on the caliper,put something in-between the pads similar to the thickness of the rotor, then re-bleed |
|
#67
|
|||
|
|||
|
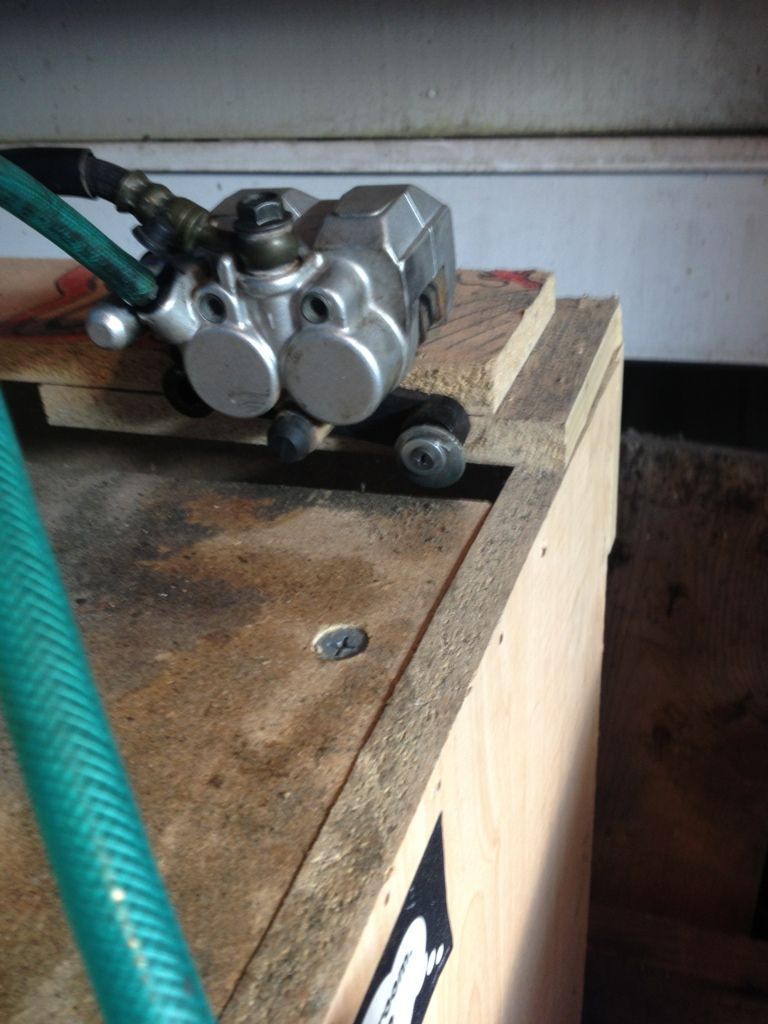
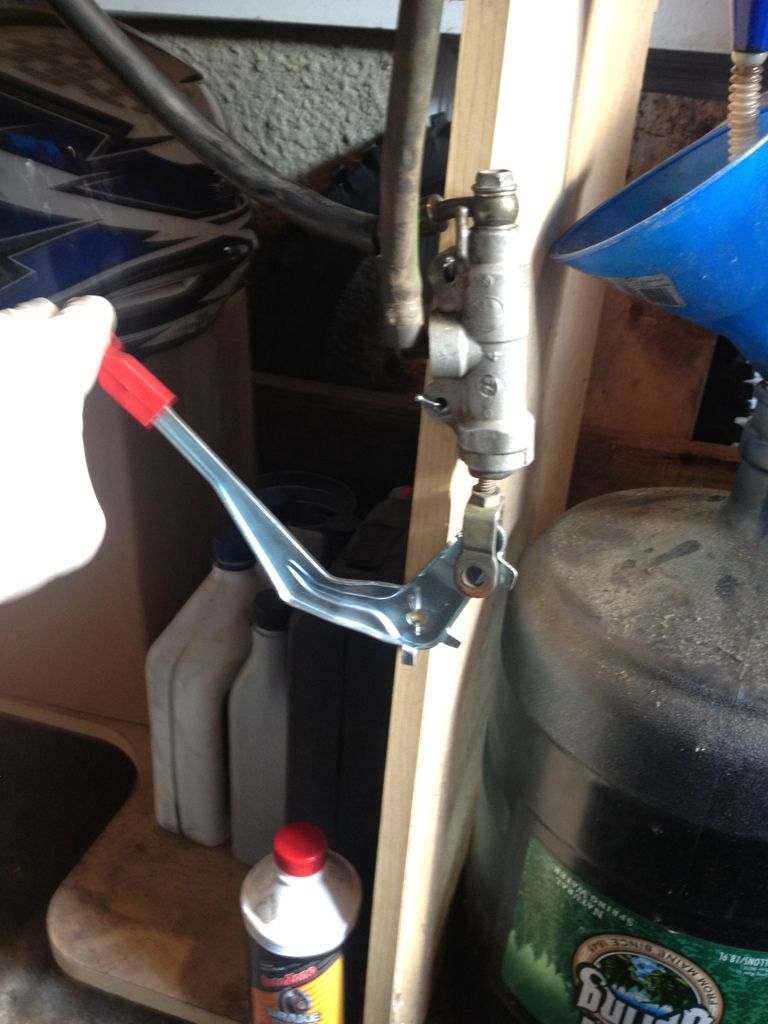
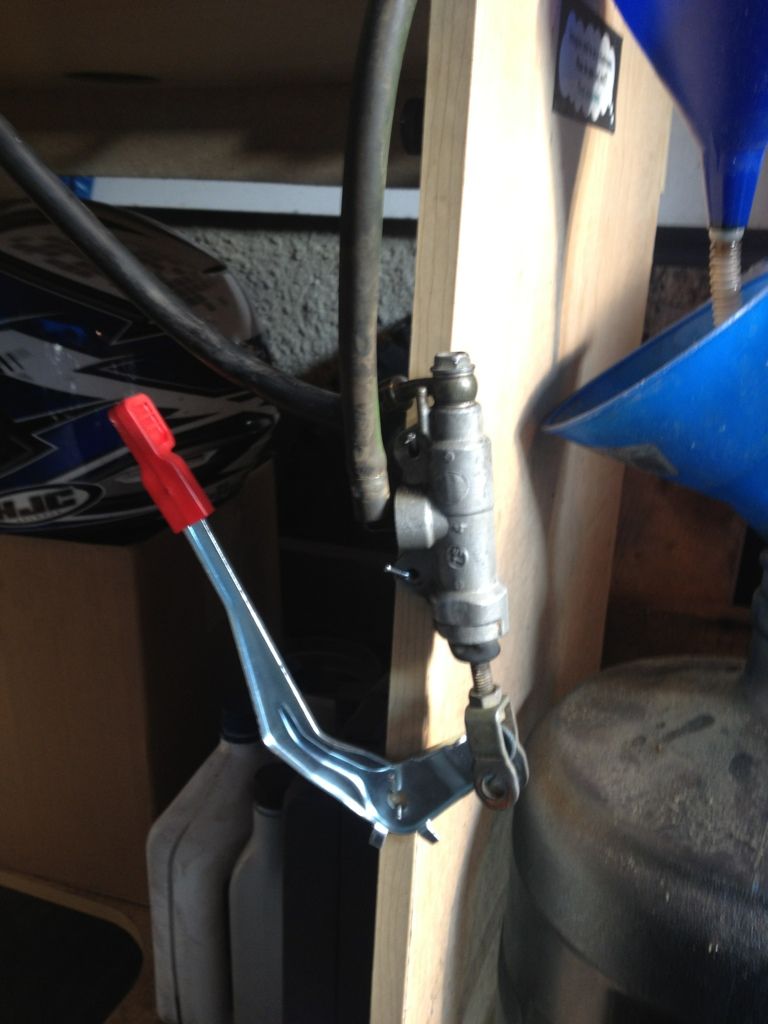
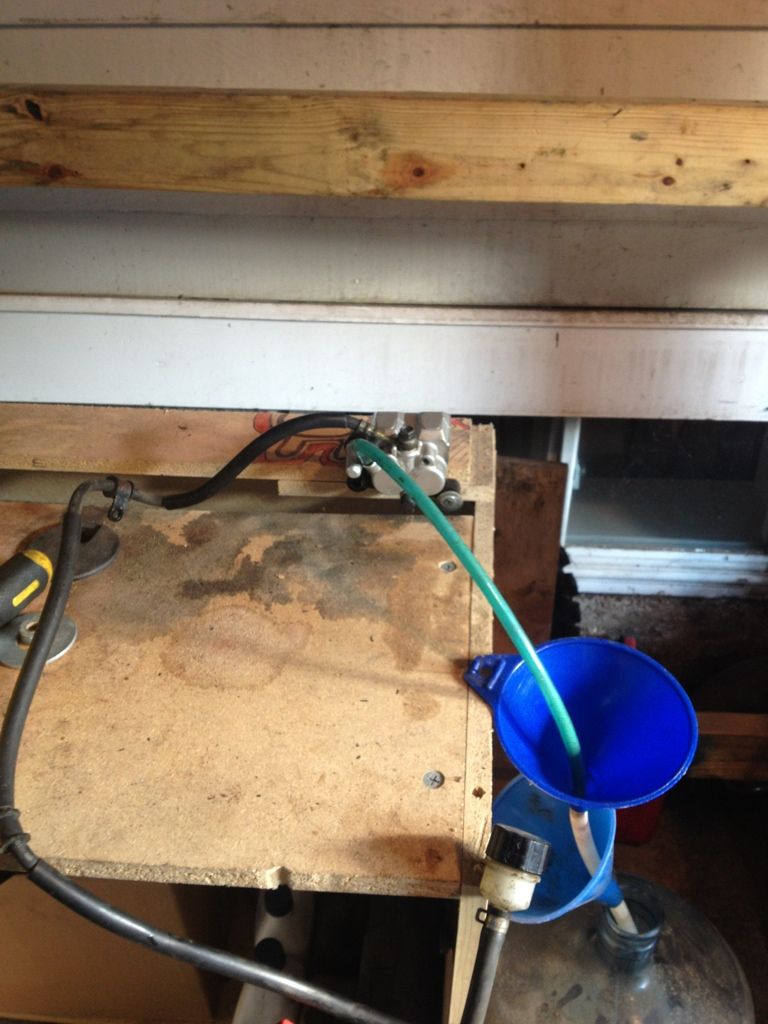
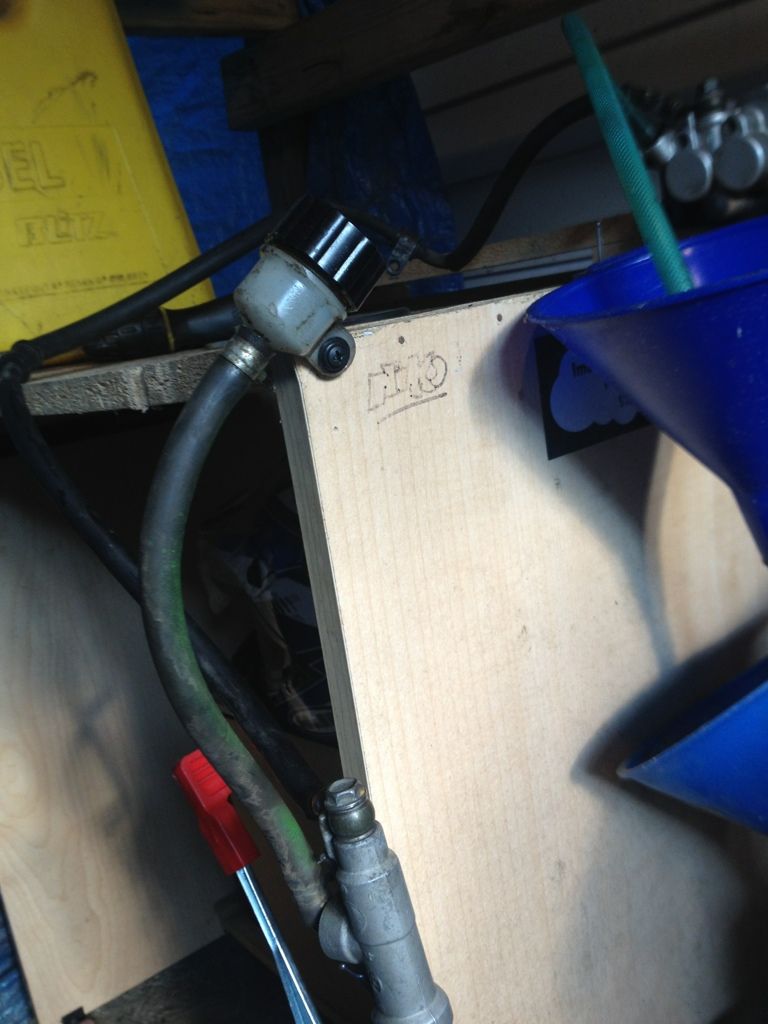
Set up my brake system to try and make it easy to bleed off the bug.. It worked great off the buggy but when i put it on it just wont squeeze the caliper i dont know what to do
|
|
#68
|
||||
|
||||
|
Let's get you moving in the right direction with this bench bleed!!!! "GRAVITY" is your friend!!
Items to mount- From highest to lowest items: master reservoir(not so high you can't re-fill it) master cylinder straighten brake line as much as possible- think like you're draining the system out the caliper caliper with the bleeder nipple(pointing up) being the highest point on the caliper(the caliper should be near the floor) You're backwards with the set-up(bench top) you have in the pic's and the caliper is still just like it was on the buggy- the bleeder nipple has to be highest point for the air to get pushed out of the bleeder nipple. Making sense??? |
|
#69
|
|||
|
|||
|
Yes metal if i understand correctly make the cup my highest position. Second have the nipple on the caliper right below the cup then try bleeding again?
|
|
#70
|
||||
|
||||
|
Almost!!! Top to bottom
cup master cylinder (this needs to be high enough for the brake line to let the fluid flow down into the caliper, no upward bends that can trap air) caliper(again angle the bleeder nipple up above the brake line connection) |
|
#71
|
||||
|
||||
|
Here's a very quick diagram!!!! maybe this will help!!!
|
|
#72
|
|||
|
|||
|
Matal thank you so much for helping me out with that ill try it again hopefully this time with some success!!
|
|
#73
|
|||
|
|||
|
Tried bleeding the brakes again new set up.. Now the sort of work they slow me down but still dont squeeze the disk the way i want and its really turning into a pain in the a$$!
Also went for a little ride and made a video after i made the little video i went for one last lap around the block and decided to break the rear end loose in some sand well that all worked out great till my tire caught the pavement and i had my first roll over!! Im so surprised in my cage because it held up 10x better than i expected and left me harmless and let me tell you it was a pretty hard hit! Checked the frame no cracks no bends!! Now time for some seat belts! 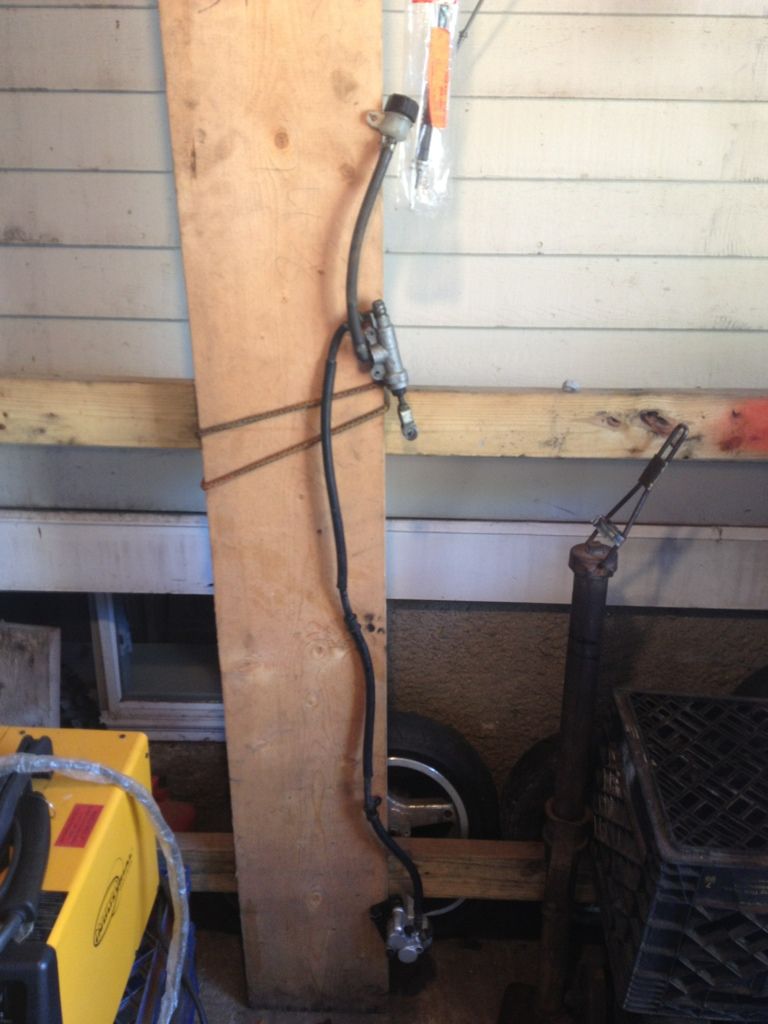 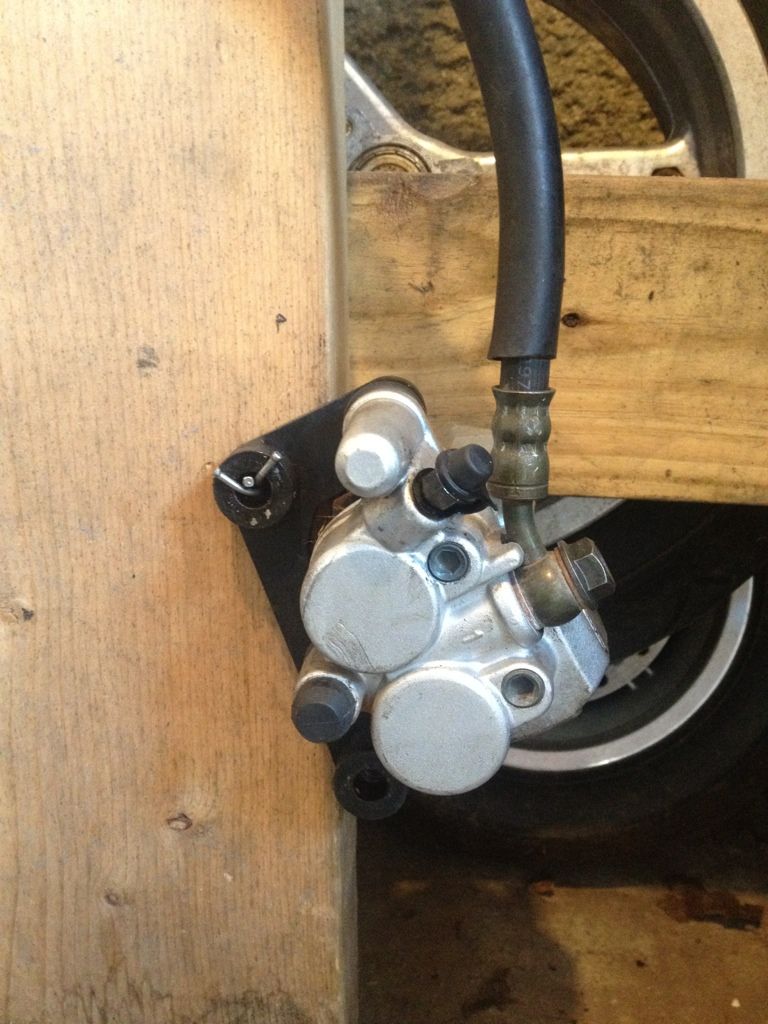 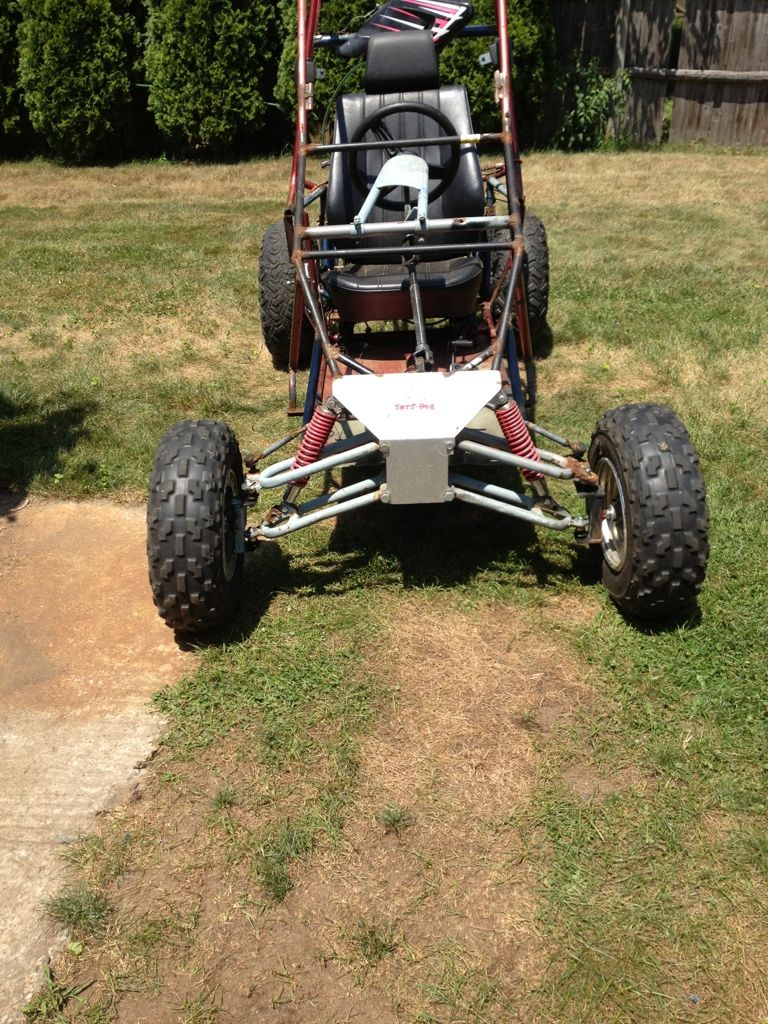 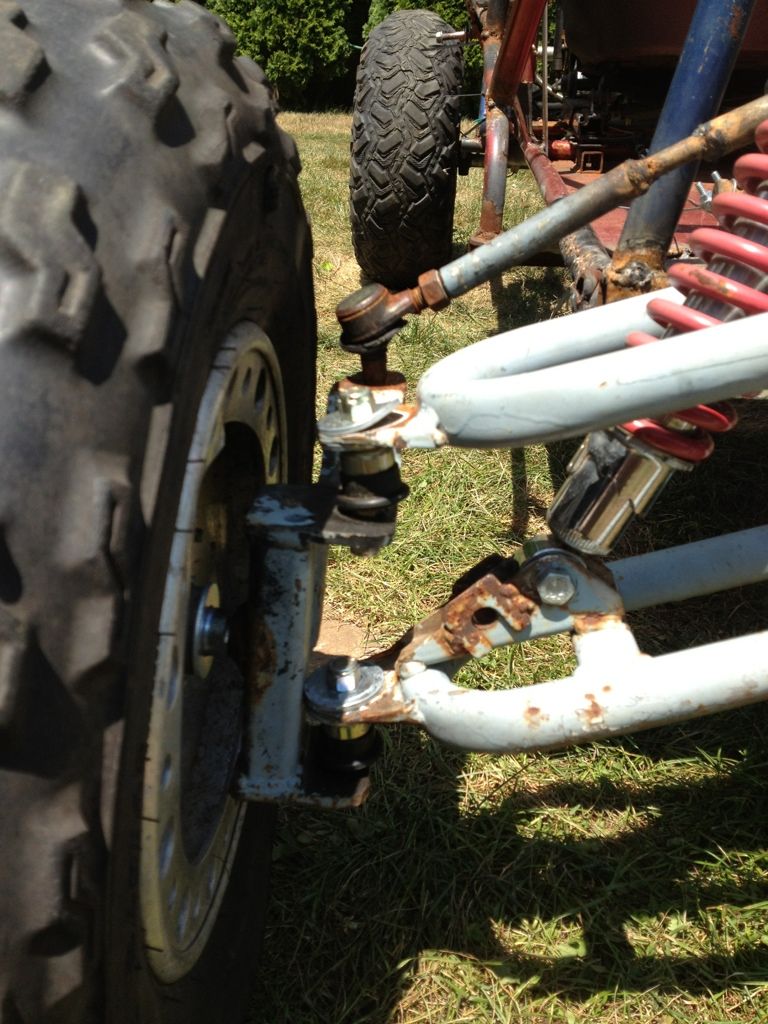 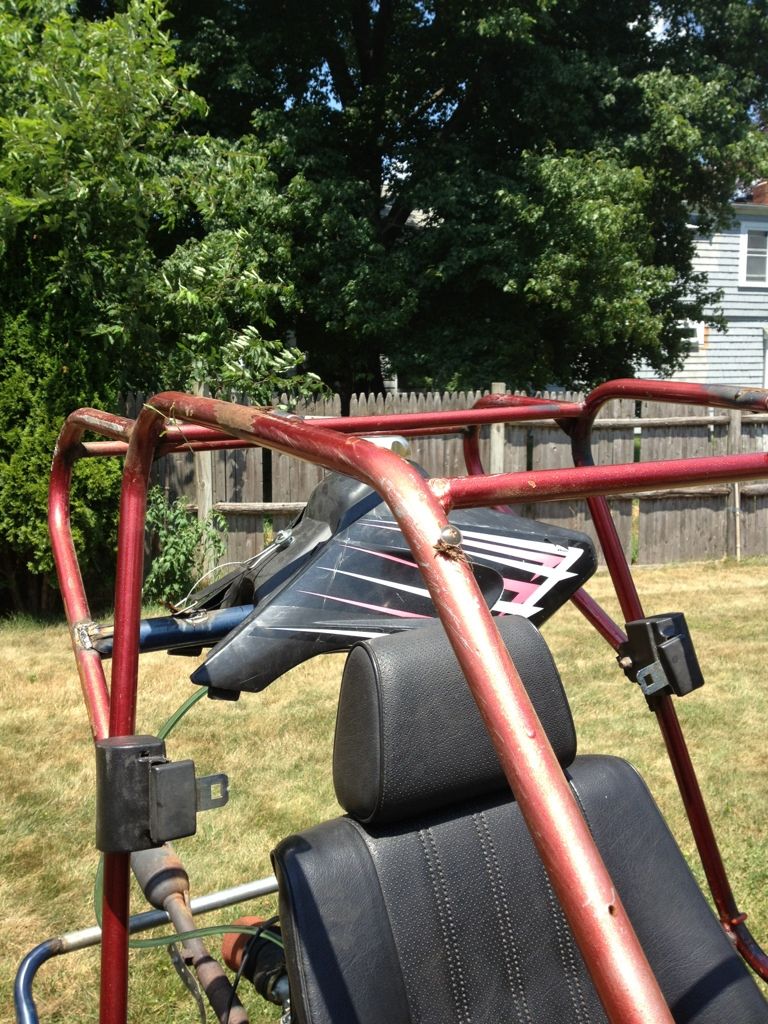 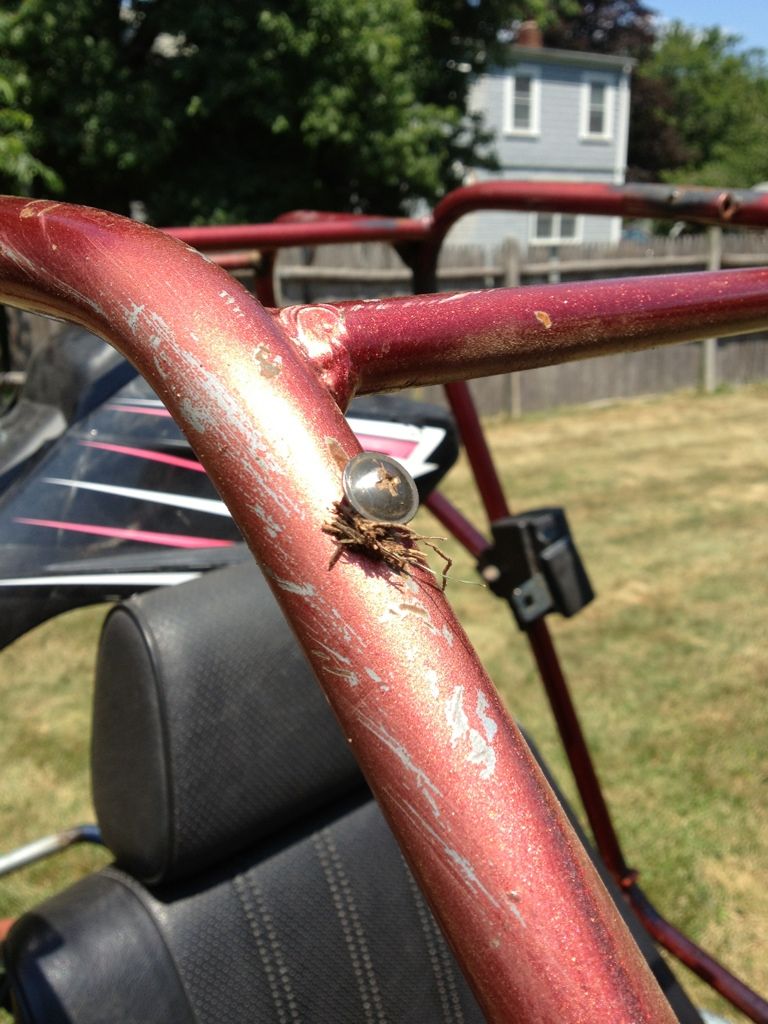 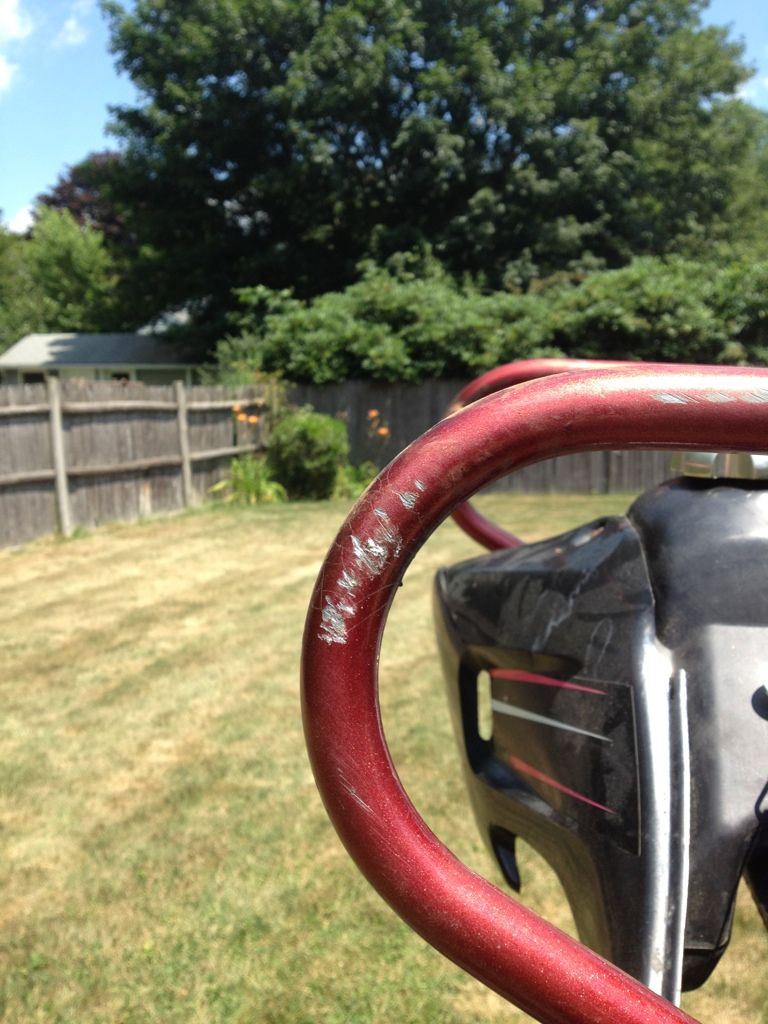 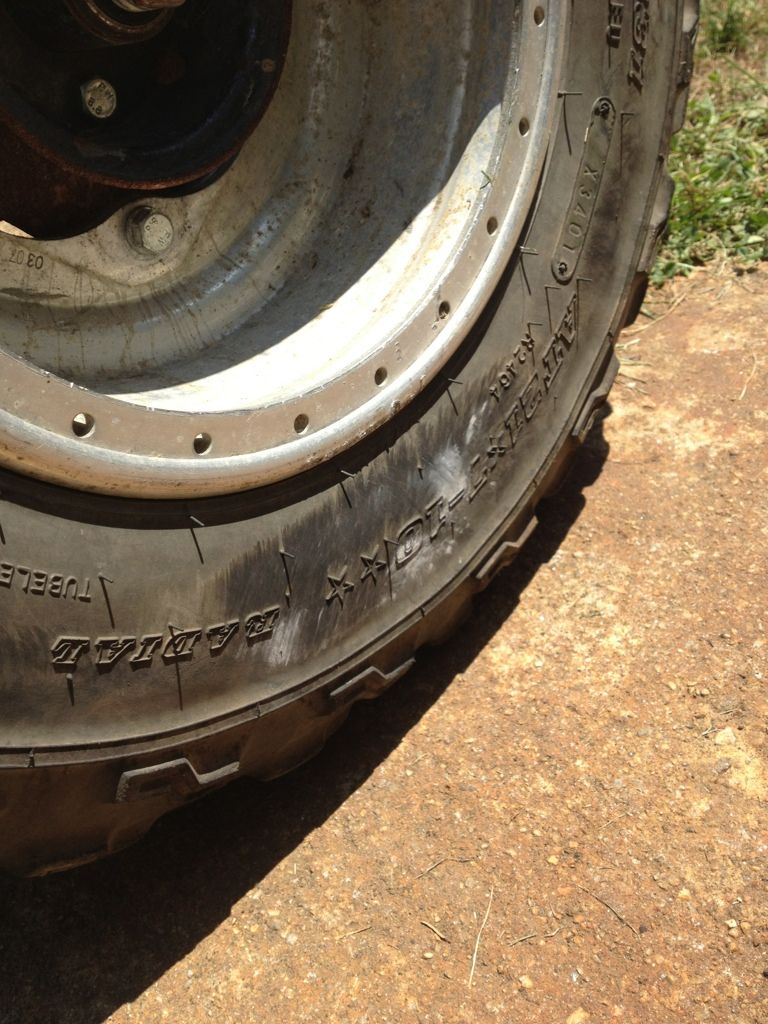 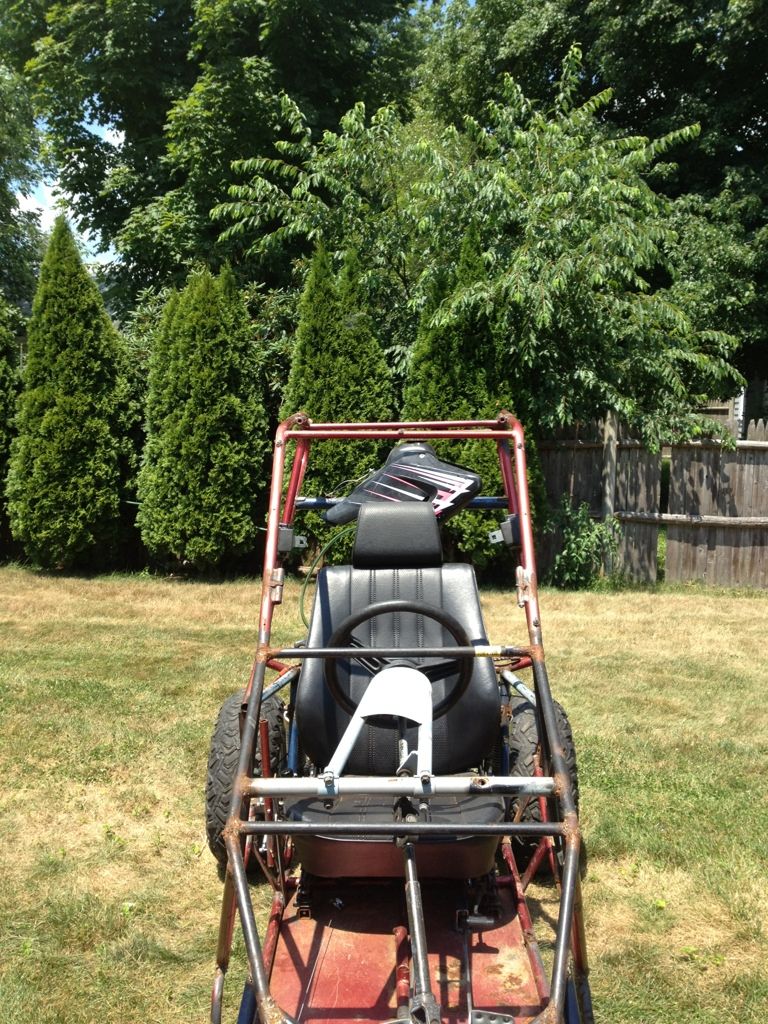 Sorry for the crappy iphone vid http://youtu.be/_P5F-ykWJw0 |
|
#74
|
||||
|
||||
|
Happy to hear your roll-over wasn't too bad & nothing broke. Why did you say "now for some seat belts"? you already have some!!!
brakes- did you open the piston/pistons all the way?remove caliper from mount- use a c-clamp and compress/open the piston till it's even with the metal opening (watch the rubber boot to avoid damage) to verify it's free-d up- or just close them all the way with the brake pedal and pry it back open enough to fit over the disk rotor again. Your vid was good- sounds like it runs well, does it run that good @ higher rpm's? |
|
#75
|
||||
|
||||
|
congrats on getting it up and running... time for a little fine tuning and a little paint and hopefully it will hold up to some abuse!
__________________
T.J. Yerfdog Spiderbox, Uni Type air filter with 6" intake, 130 jet, Orange no-rev limit cdi, Red coil, iridium plug, 1500rpm clutch springs, 1500rpm contra spring, 13g sliders, 22" rears, 21" fronts, aftermarket reverse installed, and Trailtech Vapor. |
|
#76
|
|||
|
|||
|
When i bled them this time i did not push the pistons back all the way i just put a screw driver and carefully pried them open almost all the way but i know the caliper is not frozen. For the seat belts im ordering one of those 4 point harnesses from ebay i dont trust the crappy ones i got. The engine runs great the only problem i know it has is the baffle or spark arrestor is missing from the exhaust and i feel like it dosnt have necessary back pressure to cold start.. and its anoyingly loud i want it quiet or good sounding maybe later on i can find a used performance exhaust like an fmf or some sort but for now im putting a honda muffler on it and definatly mounting the exhaust better its only like this so i can test it out. Still alot to come and by the way thanks for the compliments, criticism, help, and support!
|
|
#77
|
|||
|
|||
|
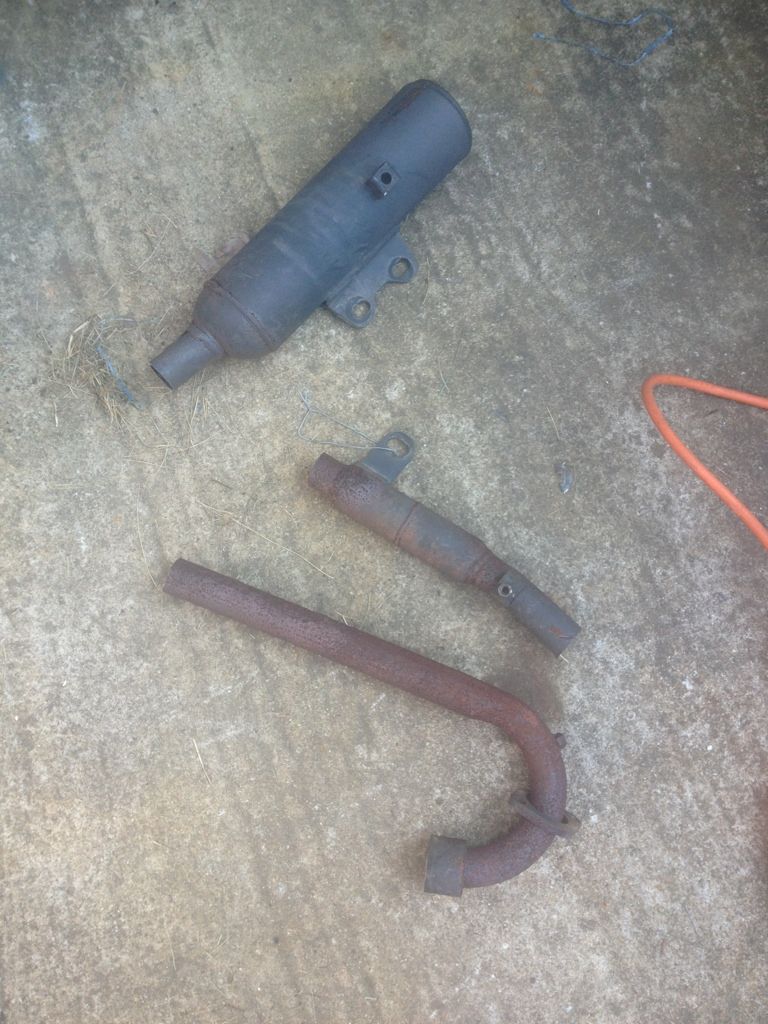
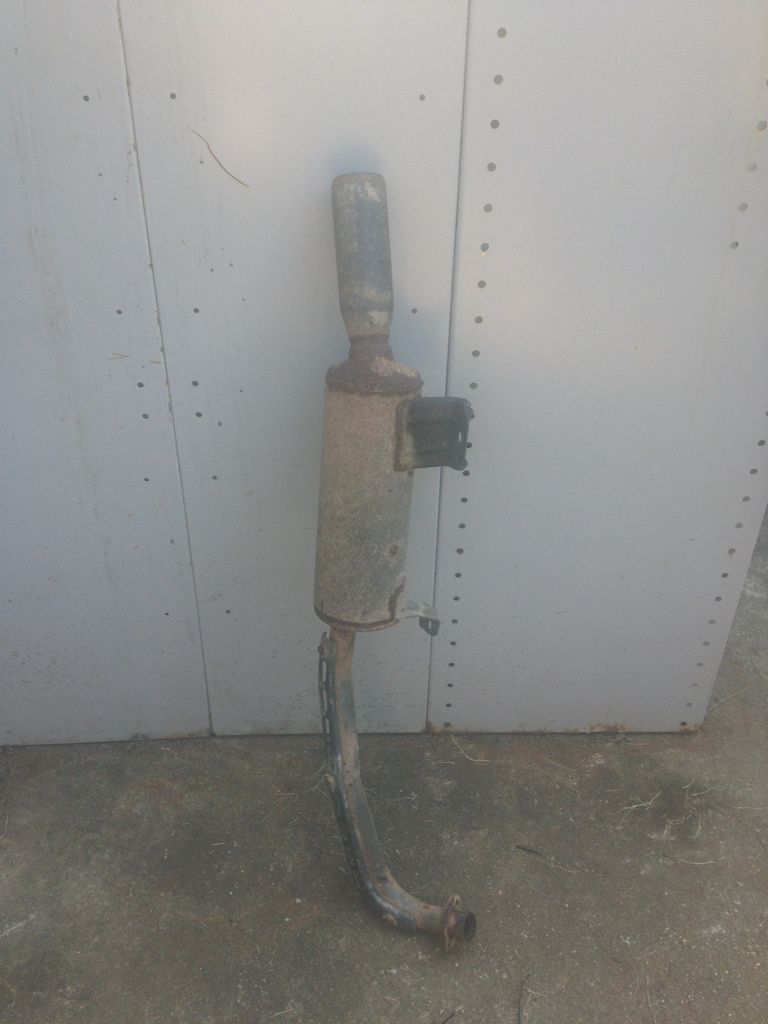
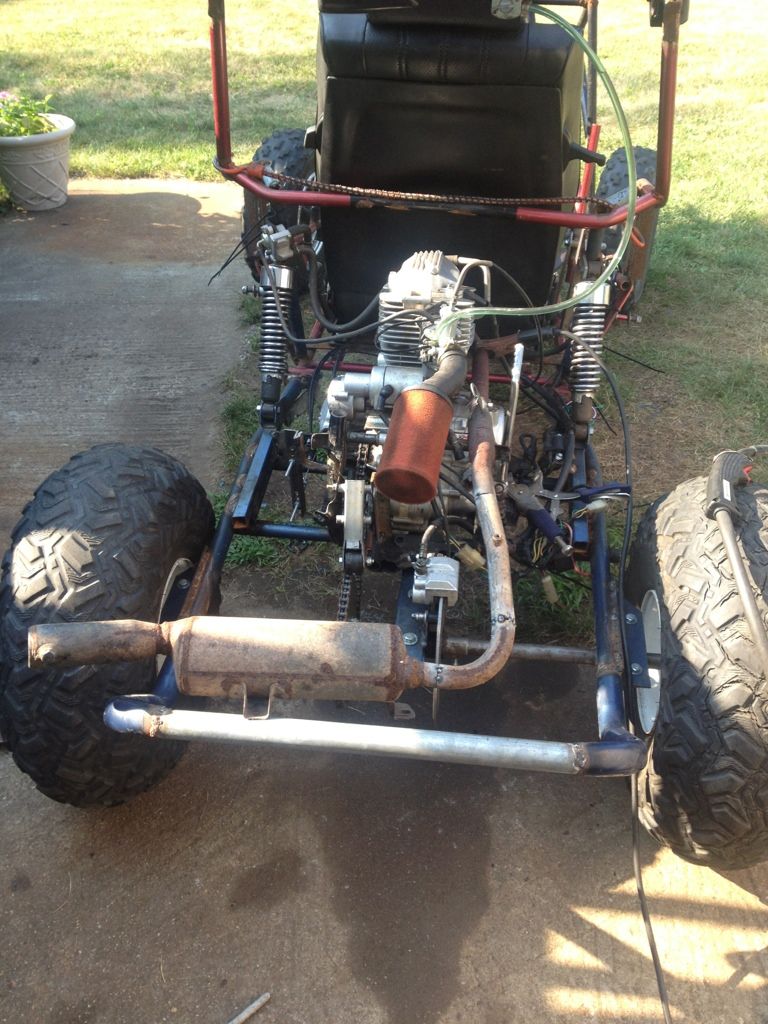
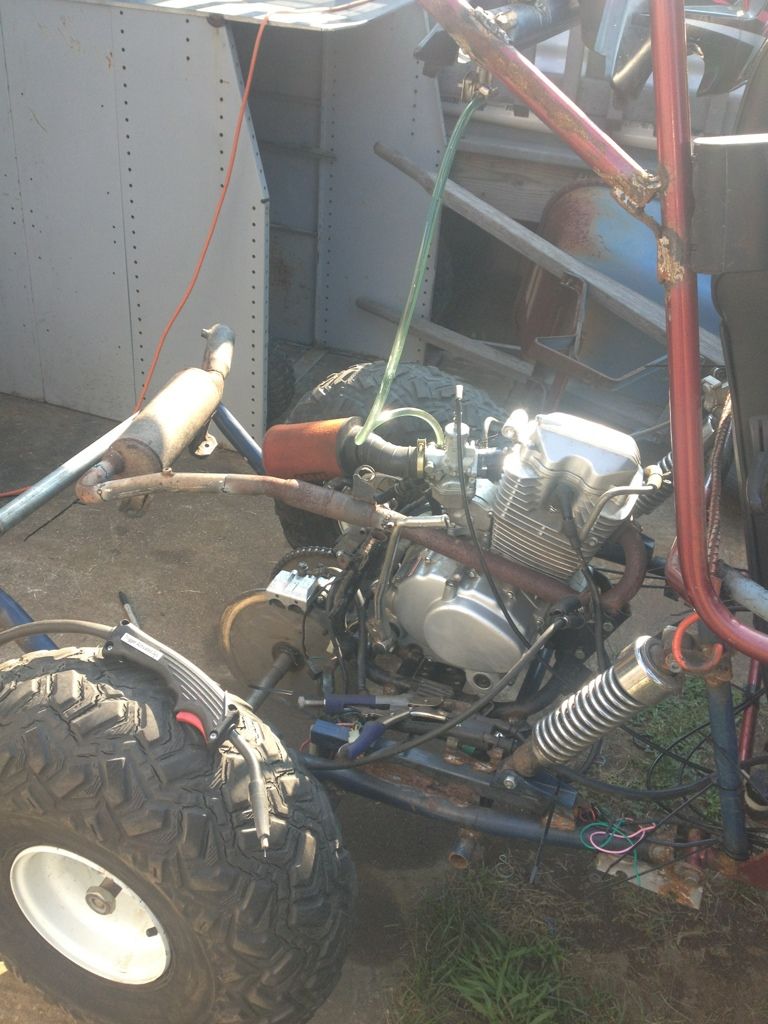
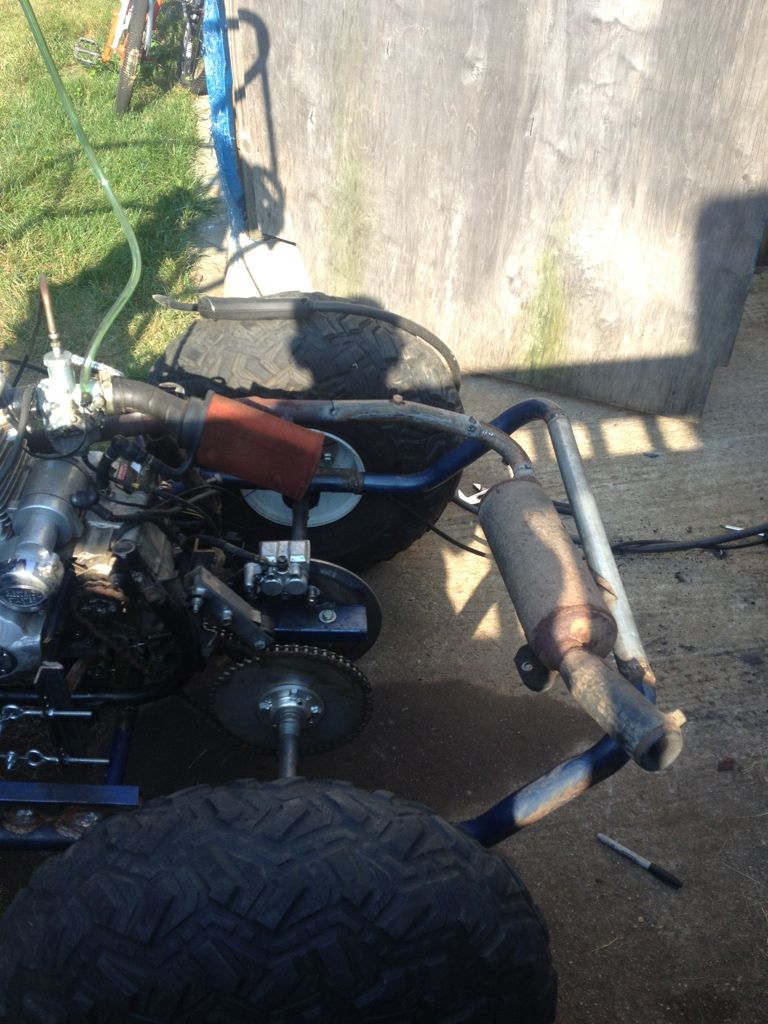
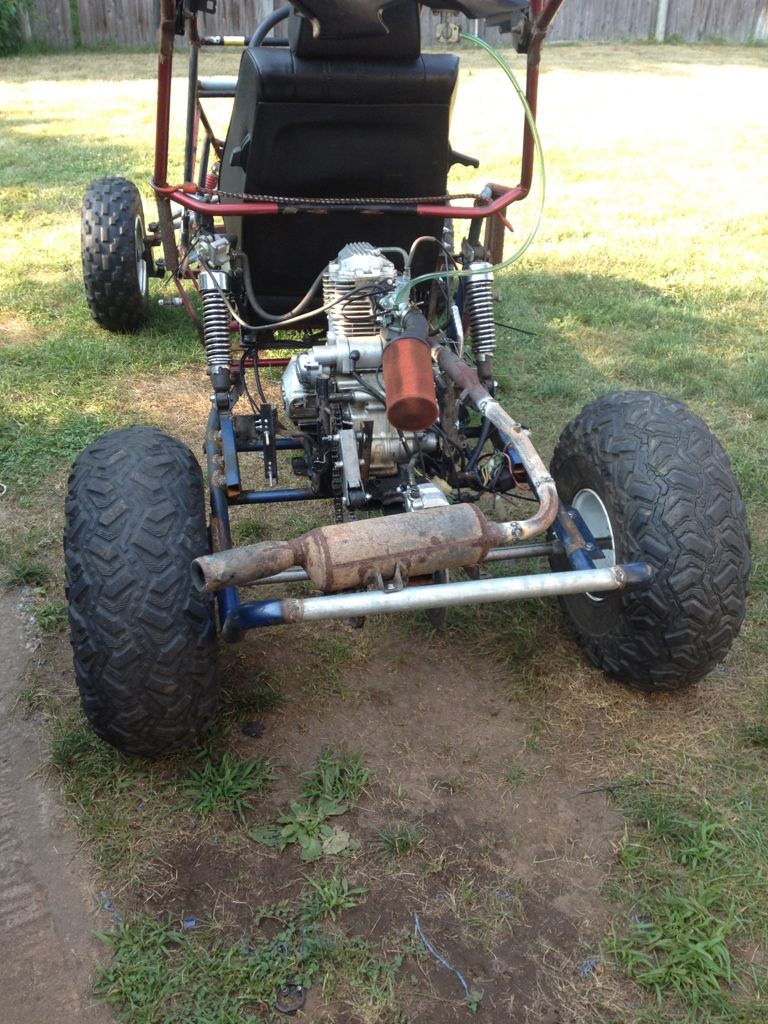
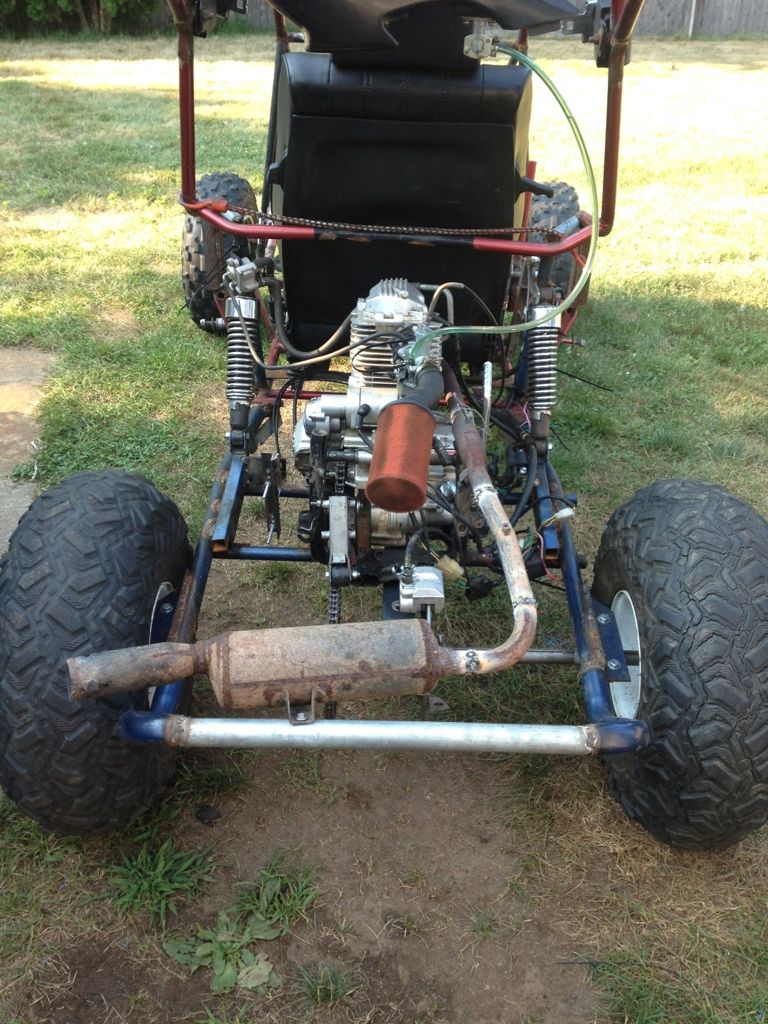
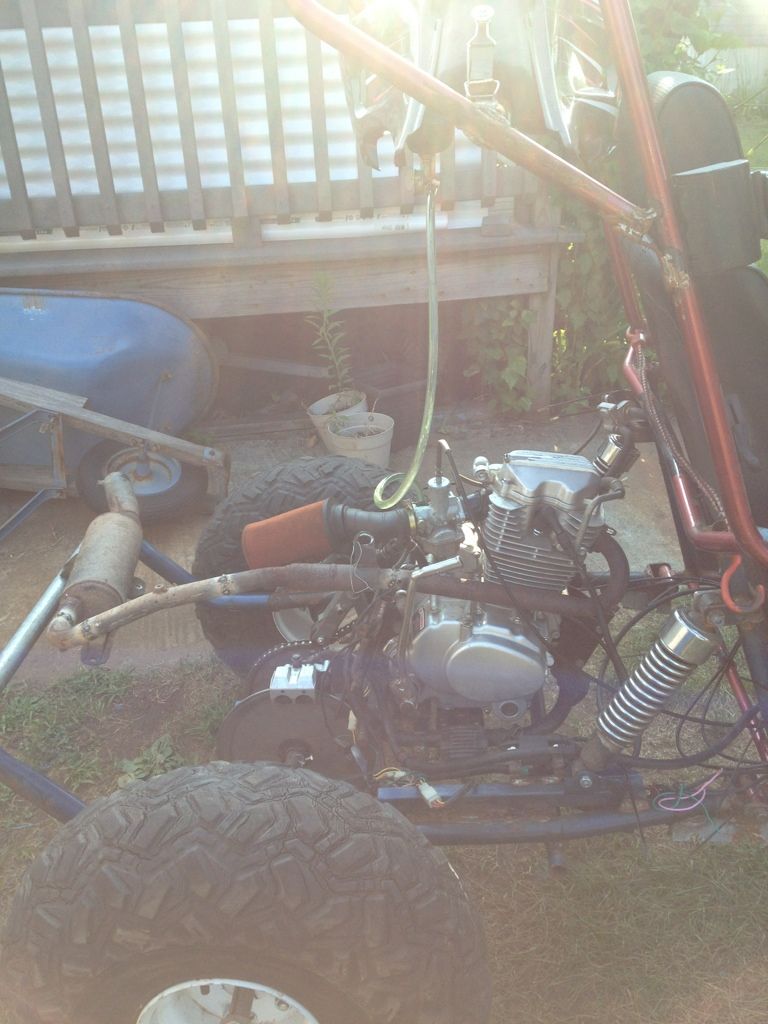
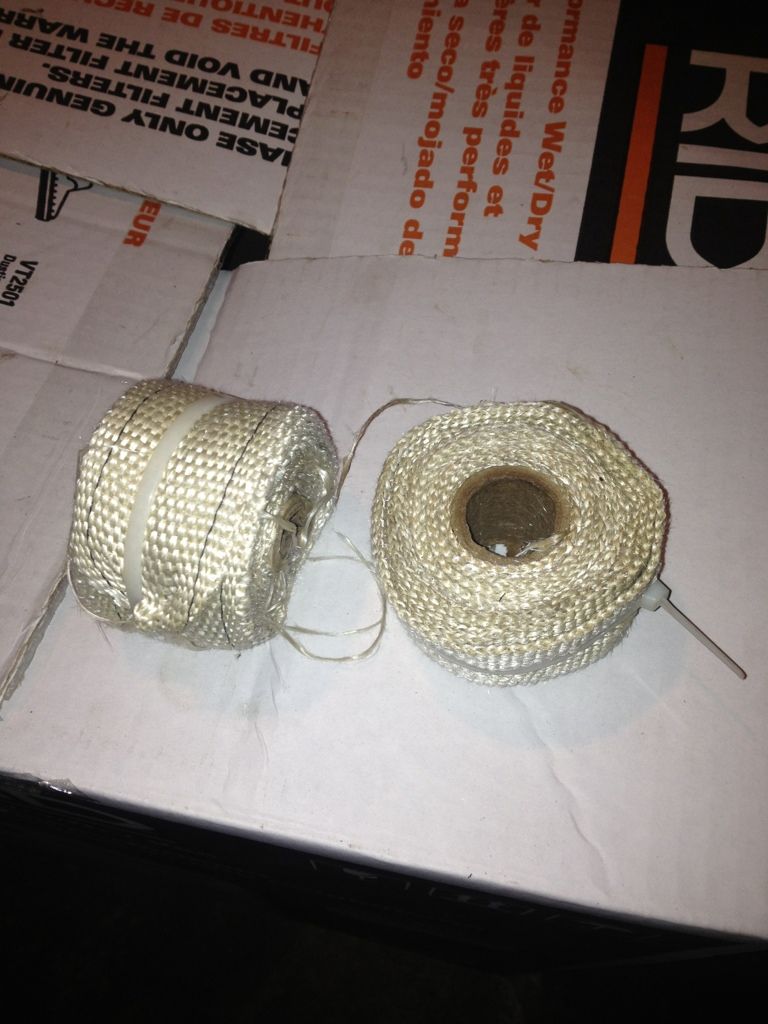
I made up my exhaust to quiet it down and it is so much better!! Also it helped the starting as i hoped the back pressure would help the cold starts. The new portion of the muffler is from a 86 trx125 same diamiter tubing and i dont feel a performance decrease what so ever so in the end i am very happy with it! Only took 20min too! But im not going to leave it like this i got alot of header wrap for free from a friend so i am going to wrap it and then paint it with the high heat silicone paint he gave me to go with it in the end should look good! now i am waiting on my hubs and rims from bmi so i can finally ride this thing with out the front end going crazy cause of the bent rim i have. I hope you like it!
|
|
#78
|
|||
|
|||
|
|
|
#79
|
||||
|
||||
|
The TRX 125 muffler is the same as the TRX 200 so you wouldn't see or feel a change, good choice as they're solid mufflers. Why are you going to wrap the pipe? I also see your disk rotor is nice and shiney now!- are the brakes working better or are they rubbing?
|
|
#80
|
|||
|
|||
|
Im wrapping it because i think it looks cool haha and i have alot of header wrap so why not! They are barely working just enough to sort of slow it down but i just down shift to slow down. I need to flush the whole system out hopefully that will help me
|
|
#81
|
||||
|
||||
|
Sorry but this is my last visit to your thread- 103K & 240 pic's to download takes TOO much time and cache on the ole computer- good luck!
|
|
#82
|
||||
|
||||
|
Yeah, there is a lot of pics!
Your engine must be hard mounted, because if there is any movement from it, the header may break because the muffler is attached to the swingarm and not the engine.
__________________
T.J. Yerfdog Spiderbox, Uni Type air filter with 6" intake, 130 jet, Orange no-rev limit cdi, Red coil, iridium plug, 1500rpm clutch springs, 1500rpm contra spring, 13g sliders, 22" rears, 21" fronts, aftermarket reverse installed, and Trailtech Vapor. |
|
#83
|
|||
|
|||
|
well its all on the swing arm and the muffler is bolted with a thick rubber washer so i think it is a bit of insurance of it breaking but i think its fine beacuse i rode it a little hard when i put it on to see the loudness and it all stayed intact
|
|
#84
|
||||
|
||||
|
echoing msm's comment, this is a difficult thread because of the way the [pics are loaded. i usually click this thread, open another browser window and continue reading threads on that one while this loads. one thing you can do when you have a lot of pics is to clip them into a movie and youtube it. anyway, glad to see it's holding up--looks like a fast ride. you've got a lot of open sharp edges around you, I'd start working on cleaning up some of those just to be on the safe side ...
|
|
#85
|
|||
|
|||
|
Say is it possible to get some close up pics.of the first rearend with the encine block on it.
__________________
 [SIGPIC] Take What You Have and Build What You Need [SIGPIC] Take What You Have and Build What You Need
|
|
#86
|
|||
|
|||
|
Sorry zapper but i have scrapped the old rear end all i have are the pics shown.
|
|
#87
|
|||
|
|||
|
Say thanks just can't see anything in the pics.Wanted to see how you set it up to use on a build.
__________________
 [SIGPIC] Take What You Have and Build What You Need [SIGPIC] Take What You Have and Build What You Need
|
|
#88
|
|||
|
|||
|
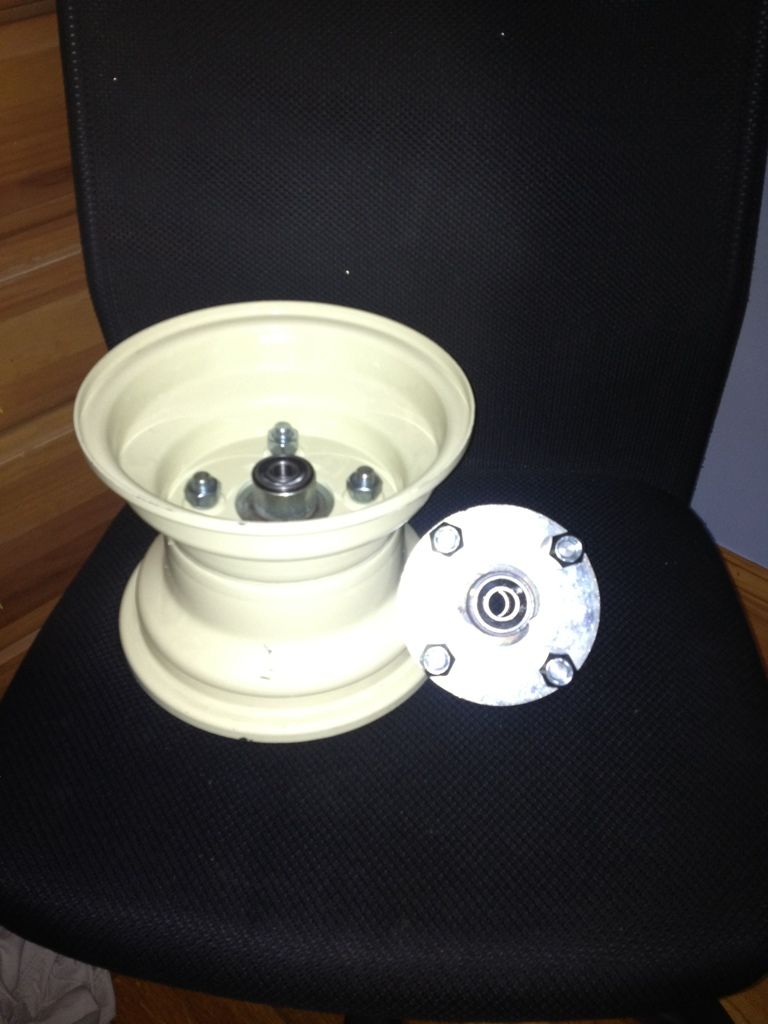
Got my new parts in well almost i got my two hubs from bmi and one of my two rims. I got a great deal on the rims $36 for both onn ebay but both had two different tracking numbers and my second one should be arriving tommorrow. Any way once i have some free time ill swap the tires from the other rims and put them on here! Yay no more bent rims!!!
 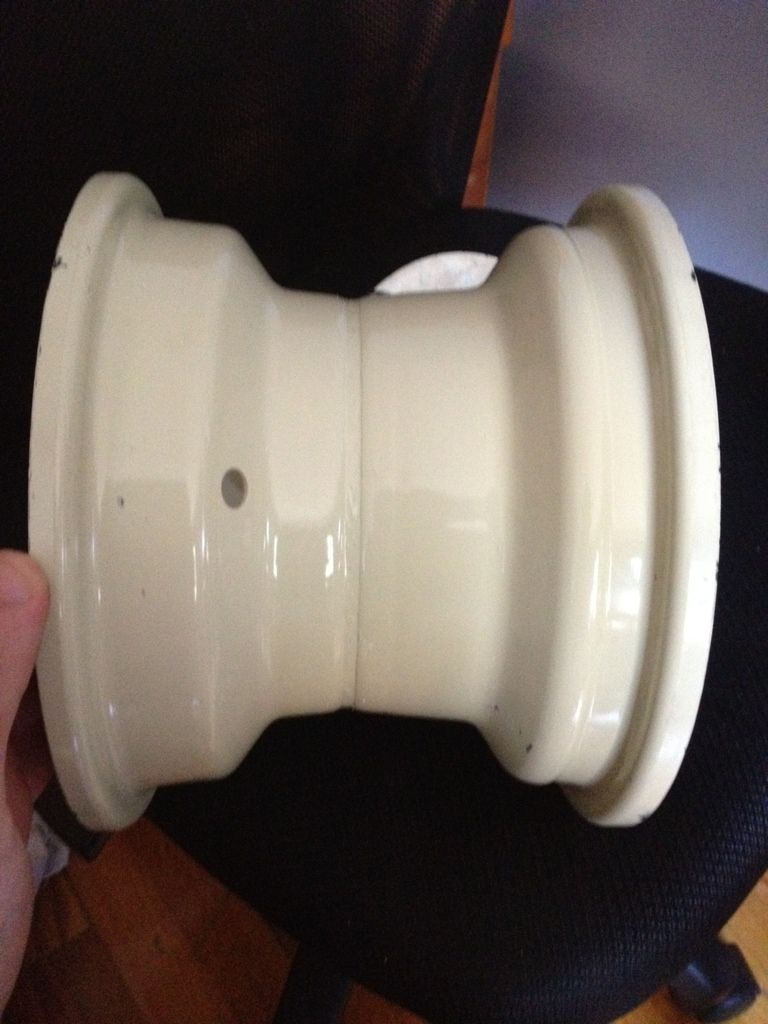 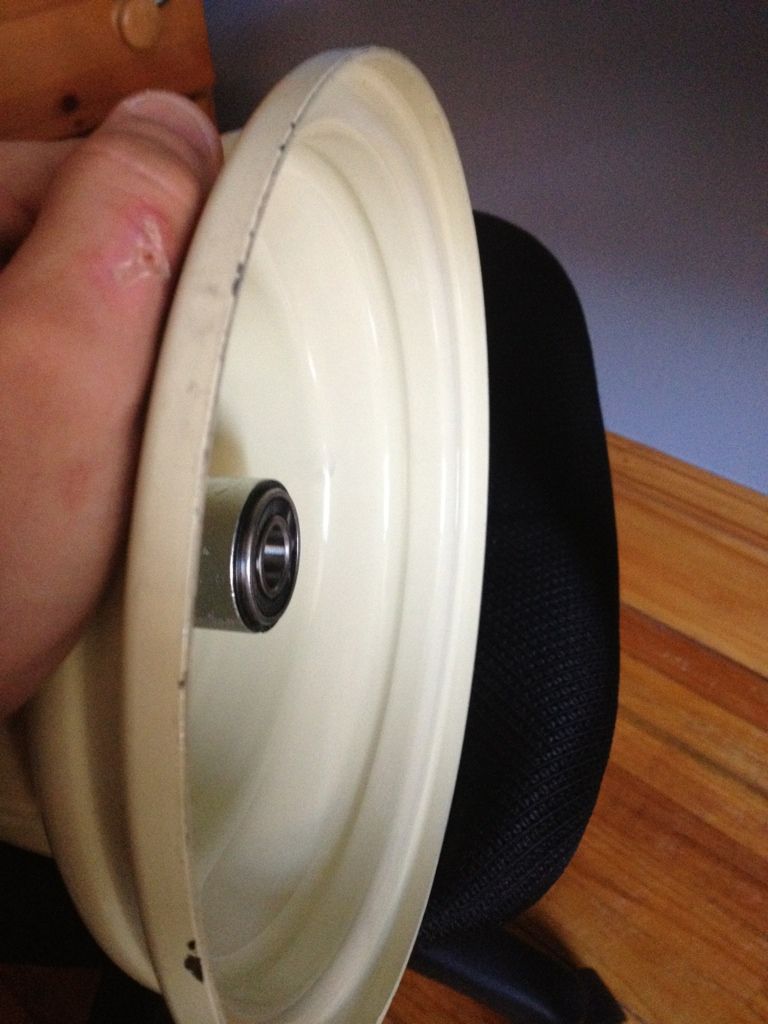 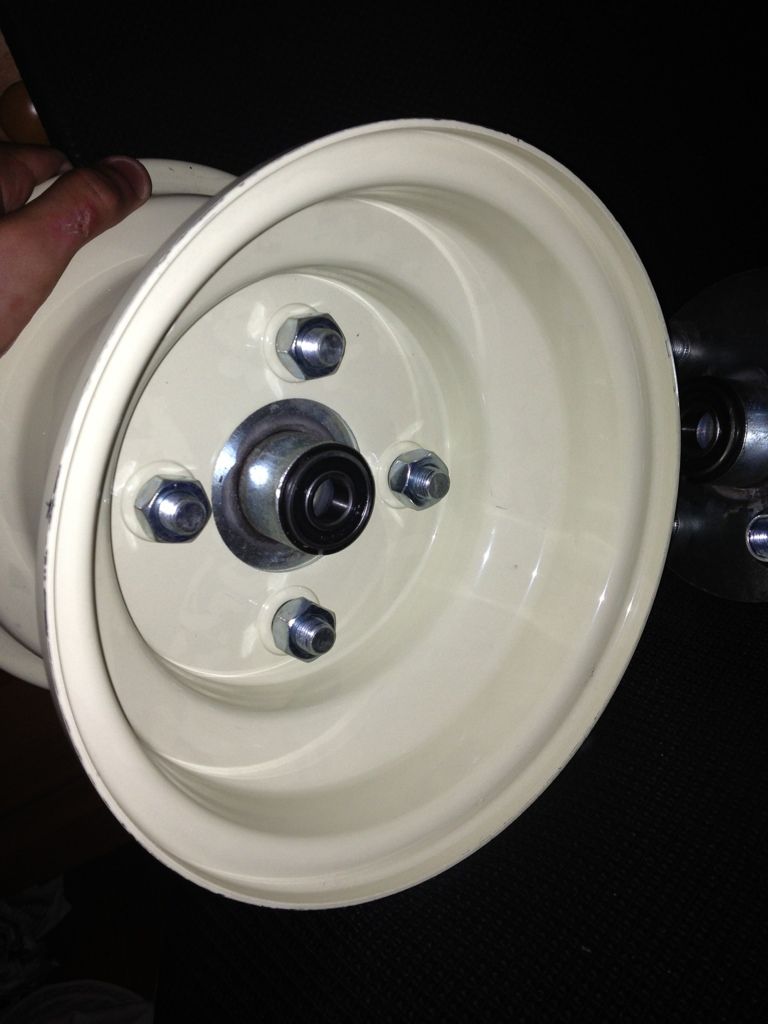 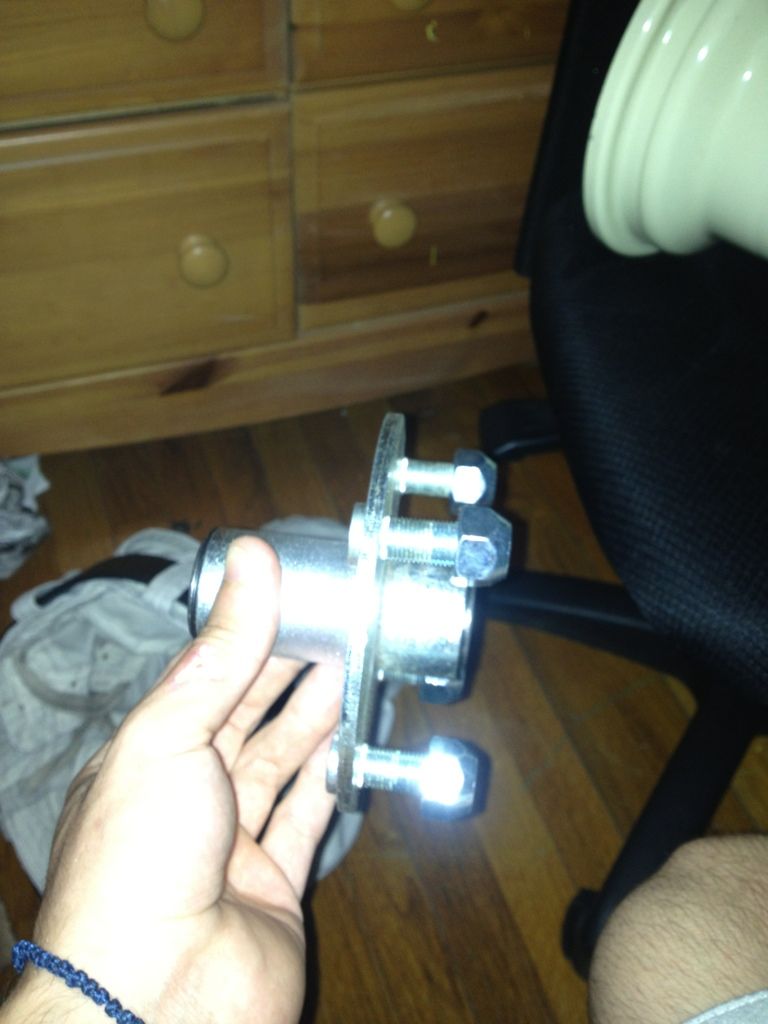
|
|
#89
|
|||
|
|||
|
I fixed my poorly designed throttle set up and i am way more pleased with the new design fairly easy. I am still waiting for my tires to get mounted on my front rims but i took it for a real drive today in the trails and field and only flaw is my chain tensioner but thats an easy fix
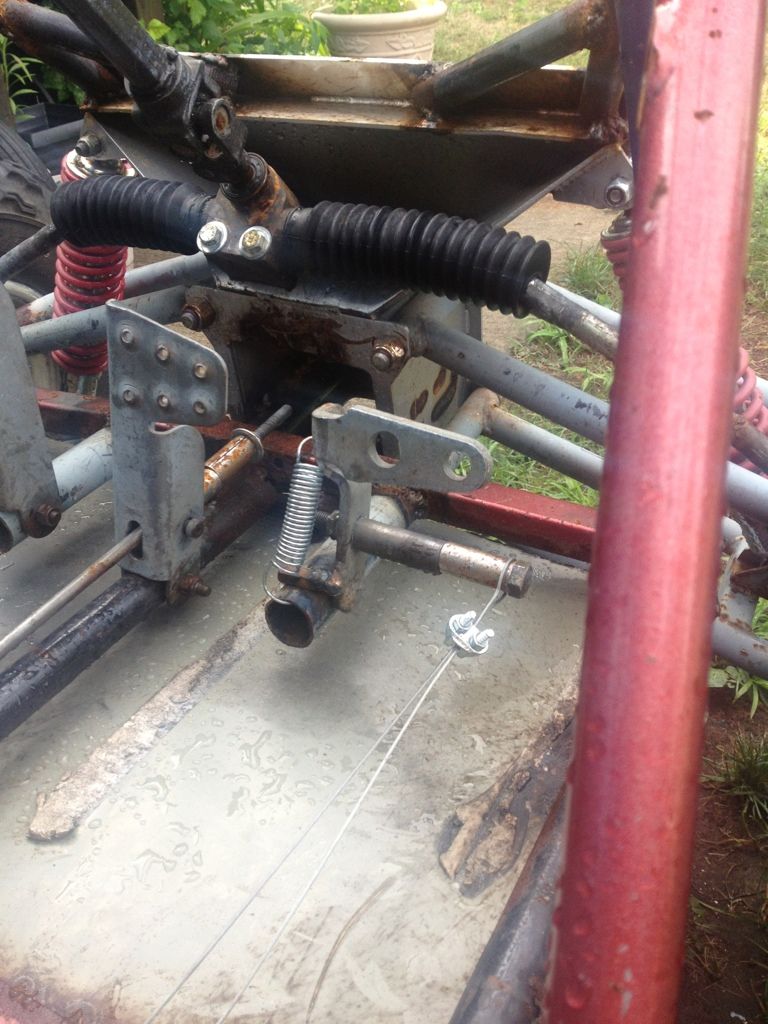 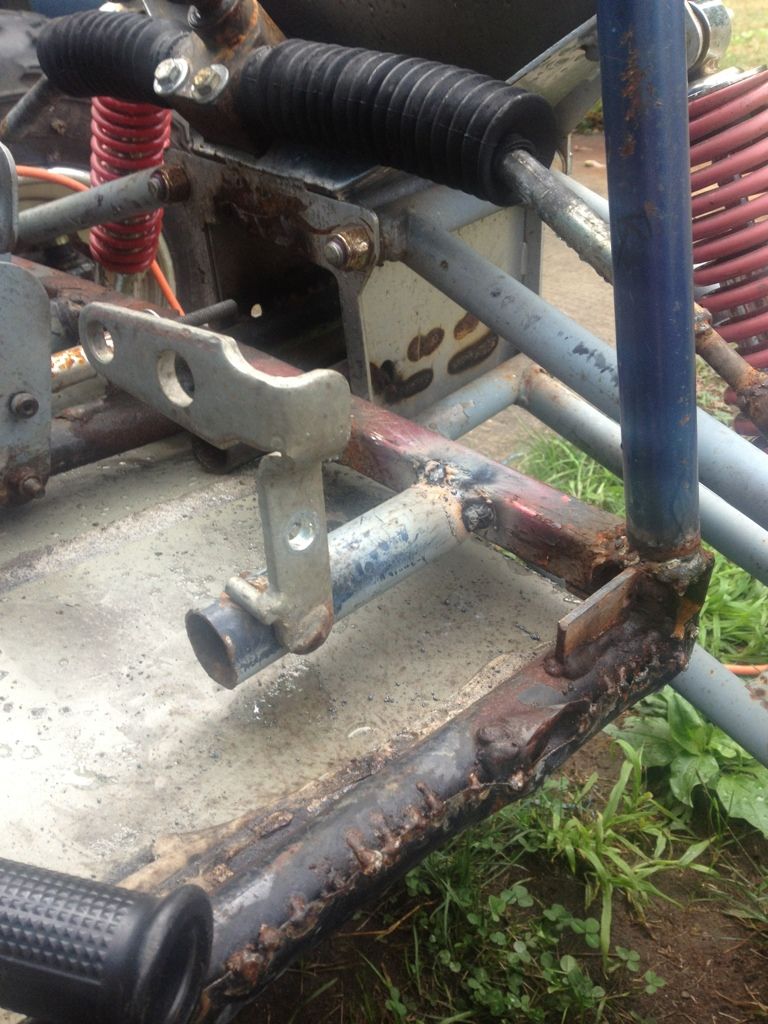 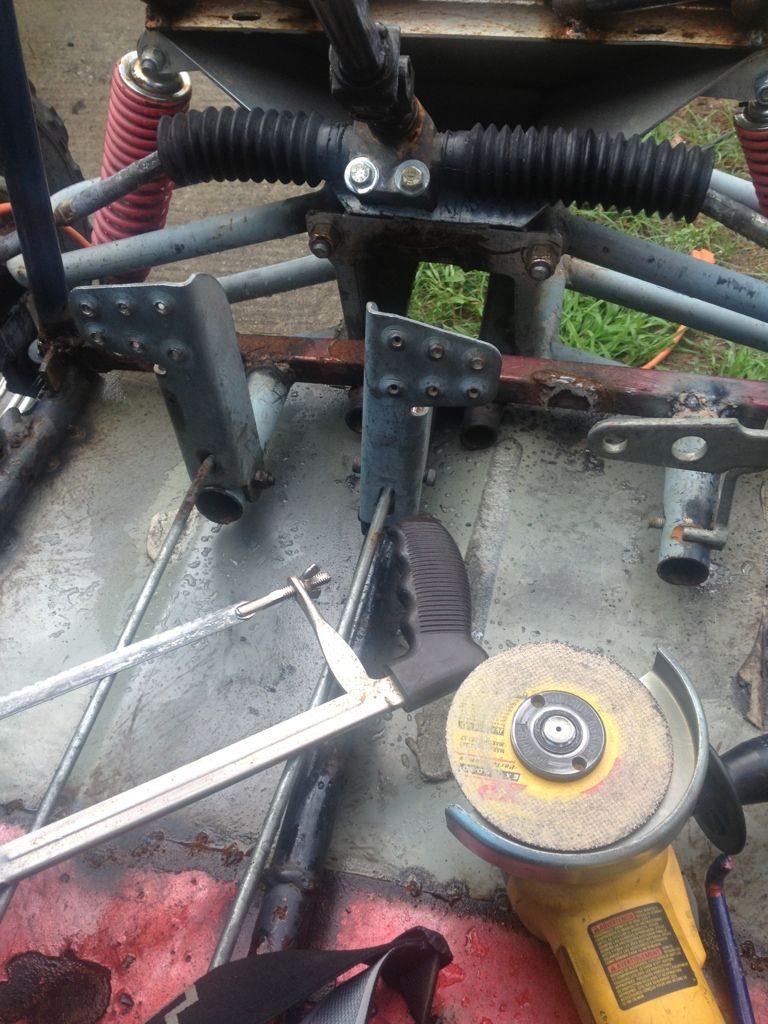 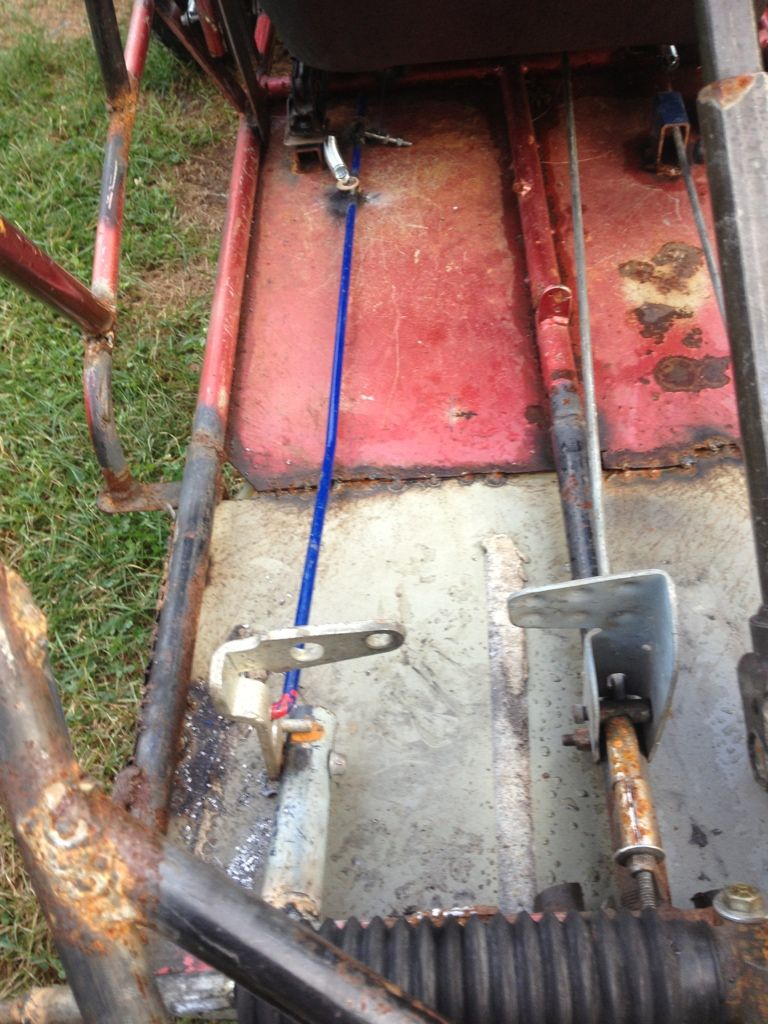 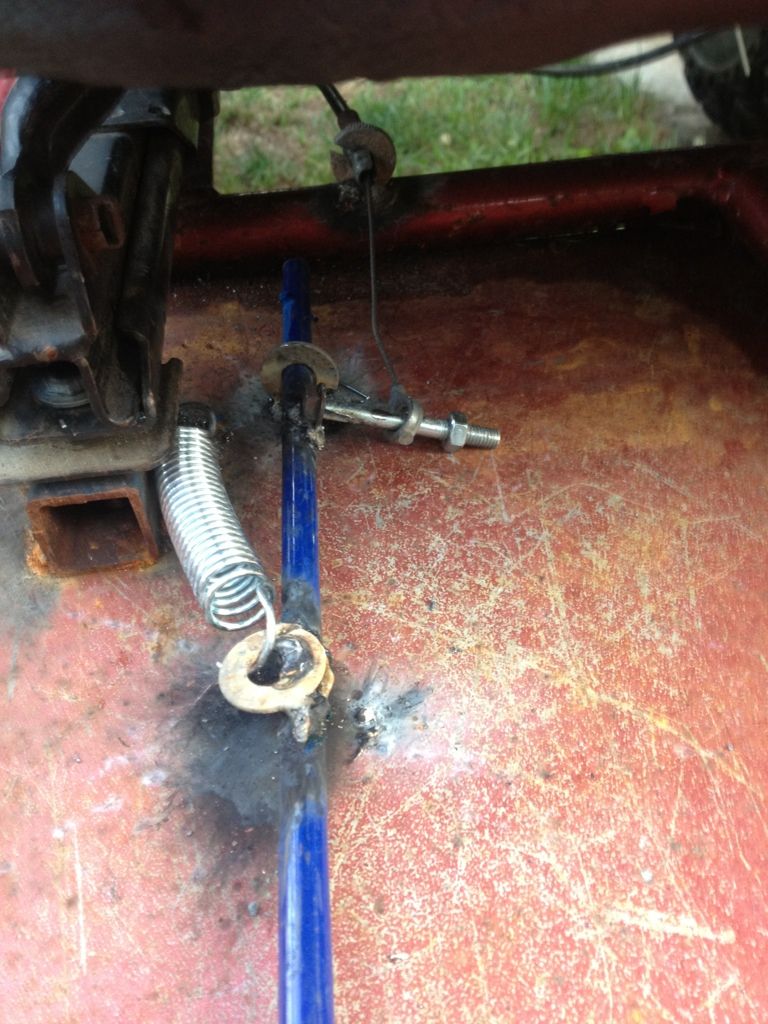 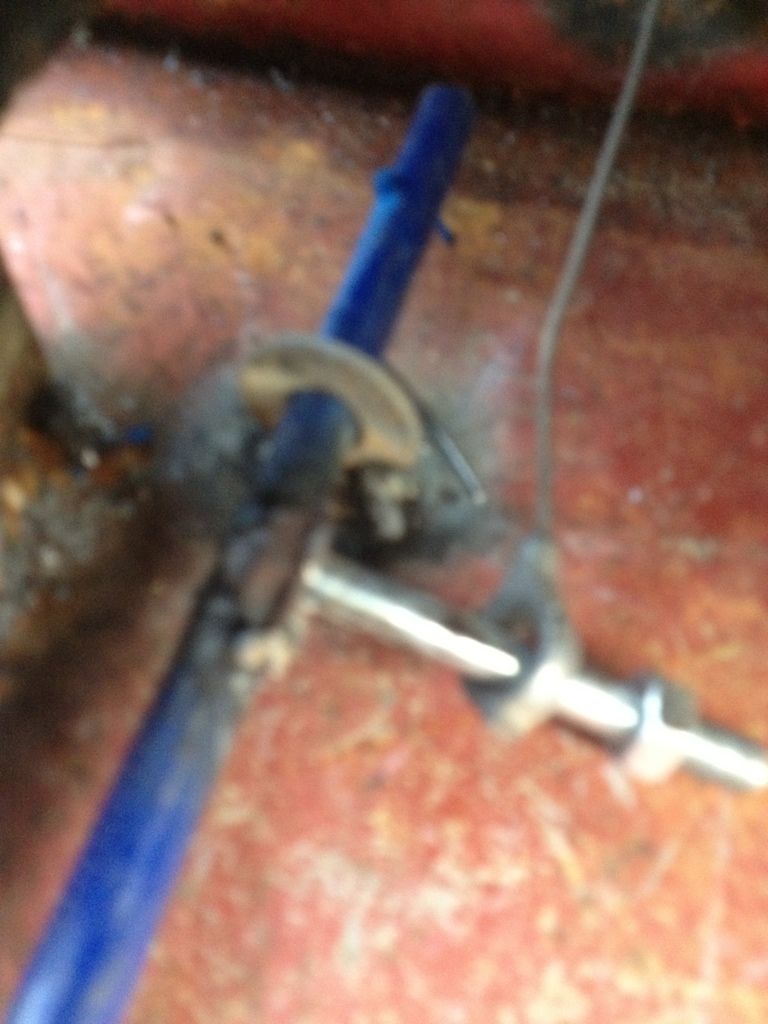
|
|
#90
|
|||
|
|||
|
Finally wheels on and it rides sooo nicely!!!!
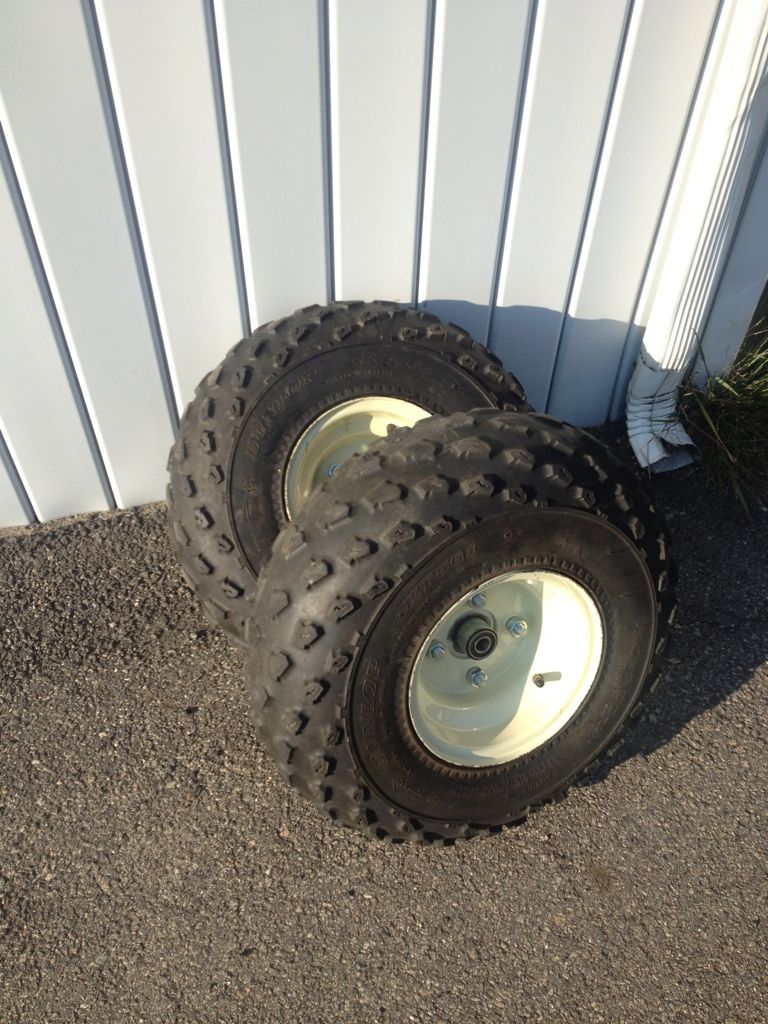 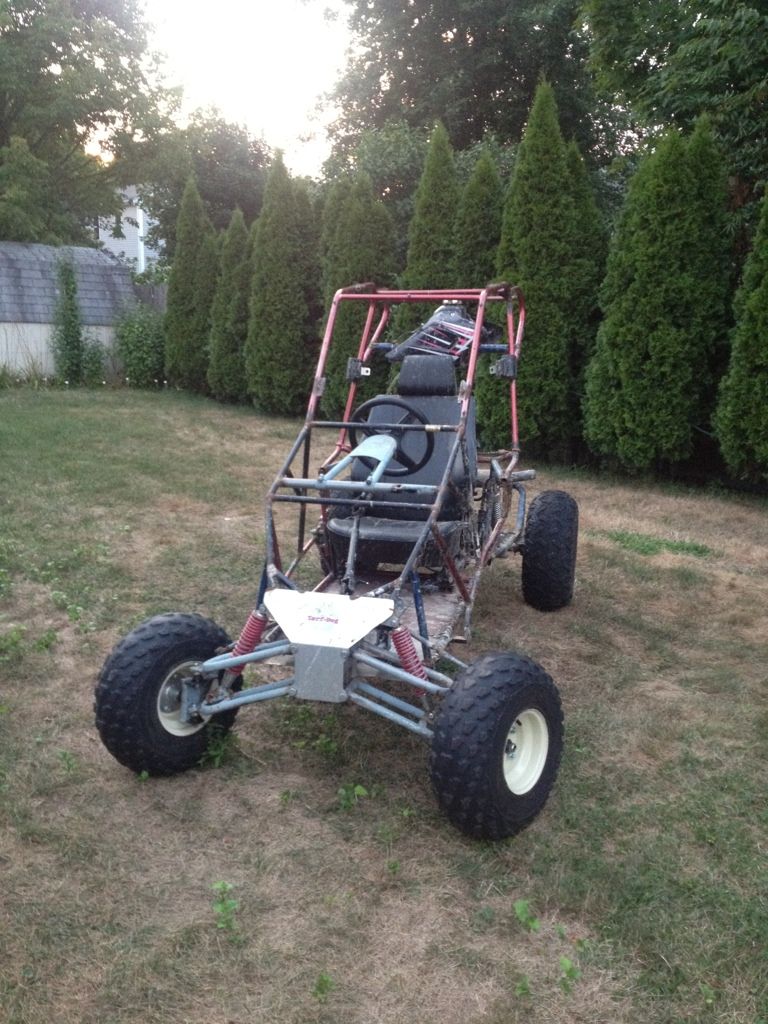 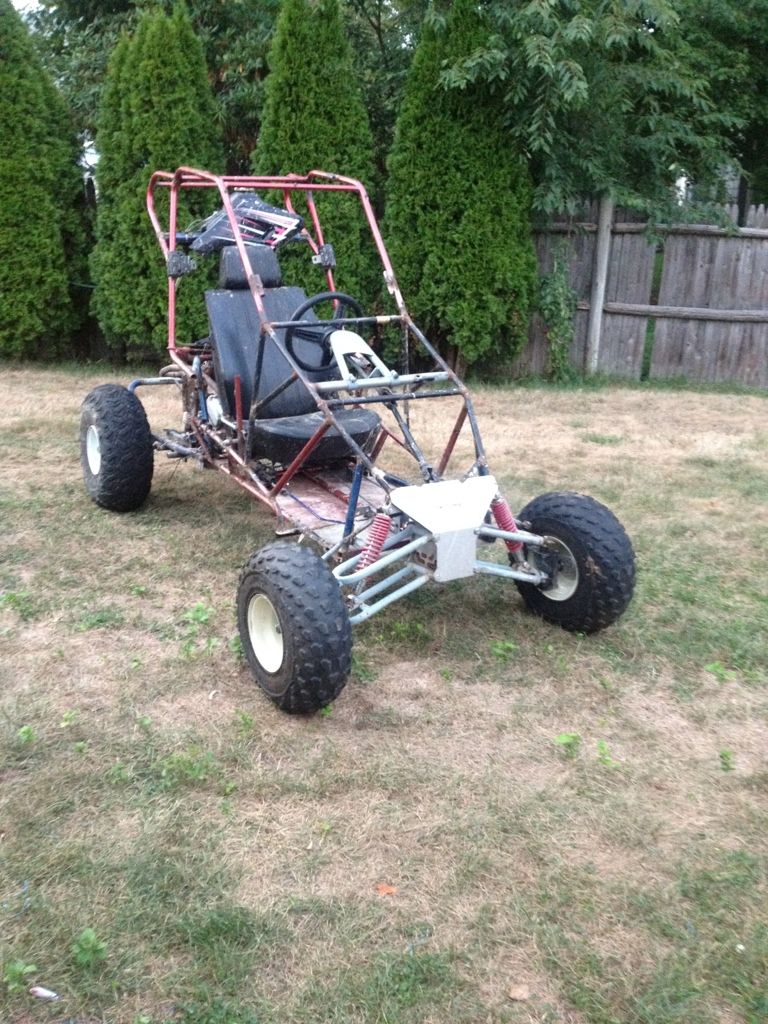 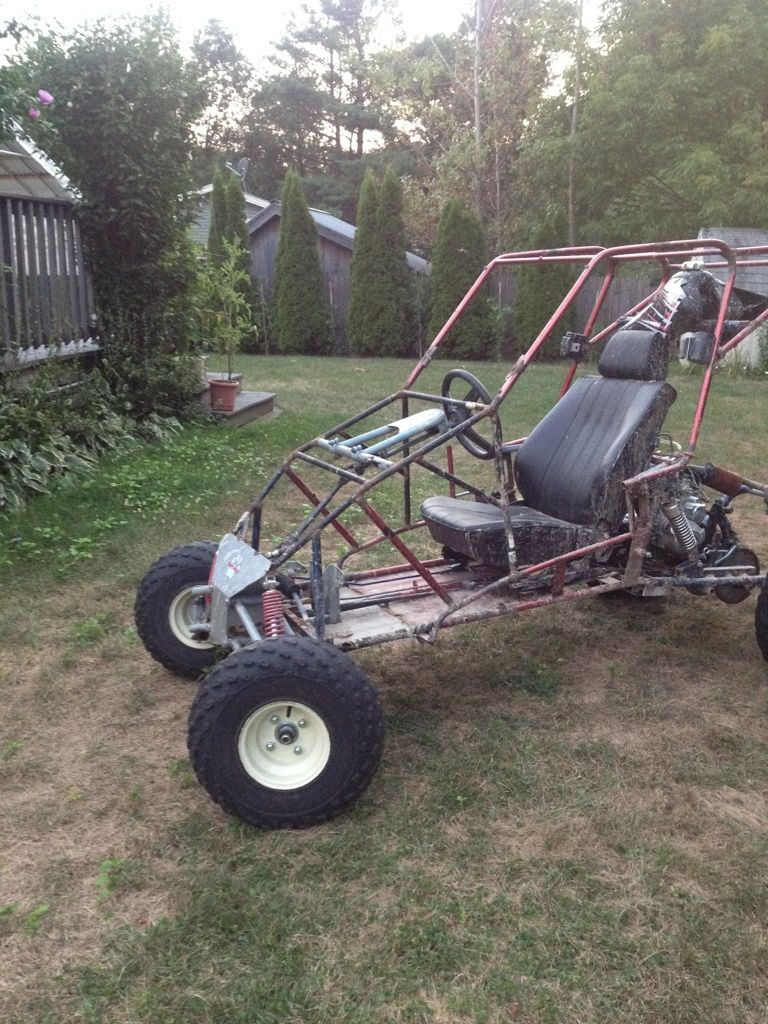 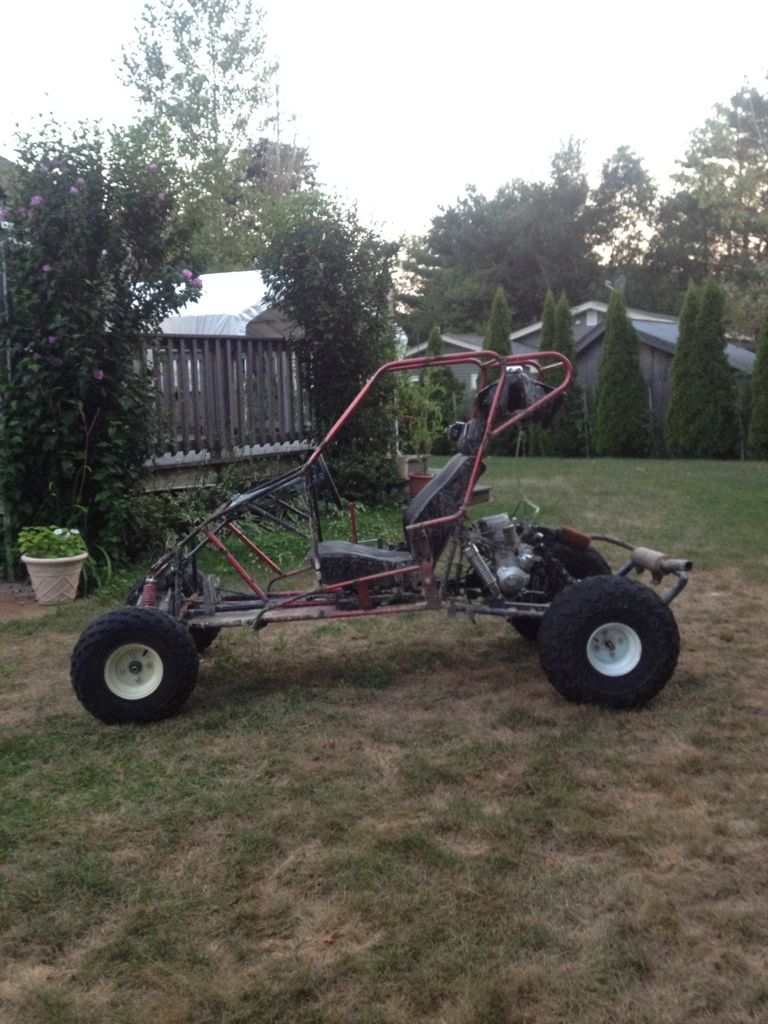
|
|
#91
|
|||
|
|||
|
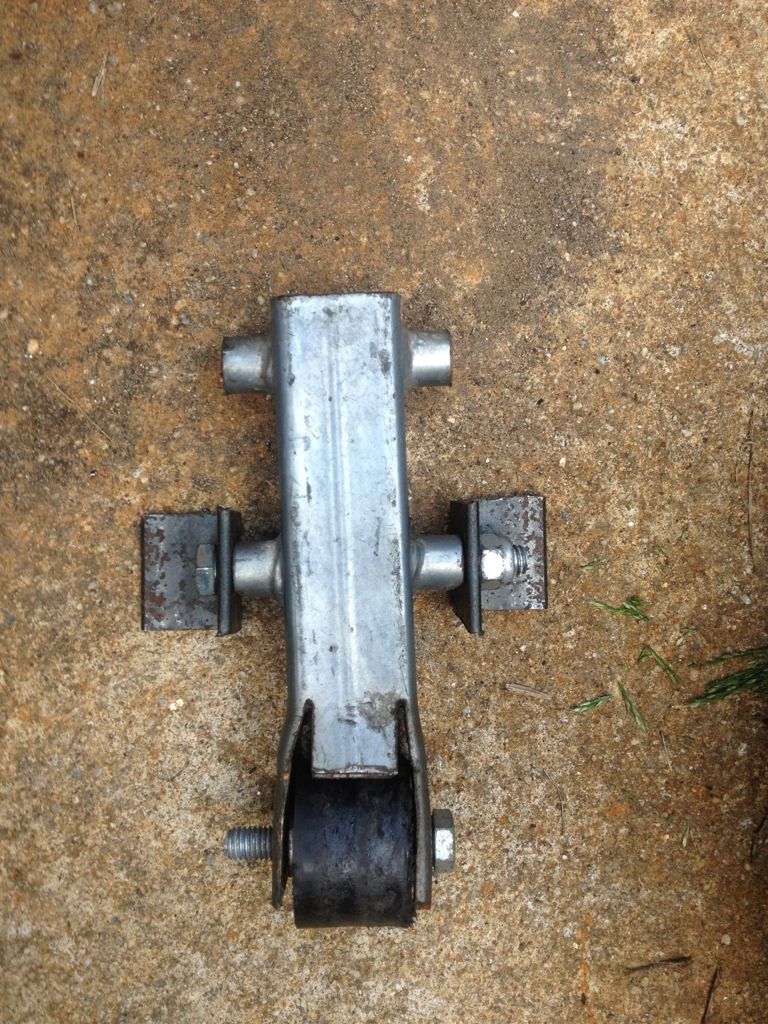
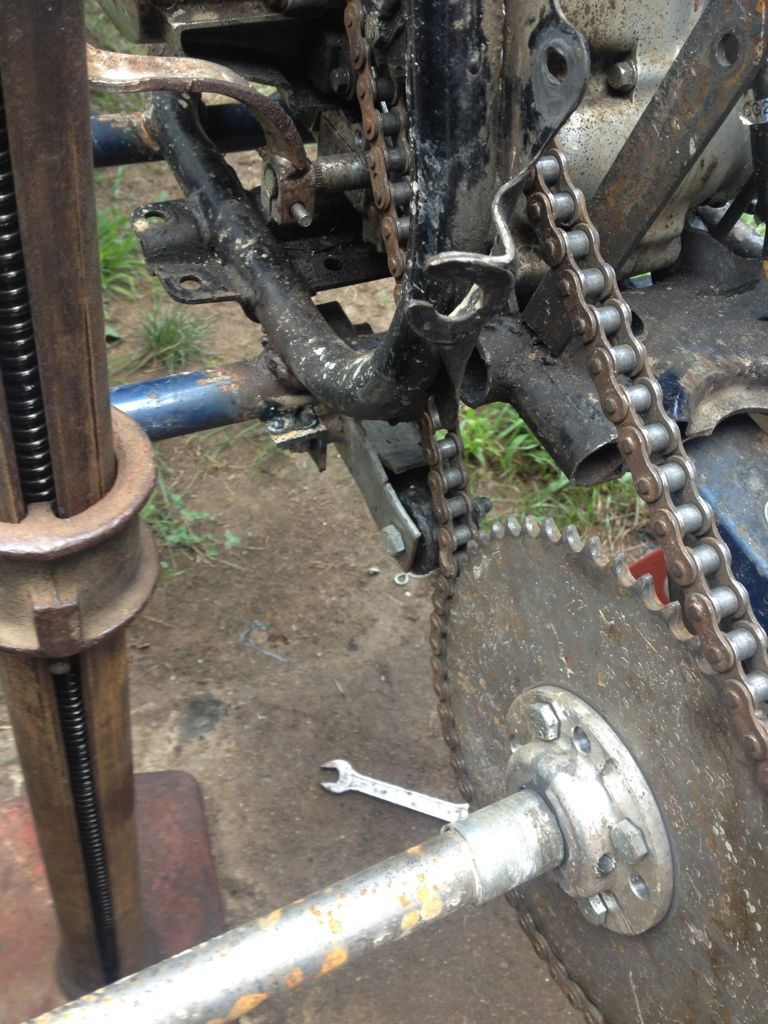
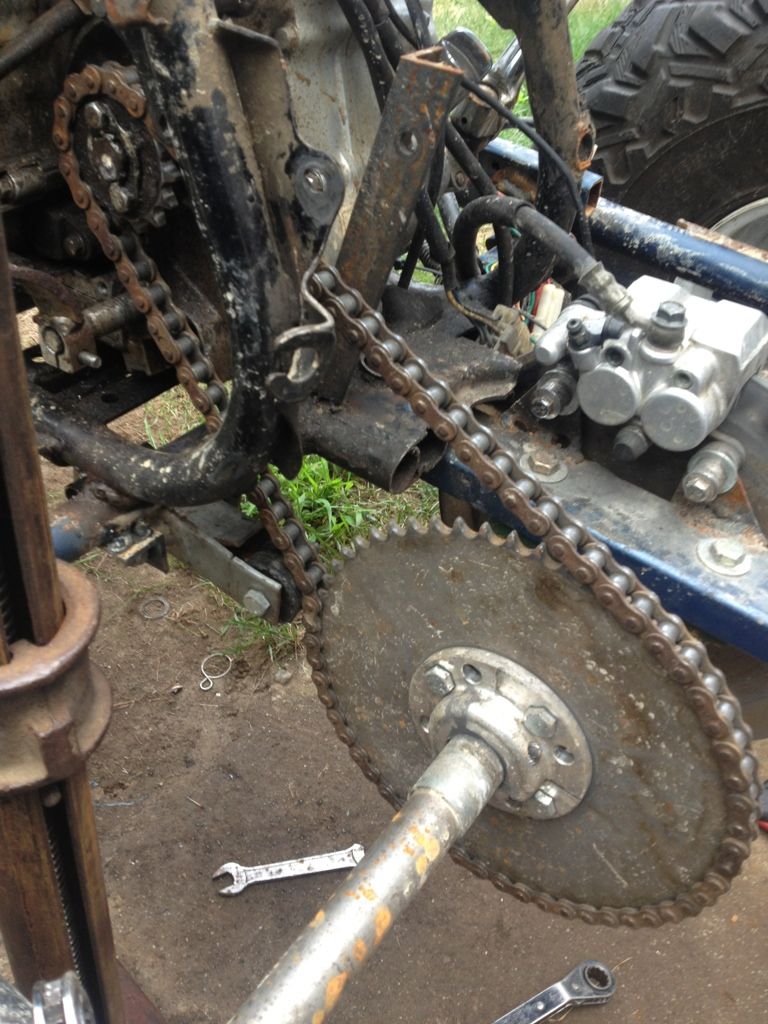
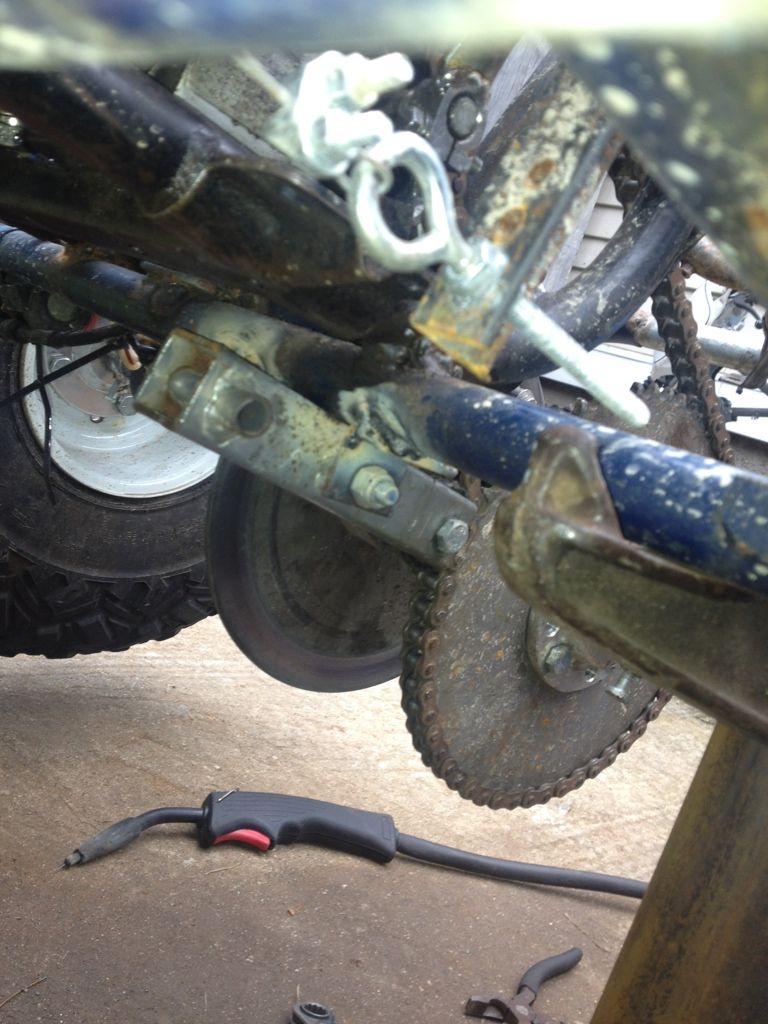
new chain tensioner in.. Much simpler design without use of a spring. So far i rode the crap out of this buggy for a good 2 hours and i had absolutely zero problems with the chain falling off even with me beating on it so hard even jumping it on a lil hill a few times. So far the buggy is holding up great and its a blast to drive only thing ive noticed is my lower a arms have gotten a tiny bit of slack and turned at full lock i can see both wheels slightly jerking around.. other than that i am very happy!!!!
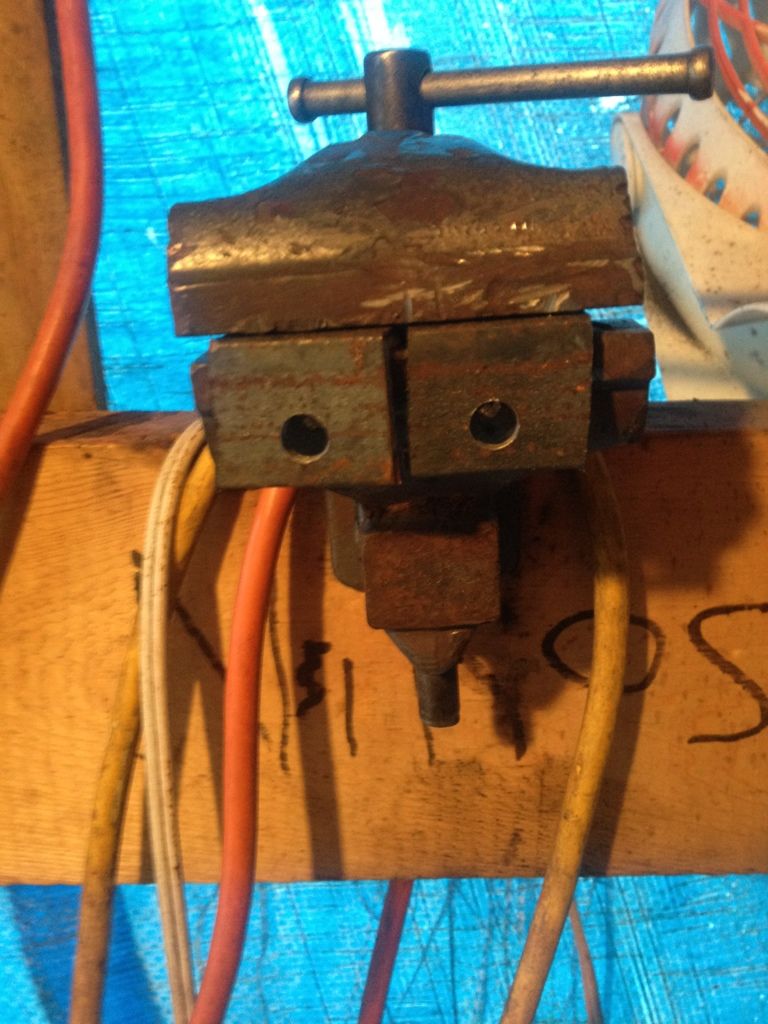    
|
| Thread Tools | |
|
|