

 |

|
|
|||||||
| BuggyMasters Contests Where you can win stuff for your buggy or go kart! |

|
|
Thread Tools |
|
#1
|
||||
|
||||
|
Ok guys, here we go again. Time to see your creative side! Ever made an improvement to your buggy that you didn't buy at a vendor of some kind? For example. when I had the GTR, it needed fenders. Those suckers cost $120 for the set. I spent $12 on some black plastic garbage cans and made my own! If you've done something like this, now it is your turn to show it off and win a prize.
Post your pictures in this thread, as many as you like. Choose your best mod. One mod per participant. Be sure to tell us as much about it as you can. Others may find the information very useful. YOU MUST HAVE AT LEAST 10 POSTS BY THE TIME THE ENTRY THREAD CLOSES TO BE ELIGIBLE TO ENTER!!! Entires can be submitted starting now and can continue through May 24th, 2010 at 12:01 A.M. Since there has been some confusion on this in the past, let me put it like this. The entries can be submitted until two sundays from now all the way through midnight. So late Sunday night on the 23rd at Midnight, the entries will no longer be allowed. At 12:01 A.M. that Sunday night (that's where we get 12:01 A.M. on the 24th) this thread will be closed and locked down. GOT QUESTIONS ON THIS? LET ME KNOW! Once the entries have all been submitted, I will select up to 20 of them at my sole discretion (depends on how many entries we get). If we get more than 20, I will choose the top 20. Of those selected, a new voting poll will be started with those entries and like before, you guys will decide who the winner is. I reserve the right to change the rules for this contest at any time and for any reason. (I put this in here to cover my rear end in the event that I forget something or something out of my control happens). Don't know how to embed your pictures into your post? See THIS THREAD. The voting thread will stay open for 1 week. Voting will end at 12:01 A.M. May 31st, 2010. Again, that will be late Sunday night May the 30th. The prize this time around will be a $50 gift certificate / store credit to our main site sponsor, Syc Powersports (member sycarms). Thank you Tom for once again sponsoring our forum and providing these fantastic prizes. Parts vendors are not eligible to enter and I will not be entering, nor will my son. Soooo...lets see those mods! |
|
#2
|
||||
|
||||
|
i for one am looking forward to seeing these posts....i love to see mods that are home made

__________________
07 HH250SS UNI HIT CLUTCH DR. PULLEY VARIATOR RED MAIN 17g ROLLERS 12T/45T SPROCKETS IRIDIUM PLUG HP CDI & COIL LED LIGHTS ASW CARBIDE UNI 12g SLIDERS RED MAIN 39T SPROCKET (coming soon) |
|
#3
|
||||
|
||||
|
OK, I don't have the "ten post" minimum yet, but I will get it started. My homemade mod is body panels. I made them from plastic sheeting used on race cars. It is 1/8" thick. I made a paper template, transfered the pattern to the plastic, cut it out, zip tied them on. The racers plastic can be found at any circle track parts distributor, Speedway Motors, etc...
 There Ya go. 
|
|
#4
|
||||
|
||||
|
Oh Yeah, I have put a roof on it also. That is made from a "borrowed" "Do Not Enter" sign riveted directly to the top!
|
|
#5
|
||||
|
||||
|
Soon I will be making the front fenders in the same maner as the rear fenders. I will have to fab some bracing for them. And,,, before winter comes again, I will have a plexiglass wind shield and some sort of doors on the sides, and enclose the rear right behind the seats. It will have a 12 volt space heater inside to keep the girls warm when it is cold outside.
|
|
#6
|
||||
|
||||
|
Wow! Nice job!
|
|
#7
|
||||
|
||||
|
very nice!!....

__________________
07 HH250SS UNI HIT CLUTCH DR. PULLEY VARIATOR RED MAIN 17g ROLLERS 12T/45T SPROCKETS IRIDIUM PLUG HP CDI & COIL LED LIGHTS ASW CARBIDE UNI 12g SLIDERS RED MAIN 39T SPROCKET (coming soon) |
|
#8
|
|||
|
|||
|
A few weekends ago I finally got off my butt and put some lighting on my buggy.
Quite a while ago I found a large sealed battery box in my shed, and wouldn't you know it fit perfectly in the front of the frame where the two suspension A arms are mounted. A month or two ago dbil84 came up and we went to harbor freight for their early spring sale. We loaded up on cheap stuff, and I found a set of offload lights (100W) for $20, I could not pass that up. It even came with the switch and wiring. The silver fox had a lighting option, so there were mounts already for the lights. I was going to mount them up on the top of the cage, but they're starting to grow on me. Here's the battery box and lights test fit:  Nothing happened for quite a while until my wife went away for the weekend a few weeks back. I went to Advance Auto where my friend works and picked up a used car battery (they test fine, but were replaced under warranty for whatever reason) for $35. I added a pair of terminals and a hold-down kit as well. Finally I had all the ingredients I needed. I had dbil84 and some non-buggy owning friends over so they could watch while I worked on it Here's the holes and grade 8 bolts I found laying around (bag of 20 with nuts and washers all unopened!) 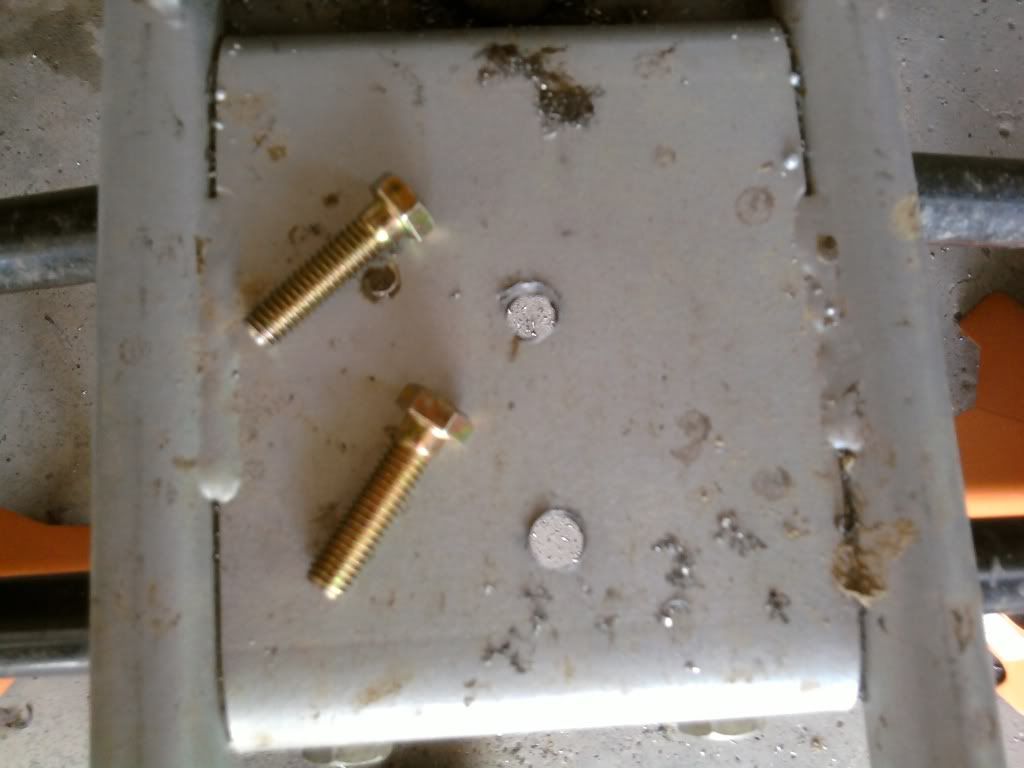 Box mounted 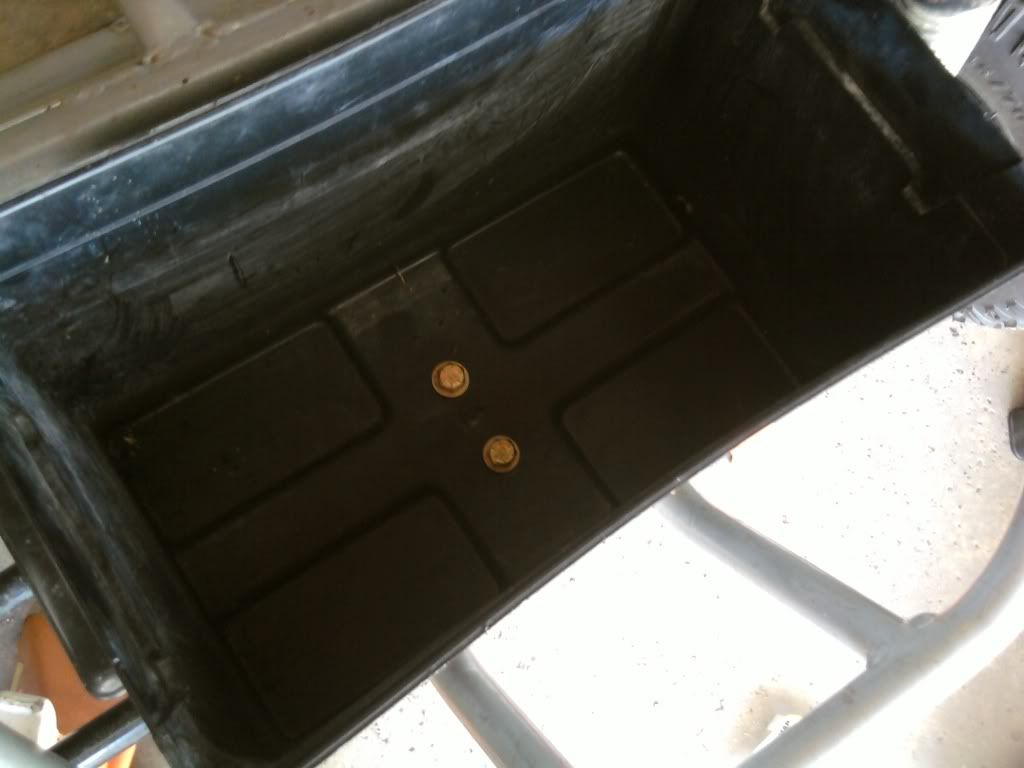 Tie-down kit added, battery in place 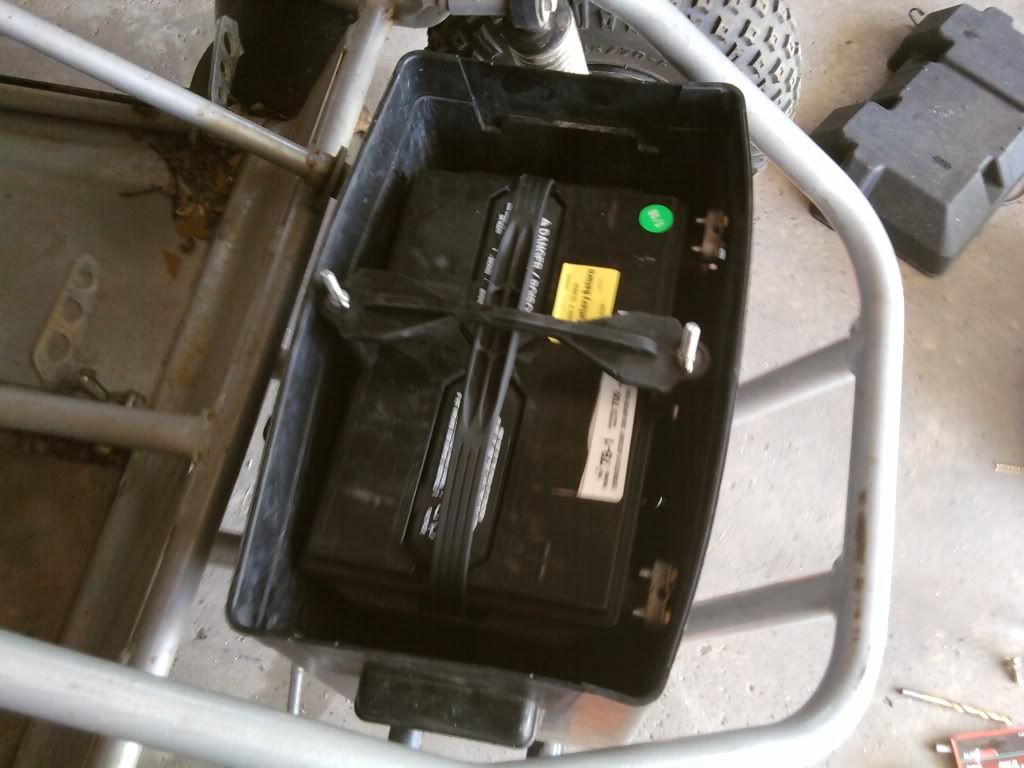 Contrary to all my other "projects", I didn't half-ass anything. I got some split-loom for the wiring, I soldered/heat shrunk connections and zip-tied everyone down tight in place. 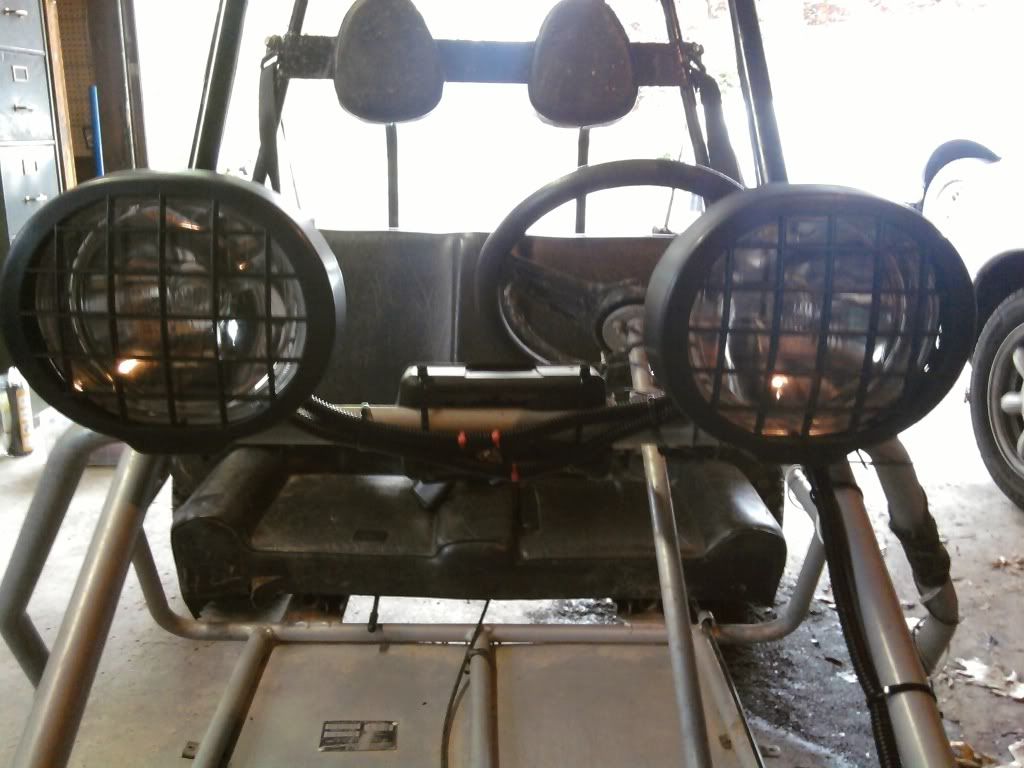 I was trying to think of what I could use for a "switch panel", I wanted something sealed just to ward off the elements. The only thing I could think of was a 3"x5" index card box. It's sealed and hinged so I can get at the switches. Unfortunately the dremeling and drilling has taken it's toll on this box and it's in pretty rough shape, it's not as sturdy as I had hoped. This weekend I moved the kill switch from the steering wheel to this box (not pictured) and it works, but it could be much better. Any other (cheap) ideas? 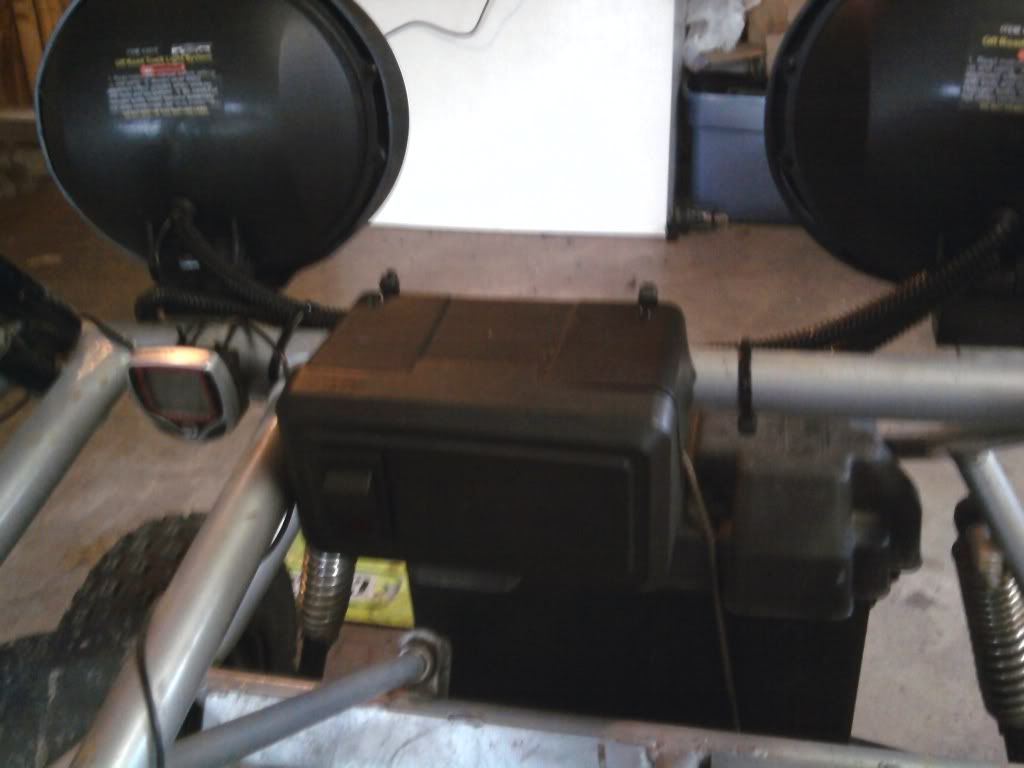 And finally, the money shots so to speak: 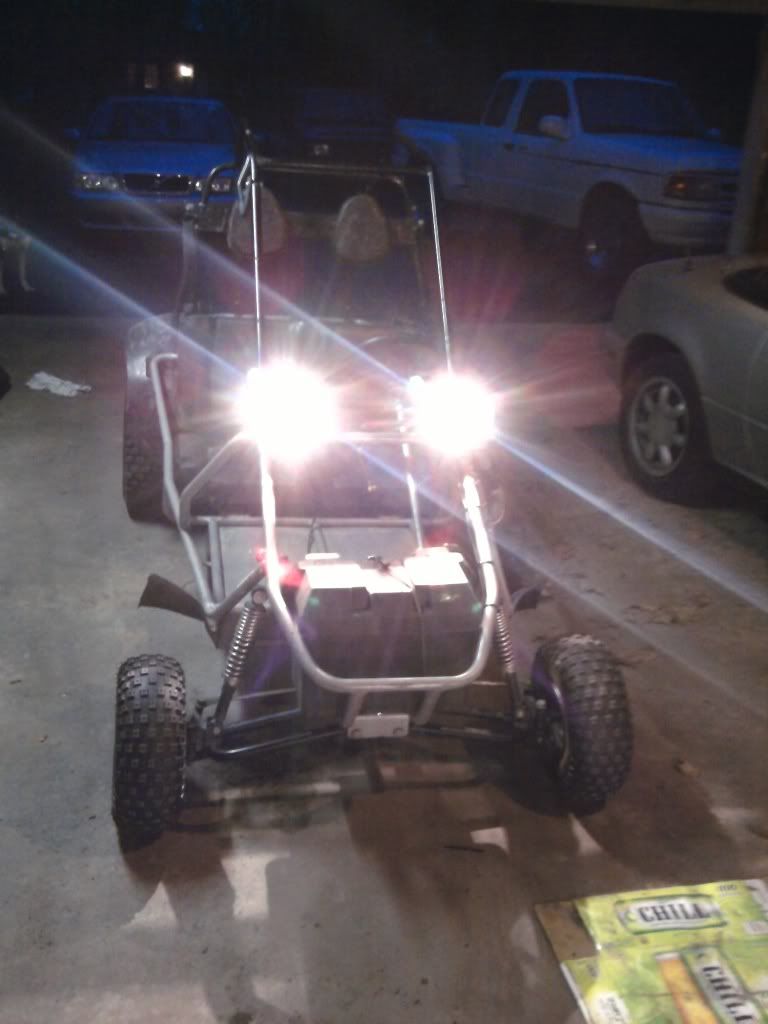 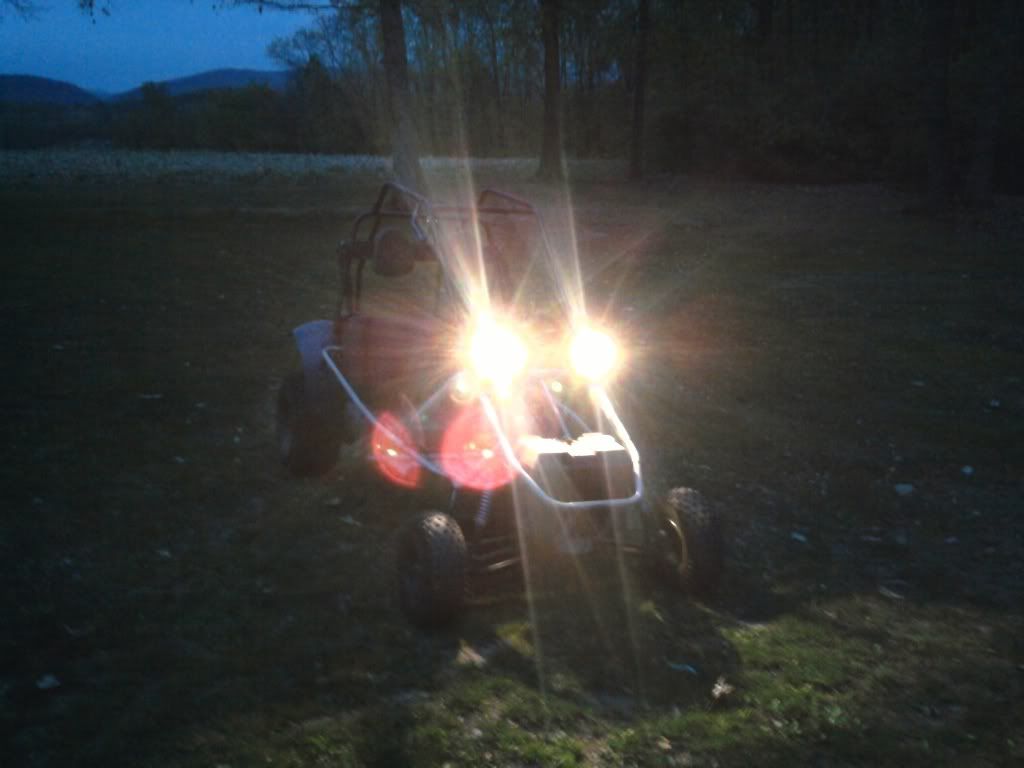 For $20, the lights are great. I did a quick night ride and if I wanted to readjust them, I'd probably have about as much range as a car, which is PLENTY considering this buggy is much much slower. The extra weight from the battery on the front end seems to actually make turn-in better, though the "fake" suspension is more bouncy now. Eventually I may look into some ATV shocks or something. In then end, things turned out better than I had expected, which was unexpected and great. Bonus picture of my "apparently I like silver" garage of toys (this was not planned, and I didn't notice it until I pulled the buggy in, haha): 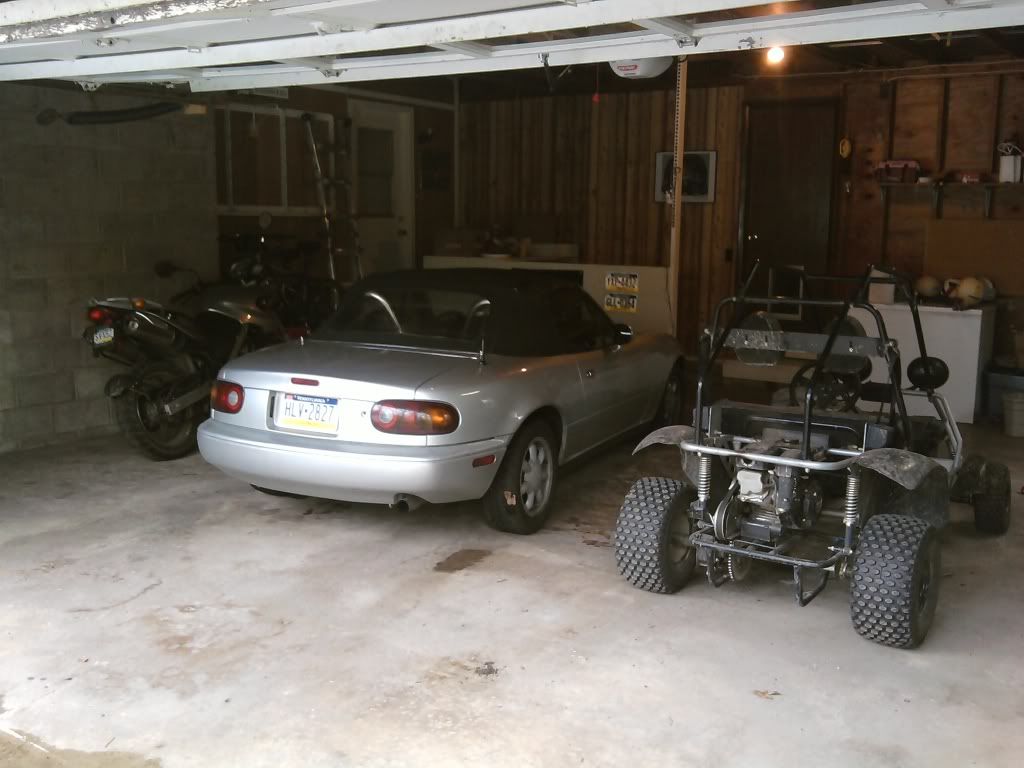
|
|
#9
|
||||
|
||||
|
lights look great. i don't know what size battery that is but i'm sure it will power those lights. one thing to consider is the amperage that your stator is putting out will nopt keep up with the power needs of those lights. those two lights are drawing at least 15-18 amps between them and your stator will have a tough time keeping that charged. you can probably run those for an hour or two before they drain your battery. maybe hook it up to a charger after you come back from riding so it doesn't ruin the battery. i have a 250 hammerhead and i was pushing it when i installed two 35w and two 55w to my cage. i have a 12 pole stator (which is one of the bigger ones) and i can only run all four lights for maybe an hour and a half. i also upgraded to a 16a/hr battery. just food for thought.
__________________
07 HH250SS UNI HIT CLUTCH DR. PULLEY VARIATOR RED MAIN 17g ROLLERS 12T/45T SPROCKETS IRIDIUM PLUG HP CDI & COIL LED LIGHTS ASW CARBIDE UNI 12g SLIDERS RED MAIN 39T SPROCKET (coming soon) |
|
#10
|
|||
|
|||
|
Quote:

|
|
#11
|
||||
|
||||
|
gotcha, that's what it's all about....having fun....

__________________
07 HH250SS UNI HIT CLUTCH DR. PULLEY VARIATOR RED MAIN 17g ROLLERS 12T/45T SPROCKETS IRIDIUM PLUG HP CDI & COIL LED LIGHTS ASW CARBIDE UNI 12g SLIDERS RED MAIN 39T SPROCKET (coming soon) |
|
#12
|
||||
|
||||
|
$20 for those lights?
|
|
#13
|
|||
|
|||
|
Yes sir.
http://www.harborfreight.com/off-roa...stem-3029.html edit: Note that they were on sale in store for $19.99, but $25 not on sale is a pretty rockin' deal 
|
|
#14
|
||||
|
||||
|
ohhhhh yea, if you have a harbor freight store you can visit you gotta do it. i have one 10 minutes from me and it's like a poor mans candy store. almost better than home depot.....lol
they have some great deals.
__________________
07 HH250SS UNI HIT CLUTCH DR. PULLEY VARIATOR RED MAIN 17g ROLLERS 12T/45T SPROCKETS IRIDIUM PLUG HP CDI & COIL LED LIGHTS ASW CARBIDE UNI 12g SLIDERS RED MAIN 39T SPROCKET (coming soon) |
|
#15
|
||||
|
||||
|
wow what a great deal!
|
|
#16
|
||||
|
||||
|
keeping the link alive get your entries in guys!
|
|
#17
|
||||
|
||||
|
A week left for entries guys! Get them in now!
|
|
#18
|
||||
|
||||
|
I don't have enough posts to qualify yet but since I posted my kart in Franken buggy I figured for the purposes of info I'd give these few pic's of recycling/innovation-as that's how I build all my karts.Also my main electrical wiring is from a damaged 3 wire 10g extention cord.After upgrading my Harley I had lots of stock parts left over and setting on shelf is a waste!
|
|
#19
|
||||
|
||||
|
Here's somemore mod's from the same kart. All the body and fenders are ABS plastic rejects from a plant-FREE!!! 1/8" and 5/16" thick. It's been the best dumpster dive ever. The heat shield for the motor was perfect from this product and keeps my leg cool. Folding rack is from 1/2" conduit-cheap and easy to bend, but shouldn't be used for something structural on your karts. Hope this may stimulate some recycle/innovations from others.
|
|
#20
|
||||
|
||||
|
Very nice!
|
|
#21
|
|||
|
|||
|
Holy crap, you've got my vote!

|
|
#22
|
||||
|
||||
|
keepin it alive! Get em' in guys!
|
|
#23
|
||||
|
||||
|
My entry into the contest is my daughters Yerf Dog tire upgrade. None of these parts were a direct order to fit for this application so I hope it qualifies for the contest.
Ok... the problem was, Her buggy needed tires anyway & we ride predominantly in the deep sand. Her Yerf didn't turn worth a hoot to begin with, and was constantly dragging the bottom over deep ruts and rough terrain. I wanted to install taller more aggressive tires, but there are literally zero options for tires when dealing with the stock 6" wheels.   My solution was, to upgrade her buggy to 8" wheels so my tire options would increase. In order to do that I needed to swap over to a 4on4 front hub that would bolt up to the 8" wheels, and then upgraded to a set of tall 20x7x8 Duro Thrasher front tires. I ended up ordering the tires, wheels & hubs from 3 different suppliers to make this all come together, but we couldn't be happier with the end result.      A quick comparison pic of the new front tire & wheel combo against the stock set up.   And here is the end result, again we couldn't be happier and I would recommend this mod to all.     Withe wheels turned as tight as they will go the left side has several inches of clearence and the right side just clears by about and 1/8 inch. I may just add a tiny spacer behind the hub and to gain a little more clearance, but as of now it doesn't seem to rub.  
Last edited by Rarerat; 05-19-2010 at 04:14 PM. |
|
#24
|
||||
|
||||
|
Ok guys only a few days left!!!!
|
|
#25
|
||||
|
||||
|
Just over a day left! Get your entries in while you still can!
|
|
#26
|
||||
|
||||
|
Well I guess I'll throw something in on the contest. I'm gonna call this the cabin upgrade as seen in the first pic. I really didn't like the little rubber footpads in the recessed part of the floorboard, so I went to the local metal fab shop to see what they had for scrap. I got some diamond plate and installed it in the recess. Also got a smaller piece and put it on the bars above the steering wheel for a dashboard. Throw in a football shaped outdoor welcome/door mat I had laying around and a fancy shifter knob from Autozone and wa la... cabin upgrade!
I've also done some rear lighting mods as seen in the second pic. Due to the fact I wanted more rear visability than one brake/tail light on the rollbar that came stock, I installed two brake lights below the gas tank and two LED tails on the frame bar below the brake lights. The LEDs seem totaly wireless cause I fished all the wiring through the frame tubes to the electrical box. And while we're back here, you can never go wrong throwing a ball hitch on for pulling or being pulled. In the third pic I always thought the gas tank that came stock was too small so I ordered a larger tank from my buggy's 250 counterpart and put it on. Yeah the tank is vendor, but the mounting legs are homemade outta straight stock from Ace hardware. Measure, bend, paint, and install. Now the fourth pic is a non vendor fix, not a mod, wich I plan on showing a lil' more extensivley on another thread. It's two reshaped auto brakes shoes that saved me from buying a whole left crankcase for a lil' bit of broken aluminum cast. I'll post the entire break and fix on another thread. |
|
#27
|
||||
|
||||
|
I thought I'd put up a left and right side view of my actual entry (Cabin Upgrade) for BuggyMaster's voting post. And Tom at SYC, Thanks for supporting the contests, and If I win, plan on taking $50 off the price of a Performance CDI, High output coil, and NGK Iridium plug! lol
|
|
#28
|
||||
|
||||
|
Ok here's my entry. This is the best mod I have ever done to a yerf chassis. Because Rarerat is doing the wheel/hub/tire conversion and will probably get real tired of those crappy ball joints real soon I thought I would post some pics of this mod. We all know what upgrading the wheel/tires does to improve the ride characteristics, these mods take it to a whole new level!
The a-arms were stripped of all the ball joint tabs then drilled and heim bungs welded in. the chassis pivot ends [not shown in pics were sleeved with denali bushings and zerk grease fitting added. The heims give aprox. 12 degrees of camber adjustment in or out. The wheels may look a bit off cause they were set up for a banked dirt oval when the pics were made. The lower shock mounts were moved outwards to accommodate a longer travel Works shock and correct the suspension geometry after adding wider wheels. The steering rod heim ends have zero play and alignments settings hold! The buggy goes when and where I point it with no push at any speed. The spindles were beefed with a 3/4 axle. a 4x4 hub with zerk fittings added. The steering rod standoffs are made to keep the steering rods parallel with the a-arms during suspension travel. This eliminated the bump steer. Along with Works shocks, [ not mounted in pic. they are off, getting rebuilt] Kenda front max tires on 8x8 steel wheel with a 3-1/2 x 4-1/2 offset. the grinding marks on the backside of the spindle were done for clearance to make camber adjustments easier. I just forgot to touch up the paint.  I have thrashed and tossed the buggy as hard as I can, jumped stumps and rocks at speed wanting to know what would break and if it holds. The set up takes everything perfectly! The only malfuction experienced is when I t-boned another buggy on the track at aprox 30 mph. Only damage was a busted shock and a torn a-arm chassis mounting point! I then re-enforced the tabs in the spider box. |
|
#29
|
||||
|
||||
|
Ok guys, the entries thread is now closed. The voting thread will be open for one week. You will decide who wins!
|
|
|