

 |

|
|
|||||||
| Go Kart General Discussion Forum for general go kart discussion. |

|
|
Thread Tools |
|
#1
|
|||
|
|||
|
Earlier this week I started going thru the Manco 706b I picked up last weekend. It was a runner but it has issues. The steering was super sloppy and the belt was so stretched the driver was 75% engaged before the belt would grab. That was causing sever jerking. First I dove into the front end...
First up the a arms. They were loose. Decides to grab some new bolts for the a arm to chassis. I took it apart and found the bolts were still good and it was simply that the nuts were not very tight. So I cleaned all the old grease off and put new grease on and put it back together. A arms now only move up and down as they should, not up down, forwards and backwards as they did. Next up was the front tires. They rubbed the tie rods ends when the tire flexed even the smallest bit. Found the thin spacer shims were not on the inboard side. Tried using washers but they were so big around that they hit the inner and outter bearing races and bound the bearing up. Off to the hardware. Found machine bushings. Basicly a not so tall not so thick washer. Bought some of them and shimmed the front wheels out. Problem solved. While doing the tires i found that the spindles were loose, real loose. Pulled the bolts and inspected. No real wear and lots of grease. However there was a ton of room between the spindle and the mount. Added a mashing bushing on the top and the bottom of the spindles and put them back together. Slop was gone. Last up for the steering was the center pivot that the tie rods mount to. It was sloppy. Removd the bolt to find a normal bolt, not s smooth shank bolt. Replaced it with a shoulder bolt and machine bushings and greased it. Slop gone. Now the steering and suspension are nice and tight but still able to move freely. Total spent on the referb was $3.79 and two hours of time. Chris Last edited by jakhammer; 09-29-2012 at 01:22 AM. Reason: pictures added |
|
#2
|
||||
|
||||
|
Thats just proof that riding these things is only half of the fun of owning them! I know Im really enjoying getting into what makes them work, and work better! keepem rollin!

|
|
#3
|
|||
|
|||
|
I have pictures to go with the post. Once I have them uploaded I will post them so everyone can see what I'm talking about. I have also went into the back half and done work but I will save that story til I have the pictures up to finish off the front end story. I am having quite a bit of fun working on thisand can't wait to drive it after all the improvements have been made.
Chris |
|
#4
|
|||
|
|||
|
Now for some pictures:
The Manco and the Yerfdog: 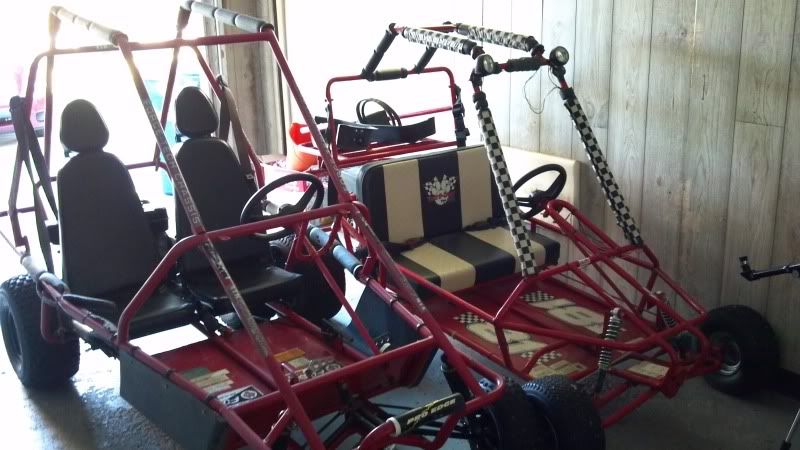 How close the tie rod end was to the tires before: 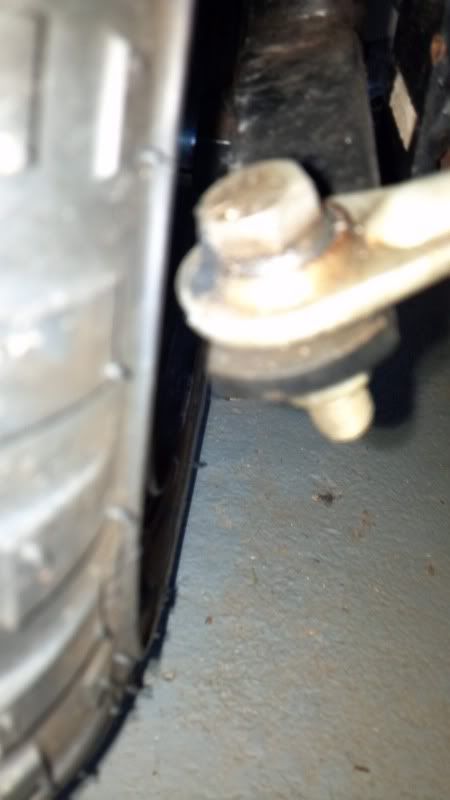 The lack of the spacer/washer after the long spacer: 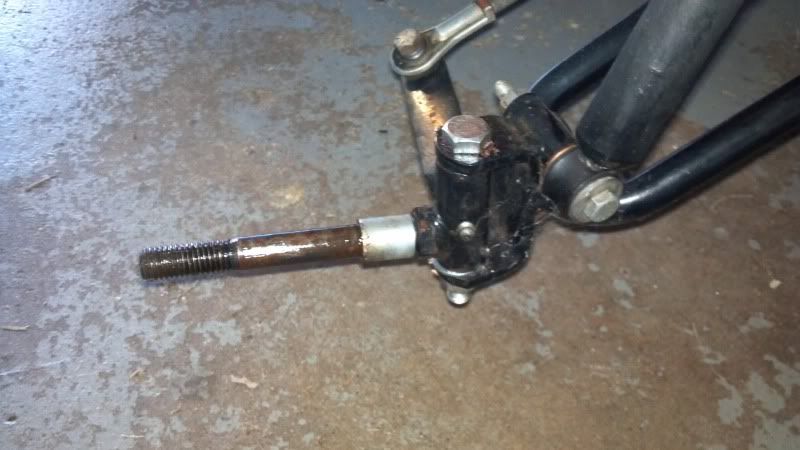 The wheel spacing fix in place (ome washer one machine bushing): 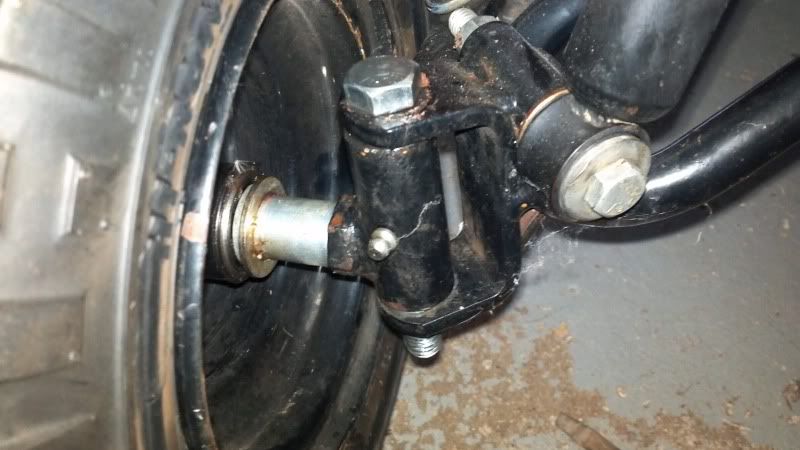 The clearance between the tires and rod end now: 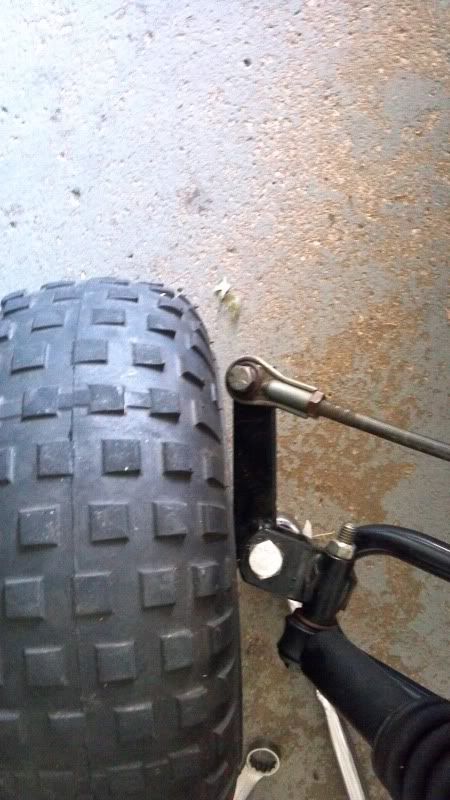 The spindle gap: 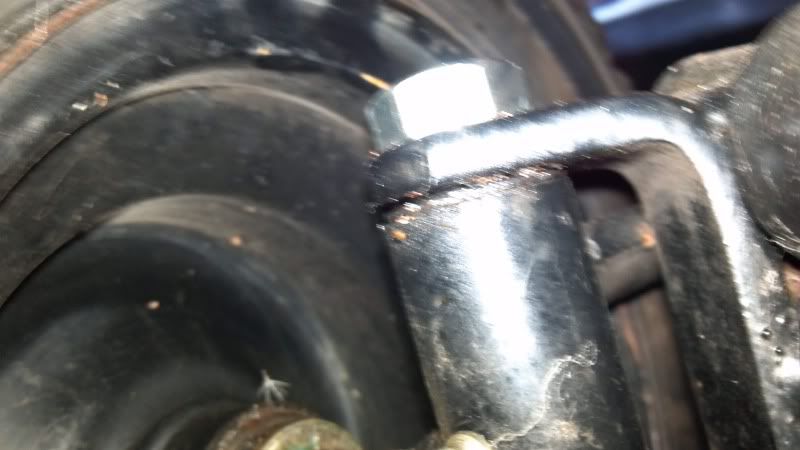 The spindle fixed with machine bushing: 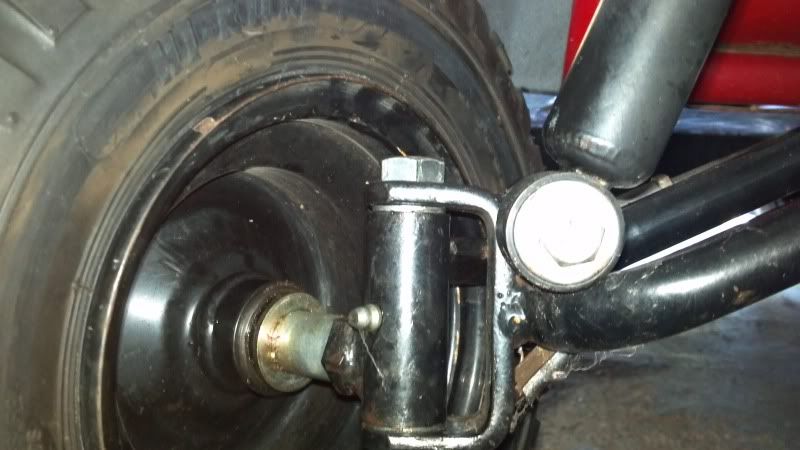 The bolt that was in the steering and its replacement: 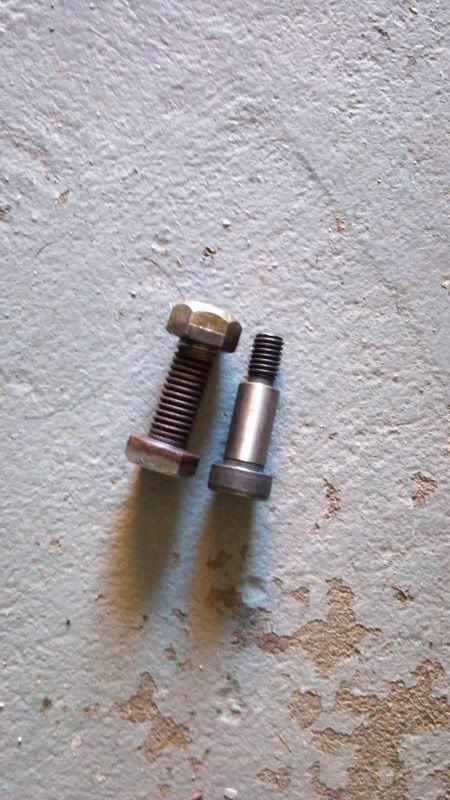 The new bolt in place in the steering: 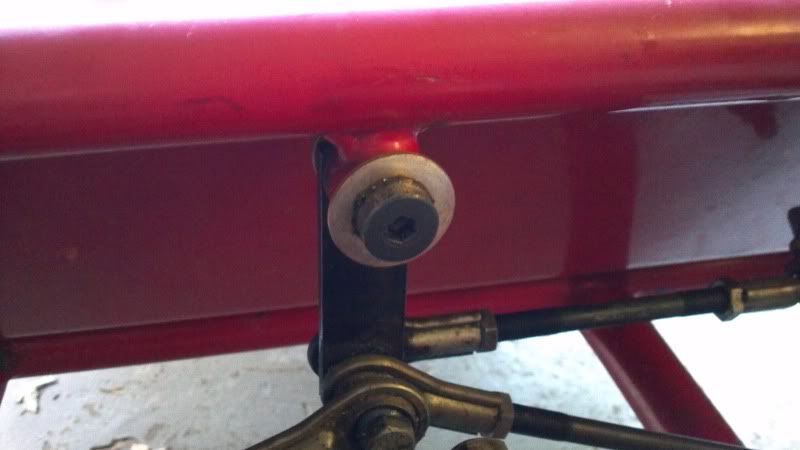 More to come... Chris Last edited by jakhammer; 09-29-2012 at 01:27 AM. |
|
#5
|
|||
|
|||
|
So now I have dove into the back end of the XTK. WOW! While I knew something was not right I was surprised. The belt was way to long or stretched or something and the driver was coming in about 75% before the belt would grab. The belt just rode up the driver til there was enough tension to catch. This made it lurch and shake bad. The motor shook hard as this was happening. I could see the belt was not right when I bought it. Not a big deal... well... I took the motor off and all the plastic off the back. This is what I found:
Break number one: 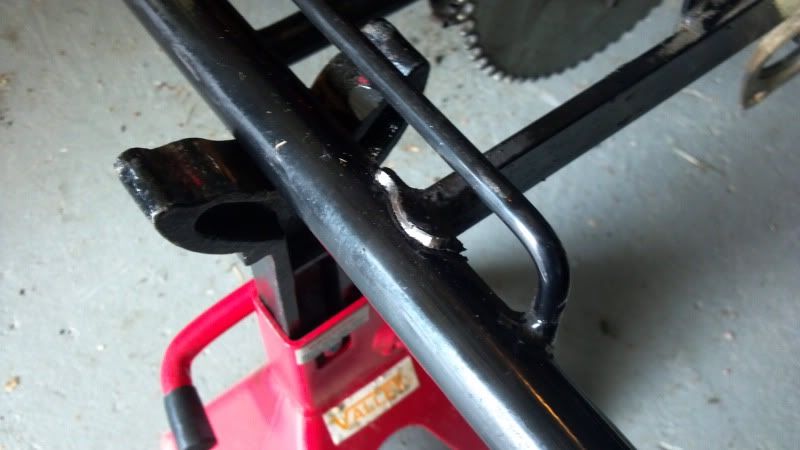 Break number two: 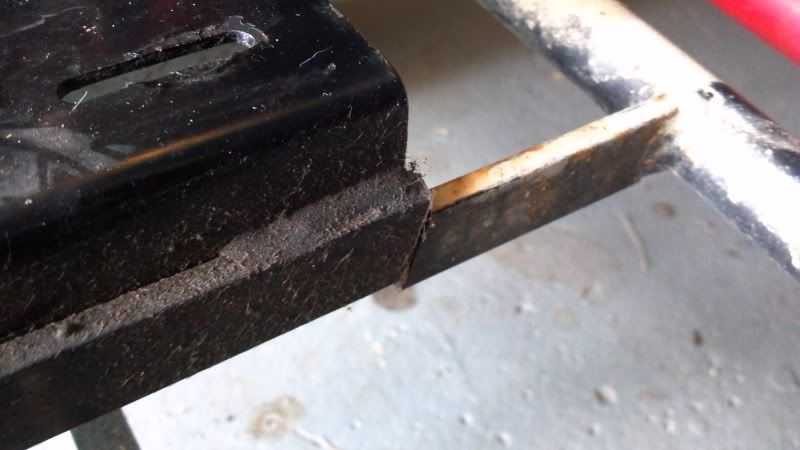 Break number three: 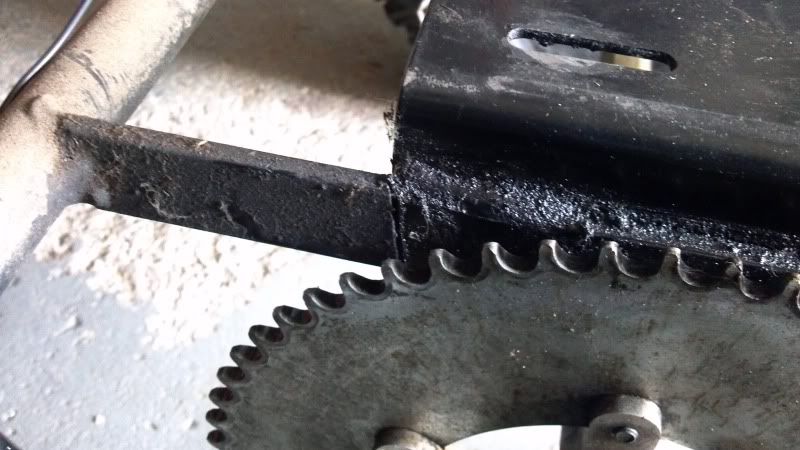 Some people dont know when to stop using things I guess. Only 1 weld was holding the engine, tav, and jackshaft on the kart. AND they were still riding it like this. With all the jerking and lurching and the entire drive about ready to fall off. LOL. I instantly picked up my cell and texted by buddy who is a welder with everything we need on his truck. The kart has a date with some molten metal sunday. Chris |
|
#6
|
|||
|
|||
|
So after the engine plate surprise i went on looking. I noticed the passenger side axle bearing was sitting all cocked in the retainer. I was thinking maybe the bearing was going bad. I decided to play it safe and drop the axle out so I could get a good look at the bearings. I put the kart up on a jack stand and pulled the bolts out. Something unexpected happened... nothing. the axle, bearing retainers, bearings, etc didnt move. I found this odd. I gave it a pound with my hand and still it remained perfectly still. I have it a kick and it "popped" out. so I checked the bearings. They were fine on both sides. I checked the retainer mounts on the chassis for signs of being bent. paint was all good and so were the welds. ok. I go to put the axle back in. What do ya know it wont go back in. I can get one side or the other to slide up and in but the other side goes up at such a steep angle it will not slide up and in. call it a quality control oversight, but the chassis mounts are not in the right place on the passenger side. they are up higher on the tube which moves them out when compaired to the drivers side. this in turn makes them to wide and now I cant get the axle back in. I have no idea how they got it together at the factory but even a 3 pound sledge wont caress the retainer into place. Again, I have torches, grinders, and a welder at my disposal sunday so this isnt a huge issue, its just a pain in the butt. I will snap some pics when I get back to the karts (they are not at my house since this is for my son and he dont know yet).
Chris |
|
#7
|
|||
|
|||
|
Here is a pic i snapped of the bearing issue:
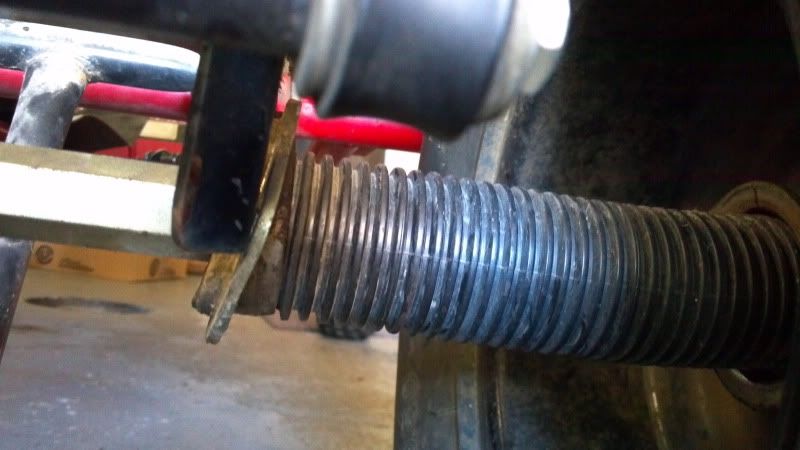 I am working on it right now. just burned some metal. I will have more pictures coming. Chris |
|
#8
|
|||
|
|||
|
So for my first mod I took my jack shaft plate off and took it into work. We have a couple mills and one of the maintenance guys was nice enough to do the work. locked it down in the mill and a few minutes later I had slots where only bolt holes once were. now I can have some adjustability on the belt.
And here is the finished piece: 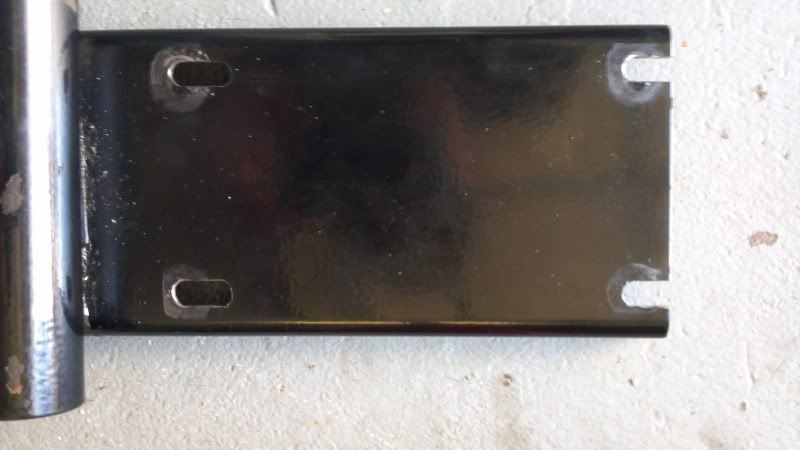 More mods to follow. Got some plans for a Comet 30 driven  Chris |
|
#9
|
|||
|
|||
|
Its been a busy day. Did some cutting and welding to make things right today. Cut the bearing retainer mounts off the frame and rewelded them on in a better position. Now the axle goes in and out with easy. Also redid the engine/jack shaft mount. It took a bit since it was twisted up from abuse. However we have it withing .5 degrees of level and less than 1/16" out of square. No bad for a days work. Here are how things are looking now:
Bearing retainer mounts: 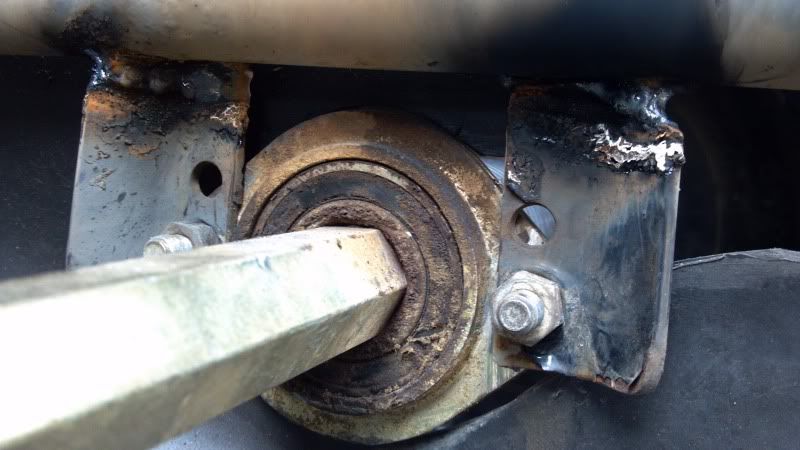 Engine mount fixes: 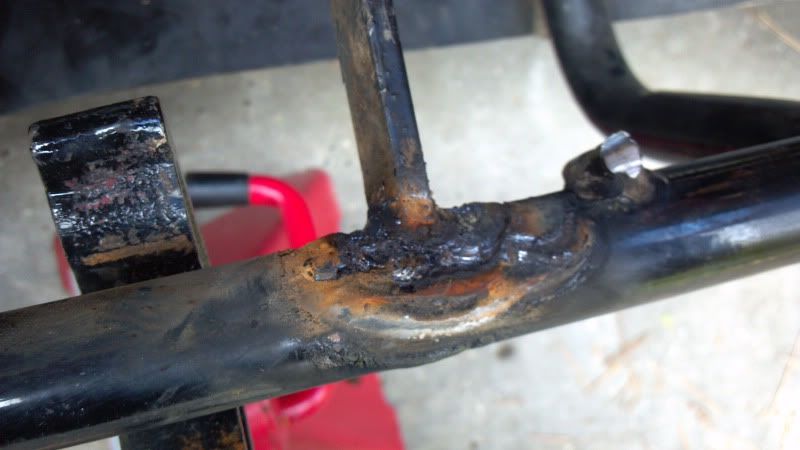 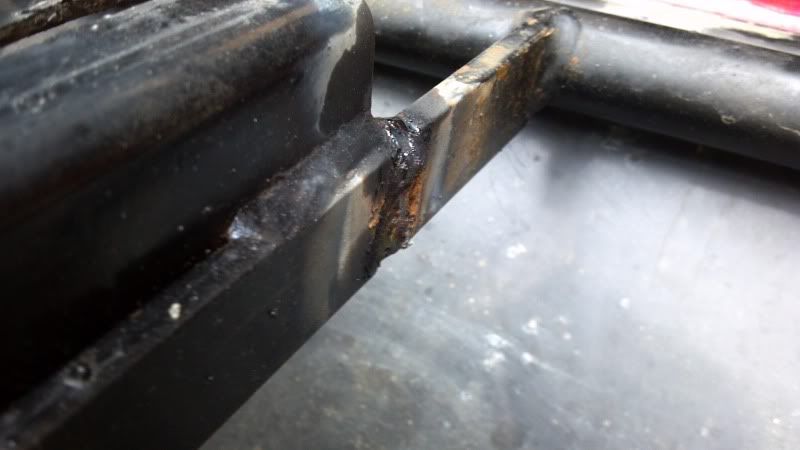 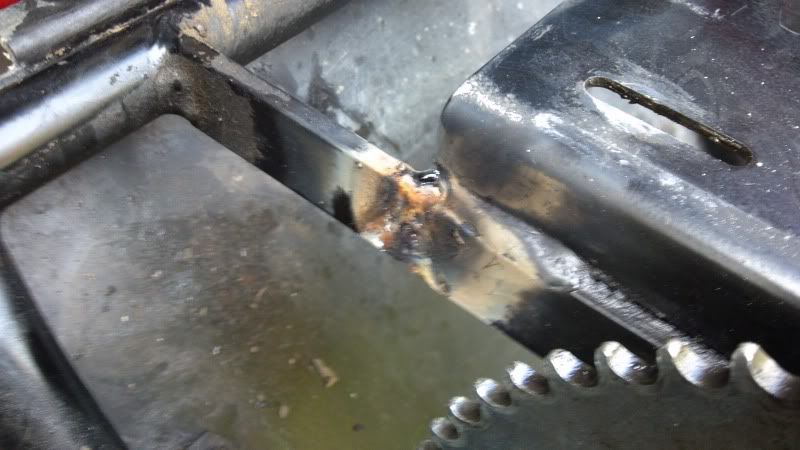 This picture looks like its not right as far as square, but the tape does not lie: 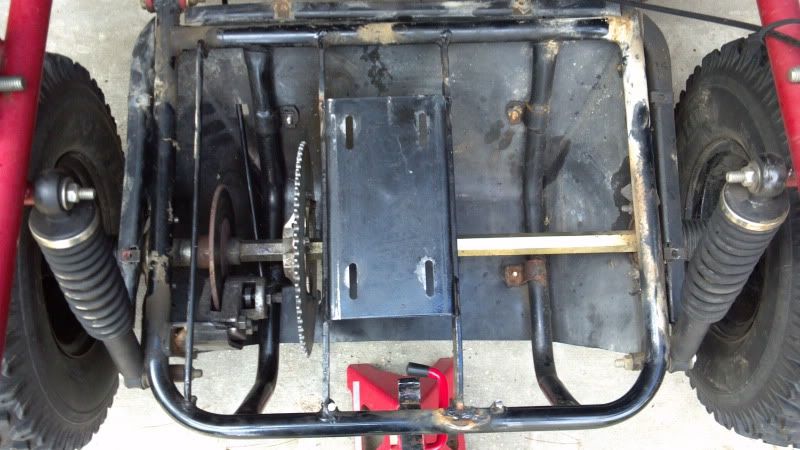 On to putting the Robin back home. Chris |
|
#10
|
||||
|
||||
|
Good work, the engine mount plate support bars looked like they'd been cut rather than cracked? You'll find that this type of kart is god for fields and flatlands, the front ends on both won't hold up to too much rough stuff.
|
|
#11
|
|||
|
|||
|
There wasnt a gap so I doubt they were cut. As for riding terrain, most of the riding will be done in a hay field, a sand flat, and some pretty smooth trails in the woods. There isnt a lot of rough riding to be done where I am. If this works out well and my son and I like it I will spend the cash and get something a lot better and a lot more powerful. But for now either of these karts will be great to start him on and let us do something as father son together.
Chris |
|
#12
|
|||
|
|||
|
Just an update on costs involved with everything I have listed above this post. so far I have spent $3.79 in parts. I have spent roughly $12 in other supplies like grease, hand cleaner, shop towels, etc. Granted I had machine work and welding done, but it was a cost of zero in this case.
Chris ps, I have a parts list ready to go for both karts and will be ordering as soon as I can get specs on 1 of my optional parts. |
|
|