|
|
|
|||||||
| Other tech issues For all other technical issues. Think frame, suspension, steering, brakes, etc |

 |
|
|
Thread Tools |
|
#1
 04-13-2014, 03:56 PM
|
||||
|
||||
|
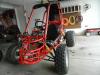
Here's a pic of how it looks with the wheels straight
 You can see the left side is angled up Wheels to the right 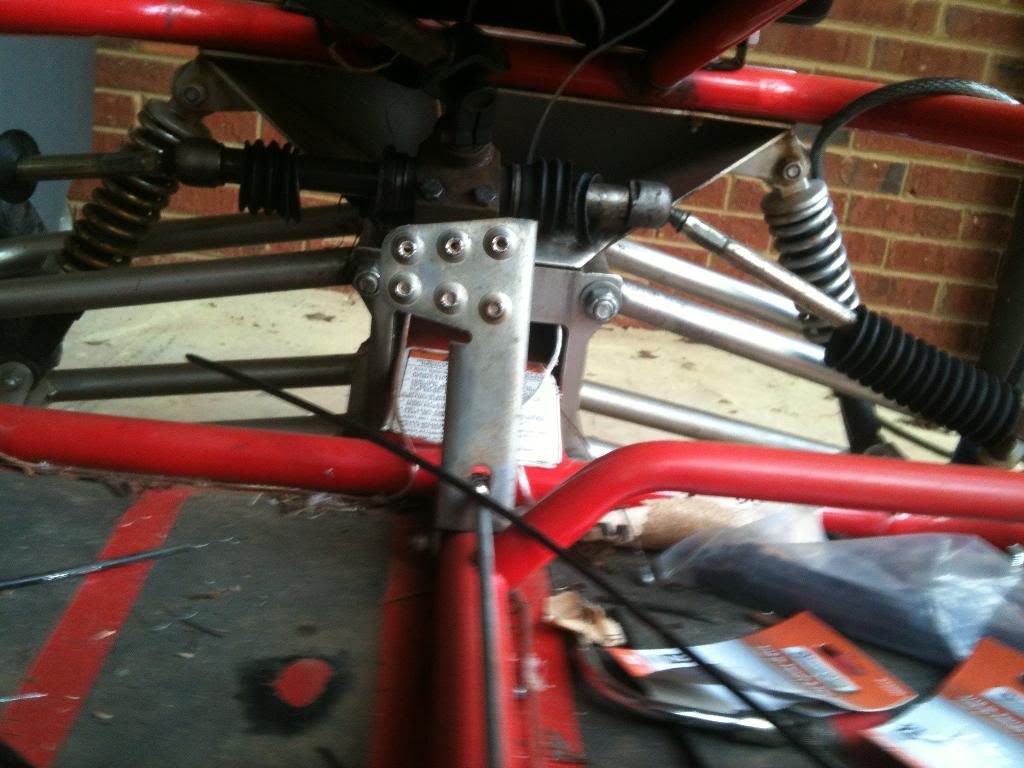 Left side is about the same...but I don't like that angle Wheels to the left 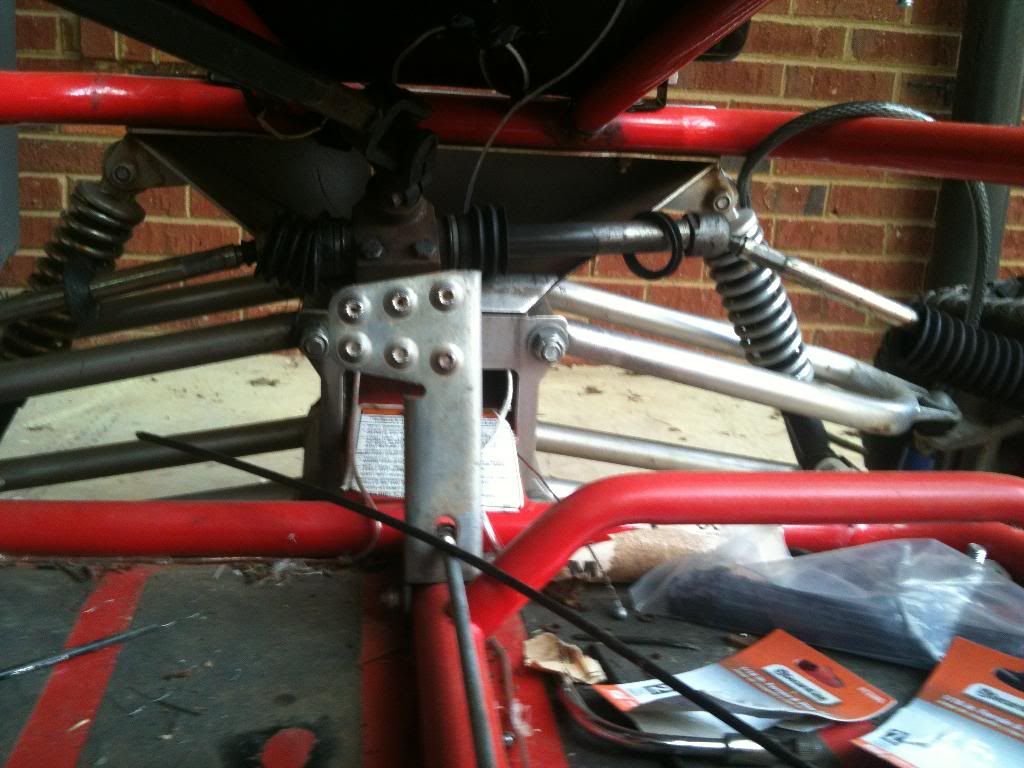 WOW! That is SOME angle going on there! So is this normal? I know I have to replace the little booties that go over the arms, but thats another thing. I guess it sorta makes sense that because the steering isn't set in the middle of the bulkhead the arms need to be angled a bit on the left side to compensate for the distance, but THIS MUCH? I also need to crank down on the bolts that hold the rack in as the actual unit is rotation when I turn.
__________________
Yerf-Dog Spiderbox  Reverse Gearbox Heavy Duty Ball Joints Heavy Duty Chain Tensioner Canvas Roof/Netting Key Start LED Brake Lights Headlights SOLD! 
|
|
#2
04-13-2014, 07:17 PM
|
||||
|
||||
|
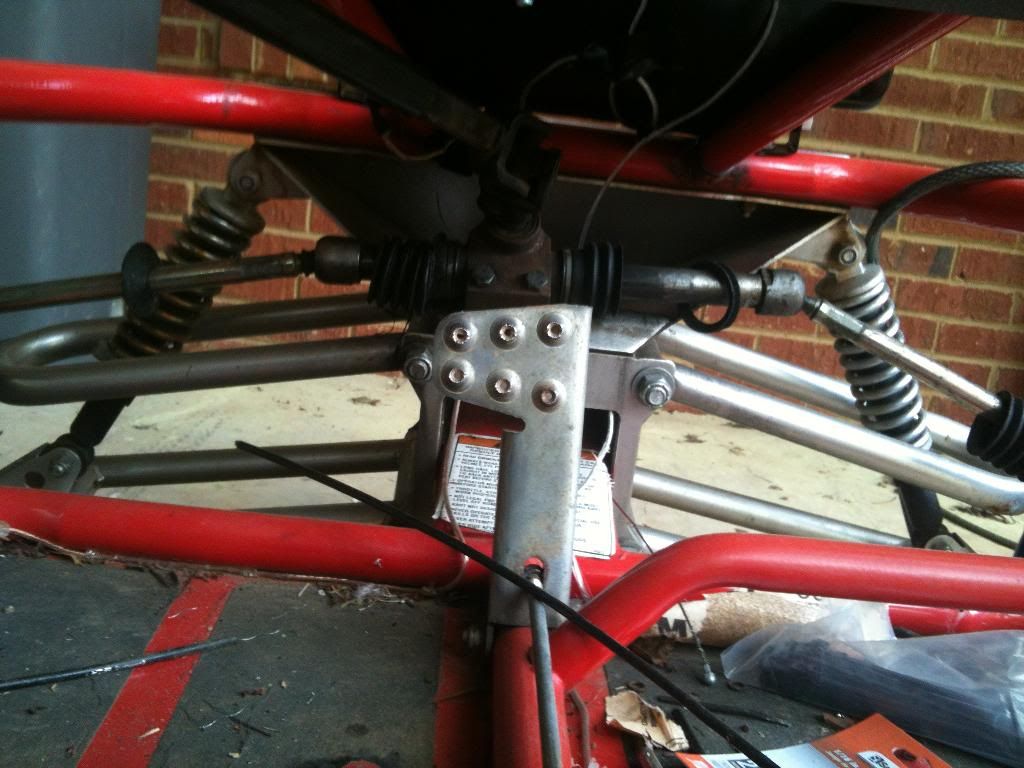
Is it normal? ,, yes and no...
No, it's not supposed to do that! The rack should sit level on the mounting plate. It should be parallel with the frame. There should be no twist or angle in the mounting position. the rack is positioned more to the left side to accommodate the left seat steering position. And yes it is normal, A normal wear and tear issue with yerfs, that is. After use, the mounting holes in the plate get beat out and enlarged by the constant push- pull of the rack. so the rack has a tendancy to loosen up then twist one way or another. this causes all kinds of steering woes. bad alignment, incorrect toe, tie rods binding. you can retighten the bolts but their just going to get loose again so the problem remains constant. Some have welded in the holes and redrilled but that's not a permanent fix. they just get beat out over time again. best way is to weld a bracket to the mounting plate to cradle the steering box. this holds the box in position and takes the strain off the mounting bolts. This pic shows a bracket ready to get welded in after the steering box has been positioned. The bracket gets tacked in place then the steering box is removed then welds are completed. The box is secure and solid and life is good.
|
|
#3
04-13-2014, 10:00 PM
|
||||
|
||||
|
Interesting... So just welding a plate ONLY would bring me to the same place, whereas the bracket would eliminate it? And I know it's difficult to tell over the Internet, but do you thinking need a new rack? It doesn't bind, but my main issue is that bending left side. I can fix the shifting center, but the arms "bending" really concerns me. And the center is only shifting SLIGHTLY and I mean only a little bit... Not enough to give the arm that angle.
__________________
Yerf-Dog Spiderbox Reverse Gearbox Heavy Duty Ball Joints Heavy Duty Chain Tensioner Canvas Roof/Netting Key Start LED Brake Lights Headlights SOLD!
|
|
#4
04-14-2014, 06:22 AM
|
||||
|
||||
|
disconnect the tie rods, remove the rack and cycle the rack back and forth. if the rack (the main shaft running through it) runs smooth and isn't bent, it's just a matter of fixing the holes and providing a stronger mounting for it. right now it's just rocking up and down on the two mount bolts, which is not good. if you've bent the tie rods, replace them. There are a couple of spiderbox threads showing how to add the plate under the box to provide additional support for it.
|
|
#5
04-14-2014, 06:59 AM
|
||||
|
||||
|
That's what I plan on doing. The rocking isn't the MAJOR issue (although it is present) I'm just worried about that right a-arm, which when I think about it, would make sense the it be at that angle, but the mounting def. needs replacing. One of the first things I do when/if I get that welder!
__________________
Yerf-Dog Spiderbox Reverse Gearbox Heavy Duty Ball Joints Heavy Duty Chain Tensioner Canvas Roof/Netting Key Start LED Brake Lights Headlights SOLD!
|
|
#6
04-19-2014, 05:44 PM
|
||||
|
||||
|
Well I did this today
 I was looking at the reverse cable and how I can hack apart the current shell we have to fit our cable (just the metal cable to slide in so we can use the adjuster) and then I thought that I needed to do something else. So I took off the front end and I'll tighten up that rack later...
__________________
Yerf-Dog Spiderbox Reverse Gearbox Heavy Duty Ball Joints Heavy Duty Chain Tensioner Canvas Roof/Netting Key Start LED Brake Lights Headlights SOLD!
|
|
#8
04-20-2014, 07:58 AM
|
||||
|
||||
|
Quote:

__________________
Yerf-Dog Spiderbox Reverse Gearbox Heavy Duty Ball Joints Heavy Duty Chain Tensioner Canvas Roof/Netting Key Start LED Brake Lights Headlights SOLD!
|
|
#9
04-20-2014, 12:11 PM
|
||||
|
||||
|
everything is a-ok with the rack. Though I do need to tie rod ends (I can feel the flat spots on the balls) and the boots to cover the rack (they rotted away).
__________________
Yerf-Dog Spiderbox Reverse Gearbox Heavy Duty Ball Joints Heavy Duty Chain Tensioner Canvas Roof/Netting Key Start LED Brake Lights Headlights SOLD!
|
|
|
|